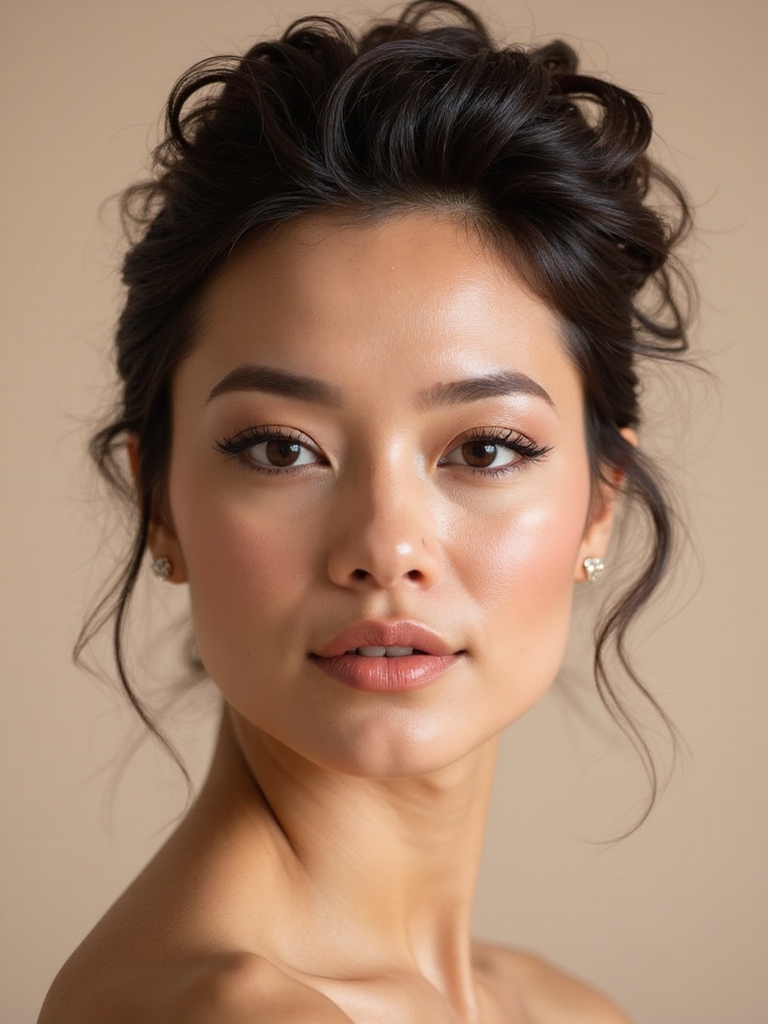
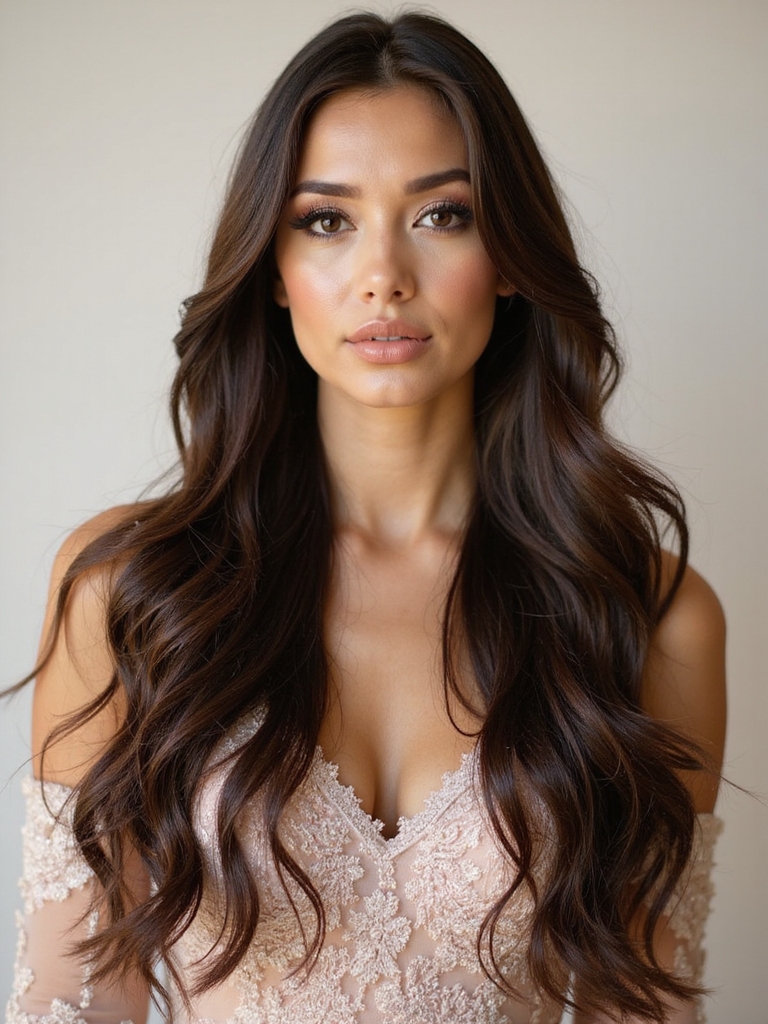
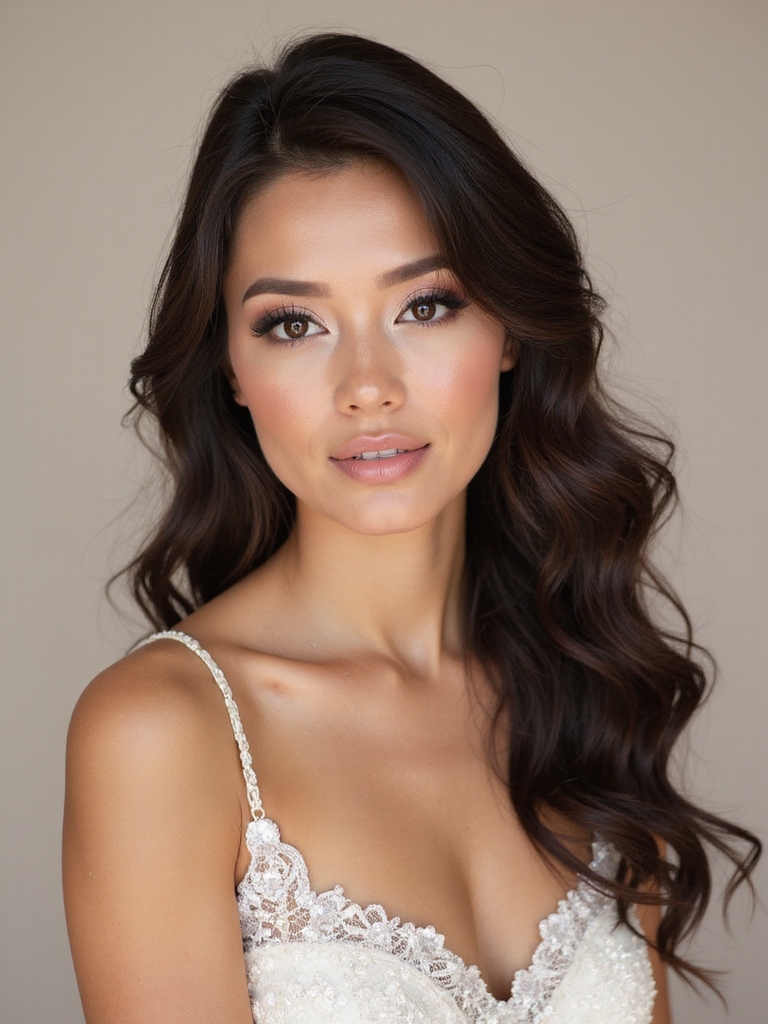
I’m obsessed with hairstyles that flow and swirl as you celebrate! To me, that magical movement starts with prepping hydrated hair and using flexible-hold products. I love a waterfall braid or tousled chignon—they’re secure but full of life, perfect for dancing. The right lightweight accessories add a final sparkle. Stick with me and I’ll show you exactly how to get these stunning, photogenic looks.
What Makes a Hairstyle “Move Like Magic”?
Because we all want hair that looks as stunning in motion as it does in photos, a hairstyle moves “like magic” when it’s built to feel as good as it looks.
I’ve learned it’s all about the structure. Think of secure-but-supple shapes like a twist or a braid that lets pieces bounce free. It’s not stiff or heavy; it’s light, balanced, and swings gracefully with every turn of your head. Effortless styles often incorporate easy wedding guest hairstyles that can be achieved in just minutes.
The Foundation: Prepping Your Hair for Movement
I always start by making sure my hair is hydrated and soft because it moves so much better. I then use a smoothing product to combat any frizz before I even pick up a styling tool. Finally, I choose flexible-hold sprays to lock my style in place without making it feel stiff or crunchy. Adding bouncy curls can instantly elevate your look, making your hairstyle the perfect choice for any wedding.
Hydration Is Essential
Before you think about any braids or waves, let’s talk about hydration—it’s the absolute key to making your long hair move and hold any style beautifully.
I start my prep days ahead with a moisturizing mask. Supple, hydrated hair is flexible, less frizzy, and catches the light perfectly.
- Apply a deep conditioner after shampooing once a week.
- Use a leave-in spray on damp hair before drying.
- Always finish with a light hair oil on the ends.
Additionally, using natural wedding hairstyles can enhance your overall look while celebrating your true self.
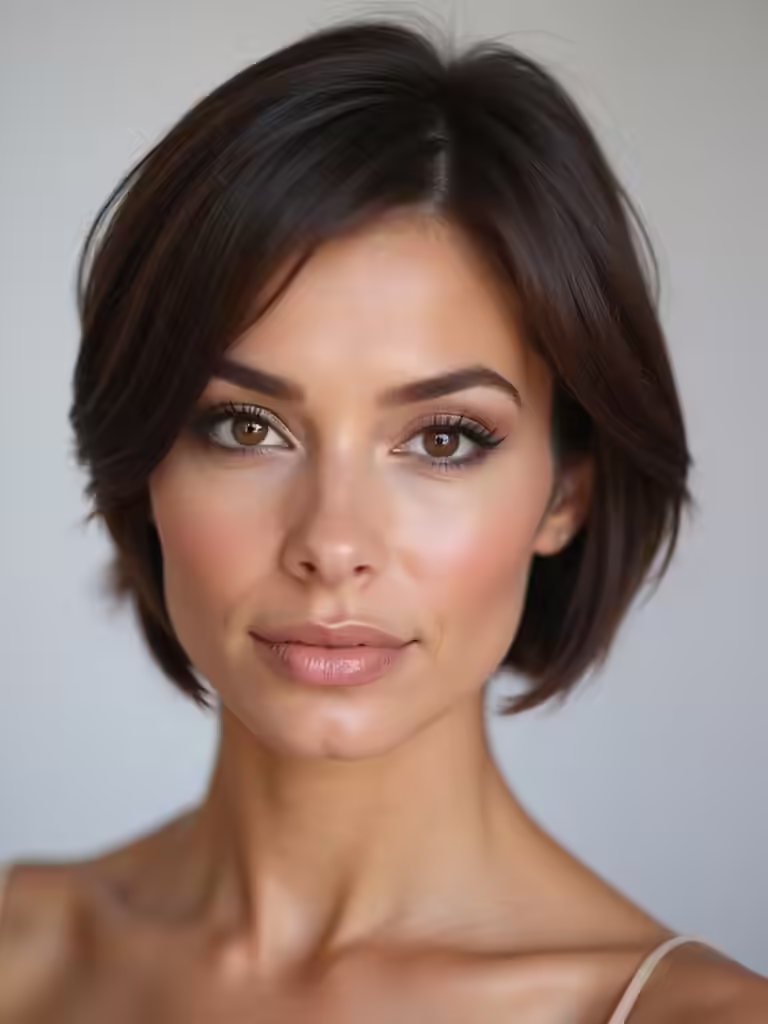
Smoothing Before Styling
Now that my hair is fully hydrated, I’ll create a smooth, polished base that guarantees every style looks intentional and lasts.
I apply a heat protectant spray first.
Then, I’ll use a flat iron on low heat to gently smooth any frizz or kinks from the mid-lengths to ends.
This step isn’t about making it pin-straight, just uniform.
A sleek canvas makes all the difference for magic movement. Incorporating effortless hairstyles into your routine can elevate your wedding guest look without the need for a stylist.
Hold Without Stiffness
Two key products set the stage for hairstyles that hold beautifully without a stiff feel.
I start with a flexible-hold mousse for volume, then lock it in with a lightweight texturizing spray. They’re my secret for hair that stays put but still dances.
- Apply mousse to damp roots for lift.
- Dry completely before adding texture spray.
- Focus the spray on your ends and any set waves.
To achieve this, consider techniques used for beach wedding hairstyles that resist the elements while maintaining a natural look.
Quick vs. Elaborate: Matching a Style to Your Skill Level
Since you want to look amazing without spending hours in front of the mirror, I always recommend honestly evaluating your styling skills before choosing a wedding guest hairstyle.
Are you a braiding pro or do you prefer a sleek, simple twist?
I’ve learned that matching the style’s complexity to my own ability is key. A gorgeous, achievable look always feels more magical than a frustrating, elaborate attempt. Remember, many last-minute wedding guest hairstyles can be both quick and stunning, ensuring you shine on the big day.
The Effortless Waterfall Braid

While I adore intricate styles, the waterfall braid is my go-to for an elegant look I can actually manage myself. It’s romantic, adds instant texture, and leaves gorgeous pieces loose to frame your face. It looks way harder than it is!
- Perfect for second-day hair—a bit of texture helps it hold beautifully.
- Works with any part, from deep side to classic center.
- Dresses up or down with a simple flower pin or sparkling clip.
Incorporating curly hairstyles can enhance the overall effect, making it even more stunning for special occasions.
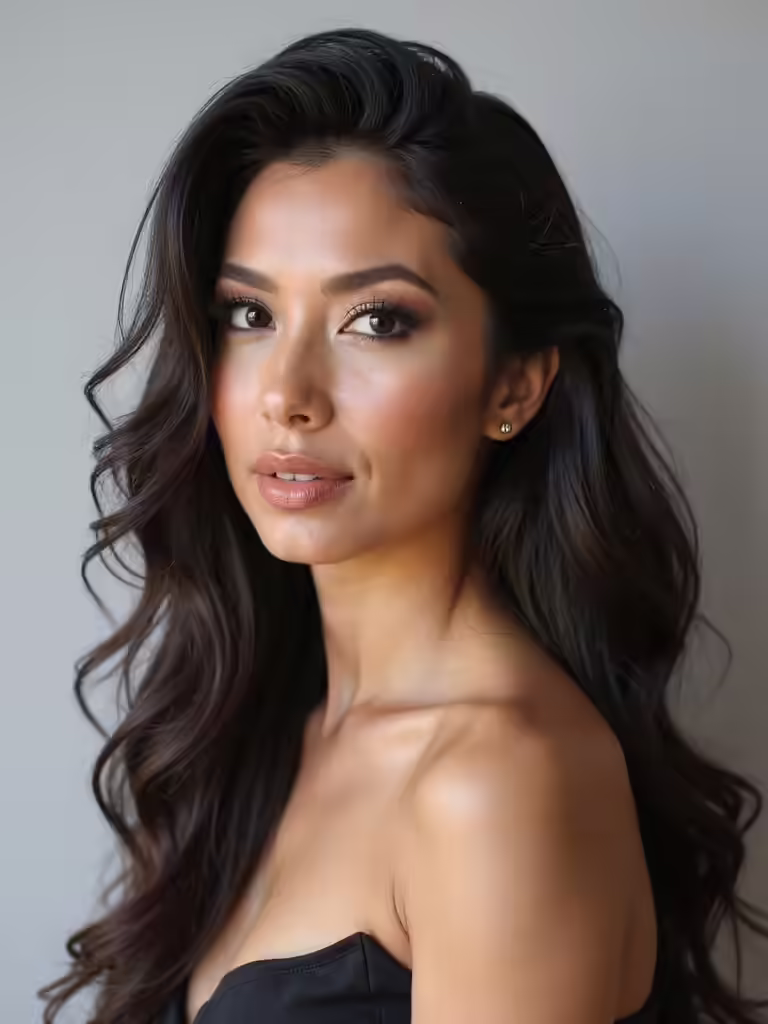
The Dynamic Blowout With Beachy Waves

For a look that’s glamorous but feels wonderfully undone, I love a dynamic blowout styled into those relaxed, beachy waves. It creates incredible volume and movement. I use a large-barrel curling iron, alternating directions for a natural effect. After it cools, I just run my fingers through to break the curls apart. The result is soft, touchable texture that lasts all day and looks fantastic in photos. This style is perfect for summer weddings, where gorgeous summer hairstyles can truly shine.
The Twisted Half-Up, Half-Down Crown
Okay, let’s move from a classic blowout to something a bit more elegant with this twisted crown.
I love this style because it starts by forming a secure, beautiful base with a simple twist along the hairline. This technique is similar to stunning half-up hairstyles, which can elevate your overall look. Once you’ve got that crown settled, you can finish by adding those loose, flowing curls to the rest of your hair for a truly romantic look.
Forming The Base Crown
To build our beautiful half-up crown, I’ll start by grabbing a section of hair on each side, just above my temples.
I’ll gently twist each piece inward towards the back of my head. Once I meet in the center, I secure them together with a clear elastic.
This creates the foundational braid that the rest of the style elegantly rests upon.
- Keep the twists loose for a soft, romantic look.
- Use a tiny elastic to avoid a bulky finish.
- This base should feel secure but not tight.
Incorporating elements from elegant half-up styles can elevate the overall look of your hairstyle.
Adding Loose, Flowing Curls
Now that our crown base is set, let’s bring in some movement by adding loose curls to the remaining half-down hair.
I use a 1-inch curling iron, wrapping random sections away from my face. I don’t worry about perfection—these soft, flowing waves create that effortless, romantic feel.
Finally, I run my fingers gently through them to break them up and add volume, which completes the enchanting, magical look.
Romantic, Face-Framing Tendrils
Since you want to add a touch of soft romance to your look, loose, face-framing tendrils are my go-to technique.
I simply pull a few strands from the front section of my updo or half-up style and curl them separately. It’s so easy, and the effect is gorgeous!
- Use a curling iron on a low heat setting for soft, bouncy waves.
- Tuck the ends subtly behind your ear for a natural finish.
- Apply a light-hold texturizing spray to keep them defined all day.
The Cascading Low Ponytail
Three hairstyles I absolutely love for weddings start with a cascading low ponytail.
I secure mine low at my nape, but I keep the front section free. I’ll wrap a small piece of hair around the elastic to hide it, then gently pull the ponytail’s top for subtle volume.
It’s a polished look that’s still soft and lets my hair flow beautifully down my back.
The Boho-Chic Loose Fishtail Braid
For my favorite boho-chic wedding look, I create a beautifully textured loose fishtail braid. It’s effortlessly romantic and holds up all day.
I start with tousled waves for grip, then loosely braid down my back, gently pulling it apart for that perfect, undone volume.
- I always mist my hair with texturizing spray first for that essential, piecey grip.
- Securing the end with clear elastics keeps it clean and invisible.
- Finishing with a light-hold hairspray lets the style move without falling apart.
The Modern Milkmaid Braid
My go-to for a modern, romantic updo is the milkmaid braid.
I create two low braids, then secure them crown-like across my head with bobby pins. I pull out a few face-framing pieces for softness.
It’s incredibly secure for dancing all night, yet it looks effortlessly chic.
This style feels fresh and feminine, perfect for complementing any wedding guest outfit without overwhelming it.
Voluminous Vintage Curls That Sway
I absolutely love channeling Classic Hollywood Inspiration for its timeless appeal.
The key to modernizing it’s adding plenty of modern texture and volume with a curling iron. You’ll get that perfect movement with timeless elegance as the curls beautifully sway with every step.
Classic Hollywood Inspiration
While you’re searching for a showstopping look, channel the timeless glamour of Hollywood’s golden age with voluminous vintage curls.
I love how this style sways with every turn of your head, creating pure romance. It’s all about that defined, bouncy shape.
Here’s how I get it:
- Set with large rollers for soft, lasting waves.
- Tease gently at the crown for added height.
- Finish with a flexible-hold spray to lock in the motion without stiffness.
Modern Texture And Volume
For a modern take on volume and texture, I’m obsessed with voluminous vintage curls that really move, because nothing beats hair with a sense of drama and life.
I prepped my damp hair with a volumizing mousse, then used a large-barrel curling iron, alternating curl directions for that lived-in feel.
I finished by breaking them up with my fingers and a light hairspray for incredible, touchable hold.
Movement With Timeless Elegance
Movement truly defines elegance in a hairstyle, so I adore voluminous vintage curls that sway with every step. They’re classic, feminine, and feel incredible.
For that bouncy movement, you’ll want to nail three key things.
- Use Velcro rollers on nearly dry hair for lasting, soft volume at the roots.
- Curl sections away from your face with a large-barrel iron.
- Always finish by shaking the curls apart with your fingers—never a brush!
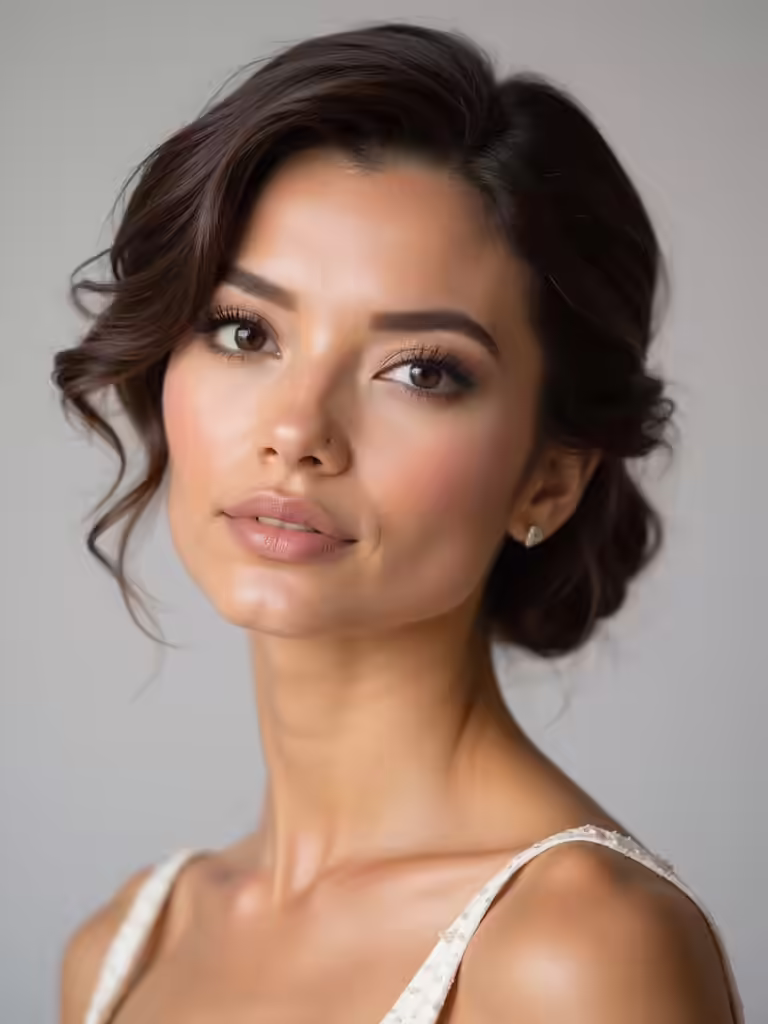
The Soft, Knotted Updo
Because you want a romantic yet relaxed look, I love the soft, knotted updo for its effortless elegance.
I loosely twist sections of my hair and secure them with pins, letting a few tendrils frame my face. It’s beautifully undone and holds all day.
This style feels special but never stiff, making it perfect for dancing the night away at any celebration.
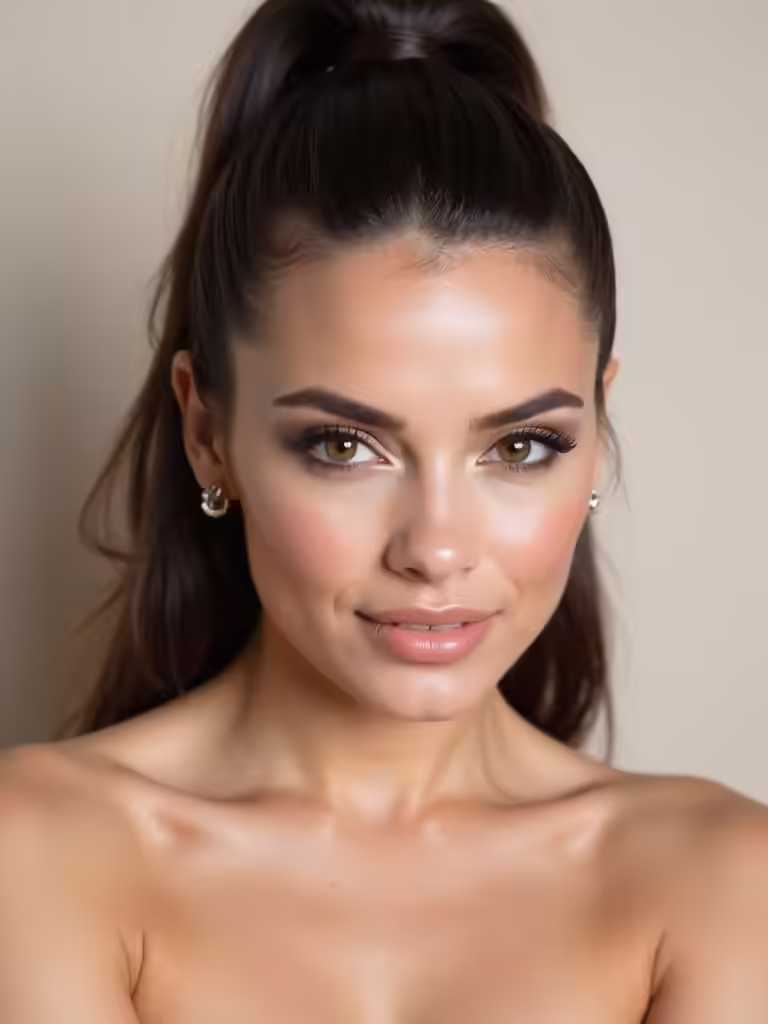
The Sleek and Swingy High Ponytail
I absolutely love how a high ponytail feels both chic and easy for a wedding.
You’ve gotta build serious volume and height at your crown to nail the look. I secure mine tightly, then pull on a few face-framing pieces and sections of the tail to add that perfect, textured swing.
Essential Volume And Height
While you’re looking to truly elevate your look for the big day, a sleek and swingy high ponytail delivers essential volume and height right where you need it.
I create a base of fullness first, using a little trick I love. Let me show you my simple steps to building that gorgeous lift and body.
- Tease gently at the crown for instant, hidden volume.
- Brush everything smoothly up to your desired high point.
- Secure it tightly to anchor all that fabulous height.
Secure With Textured Tails
Now that we’ve built that beautiful height, let’s lock it in and add some swingy movement.
I secure my ponytail tightly with a strong elastic, then lightly brush over the surface for sleekness.
Next, I take a small section from the base, wrap it around the elastic band, and pin it invisibly underneath.
This hides the band and creates that polished, textured tail that dances with every step.
The Intricate Braided Headband
Creating an intricate braided headband is easier than it looks and instantly adds a touch of romantic elegance to your wedding guest hairstyle.
I love weaving a beautiful braid over my crown and securing it behind one ear.
- I start with slightly damp, textured hair for better grip.
- A simple three-strand braid works perfectly—no fancy techniques needed!
- I use a clear elastic to secure it discreetly at the ends.
Soft, Textured Mermaid Waves
Let me show you how I achieve these soft, textured mermaid waves!
It starts with a solid base, so I always prep my hair with a heat protectant spray before I even plug in my iron.
Then, I use a waving iron in sections, alternating the direction for a natural look, before I break everything up with a texturizing spray for that final soft finish.
Prepping With Heat Protectant
Before you curl a single strand, a good heat protectant is non-negotiable for achieving those soft, textured mermaid waves.
I never skip this step—it’s my secret for touchable, healthy-looking hair that holds its shape. My routine is simple:
- Spritz on damp, towel-dried hair before any blow-drying.
- Apply a second, light layer to dry sections right before curling.
- Choose a formula with nourishing oils to boost shine and fight frizz.
Waving Iron Technique Essentials
Since a curling wand can easily create ringlets, the key to loose, beachy waves is using a waver—it gives you that effortless texture and romantic drape.
I start by sectioning my hair and clamp the iron, alternating directions. I don’t hold it too long! Quick pulses create soft, moving waves instead of stiff zigzags.
Texturizing For A Soft Finish
Now that we’ve got those waves set, I release their full potential by breaking them up. I never brush them out! Instead, I run my fingers through them and use a bit of texturizing spray for that soft, effortless finish.
This creates gorgeous mermaid waves that look lived-in and move beautifully.
- I scrunch the ends to amplify the wave pattern.
- I lightly pull at a few mid-sections for separation.
- A final mist of sea salt spray locks in the texture.
The Whimsical Ribbon-Woven Braid
If you’re looking for a hairstyle that feels both romantic and playful, let me show you how a simple ribbon can transform a classic braid into something truly whimsical.
I start a simple three-strand braid, but I weave a long, silky ribbon into one section as I go. The result is a beautiful, textured plait where the ribbon peeks through.
It adds such a magical, festive touch!
The Playful Bubble Ponytail
For a look that’s equal parts modern and joyous, I love creating a bubble ponytail—it’s surprisingly simple but has fantastic impact.
I secure a high ponytail, then use small, clear elastics spaced evenly down its length. After gently pulling on each section to create the “bubbles,” I finish with a strong-hold hairspray to lock in the shape.
- It gives your hair incredible volume instantly.
- The bubbles catch the light beautifully as you move.
- You can customize it with sparkly pins or a chic ribbon.
The Timeless French Twist With Movement
While the bubble ponytail is wonderfully playful, I adore the classic elegance of a French twist, especially one with soft, flowing movement.
I secure my hair loosely at the nape, then gently twist and tuck.
The magic comes from leaving a few strategic strands free; they cascade around my face and neck, creating beautiful movement without sacrificing the style’s timeless, sophisticated shape for a wedding.
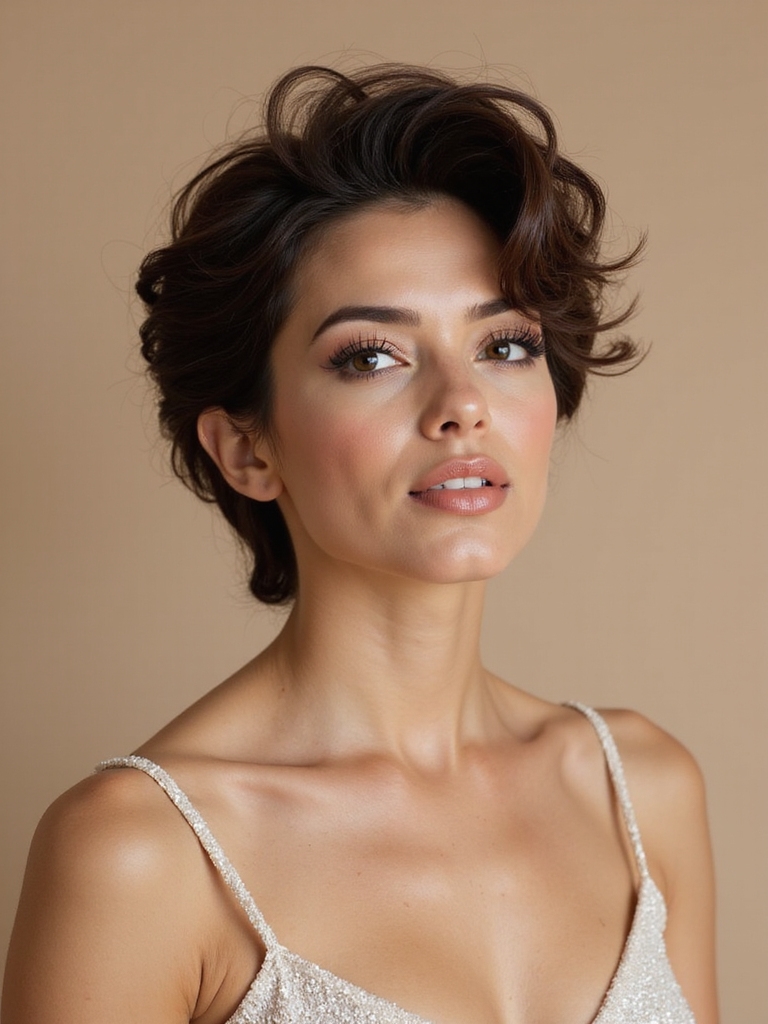
The Tousled, Wrapped Chignon
Tousled texture and a wrapped coil offer a beautifully undone yet polished chignon I love for weddings.
It’s romantic but secure enough to dance all night. I start by curling sections for body, then loosely gather my hair. The trick is wrapping a final section around the base to hide the elastic!
- Creates instant, romantic volume.
- The wrap cleverly conceals any pins or bands.
- It holds beautifully but still feels soft and touchable.
Accessories That Enhance Movement (Without Weighing Hair Down)
A lightweight hair accessory can give your style incredible motion while keeping things easy and breezy.
I love delicate pins or a thin, embellished headband; they add sparkle without any drag.
For me, nothing beats loosely woven ribbons. They catch the light and dance with every step.
These pieces hold just enough while letting your hair flow freely—perfect for a celebration where you want to look and feel effortlessly glamorous.
Conclusion
Honestly, just try one! You will look impossibly gorgeous, move like a star, and turn every single head at that wedding. These styles don’t just move with you; they dance, they float, they create their own fabulous breeze. I live for that magical, head-tossing confidence. So pick your favorite, practice it once, and get ready to absolutely own the room. Your perfect, moving masterpiece awaits!