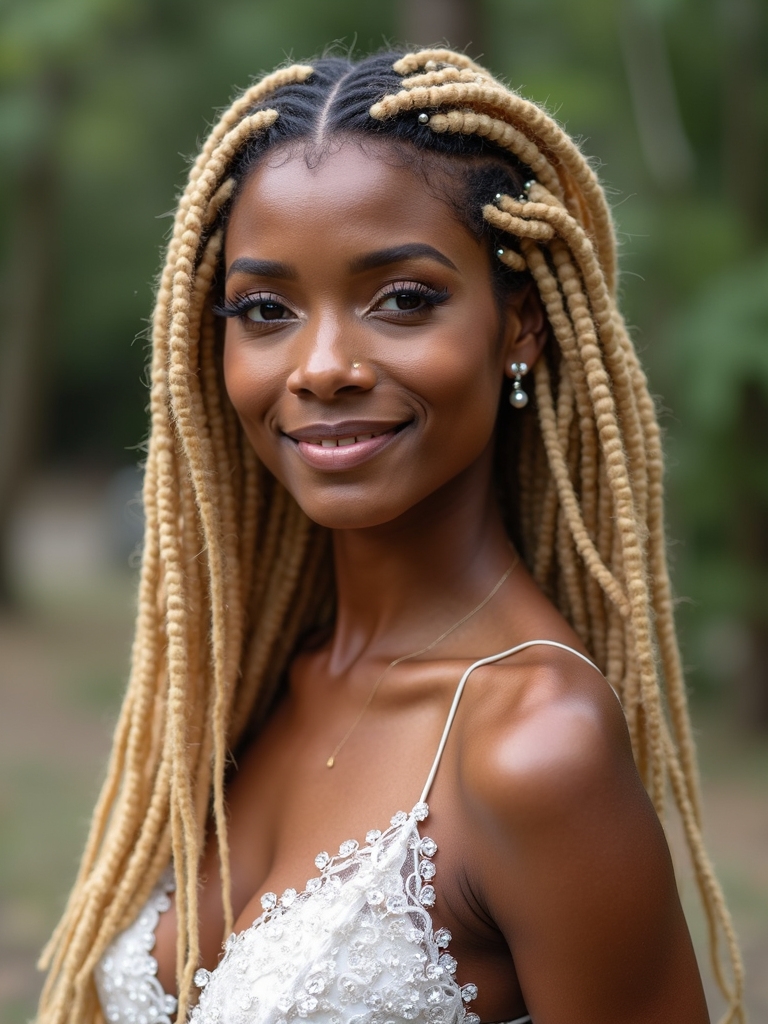
I’ve got a handful of wedding-guest styles you can actually do yourself—no stylist needed. Think effortless low chignons, sleek low ponies with wrapped ties, heatless face-framing waves, a loose braided crown, or a tousled top knot with soft tendrils.
I’ll show tricks for thin or short hair too: texturizing, grip, and vintage finger waves that hold through dancing. Stick with me and you’ll walk into the venue feeling polished, comfortable, and totally party-ready.
Effortless Low Chignon for Fine Hair
Let’s lean into simplicity: I’ll show you how an effortless low chignon can make fine hair look full and polished without fuss.
I twist hair low at the nape, tease lightly for lift, secure with pins and a texturizing spray, then tug gently for softness.
It’s quick, holds through dancing, and looks chic without weighty products—perfect for a wedding guest who’s short on time.
This approach mirrors several effortless updo techniques that seem high-maintenance but truly aren’t.
Soft, Face-Framing Waves You Can Do Without Heat
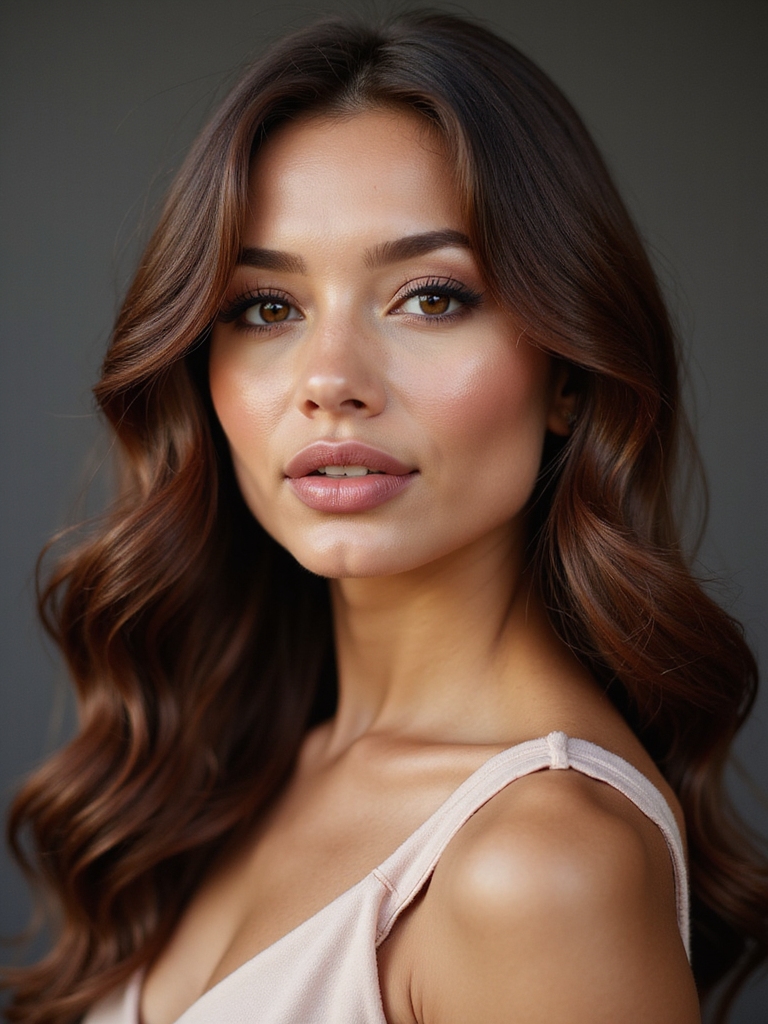
If you liked the low chignon’s fuss-free vibe, you’ll love these heatless waves that give soft, face-framing shape without a curling iron or blowout.
I twist damp hair into loose buns or braid sections overnight, then gently separate and finger-comb in the morning. Add lightweight cream for hold and frizz control. It’s quick, forgiving, and perfect for wedding-day photos.
Try practicing a few simple styles like basic braids to build confidence and speed on the day wedding hairstyles.
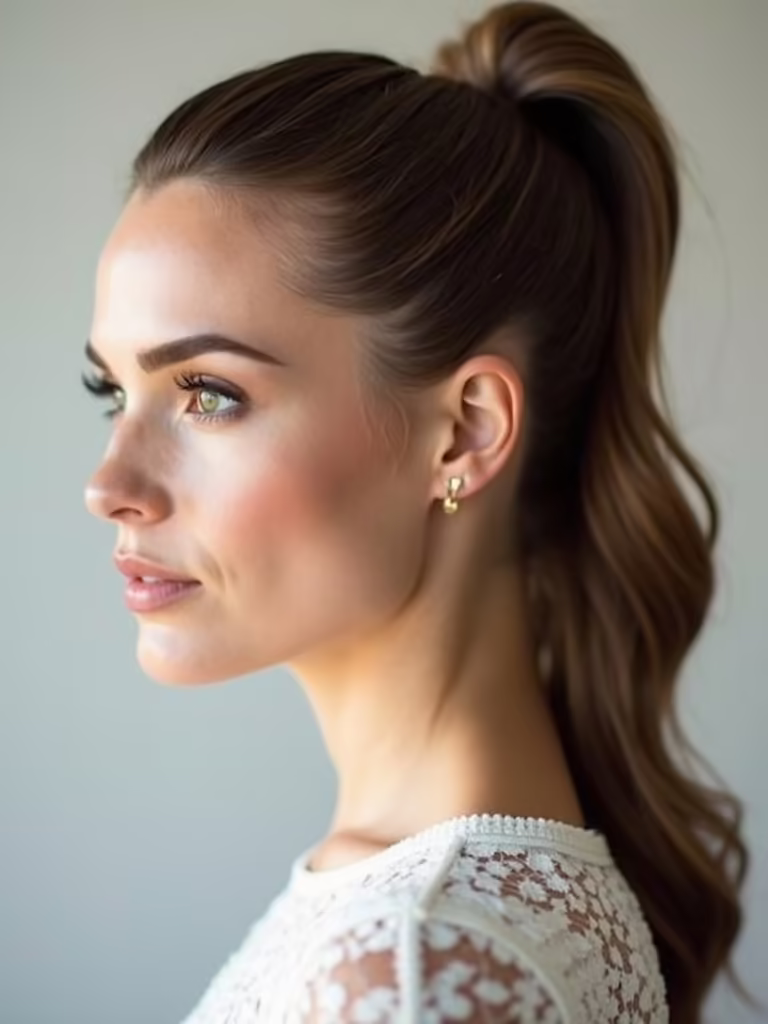
Sleek Low Pony With a Wrapped Hair Tie
I love a sleek low pony for weddings because it feels polished without trying too hard, and I’ll show you how to get a glassy finish with the right prep.
I’ll walk you through wrapping the hair tie so it looks like a built-in ribbon and give a quick trick to add subtle volume at the crown.
Stick with me and you’ll have a chic, secure style that survives hugs and cake.
Ponytail hairstyles guests request most include effortless ponytail variations that stylists keep recommending.
Prep for Smooth Finish
Prepping your hair well is the secret to a sleek low pony that lasts through vows, dancing, and the cake cutting.
I smooth damp hair with a lightweight serum, blow-dry with a round brush for controlled volume, and tame flyaways using a toothbrush sprayed with hairspray.
I finish by securing a low pony tightly at the nape—clean, polished, and comfortably chic.
This style draws on the modern elegance of sleek ponytail looks featured for wedding hairstyles.
How to Wrap Tie
Once the pony is perfectly smooth and secure at the nape, it’s time to hide that elastic and give the style a polished, finished look.
I take a thin strand from beneath the pony, wrap it tightly around the base twice, then tuck the end under with a bobby pin. It’s chic, simple, and survives celebratory hugs and champagne.
Elegant ponytails can transition seamlessly from the ceremony to the afterparty with minimal touch-ups, making them a favorite for wedding guests looking for ceremony-to-afterparty versatility.
Quick Volume Trick
Usually I boost volume at the crown by gently backcombing a small section above the pony and then smoothing the top layer over it so the lift looks intentional, not frizzy.
Then I gather hair into a low pony, secure it, wrap a thin strand around the elastic, and pin.
It reads polished, keeps hair sleek, and gives you that effortless, wedding-ready silhouette without a stylist.
You can also try an elevated ponytail variation for a more formal look by creating a higher base and smoothing the sides for added polish.
Loose Braided Crown for Medium Length Hair
I love how a loose braided crown instantly makes medium-length hair feel effortlessly elegant.
I braid two relaxed sections from each temple, pull gently for softness, then pin across the crown. It stays comfortable all day and looks casually regal—no pro required.
Use light hairspray and a few bobby pins hidden under hair for security; it’s chic, simple, and wedding-ready.
Braided crowns are a classic example of braided wedding hairstyles that tell a love story and suit many hair types.
Textured Half-Up Twist for Thin Hair
Often I turn to a textured half-up twist when thin hair needs instant volume and polish; it gives the illusion of thickness without padding or heavy products.
I tease lightly at the crown, twist two small sections back and secure with discreet pins, then tug for softness.
A spritz of sea-salt spray adds grip and lived-in texture—effortless, flattering, and lasts through toasts and dancing.
Romantic Messy Bun for Thick Hair
Embracing a romantic messy bun lets me turn thick, sometimes unruly hair into an effortless-looking updo that still feels secure for a full day of celebration.
I tease roots, gather hair loosely, twist into a low bun and secure with pins, letting face-framing pieces fall free.
A spritz of flexible hairspray and a decorative pin finish the look—romantic, undone, and surprisingly sturdy.
Elegant Side-Swept Curls for Shorter Lengths
If your hair stops at your jaw or collarbone, I’ve got a trick for making those curls read luxe rather than limp: use a smaller-barrel iron, curl away from your face, and clip each curl to cool so it holds.
Then sweep the longest side across and secure discreetly with bobby pins and a touch of flexible-hold spray so movement doesn’t equal catastrophe. It’s an easy way to look polished without losing the bounce.
Curling Technique for Short
Because short hair needs a little strategy to read as elegant, I’ll show you how to create side-swept curls that look polished without feeling fussy.
I curl small sections away from my face with a 1-inch barrel, leaving ends loose for movement. I alternate directions subtly, tease the roots for lift, and finish with light spray—effortless, defined, and party-ready.
Securing Side-Swept Style
To lock this side-swept look in place, I anchor the curls where they flatter your face most — usually just behind the cheekbone — using bobby pins placed in an invisible crisscross so they stay put without looking pinchy.
I smooth stray hairs with a dab of serum, tease the crown lightly for balance, and finish with flexible-hold spray so movement feels natural, not helmeted.
Polished Low Knot With a Center Part
I love the polished low knot with a center part — it’s the kind of effortless chic that makes you look put-together without trying too hard.
I sweep hair into a low, neat knot at the nape, secure with pins and a bit of serum for shine.
It flatters faces, survives dancing, and reads elegant with minimal fuss—ideal when you want classy, not complicated.
Playful Bubble Ponytail for Long Hair
With a few elastic bands and a little teasing, I turn long hair into a bubble ponytail that’s playful enough for the dance floor but polished enough for cocktail hour.
I gather hair into a mid-height pony, add elastics every few inches, and gently pancake each bubble for volume. Finish with a spritz of flexible-hold spray and a ribbon or barrette for instant charm.
Simple Dutch Braid That Holds All Day
If you want a style that actually lasts from vows to last dance, I swear by a simple Dutch braid — it tucks hair close to the scalp so flyaways stay put and the shape doesn’t sag.
I braid firmly, then loosen the tail a bit for softness.
Quick checklist:
- Start with dry, textured hair.
- Keep tight at roots.
- Secure with a snag-free elastic.
Easy Pin-Back With Decorative Clips
I’ll show you a couple quick prep steps—think dry shampoo at the roots and a light spray for grip—so the style actually stays put through the speeches and dancing.
Then we’ll talk clip placement tips that flatter your face shape and keep the pins from slipping, like angling them slightly toward the back and crisscrossing for extra hold.
With just a few minutes and the right placement, you’ll look polished without looking like you tried too hard.
Quick Prep Steps
Start by loosening up your hair with a few quick brushes and a spritz of texturizing spray so the clips will grip instead of slide; I like doing this while I pick out which decorative clips will match my outfit.
Then:
- Rough-dry or air-dry for natural hold.
- Add a tiny bit of serum to tame flyaways.
- Keep bobby pins and matches handy for touch-ups.
Clip Placement Tips
Once you’ve prepped the hair, I’ll show you how to place clips so they look effortless and stay put: think of the clip as a tiny anchor, slipped beneath a small section of hair and pushed toward the scalp at a slight angle for maximum grip.
I use two staggered clips for heavier sections, secure loose ends with a discreet bobby pin, and finagle placement to flatter the face.
Vintage-Inspired Finger Waves for Short Hair
Channeling old-Hollywood glam on short hair is easier than you think, and I’ll walk you through the essentials so your fingers do the talking.
I show quick steps that hold through dancing, without a pro. Try these:
- Apply setting lotion to damp hair.
- Mold S-shaped waves with a comb and clips.
- Finish with flexible hairspray and a jeweled clip for flair.
Tousled Top Knot With Soft Tendrils
Tying a tousled top knot gives you that effortless, chic look that survives dinner, speeches, and dessert—so I’ll show you how to make it messy on purpose and still polished.
I tease the crown, pull hair into a high, loose bun, and let soft tendrils frame my face.
A light hairspray and a quick curl on ends keep it romantic and secure.
Boho Fishtail Braid Over the Shoulder
I love how a boho fishtail braid looks effortless, but you’ll want to prep with sea-salt spray or mousse for grip and texture.
Sweep it over one shoulder for that romantic, off-center vibe and secure it low so it sits neatly against your collarbone.
Pull a few soft strands loose around your face to keep things soft and flattering without fussy maintenance.
Prep and Texture
Starting with clean, dry hair makes the whole boho fishtail braid over-the-shoulder easier and longer-lasting, so I always wash the day before or use a light dry shampoo if your roots need a reset.
I add texture like this:
- Sea salt spray for grip.
- Light mousse at roots.
- Loose curl with a wand for movement.
Then braid, tug, finish.
Side-Swept Positioning
Once the texture is in place and the curls have cooled, I sweep the hair to the side I want the braid to rest on and secure it loosely at the nape so nothing slips while I work.
Then I gather sections, start a relaxed fishtail, and let it fall over my shoulder.
I pancake the braid gently for boho volume and pin any stray pieces discreetly.
Soft Face-Framing Strands
Usually I leave a few wispy pieces around my face before I braid, because those soft strands are what make the whole look feel effortless and boho rather than structured.
I pull a loose fishtail over one shoulder, then:
- Tug sections for lived-in texture.
- Spritz light hairspray to hold.
- Curl face-framing bits for softness.
It’s undone chic, no pro required.
Classic Chignon With a Deep Side Part
If you want a look that’s timeless but not stiff, I reach for a classic chignon with a deep side part—it’s elegant, forgiving, and works whether you’re in sneakers or stilettos.
I sweep hair to one side, secure a low twisted bun, and tug a few wisps for softness. It stays neat, flatters most face shapes, and takes ten minutes with bobby pins.
You’ve got this — really. Whether you grab the low chignon or a braided crown, these looks are foolproof little tricks up your sleeve for any wedding guest emergency. Think of them as your beauty Swiss Army knife: simple, chic, and kinder to your patience (and your wallet).
Try one at home, tweak it till it feels like you, and walk in with relaxed confidence — everyone will think you had a stylist on speed dial.