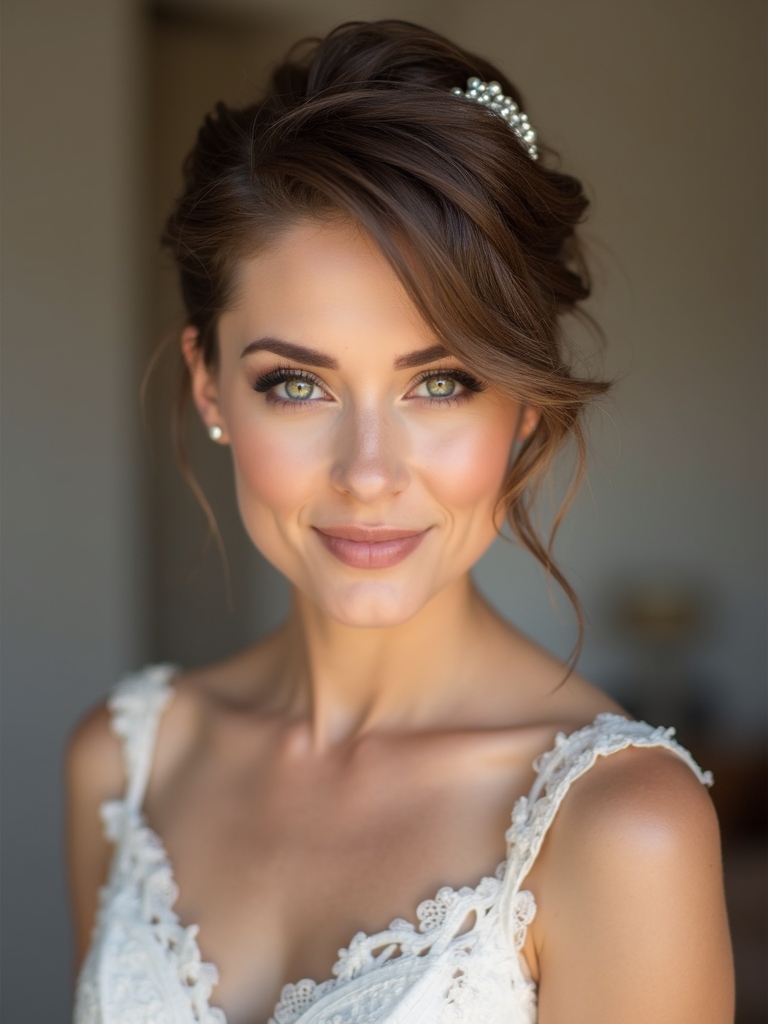
I’ve picked nine foolproof wedding hairstyles you can do even if you’re a total beginner: a soft twisted half‑up you can finish in ten minutes, a low messy chignon, a simple braided crown, a sleek low ponytail, loose beachy waves, a half‑up braid with floral pins, a quick vintage roll, a tousled top knot, and a wrapped low pony with ribbon.
I’ll walk you step‑by‑step, keep tools minimal, and make each look forgiving and photo‑ready—keep going and I’ll show how.
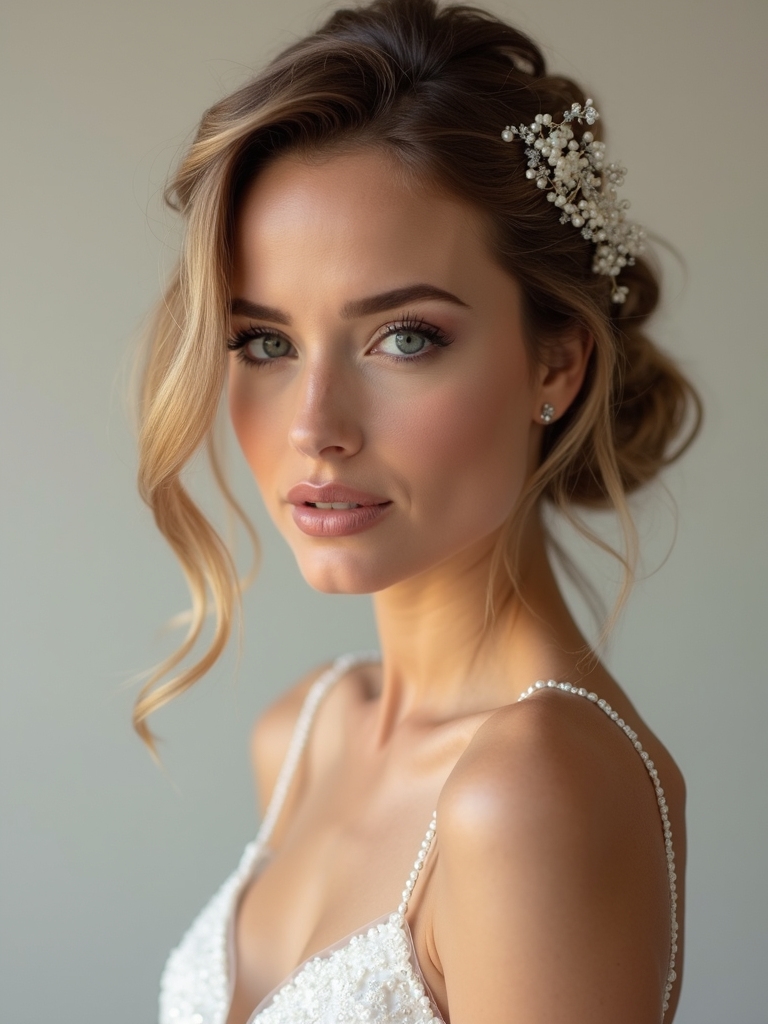
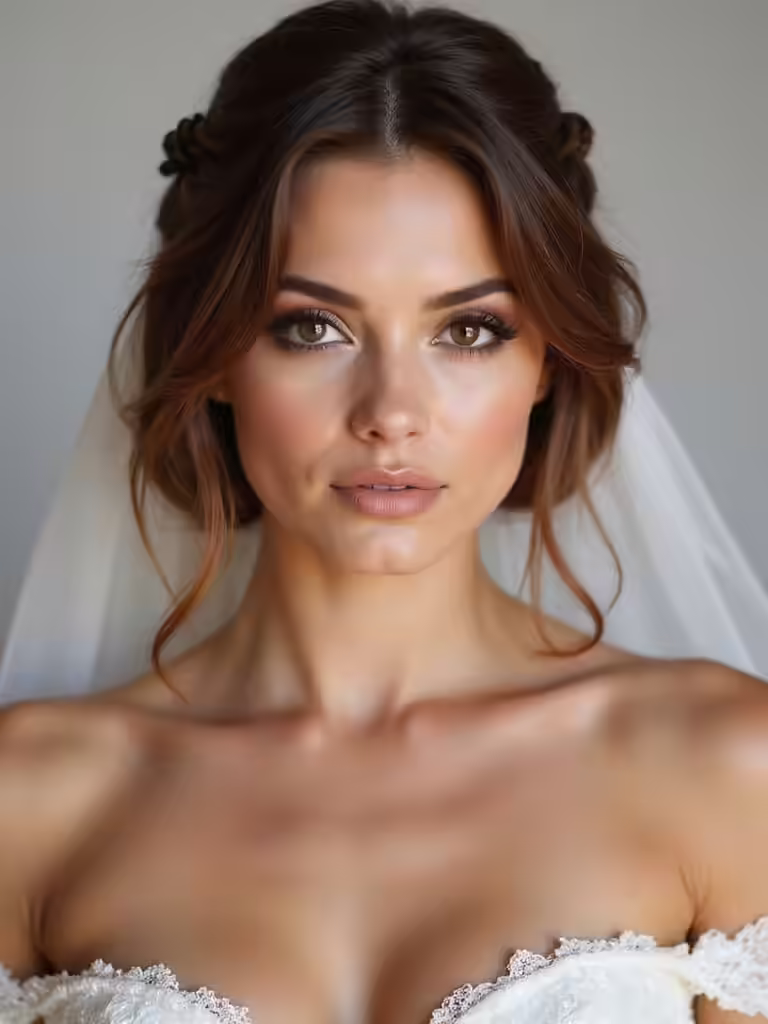
Soft Twisted Half-Up Hairstyle
If you want a look that’s effortless but still polished, try the soft twisted half-up—I’ll walk you through it step by step.
I gather two front sections, twist each away from my face, secure them at the crown with pins, then loosen twists for softness.
Add a floral pin or veil clip if desired.
It stays comfortable, flats nicely, and photographs beautifully.
This style is a classic choice among romantic half up wedding hairstyles favored by dreamers who keep saving obsessively.
Low Messy Chignon
I love the low messy chignon for its relaxed elegance and how forgiving it’s on the morning of the wedding—here’s how I usually do it:
- Tease crown lightly.
- Gather hair at nape, secure with elastic.
- Twist into a loose bun, pin ends randomly.
- Tug face-framing pieces, spray lightly.
It’s quick, wearable, and fixes small mishaps without stress—perfect for beginners. Low buns offer a classic, timeless look that complements many bridal styles and can be adapted into different elegant low bun variations.
Braided Crown for Beginners
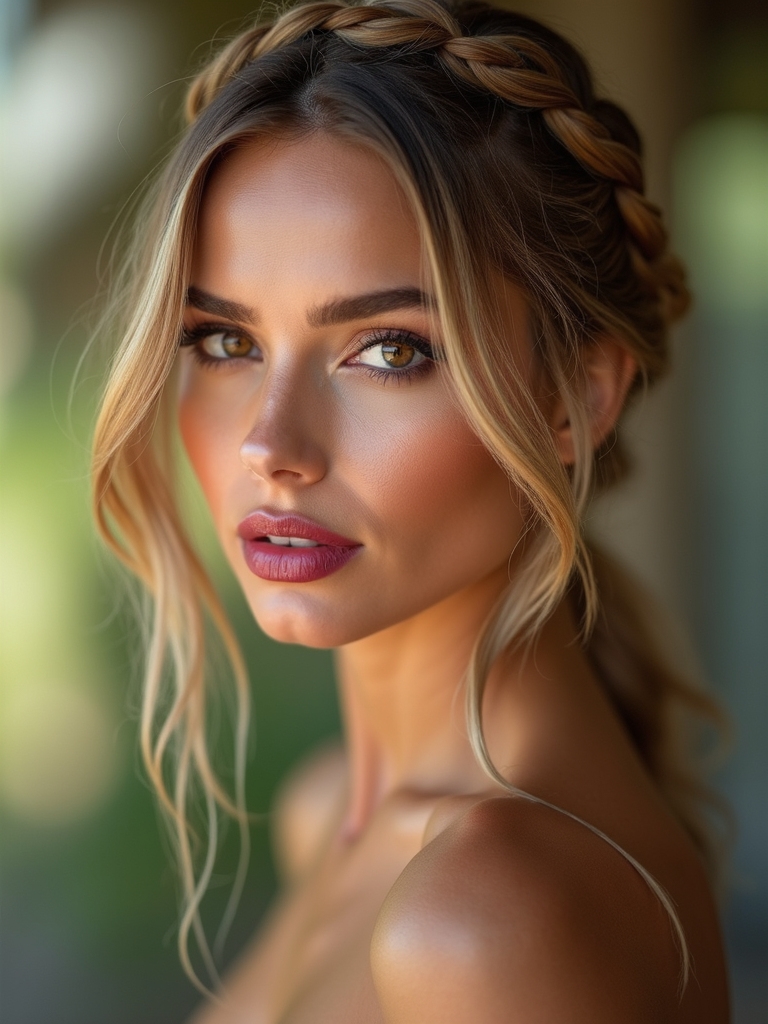
I’ll show you how to build a braided crown by starting with neat sectioning so each side feels manageable.
Then we’ll use a simple three-strand technique you can master quickly, working from ear to ear.
Finally I’ll cover the best ways to secure and finish the braid so it stays put and looks polished all day.
Romantic styles often use soft braids and twists to create an elegant look braided crown.
Sectioning the Hair
Start by parting the hair down the middle, then clip one side out of the way so you can focus on clean, even sections.
I’ll guide you through neat sectioning for a braided crown:
- Measure from temple to temple.
- Clip the front section loose.
- Smooth each section with a comb.
- Secure tails so braiding stays tidy.
You’ll feel ready to braid. Braided crowns can be a lovely way to incorporate a braided hairstyle that tells your love story.
Simple Three‑Strand Technique
Grab a small section at your temple and divide it into three even strands—this is the only move you need to get a flawless braided crown.
I cross the outer strands over the center, adding tiny amounts of hair as I move toward the opposite temple.
Keep tension even, breathe, and repeat on the other side.
The symmetry looks polished even when imperfect.
Effortless half up half down styles are perfect for combining face‑framing softness with secured hair braided crown for all‑day wear.
Securing and Finishing
Once the braids reach the opposite temple, I tuck the ends under the base of the crown and secure them with bobby pins that match my hair color, pushing pins in at a slight angle so they anchor into the scalp and braid.
Then I smooth, mist, and check tension. Try this checklist:
- Anchor firmly
- Hide ends
- Smooth flyaways
- Light hairspray
For extra timeless elegance make sure the updo has a balanced silhouette and softness and structure that flatters your face shape.
Classic Sleek Ponytail
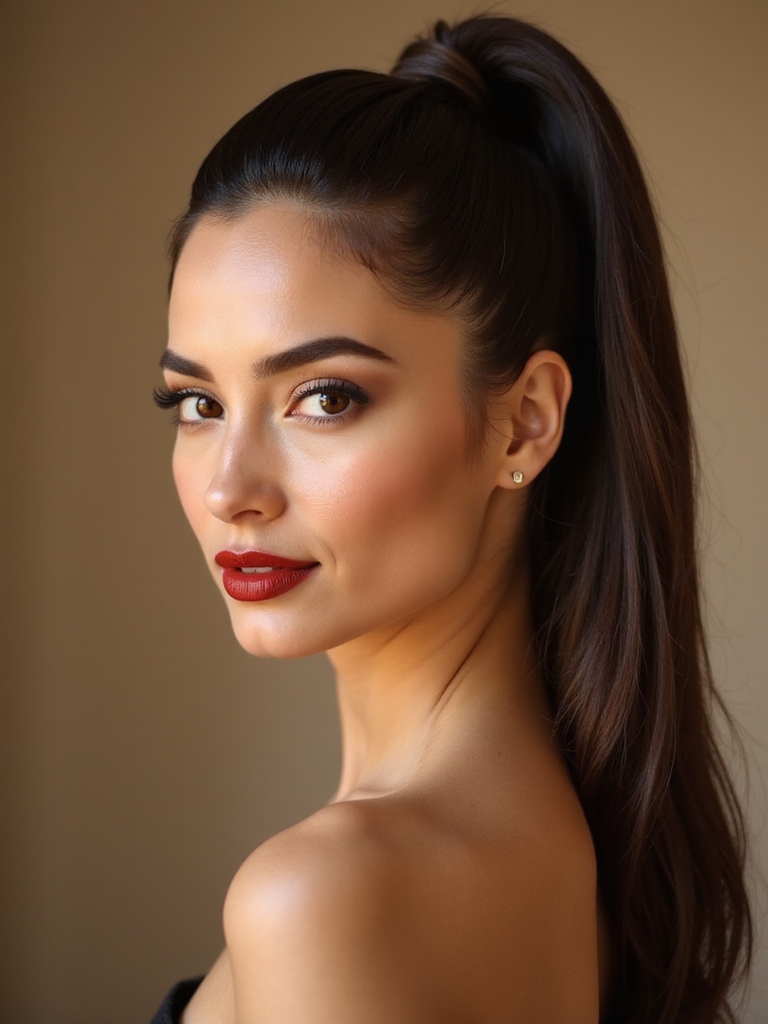
I love how a classic sleek ponytail looks impossibly polished with just a few smart steps.
First we’ll talk prep and polish—smooth any frizz and add shine—then I’ll show you how to secure the base so it stays put all day, and finally we’ll hide the elastic for that finished, bridal touch.
Stick with me and you’ll have a clean, timeless style in minutes.
A sleek ponytail is a modern bridal staple that creates a chic look for any wedding.
Prep and Polish
With a few quick steps, I’ll help you prep and polish a classic sleek ponytail that stays smooth all day.
I start with clean, dry hair, then tame flyaways and boost shine. Follow this simple sequence:
- Smooth with a lightweight serum.
- Brush hair tautly.
- Use a fine-tooth comb for parting.
- Finish with a light hairspray for sleek hold.
Securing the Base
Now that your hair is smooth and gleaming, we’ll lock the ponytail in place so it stays neat from ceremony to last dance.
I gather hair at the nape, smooth any bumps, and secure with a strong elastic. Then I add two hidden bobby pins crossing over the tie for extra hold. Finish with a light mist of spray to tame flyaways.
Hide the Elastic
Let’s tuck that elastic out of sight so your ponytail looks polished from every angle. I do this fast: smooth hair, wrap a section around the band, secure with a bobby pin underneath.
Follow these quick steps:
- Gather hair sleekly.
- Tie low or high.
- Wrap strand tightly.
- Pin hidden, then mist.
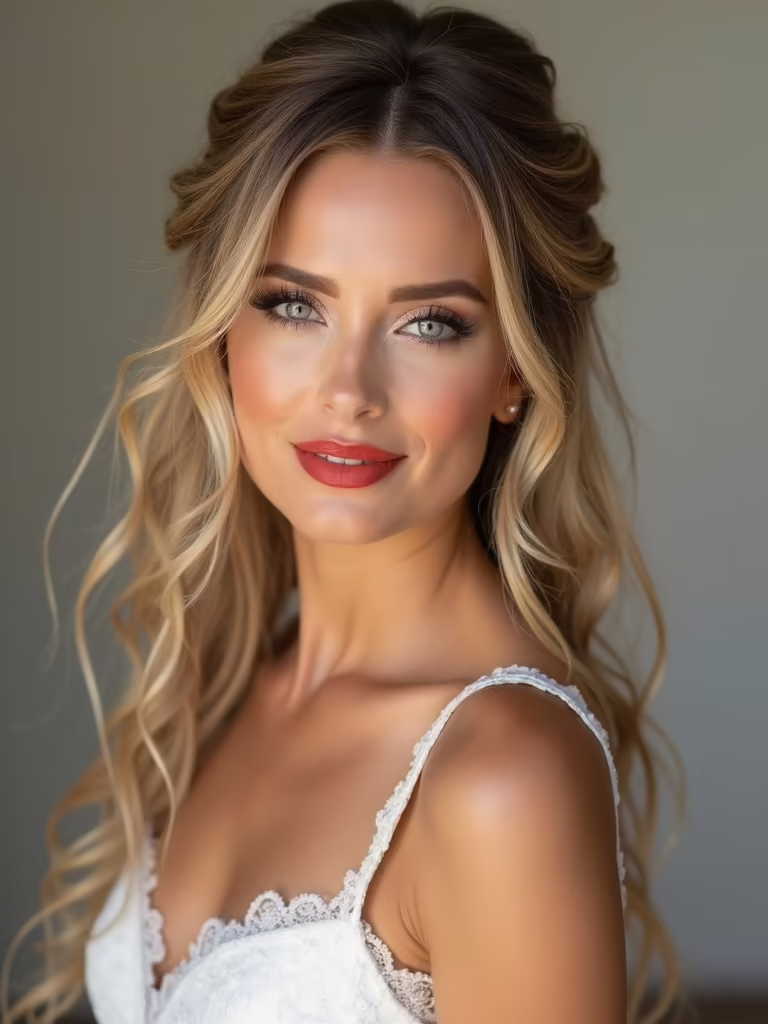
Loose Beachy Waves
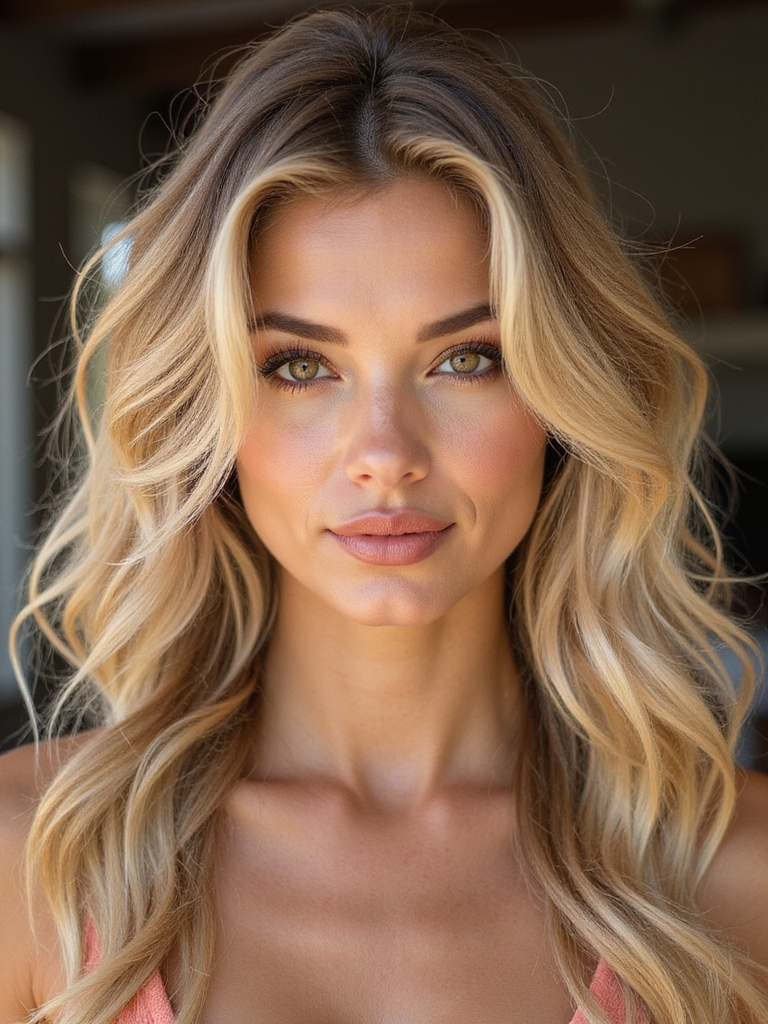
I usually recommend loose beachy waves when you want a relaxed, romantic look that still feels effortless and polished.
First, spritz damp hair with salt spray and rough-dry.
Wrap sections around a large-barrel curling wand, leaving ends soft.
Finger-comb waves, add a touch of lightweight hairspray, and tuck a few pieces behind one ear.
It holds all day without feeling stiff.
Side-Swept Romantic Curls
Now I’ll show you how to create side-swept romantic curls with simple curling-technique tips that keep the shape soft and long-lasting.
Start by sectioning, curl away from your face in uniform-sized pieces, and pin each curl to cool before brushing out.
Finally, sweep the curls to one side, secure discreetly with pins and a light-hold spray, then check for balance and smooth any flyaways.
Curling Technique Tips
Starting with a clean, dry base makes all the difference, so I always prep hair with a light heat protectant and a spritz of texturizing spray to give curls grip and hold.
I curl away from the face for that soft sweep. Follow this simple rhythm:
- Section small pieces
- Clamp, twist, hold 8–10s
- Release into palm
- Cool before styling
You’ll get repeatable, romantic waves.
Securing and Finishing
Although the curls are in place, I always take a few measured steps to lock in that side-swept look so it lasts through photos and dancing:
first I sweep the hair to the chosen side and pin the hairline sections with small bobby pins placed in a crisscross for grip, then I tuck or twist the remaining curls at the nape and secure them with a couple more pins hidden under the volume, checking that no pins show and that the weight feels balanced.
Finally I mist lightly with flexible-hold spray and let the pieces settle before doing a quick mirror check and a gentle finger-comb to keep the waves soft and romantic.
Simple Knotted Updo
When I show you a simple knotted updo, I mean a look that’s elegant without being precious — tie a few sections, twist them into a knot, pin, and you’re done.
I walk you through quick steps, keeping it relaxed and secure.
- Section
- Twist
- Knot
- Pin
Finish with flexible hairspray and a few loose tendrils for softness.
Low Bun With a Twist
First, I’ll show you how to prep and section the hair so the style holds and looks neat.
Then I’ll walk you step by step through creating the twisted low bun—twists, pinning, and finishing touches. Stick with me and you’ll have an elegant, low-effort look that stays put all day.
Prep and Sectioning
Before we start twisting and pinning, I’ll walk you through prepping and sectioning so the low bun lays smoothly and lasts all day.
I’ll keep it simple: detangle, add texture, and divide for control.
Follow these steps:
- Brush gently.
- Apply light texturizer.
- Create a deep side part.
- Clip crown and nape separately.
Now you’re set to move into styling.
Twisted Low Bun Steps
Now that your hair’s prepped and sectioned, I’ll show you how to shape the low bun with a twist so it looks polished but still relaxed.
First, gather nape hair and twist toward one side. Secure twist with a hair elastic, then coil into a low bun and pin.
Release face‑framing pieces, loosen for softness, mist with light-hold spray, and adjust until you love it.
Textured Low Pony With Accessories
With a few simple steps and the right little extras, I can help you create a textured low pony that feels both effortless and polished for your wedding day.
I’ll guide you simply: prep texture, tease crown, secure low, and add accessories.
- Sea salt spray
- Gentle backcombing
- Low elastic placement
- Decorative comb or ribbon — subtle, secure, and bridal-ready.
Easy Fishtail Accent Braid
I often start by sectioning off a small slice of hair from one side and showing you how a simple fishtail can lift a look without fuss;
I’ll walk you through splitting that slice into two thin strands, crossing tiny pieces over from each side, and keeping the tension gentle so the braid reads soft and bridal.
Pin it near your ear, loosen a few face-framing bits, and mist.
Volume-Boosting Root Lift and Tuck
Because a little lift at the roots can change the whole silhouette, I start by teasing a narrow section at the crown with short, deliberate strokes, then smooth the top layer so it looks polished rather than frizzy.
I then:
- Spray lightly at roots.
- Tuck ends under the teased section.
- Secure with hidden pins.
- Smooth and set with hairspray.
Half-Up Braid With Floral Pins
For a romantic, fuss-free look that still feels special, I start by gathering the top sections from each temple and clip them out of the way so I can focus on a neat braid.
Then I create a loose three-strand braid across the crown, secure with a clear elastic, tug gently for softness, and tuck small floral pins along the braid for charm.
Quick Vintage-Inspired Roll
If you loved the soft, floral feel of that half-up braid, try a quick vintage-inspired roll next — it gives the same romantic vibe but with a touch of old-Hollywood polish.
I’ll walk you through it simply:
- Smooth hair back.
- Create a low roll.
- Tuck ends inside.
- Pin and set.
It’s elegant, fast, and beginner-friendly.
Tousled Top Knot
I often reach for a tousled top knot when I want a relaxed, bridal look that still feels polished; it’s quick, forgiving, and works with most hair types.
I start with textured spray, gather hair high, twist loosely and secure with an elastic.
Pull pieces free to soften, pin stray bits, and finish with light-hold hairspray.
It’s effortless and photo-friendly.
Wrapped Low Pony With Ribbon
After a relaxed top knot, I like switching to a wrapped low pony with ribbon when I want something softer and a bit more romantic.
I walk you through simple steps and quick tips:
- Gather hair low at nape.
- Secure with elastic.
- Wrap a hair section around elastic.
- Tie ribbon and let tails flow.
It’s effortless, polished, and easy to personalize.
I’ve shared simple styles you can totally master — and you don’t need hours or a pro. Fun fact: 72% of brides say they’d choose comfort over complexity on the big day, so simpler looks are actually smart choices.
Start with one easy style, practice twice before the wedding, and keep a few bobby pins and hairspray handy. You’ll look gorgeous, feel comfortable, and enjoy the day without stressing every strand.