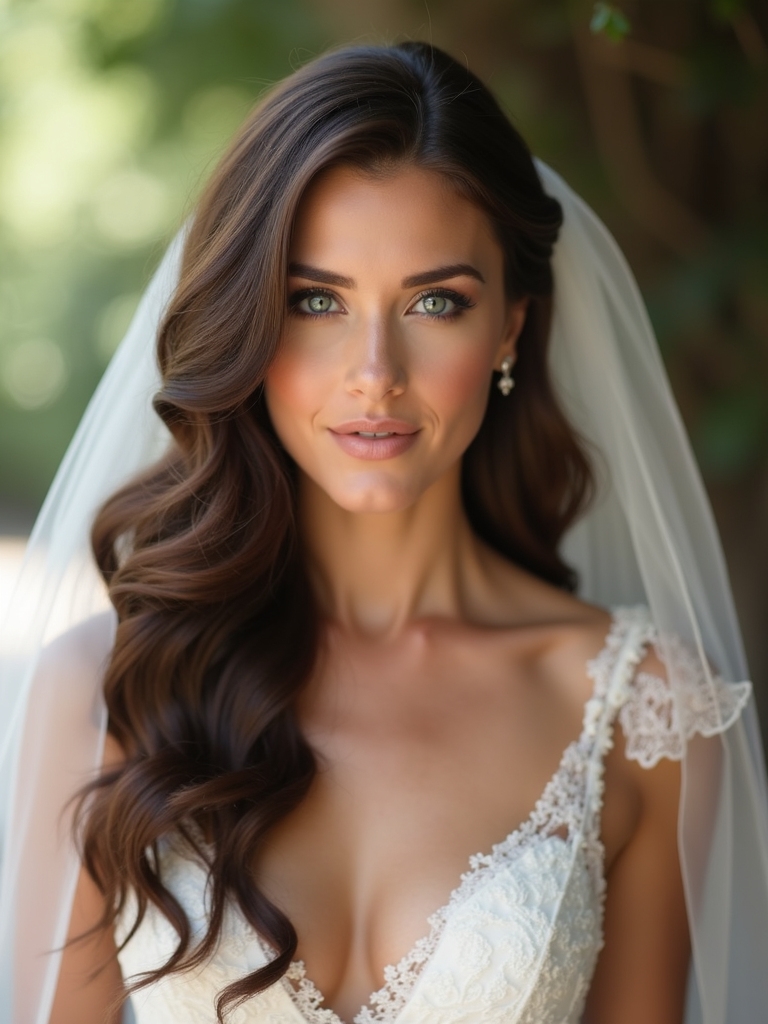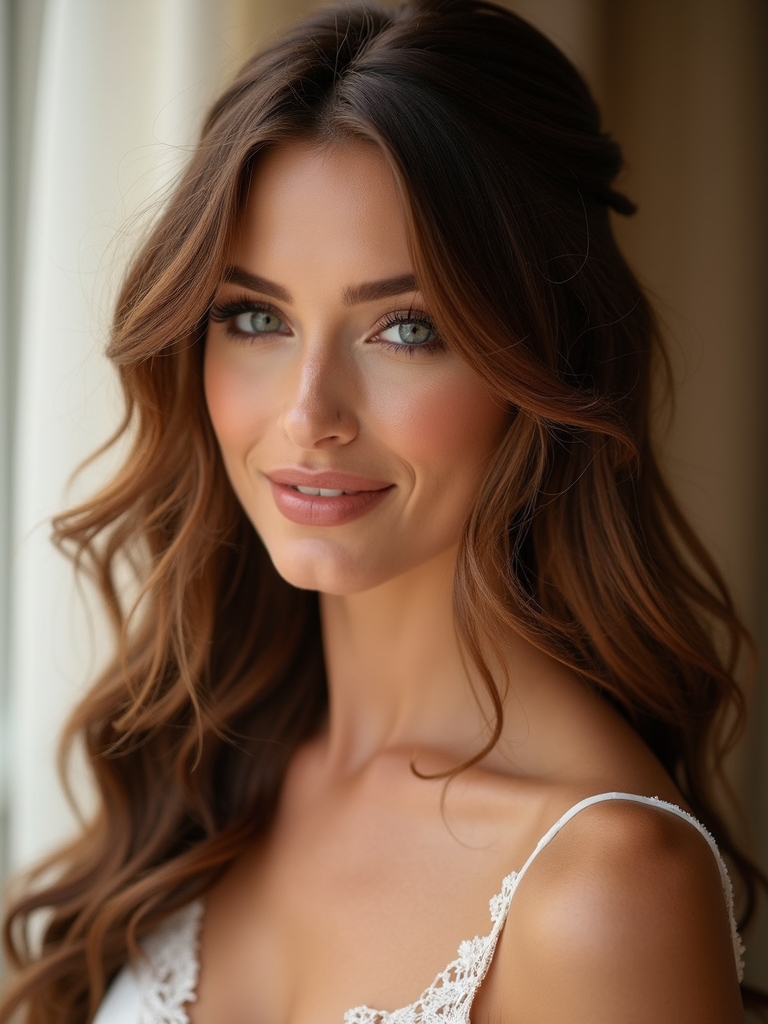
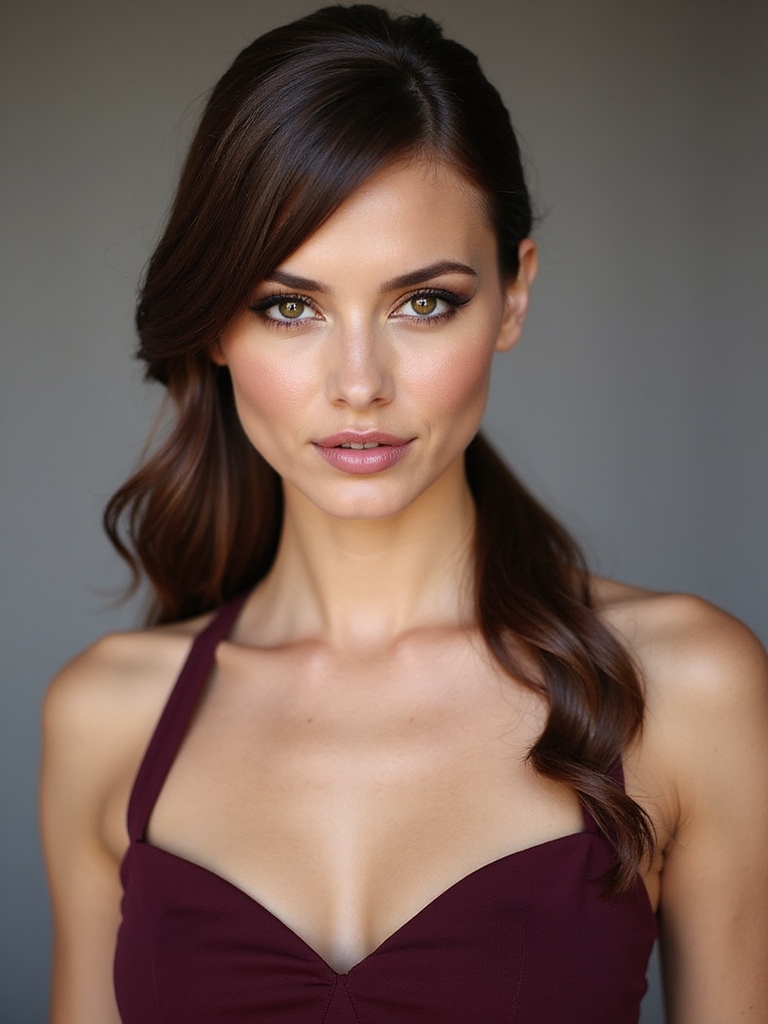
I’ve got your back with fast wedding-guest hair that looks intentional, not rushed: a polished low bun or braided low bun, sleek mid-height ponytail with a wrapped strand, textured messy bun, twisted half-up, or quick beachy waves you scrunch and mist. Want more polish?
Try a clip-back or low knot with a silk scarf and a quick voluminous blowout. These take five–15 minutes and stay put through vows and dancing—keep going and I’ll share how to prep and secure each.
Quick Polished Low Bun
If you’re pressed for time but still want to look pulled together, I reach for a quick polished low bun every time.
I smooth hair back, secure a low pony, twist and coil into a neat bun, then pin. A dab of hairspray tames flyaways and a decorative pin or ribbon adds instant elegance—minimal effort, maximum polished impact.
Wedding buns can be styled to stay flawless all night with the right pins and prep, so they work for both ceremony and reception long-lasting hold.
Effortless Beachy Waves
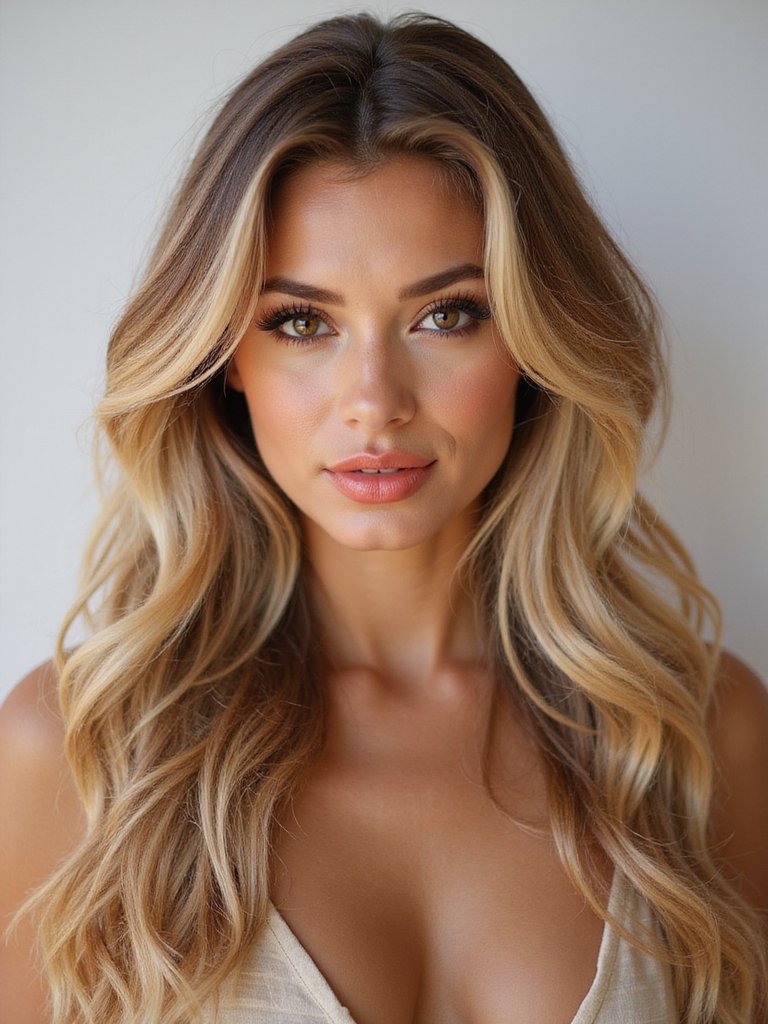
I love a beachy-wave look because you can get soft, undone texture without spending hours at the mirror. I’ll show a quick heatless method, share tousled texture tips like where to scrunch and which products to use, and explain easy ways to secure waves so they last through vows and dancing without any fuss.
Stick with me and you’ll have that relaxed, wedding-ready finish in minutes. Beachy waves are especially resilient when styled with products that help them withstand salt, sand, and wind.
Quick Heatless Method
Usually I reach for a simple heatless trick when I want effortless beachy waves that look like I spent an afternoon by the sea without any heat damage.
I twist damp hair into loose buns, spritz a salt‑spray, then sleep.
In the morning I undo the twists, finger‑comb, and set with a light mist.
It’s quick, low‑effort, and wedding‑ready.
Many wedding guests prefer styles you can do yourself, like heatless waves, because they’re effortless to recreate and damage‑free.
Tousled Texture Tips
Often I reach for tousled texture when I want waves that feel lived‑in and effortless for a wedding—think soft, piecey strands rather than perfect curls.
I spritz salt spray on damp hair, scrunch, and blow‑dry with a diffuser or air‑dry for texture.
Then I finger‑comb a few loose bends with a curling wand, rough them up, and finish with light hairspray for natural hold.
Ponytails are an easy go-to that guests often request from stylists for a polished yet relaxed look, especially when you want a quick style like an effortless ponytail.
Securing Without Fuss
When I want beachy waves that last through vows and dancing, I focus on simple strategies that lock in texture without fuss.
I spritz salt spray on damp hair, rough-dry with fingers, and twist sections into loose buns to cool.
A light mist of flexible-hold spray and strategically placed bobby pins tame flyaways without stiffness, so my waves stay natural and ready for celebration.
For a look that moves beautifully while you dance, I often choose styles that are flowing down to keep movement effortless.
Sleek Mid-Height Ponytail
I love a sleek mid-height ponytail for weddings because it feels polished without trying too hard, and I can show off statement earrings or a detailed neckline.
I smooth hair with a light serum, secure with a snag-free elastic, and wrap a strand around the base to hide it.
It stays neat, quick to do, and flatters most face shapes—perfect when I’m short on time.
Ponytail wedding hairstyles are timeless and can be styled in many ways to look sleek and chic for any bridal event.
Textured Messy Bun
If you want something a bit more relaxed than a sleek ponytail, I reach for a textured messy bun that still looks intentional and wedding-ready.
I tease, twist, and pin loose sections, letting a few face-framing strands fall. I love how effortless it feels and how polished it reads. Try this to feel confident fast:
- Tease crown
- Twist loosely
- Pin and pull gently
For extra staying power, finish with a spritz of hairspray to ensure the updo lasts through dancing.
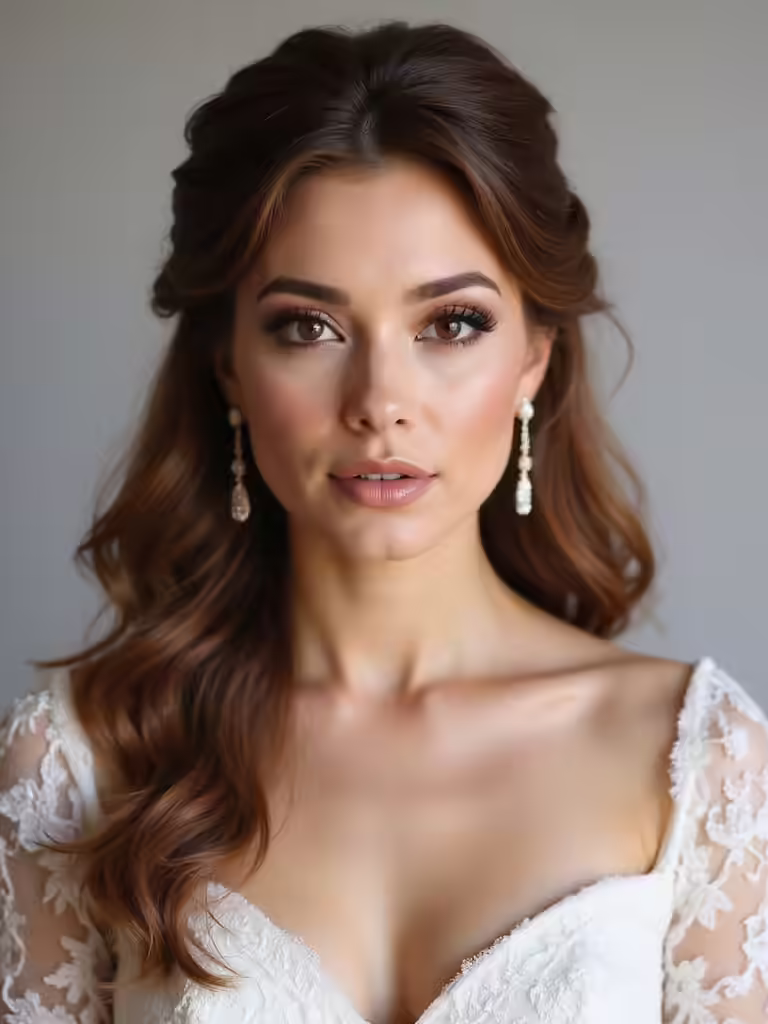
Twisted Half-Up Half-Down
For a look that’s effortlessly romantic, I pull back two small sections from each side, give them a quick twist, and secure them at the back so the rest can flow free.
It’s fast, holds well with a couple bobby pins, and works on second-day hair.
I loosen a few face-framing pieces for softness and mist with flexible-hold spray to keep everything in place.
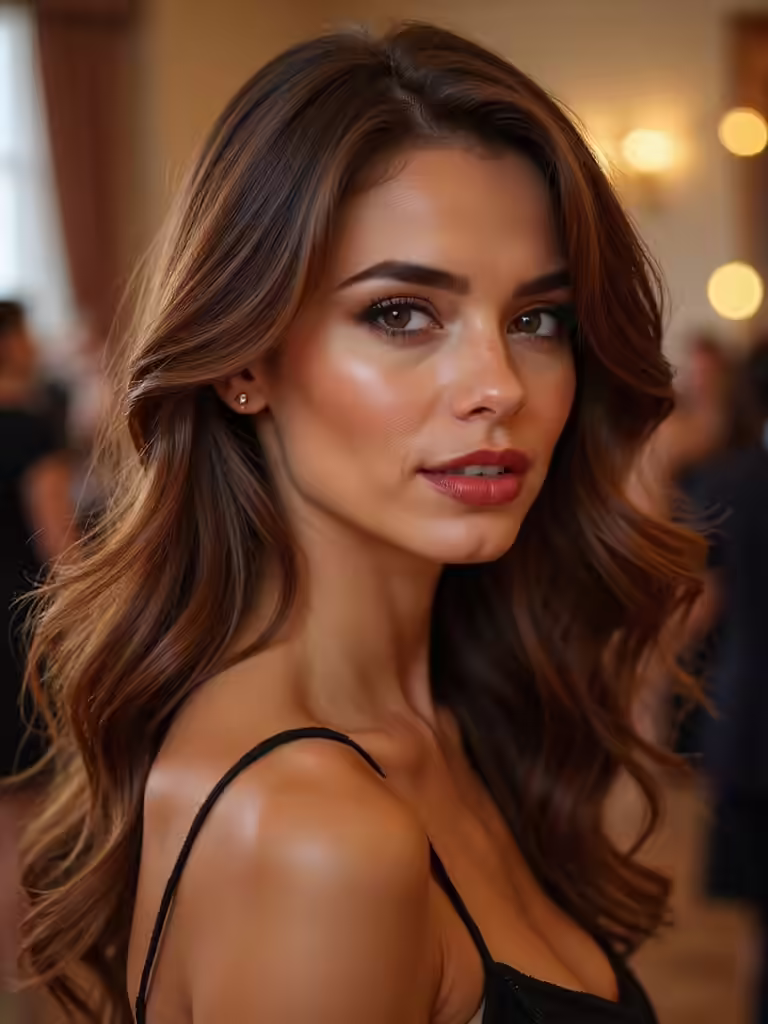
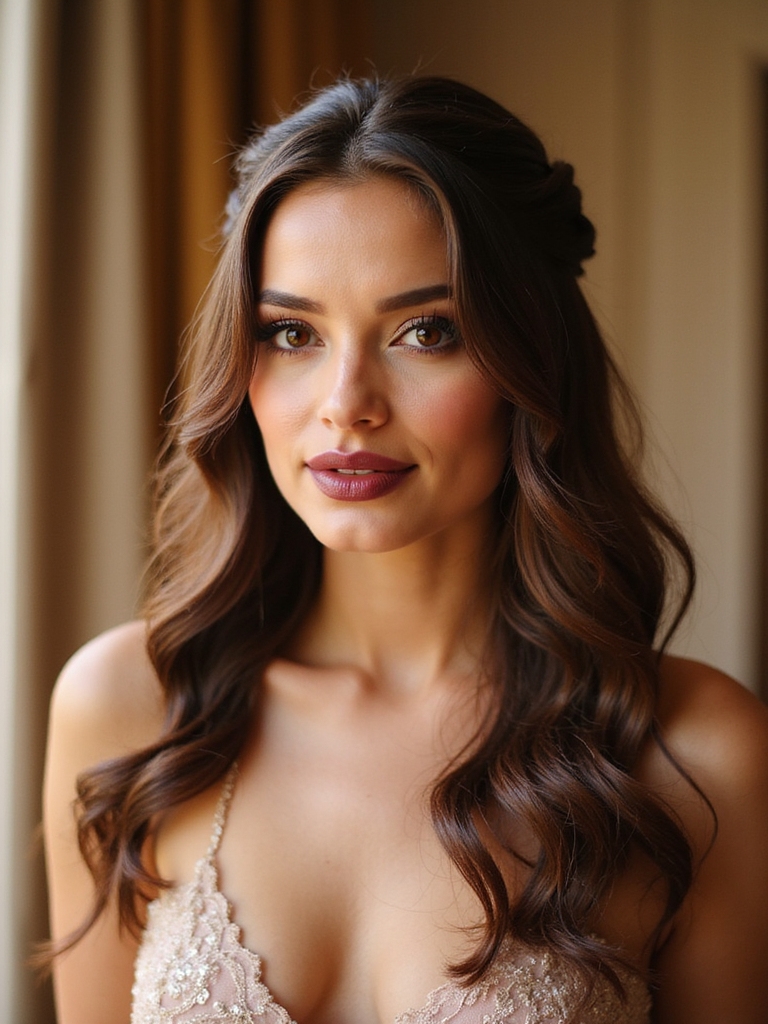
Simple Side-Swept Curls
Often I sweep my hair to one side and curl away — it instantly feels polished without being overdone.
I love how quick it is: heat, curl, sweep. It flatters faces and stays soft all evening. Try this:
- Loose waves for romance
- One clip to secure
- Hairspray for hold
You’ll look effortless and ready to celebrate.
Braided Crown for Short Hair
Braided crowns work beautifully on short hair, and I’ll show you how to get that polished, festival-ready look without extensions.
I start by parting, then French-braid along the hairline on each side, tucking ends discreetly with bobby pins.
Add light texturizing spray for grip and loosen the braid for softness.
It’s quick, tidy, and stays put through toasts and dancing.
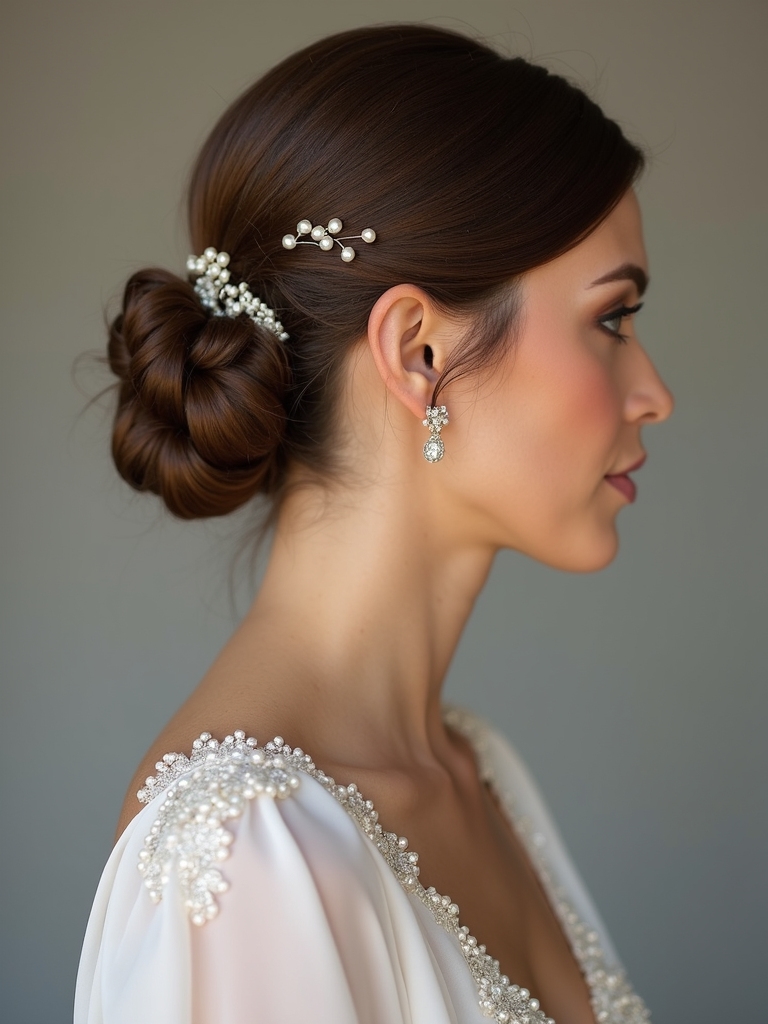
Low Chignon With Hairpin
I love a low chignon because it looks elegant but is really simple if you prep the hair for texture first.
I’ll walk you through twisting the nape section into a neat roll and showing where to tuck it so it sits smoothly.
Then we’ll secure everything with a hairpin so it stays put all night without feeling stiff.
Prep and Texture
Curious how to make a low chignon look effortlessly polished? I prep by adding texture and grip so the hair stays soft but secure.
Try this quick routine:
- Spray sea-salt mist for hold and movement.
- Rough-dry with fingers to boost body.
- Smooth flyaways with a pea-sized cream, leaving natural shine.
You’ll create a chic base for the hairpin detail.
Twisting the Nape
Start by gathering the hair at the nape and twisting it away from your face, keeping the twist snug but not so tight it feels stiff — you want movement with control.
I let the ends coil gently into a low chignon, tucking stray pieces for softness. If a tendril falls, I smooth it with my fingers for a lived-in, elegant finish that’s effortlessly wedding-ready.
Securing With Pin
Reach for a sturdy hairpin and position it where the twist meets the chignon so you’ll lock the shape without fuss.
I tuck stray pieces, slide the pin through the coil, then test the hold. It’s fast, reliable, and feels elegant.
- Relief: instant confidence
- Joy: effortless polish
- Ease: lasts all night
Sleek Straight With Deep Side Part
I love how a sleek, straight style with a deep side part instantly feels polished without fuss; I’ll walk you through why it works for so many wedding looks and how to get it smooth, shiny, and long-lasting.
Start with heat protectant, blow dry straight, then flat iron in small sections.
Finish with serum on ends and a light-hold spray to tame flyaways.
Loose Fishtail Ponytail
I love this loose fishtail ponytail for weddings because it gives you a polished yet slightly undone look that’s effortless.
I’ll show a quick braid technique that speeds up the fishtail so you don’t spend ages on it.
With a few pulled pieces and a smoothing spray you’ll have a chic finish that still feels relaxed.
Quick Braid Technique
Try a loose fishtail ponytail when you want a chic braid that comes together fast and still looks effortless. I grab hair low, split, and cross thin sections—no perfection needed.
I secure with an elastic, tug for softness, and let face-framing pieces fall. Try this:
- Breathe: it’s simple
- Smile: you’re party-ready
- Enjoy: you saved time
Polished Undone Finish
When I want a polished undone finish, I loosen the fishtail ponytail so it reads chic instead of overly styled. I pull strands gently to soften it, tease the crown for lift, and wrap a hair strand around the elastic to hide it.
A light mist of flexible-hold spray keeps movement, while face-framing pieces stay natural—effortless, wedding-ready, and fast.
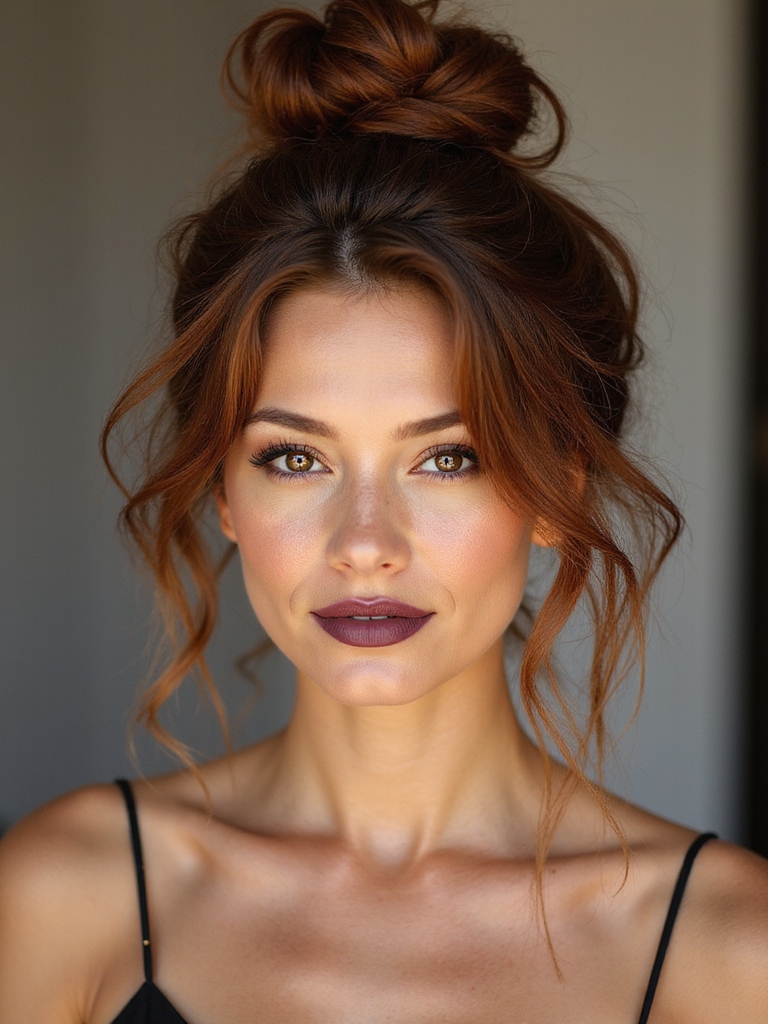
Soft Top Knot With Face-Framing Pieces
I often reach for a soft top knot with face-framing pieces when I want a polished look that still feels relaxed and easy to wear.
It’s fast, flattering, and forgiving—perfect for last-minute glam. Try these quick steps to feel confident:
- Loosen strands for softness.
- Secure a relaxed knot.
- Pull face-framing pieces and tousle gently.
Accessorized Clip Back
I love how a simple clip can transform a look, so I’ll show you quick clip placement that keeps hair secure without weighing it down.
I’ll share easy accessory-styling tips—like mixing textures and placing clips for balance—so your piece looks intentional, not fussy.
With a few practical tweaks you’ll have a polished clip-back that stays comfy all day.
Quick Clip Placement
Let’s tuck a pretty clip in and call it a day — an accessorized clip back is the fastest way I make hair wedding-ready without fuss.
I slip hair back, secure where it feels balanced, and smooth flyaways.
Quick steps that feel satisfying:
- Gather a small section behind one ear.
- Clip near the crown for lift.
- Tuck ends for polish.
Accessory Styling Tips
When I grab a pretty clip, I treat it like the finishing touch that pulls the whole look together—simple but intentional.
I place it where it balances your face and outfit: above one ear for asymmetric glam, at the crown to hide bobby pins, or on a low twist for elegance.
Choose a metallic or embellished clip to elevate a quick style instantly.
Quick Voluminous Blowout
I usually reach for a quick voluminous blowout when I’m short on time but still want a polished, wedding-ready look.
I rough-dry for lift, smooth with a round brush, and finish with a few sprays.
Try this emotional checklist:
- Confidence — you feel put together.
- Joy — bouncy hair lifts the mood.
- Ease — looks groomed without fuss.
Low Knot With Scarf Tie
On days I want something chic but effortless, I pull my hair into a low knot and add a silk scarf for an instant upgrade.
I twist hair loosely at the nape, secure with pins, then wrap the scarf once and knot it to hide ends. It’s comfy, stays put through dancing, and looks polished without needing a mirror or fuss.
Braided Low Bun
Try a braided low bun for a look that feels romantic but actually stands up to a long reception. I braid a loose three-strand, wrap it into a low bun, and pin. It’s quick, elegant, and stays put.
- Effortless confidence
- Soft, romantic shape
- Lasts all night
You’ll get compliments without fussing.
I’ve tried every one of these looks when I’ve sprinted out the door to a wedding, and they really save the day. For example, last month I turned up late to my friend’s backyard ceremony, tossed my hair into a textured messy bun, clipped on a vintage barrette, and felt instantly put together.
Try one of these styles—you’ll leave feeling calm, chic, and ready to enjoy the celebration without sacrificing style.