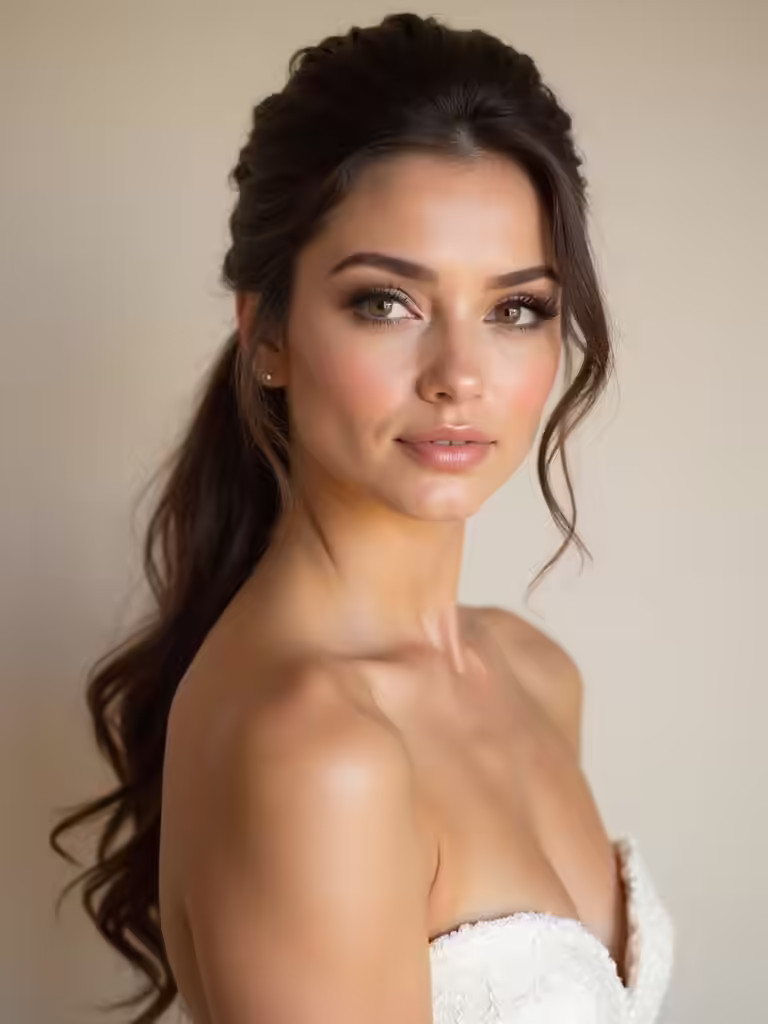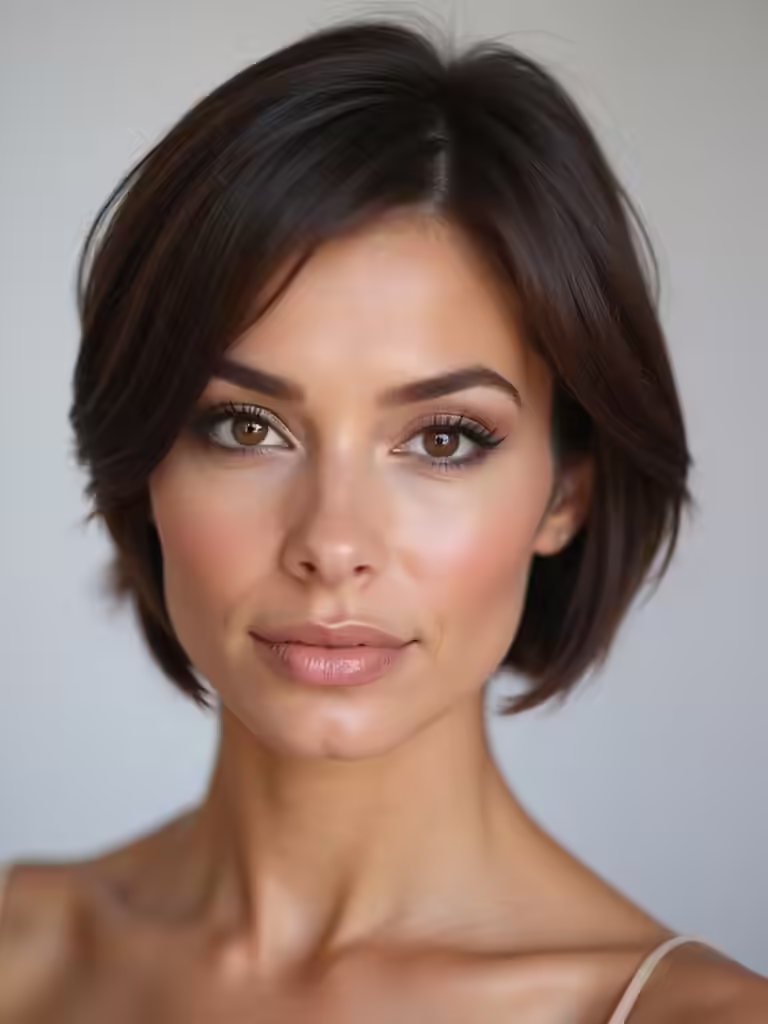
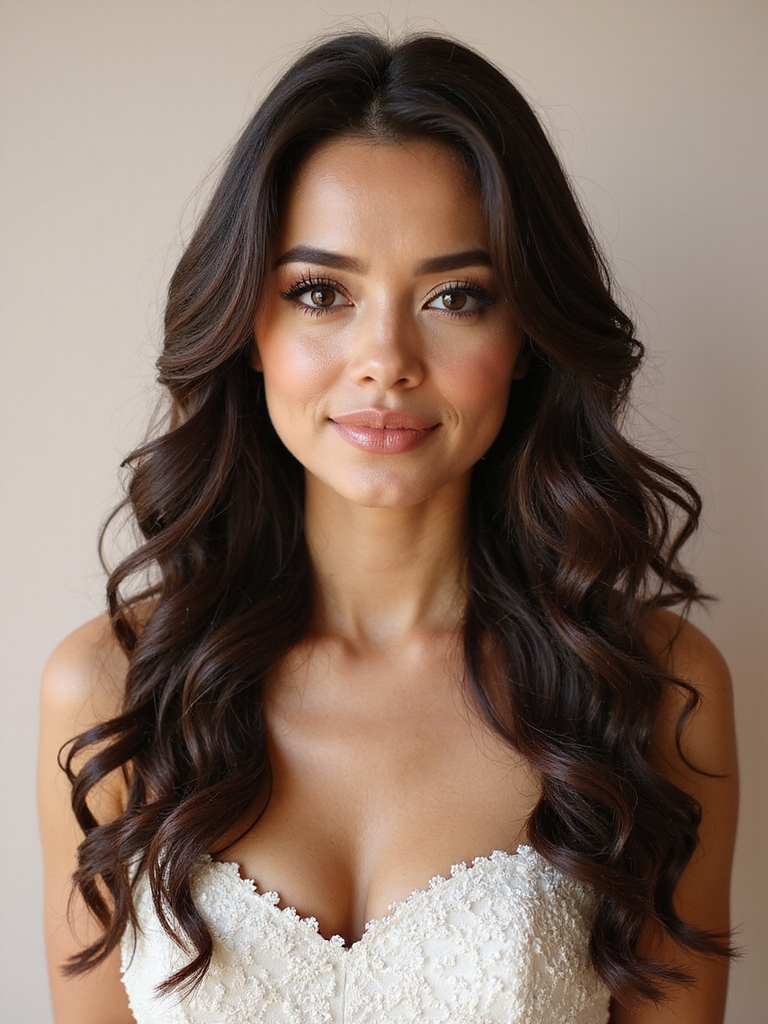
I’ve got you covered with gorgeous wedding guest styles for long hair. You can master polished waves with a quick curling wand or try heatless overnight twists. Elegant low buns and braided updos add sophistication, while half-up styles with a decorative clip are effortlessly chic. I’ll show you how to secure your look and even add sparkly hair jewelry for that perfect finish. Let me guide you to your favorite look in no time.
Choosing Your Perfect Wedding Guest Hairstyle
How do you pick just one wedding guest hairstyle when you have long hair?
I start by checking the wedding’s vibe. Is it formal, garden party, or beach casual?
Next, I consider my outfit’s neckline and details. A sleek ponytail might suit a structured dress, while soft, face-framing braids could complement a romantic look.
My final rule is ensuring it feels secure and looks polished for hours of celebrating. Additionally, elegant half up half down styles can provide a beautiful balance of sophistication and ease for any occasion.
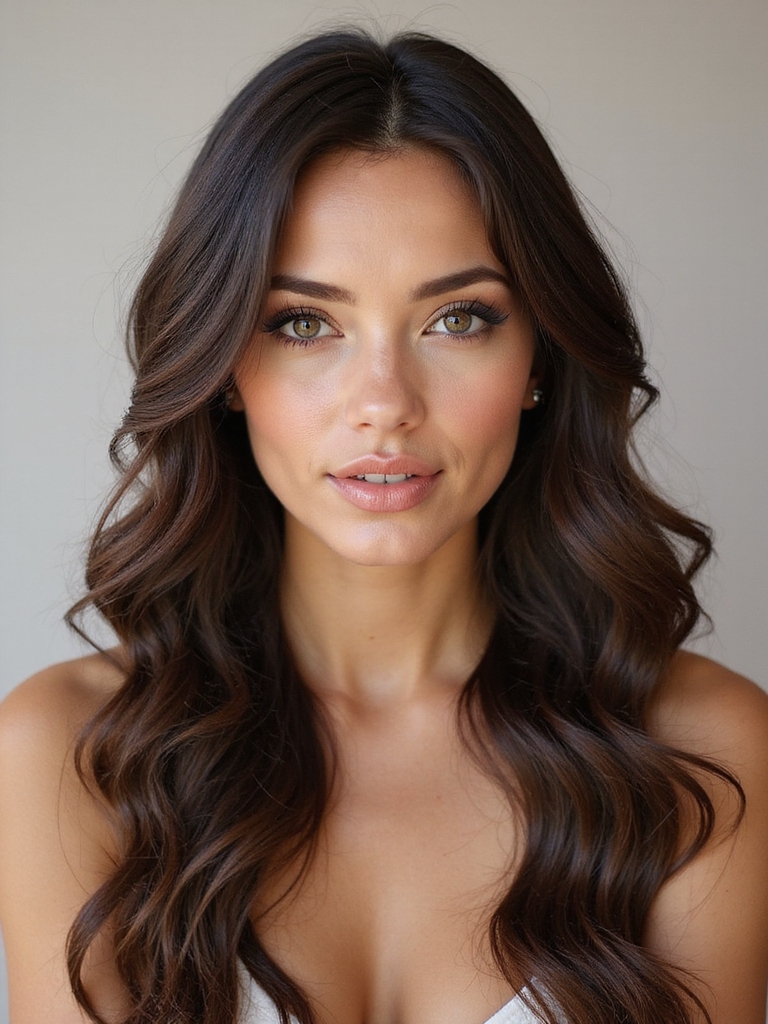
5-Minute Polished Waves Using a Curling Wand
While picking a style that works with your dress is smart, I often opt for polished waves for a quick but glamorous look. My curling wand is the secret! Here’s my rapid routine:
- Prep dry hair with a heat protectant.
- Wrap 2-inch sections around the wand, leaving ends out.
- Gently break up the curls with your fingers.
- Finish with a light-hold hairspray for lasting shape.
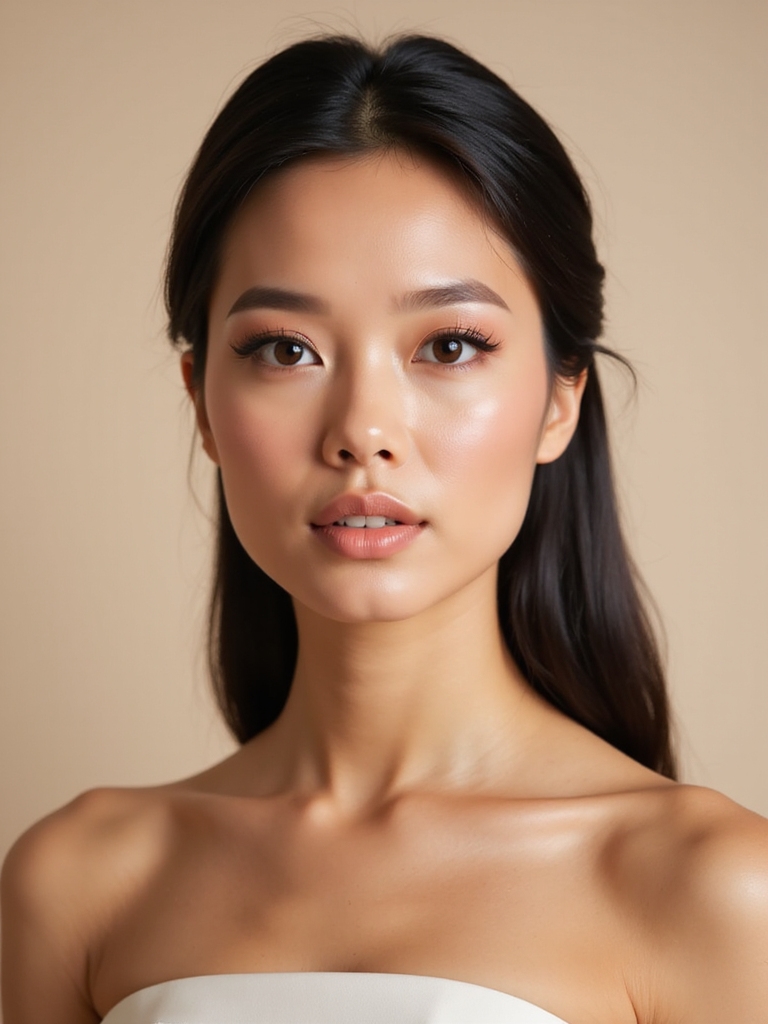
For a sleek finish that complements your overall bridal vibe, consider sleek straight hairstyles.
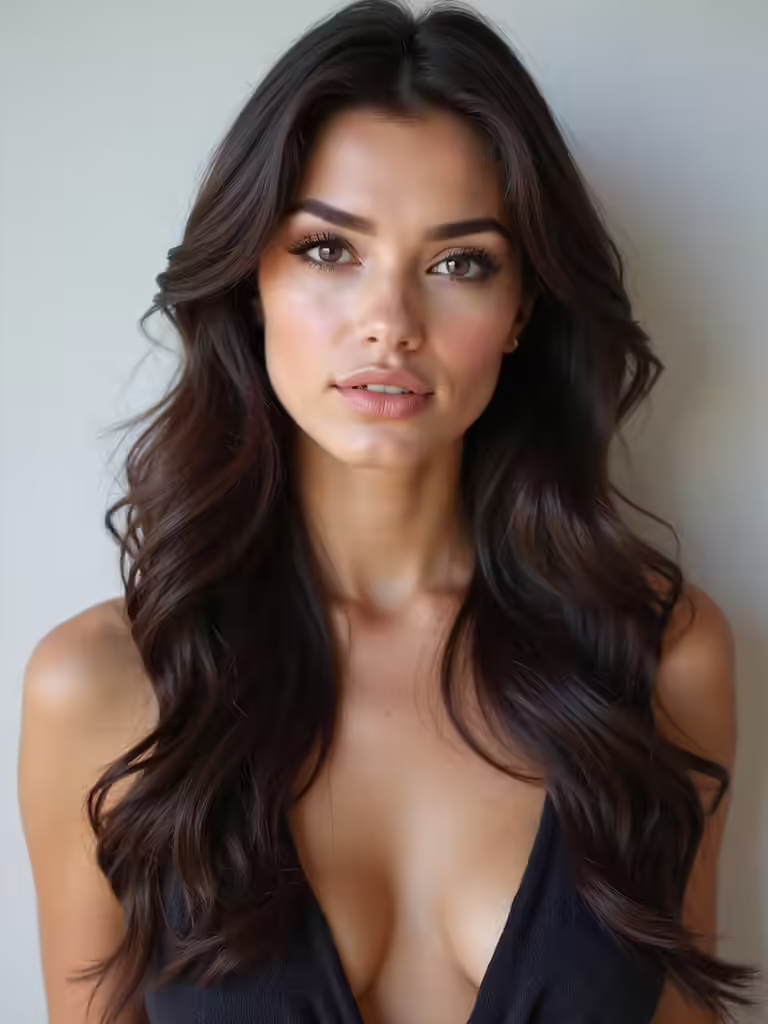
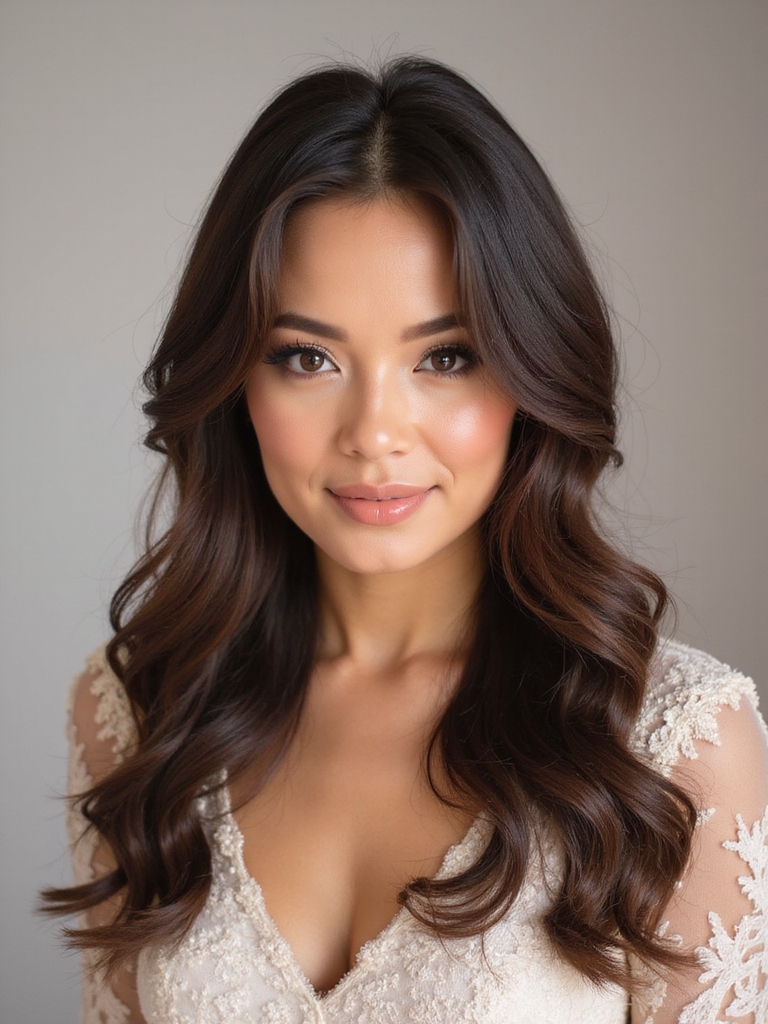
Easy, Heatless Overnight Waves
If you’d rather skip the curling iron, I’ve got the easiest method for you.
I love this four-step setup because you just do it before bed. You’ll wake up with perfect beachy waves, and I promise they’re totally worth the wait. Plus, these waves are a great option for effortless wedding guest hairstyles that you can easily create yourself.
Easy Four-Step Setup
One technique I love for getting beautiful waves without any heat is this easy four-step setup. It works while you sleep!
- Part damp hair into two sections.
- Twist each side tightly from roots to ends.
- Wrap each twist into a secure bun.
- Sleep on it and let your hair dry overnight.
In the morning, you just unravel everything for soft, textured waves. This method is great for achieving heatless bridal hairstyles that look effortlessly chic.
Perfect Beachy Results
That simple overnight method creates great waves, but I’ve found a way to make them look even more relaxed and beachy.
Once you take the braids out, just run your fingers through your hair instead of brushing it.
Then, I give it a light mist with a texturizing spray and scrunch the waves a little.
This breaks them up perfectly for that effortless, “just-from-the-shore” texture that’s absolutely ideal.
Master the Sleek, Low Ponytail
Let’s get that chic, polished look!
I’ll start by showing you how to prep your hair to eliminate any frizz.
Next, I’ll explain the trick for securing a perfectly smooth ponytail.
Finally, we’ll add those finishing touches that make it wedding-ready.
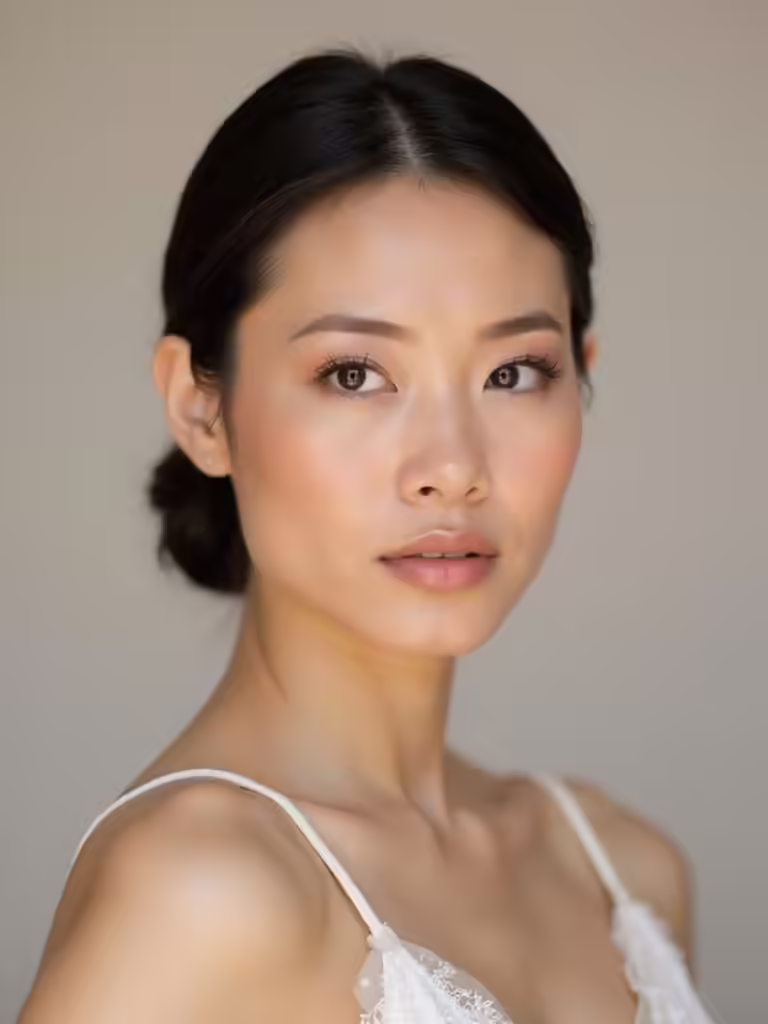
Prep Your Hair First
Before you can create a masterpiece, you need a flawless canvas, so I always start my wedding guest style by mastering the sleek, low ponytail.
Prepping is the secret! I follow a simple ritual:
- Wash and condition my hair the night before.
- Apply a smoothing cream to damp strands.
- Blow-dry thoroughly with a round brush.
- Run a flat iron over any remaining frizz.
This gives me that perfect, polished base. Additionally, a well-prepped style can give the illusion of effortlessly luxe elegance, making you look effortlessly expensive.
Smooth And Secure Ponytail
Once I’ve my prepped hair, I gather it all into a smooth, low ponytail at the nape of my neck and secure it tightly with a clear elastic. I smooth any flyaways against my head with a drop of serum on my palms. I then wrap a small section from the ponytail around the base to conceal the band, securing the end underneath with another bobby pin. This style is perfect for achieving that sleek ponytail wedding hairstyle while remaining effortlessly chic.
Add The Final Polishing
Now that my ponytail is set and the band is hidden, it’s time to apply the final touches for a truly polished finish. A little product smooths any flyaways, while these pro details seal the deal.
- Spritz a strong-hold hairspray on a brush to tame wispy bits.
- Wrap a small hair section around the band and pin it underneath.
- Add a glimmering hair accessory for a wedding-ready sparkle.
- Mist lightly all over to lock in the flawless, sleek look.
Additionally, consider incorporating chic ponytail hairstyles that elevate your overall appearance for the event.
A Wrapped Ponytail to Hide Your Elastic
A wrapped ponytail is a fantastic way to dress up your look while cleverly concealing the hair elastic. I simply secure my ponytail, then take a small section of hair from underneath it. I wrap this section around the base to cover the elastic, securing the end with a bobby pin I tuck neatly inside. It instantly looks more polished and elegant, perfect for any wedding celebration. This style is one of the effortless half up half down options that can elevate your overall appearance without taking too much time.
A Romantic Rope Braid Along Your Crown
Because long hair offers so much versatility, I think a romantic rope braid along your crown is a beautiful way to frame your face for a wedding. It’s surprisingly simple. Just grab two sections of hair from your temples. Twist each section outward, then cross and twist them together, working toward your opposite ear. Secure it, and you’ve got instant, effortless romance.
Curly hair can also enhance this style, adding chic half up half down elements for a more textured look.
- Start at your temple
- Twist sections outward
- Cross and twist together
- Secure behind your ear
A Waterfall Braid for Boho Romance
You’ve mastered the crown braid, so let’s flow into another romantic look: a waterfall braid.
It creates a cascading, ethereal effect perfect for boho-chic weddings. I start by taking a top section, braiding it while dropping strands to create the “waterfall,” and continue along my hairline.
It’s surprisingly simple once you get the rhythm, and I secure it gently. This style adds soft, textured romance without much effort, making it a staple in bohemian braided bridesmaid hairstyles.
Soft Fishtail Braid Over the Shoulder
I love a soft fishtail braid over the shoulder because it gives you an effortless yet elegant look that’s perfect for any wedding.
Let me show you my simple step-by-step guide so you can master it quickly.
It’s easier than it looks, and you’ll end up with a beautiful style that lasts.
Step-by-Step Braiding Guide
A soft fishtail braid draped over your shoulder combines elegance with effortlessness, and I’ll show you how to create it.
Start with a low side ponytail. Follow these simple steps for the perfect plait.
- Split the tail into two equal sections.
- Take a tiny outer piece from the right and cross it to the left.
- Take a tiny outer piece from the left and cross it to the right.
- Repeat, gently pulling for a soft, woven look.
Effortless Yet Elegant Look
Now that we grasp how to weave the braid, let’s turn to why it’s such a perfect wedding guest style.
I love that it looks polished without trying too hard. You’ll feel dressed up while keeping a soft, romantic vibe.
It’s secure for dancing, stays out of your face, and complements any outfit beautifully.
This hairstyle truly masters that effortless yet elegant look everyone wants.
Elegant Dutch Braids Into a Low Bun
Creating an intricate yet secure style that lasts through dancing and celebration, elegant Dutch braids woven into a low bun offer stunning, reliable beauty.
I always start by braiding two Dutch braids from my temples down. I then gather all my hair, twist it, and secure it low at my nape, weaving the braid tails right into the bun’s base. It looks polished and feels incredibly secure.
- Start with two Dutch braids from the temples.
- Gather all remaining hair together.
- Twist the hair into a low bun at your nape.
- Incorporate the braid tails neatly into the bun’s base.
The Simple Twist-and-Clip Half-Up Style
When I want a style that’s effortlessly chic without a lot of fuss, I turn to the simple twist-and-clip half-up look.
I just take two front sections, twist them back, and secure them together at my crown with a decorative clip.
It instantly pulls my hair from my face for a polished feel while letting the rest flow freely.
It’s my ultimate quick, pretty fix for any wedding.
The Classic Side-Swept Hair Look
I always love a classic side-swept look for a wedding because it’s effortlessly elegant.
Let’s start by perfecting the side part, which instantly adds a touch of sophistication.
Then, I’ll show you how to gather your long hair into a beautiful, low side bun that truly completes the style.
Perfecting The Side Part
Because you want that elegant but effortless vibe, the classic side-swept look starts with mastering your part.
I find these quick steps lock in that glamorous feel without the fuss.
- Part damp hair for better hold and less frizz.
- Use a rat-tail comb for a perfectly clean, sharp line.
- Follow your natural arch, going from your brow’s peak back.
- Set with a light mist before you start styling.
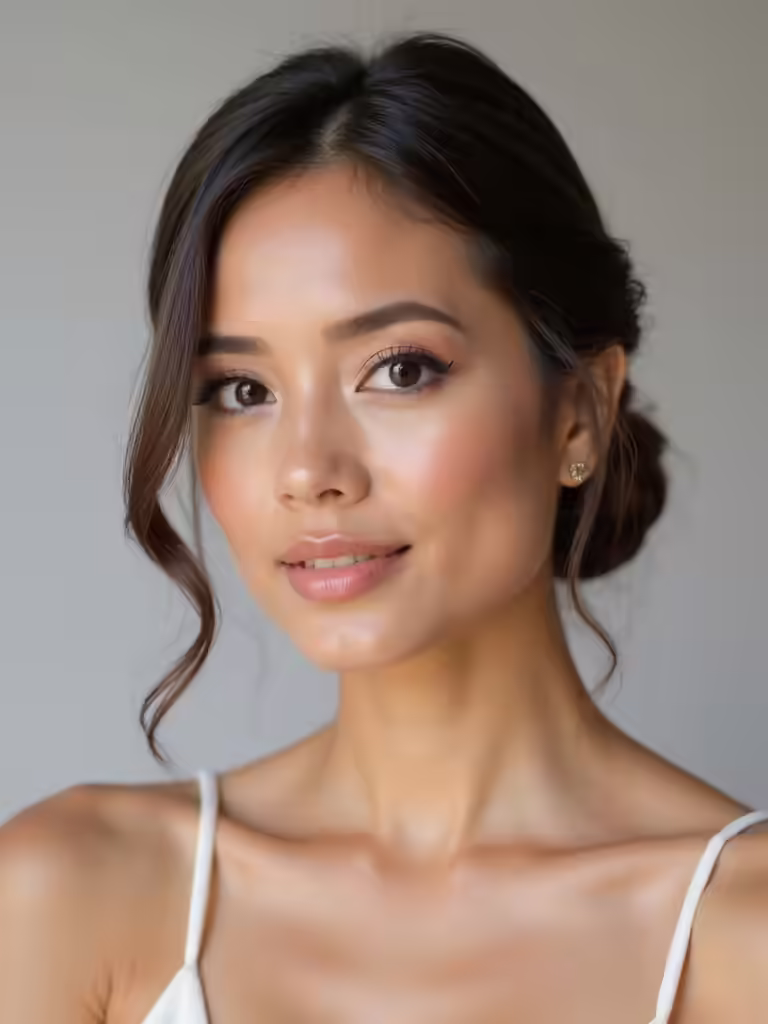
Elegant Low Side Bun
Now let’s build on that sleek side part to create an elegant low side bun.
Gather all your hair to one shoulder and loosely twist it. Wrap the twist into a low, soft knot, securing it with pins.
Don’t pull every strand tight—I like a few face-framing pieces to stay loose.
It’s that simple romantic look that pairs perfectly with statement earrings and feels effortlessly chic all day.
The Messy Bun That Looks Effortlessly Chic
While you might want a style that feels special, a wedding guest hairstyle should let you enjoy the celebration without fuss, and that’s where the chic messy bun shines.
I love it for its laid-back elegance. It’s perfect because:
- You can create it in under five minutes.
- It stays secure through dancing and dinner.
- A few loose strands frame your face beautifully.
- It pairs effortlessly with any outfit.
A Quick, Elegant Low Bun
For an equally polished look that’s just as simple, the low bun is a wonderful alternative to its higher counterpart.
I brush my hair back into a low ponytail and twist it neatly. Then I wrap it around the base and pin it securely. A spritz of shine spray finishes this timeless style.
It’s incredibly elegant for a wedding and keeps my hair off my neck all night.
A Knotted Bun for Modern Texture
If you want more visual interest than a simple twist, I’ll create this knotted bun with modern texture.
It’s all about soft volume and casual polish.
- Start with loosely curled or waved hair.
- Divide your hair into two thick sections.
- Tie them into a loose, oversized knot at your nape.
- Wrap the ends and pin for a perfectly imperfect finish.
It adds effortless dimension in just minutes!
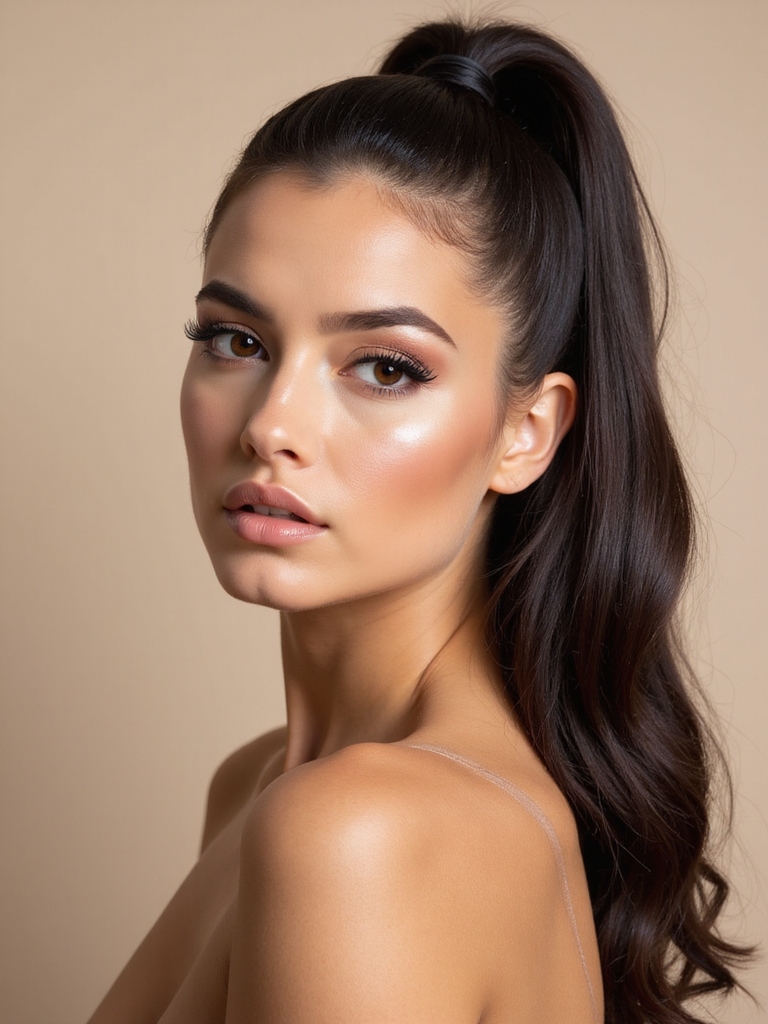
The Ballerina-Inspired Slicked-Back Bun
Achieving a look of elegant control and timeless grace is easy with a ballerina-inspired slicked-back bun.
I start by brushing my hair into a tight, high ponytail. I twist it firmly into a coil and wrap it around the base. I secure everything with pins and a final elastic.
A light-hold hairspray tames any flyaways, giving me that polished, professional finish perfect for a formal celebration.
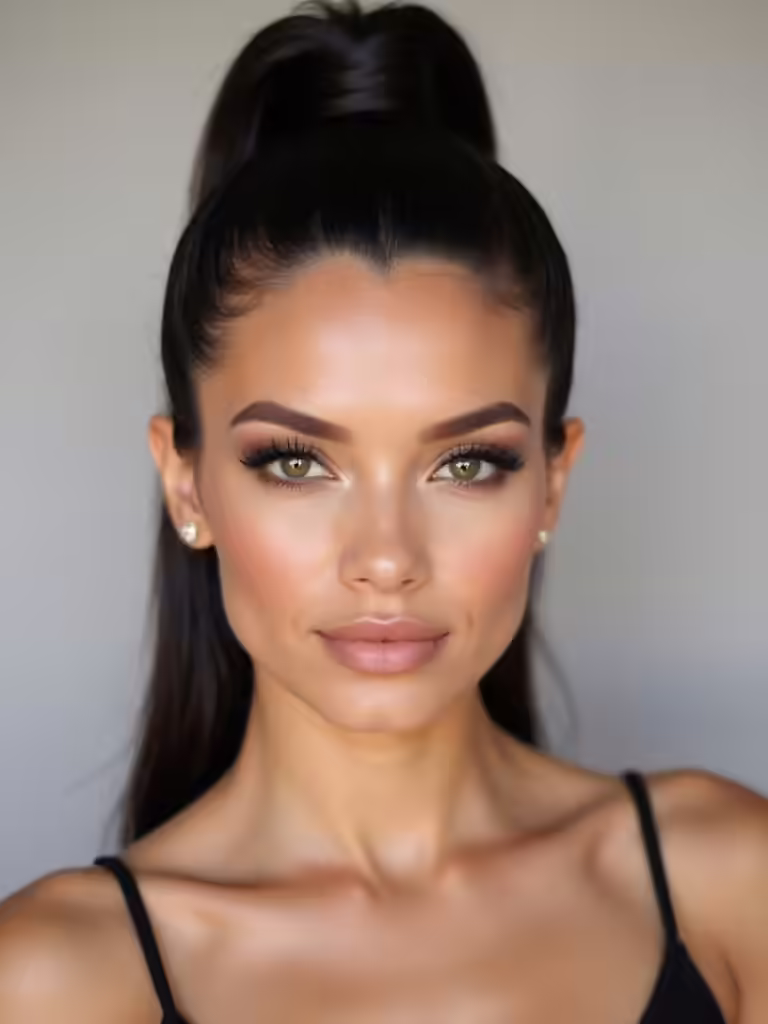
A Voluminous Top Knot for Added Height
First, gather your hair at the crown of your head.
Then, secure the top knot loosely to keep things looking soft.
I’ll show you how to create the final volume and texture so your look is effortlessly chic.
Gather Hair At Crown
Let’s add some serious height by gathering all your hair high on the crown for a voluminous top knot. I’m aiming for a look that’s both elegant and easy. Here’s my quick method:
- Flip your head upside down for maximum volume at the roots.
- Brush all strands smoothly toward your crown.
- Gather with your hands, keeping the placement high and centered.
- Check for symmetry in a mirror before moving on.
Secure The Top Knot
Now, I’ll secure that gathered volume into a top knot.
I twist the entire ponytail once and wrap it around the base to form a bun. Holding it tight, I use a second elastic band to pin it all down.
This creates a stylish, voluminous knot right at my crown, adding that perfect bit of height. It’s already looking polished and ready for the final touches.
Final Volume And Texture
With my top knot secured, I’ll add volume and texture to make this style truly special for the wedding.
The final touch is all about playful details.
- Gently tug on the knot’s sides to loosen and expand it.
- Pull out a few face-framing pieces for a soft effect.
- Spritz texturizing spray at the roots for lasting lift.
- Finish with a light-hold hairspray to lock in the look.
The Twist-and-Pin French Roll
For a wedding guest, the twist-and-pin French roll is one of my go-to styles because it combines classic elegance with surprising simplicity.
I just create a low side ponytail, twist it into a rope, and wrap it into a bun at my nape, securing everything with bobby pins.
It instantly looks polished and holds beautifully all day, which is perfect for celebrating without fuss.
3 Ways to Add Hair Jewelry to Any Hairstyle
Ever wonder how a simple accessory can elevate your entire look? I love weaving hair jewelry into any style for instant glamour. It’s so easy!
- Slide a delicate pin into a sleek ponytail base.
- Tuck a sparkly comb behind your ear in loose waves.
- Wrap a chain headband around a simple low bun.
- Sprinkle in tiny clips along a half-up style for subtle shine.
Dress Up a Simple Braid With Hair Jewelry
Building on that love for sparkle, a simple braid becomes a beautiful focal point when you add a touch of hair jewelry.
I find weaving a delicate chain or clipping a few pins into my braid adds instant polish. You don’t need a complex style. Just secure your basic braid, then tuck in some pretty pieces.
It’s an effortless way to look thoughtfully put-together for any celebration.
Conclusion
With these quick and gorgeous styles, you’re ready to celebrate in style. I know looking great while racing out the door can feel like trying to catch lightning in a bottle, but these tricks really work. Now, go have a fantastic time at the wedding—you’ve totally got this.