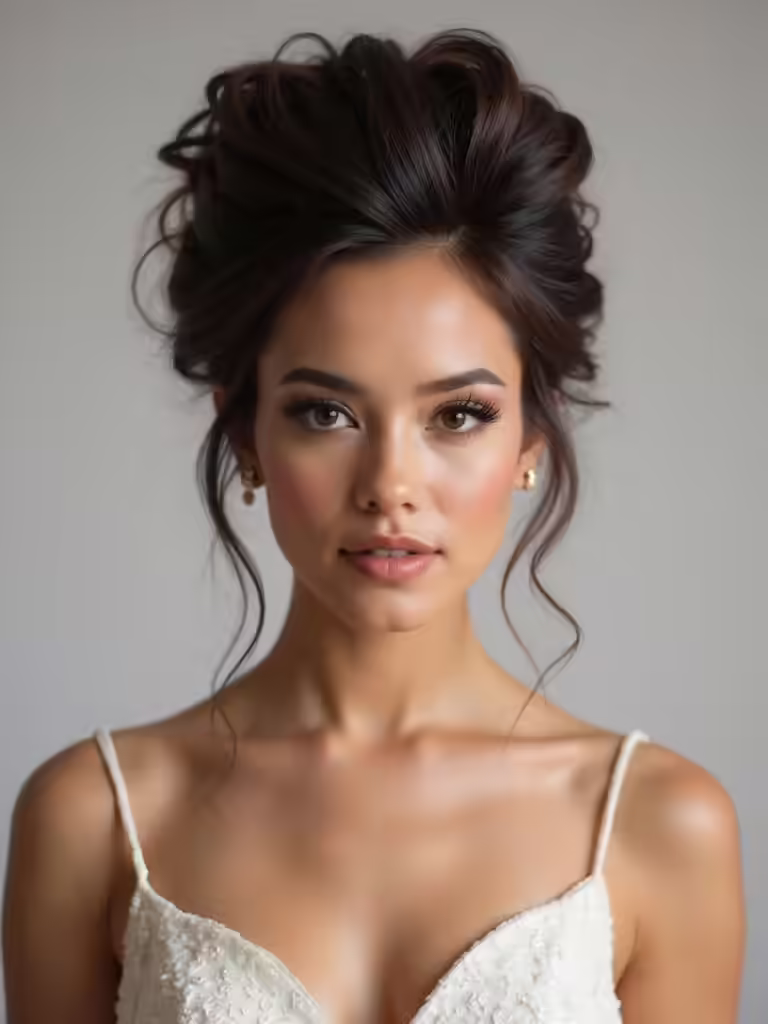
I’ve curated 13 wedding guest hairstyles you can nail in minutes with just a few bobby pins and confidence. Try a low twisted bun, rope braid bun, or high bun for elegance. Add a three‑strand braid or boho crown for texture, go half‑up half‑down for polished charm, or create waves with a large barrel iron. I also love hair loops, side‑swept styles, and fixes for short hair. Stick around and you’ll uncover more easy ideas.
Easy Low Bun Styles for Wedding Guests
Three versatile low bun styles await you when you’re hunting for the perfect wedding guest hairstyle, and I’ve found they work beautifully for nearly any dress code or venue.
First, I recommend the classic twisted low bun—it’s elegant and takes just minutes to create.
Second, the rope braid bun adds texture and visual interest without requiring advanced skills.
Third, the sock bun trick gives you volume and polish in seconds.
Additionally, these styles can easily transition from low key to luxe depending on your accessories or makeup.
Pick one that matches your outfit and you’ll look effortlessly chic.
Simple Braids Any Guest Can Do
If you’re looking to add a touch of romantic charm to your wedding guest look, simple braids are the answer, and I’ve found they work for almost any hair length or texture.
I start with a basic three‑strand braid at the nape, secure it with a clear elastic, and leave a few face‑framing strands loose for softness. This style echoes the beauty of romantic braided wedding hairstyles, making it ideal for any wedding setting.
Half‑Up Half‑Down Looks in Minutes
Half-up half-down styles are my go-to recommendation for wedding guests who want polished elegance without spending hours in front of the mirror.
- Pull back the top section and pin with bobby pins
- Let the bottom layers fall naturally for softness
- Twist a small rope detail for added interest
- Spritz with light-hold hairspray to lock it in
- Add subtle earrings and you’re ready to go
Incorporating stunning half-up half-down wedding hairstyles can elevate your look while maintaining simplicity.
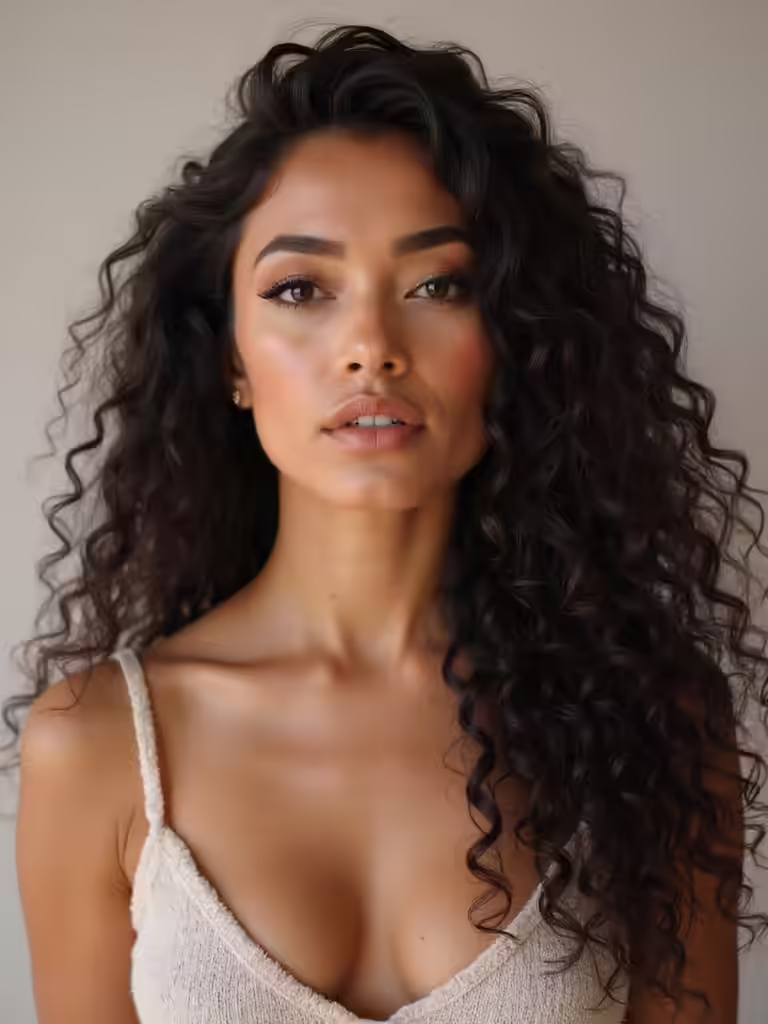
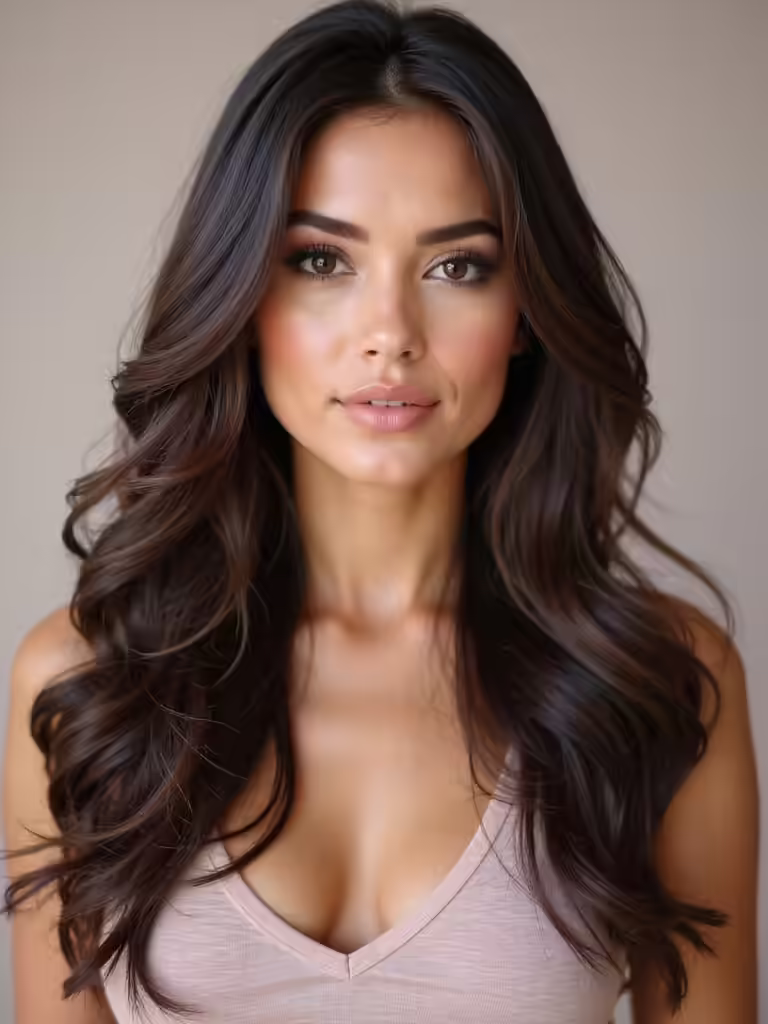
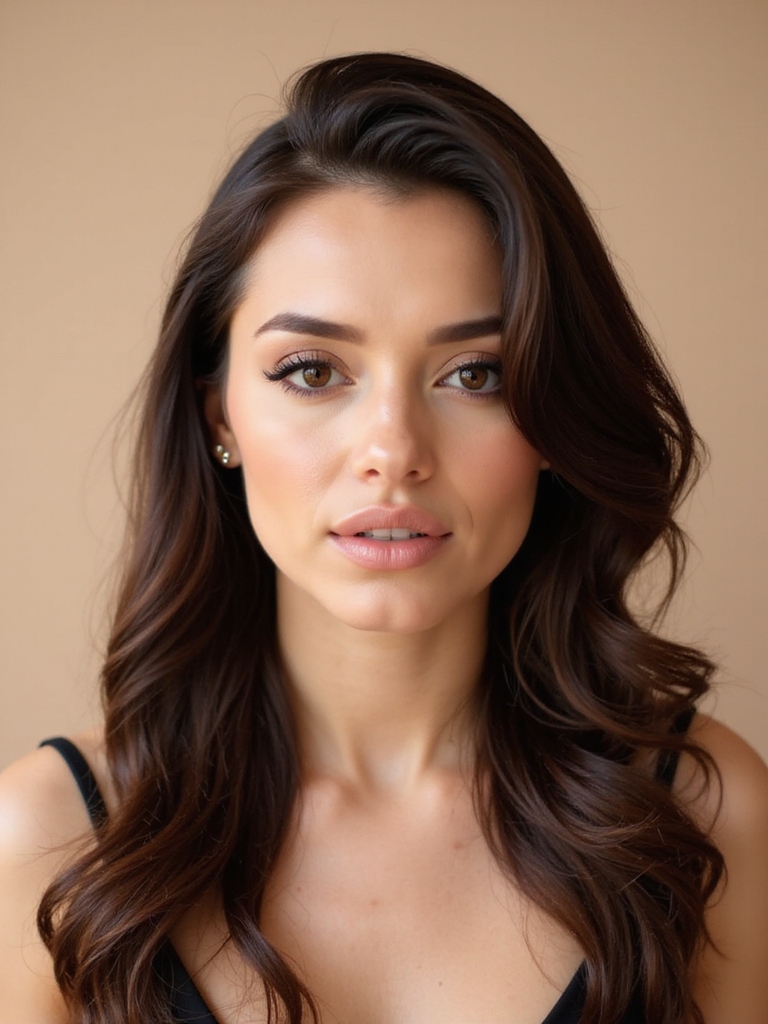
Soft Waves for Long Hair
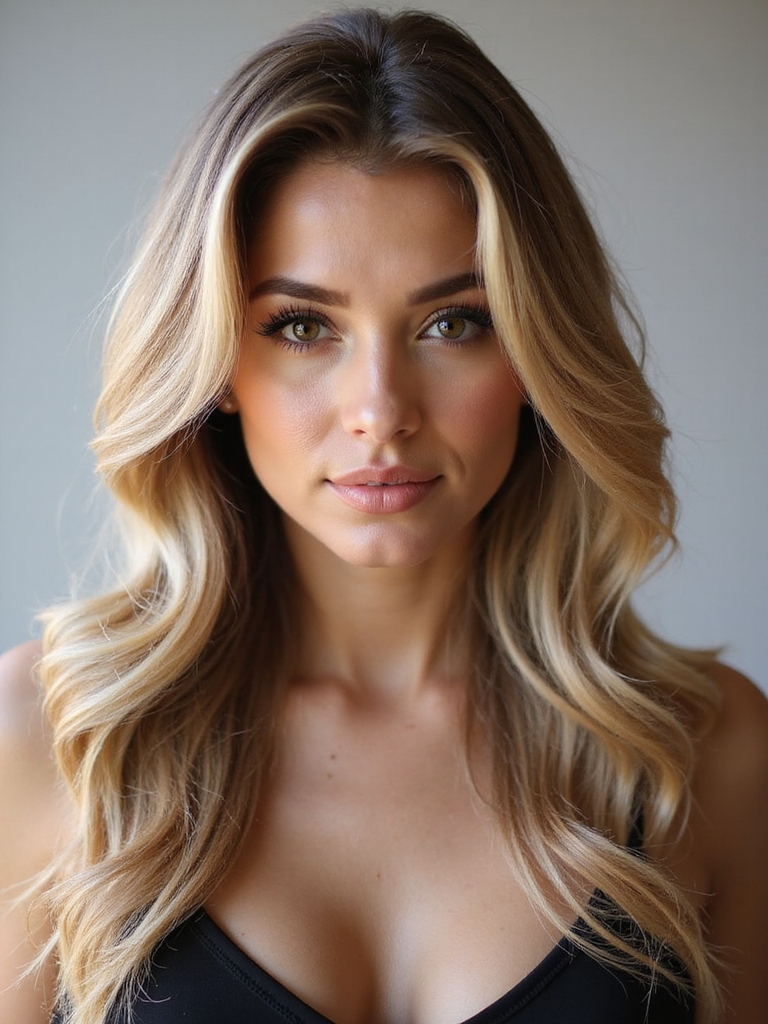
I adore soft waves for long hair because they add a romantic vibe without much effort. Curly hair is often perfect for creating wedding hairstyles that capture attention and elegance. I’m going to show you a quick wave tutorial, then give you essential styling tips to keep those waves flawless.
Let’s get started so you can rock a gorgeous, wedding‑ready look in no time.
Creating Soft Waves
One of the most elegant looks you can sport as a wedding guest involves soft, romantic waves that cascade past your shoulders.
Here’s how I create this look:
- Start with clean, towel-dried hair
- Apply a lightweight mousse for hold
- Use a large barrel curling iron
- Wrap sections loosely away from your face
- Finish with a light hairspray
Incorporating soft waves can enhance your overall appearance and complement various wedding themes.
Quick Wave Tutorial
A quick wave tutorial is a lifesaver when you’re getting ready last minute but still want to look polished for that wedding. I start with damp hair, apply a mousse, then divide hair into two sections. I wrap each section around a large-barrel curling iron, hold for a few seconds, and let the waves cool before finger-combing them for an effortless look. For best results, use a large-barrel curling iron to achieve those soft, romantic waves.
Essential Styling Tips
Since soft waves look best on well-prepared hair, you’ll want to apply a heat protectant spray before you even think about curling.
Here’s my step-by-step approach:
- Use a 1-inch curling iron on dry, detangled hair
- Wrap sections loosely, avoiding tight curls
- Hold each strand for 10-15 seconds
- Let waves cool completely before styling
- Finish with lightweight hairspray for hold
Adding texture is essential, as curly hairstyles can elevate your overall look and add dimension.
Quick Ponytail Variations for Weddings
Between ceremony chaos, reception nerves, and dancing until dawn, you need a hairstyle that holds up without requiring a mirror and thirty minutes of patience.
I always opt for a low, loose ponytail secured with a satin ribbon that complements the wedding colors. I wrap a small strand around the elastic to conceal it, creating an effortlessly polished finish.
This style keeps me comfortable while looking sophisticated throughout the entire celebration. Plus, it’s a favorite among bridesmaids for its effortless elegance, making it a reliable choice for any wedding event.
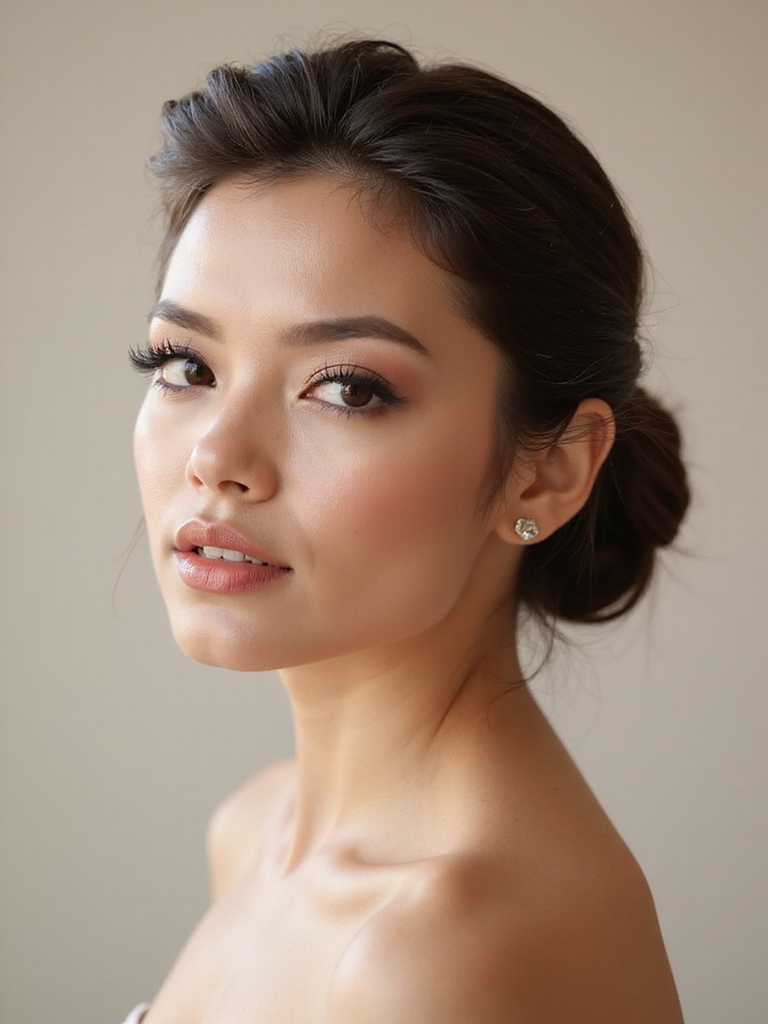
Twisted Updos Made Simple
When I want something fancier than a ponytail but don’t want to spend hours practicing, I turn to twisted updos—they’re actually much easier than they look.
- Twist two sections from each side
- Pin them at the back with bobby pins
- Secure with a hair tie
- Smooth flyaways with hairspray
- Add decorative clips for flair
Adding a few messy bridal hairstyles can elevate your look even more!
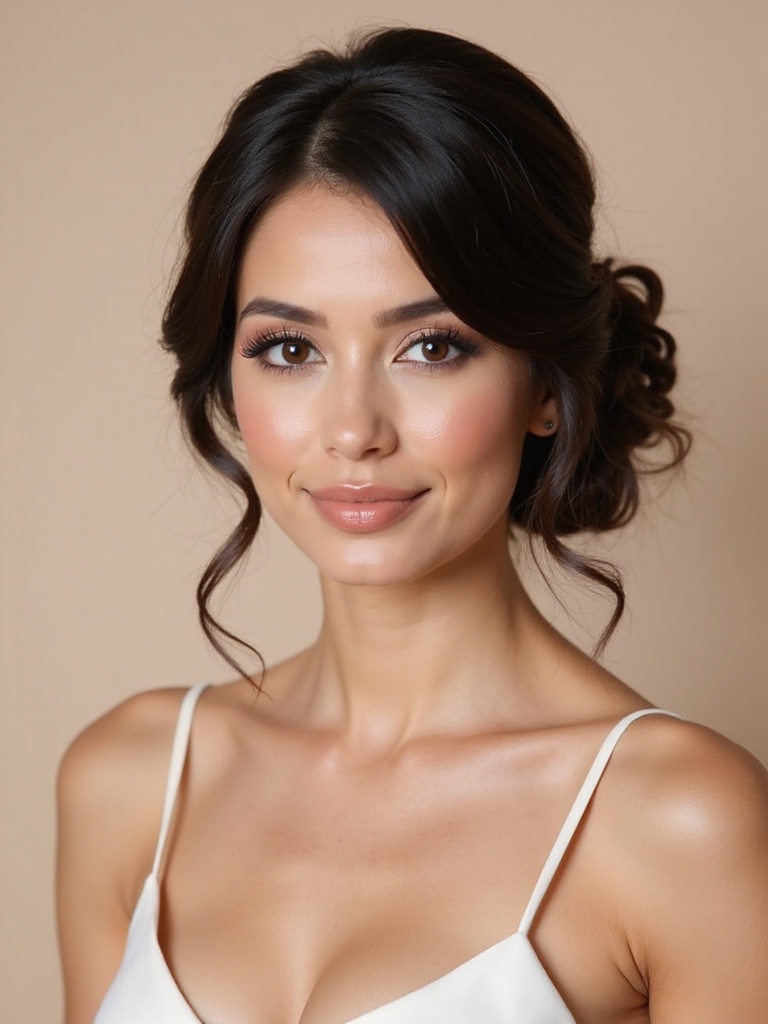
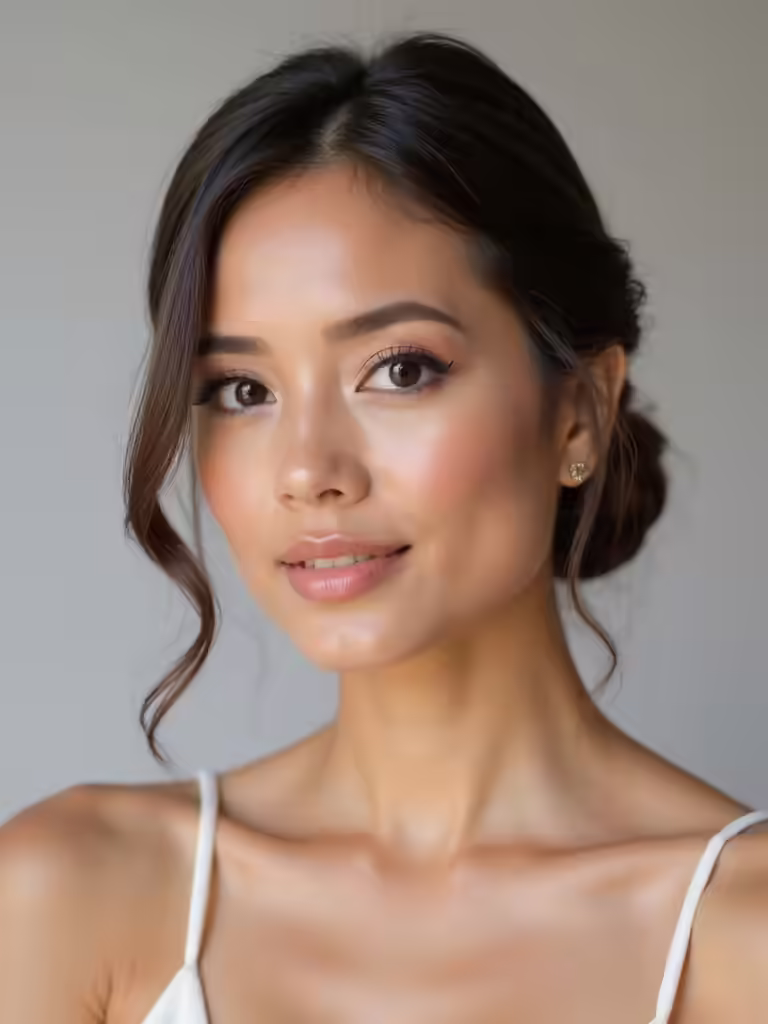
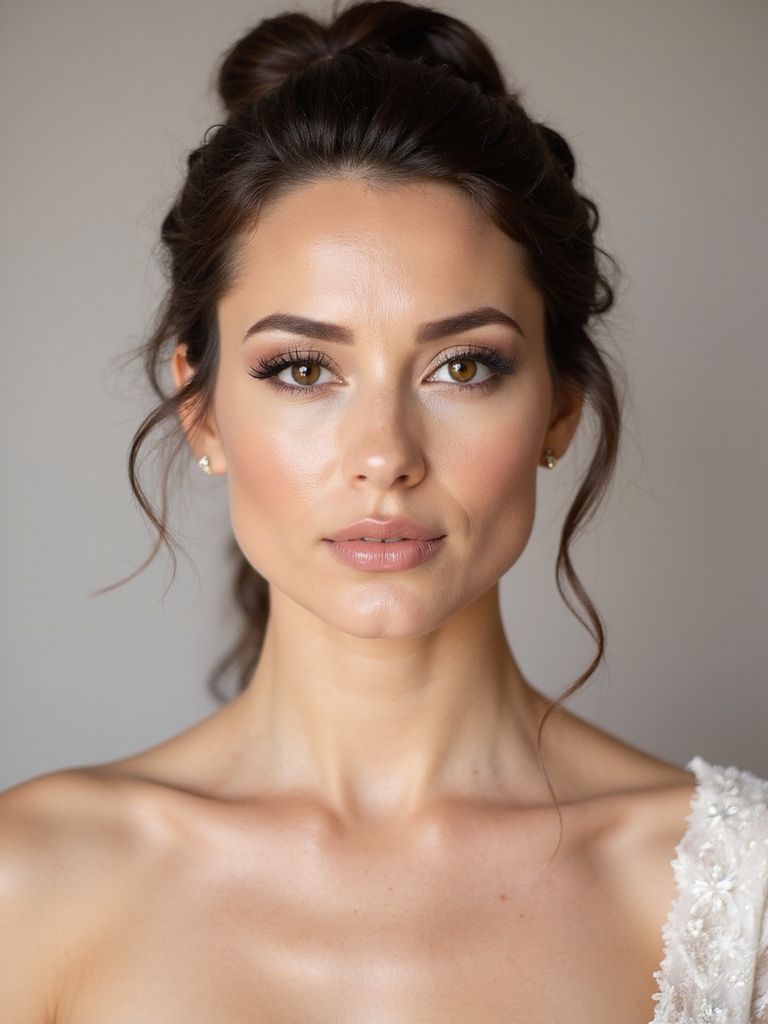
Classic Chignon for Wedding Guests
I love a classic chignon because it looks polished and works for any wedding theme. I’m going to walk you through the basic styling steps and some hair accessory ideas.
First, make sure your hair is smooth. Gather it at the nape and secure it with pins or a small elastic before twisting it into a low knot. A classic chignon is a versatile choice that can complement various wedding hairstyles for bridesmaids and elevate your overall look.
For accessories, I suggest delicate pins, a silk ribbon, or a small floral accent that adds a touch of color without overwhelming the look.
Chignon Styling Basics
One versatile hairstyle that always looks polished for weddings is the classic chignon. I love this look because it’s elegant yet simple to create.
Here’s how I do mine:
- Brush hair smooth and apply lightweight mousse
- Gather hair at the nape of your neck
- Twist hair into a rope and coil upward
- Pin coil in place with bobby pins
- Smooth any loose strands for a clean finish
Hair Accessory Tips
If you want to elevate your classic chignon, the right hair accessory makes all the difference.
I recommend a sleek comb or pin matching your hair color for an understated look, or a crystal clip that catches the light when you dance.
Pearl pins add elegance to formal evening affairs while small silk flowers work beautifully for outdoor summer weddings all day.
Boho Braided Crowns for Summer Weddings
When the sun’s warmth meets a summer wedding venue, a boho braided crown transforms simple waves into something effortlessly striking.
Here’s how I style mine for outdoor celebrations:
- Start with second-day hair for better grip
- Use a thin braid as your base
- Secure with bobby pins hidden by flowers
- Pull face-framing pieces loose for that romantic vibe
- Mist with lightweight hairspray to hold without stiffness
Sleek High Bun Tutorials
Since I need a look that shifts seamlessly from the ceremony to the reception without a single strand out of place, I’ve perfected my sleek high bun technique—and it’s become my go-to for formal events.
I start with a heat protectant, blow-dry with a round brush to eliminate frizz, then gather my hair at my crown and secure it with an elastic.
I twist the length around itself, form a loop, and pin it securely. A quick mist of hold spray keeps everything in place all night.
Easy Hair Loop Ideas
I’ve got you covered with some easy hair loop ideas that are perfect for wedding guests.
I’ll show you simple loop styles that look elegant but won’t take forever to create.
These quick loop tutorials will have you looking polished in just a few minutes.
Simple Loop Styles
- The classic side loop for elegant sophistication
- A low back loop for understated charm
- Double loops for a playful, youthful vibe
- A high top loop for drama and height
- The twisted loop for added visual interest
Quick Loop Tutorials
Now that you’ve seen the different loop styles, let me show you how to create them quickly with some easy tutorials.
I’ll walk you through a twisted rope loop—wrap hair, twist it, then fold back through the center to secure.
For a messy bun loop, gather hair loosely, create a small loop with your index finger, pull ends through, and tousle.
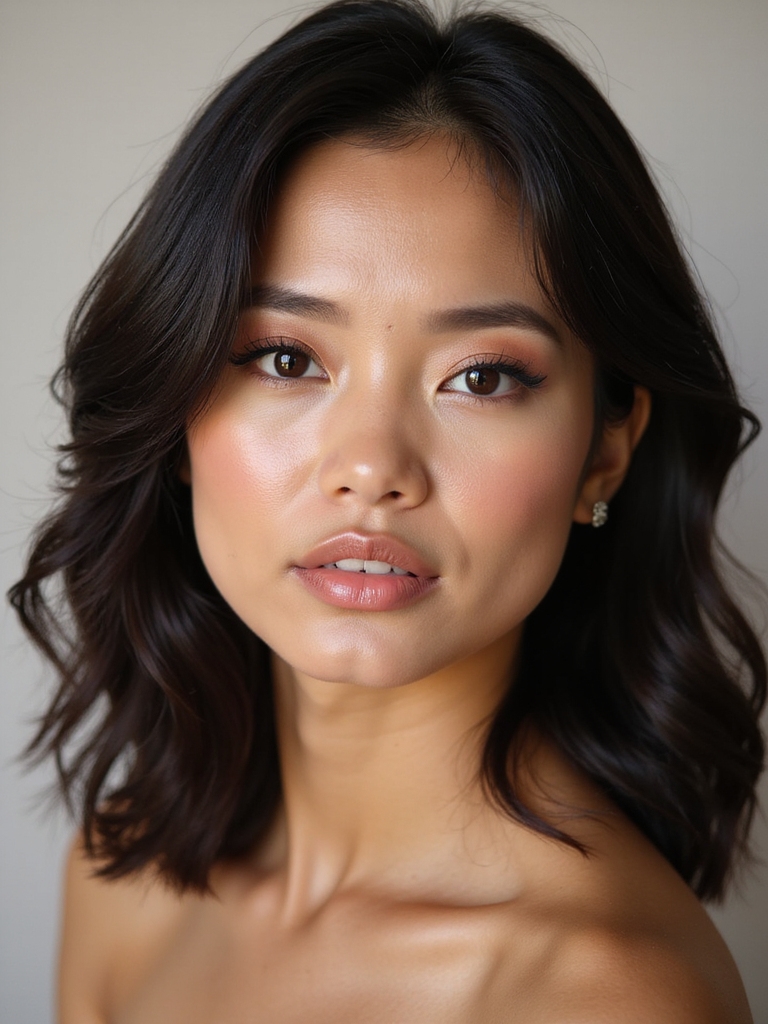
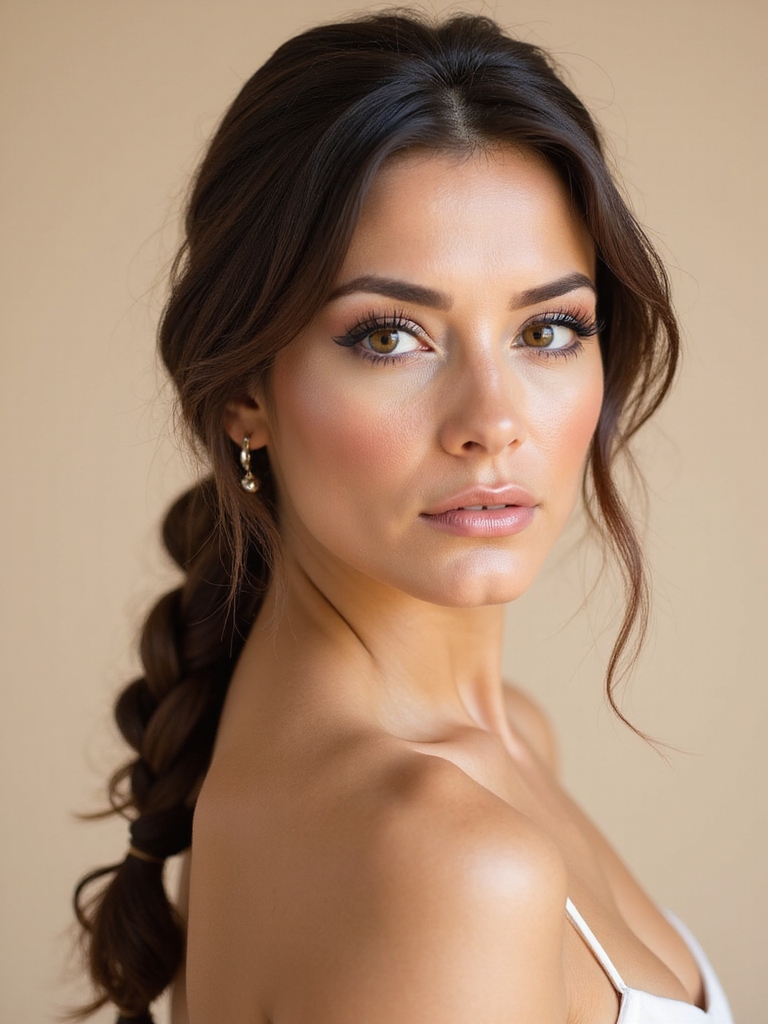
Twisted Ringlets Step by Step
One effortless style I love for wedding guests is twisted ringlets—polished, romantic, and surprisingly simple to create at home.
- Divide damp hair into two sections.
- Twist each section firmly from roots to ends.
- Coil the twists into loops and pin.
- Let hair dry or use a low‑heat iron.
- Finish with a light hold spray.
You’ll look stunning and feel confident all evening.
Side‑Swept Styles for Elegant Looks
If you’re aiming for sophisticated elegance, side-swept styles deliver a timeless, polished look that works beautifully for wedding guests.
I start by curling the length, then sweep the strands to one side, secure with pins, and finish with a light mist of hairspray.
I add a small comb to smooth the surface. You can pair it with statement earrings for beautiful flair.
Quick Fixes for Short Hair Days
Even when my hair feels too short for elaborate styles, I’ll whip up a polished look with a few simple tricks.
- A tiny side twist with quick bobby pins.
- A sleek low bun using a small donut easily.
- A textured wave using a curling wand.
- A headband or hair vine for instant glam.
- A quick blast of dry shampoo for volume today.
Conclusion
Honestly, I’ve tried these styles myself, and I swear they feel like a splash of hair magic without the stress. You can twist a soft braid into a graceful halo, sweep a low bun like a whisper, or let waves drift like a sunset over your shoulders. Don’t worry about perfection, these simple tricks give you an effortless elegance that fits any dress, venue, and vibe you’re chasing, all night long, you’ll shine with confidence.