I’ll help you choose elegant, beginner-friendly wedding guest hairstyles based on formality. You can create no-heat waves with a simple braid method, boost fine hair with a teasing trick, or master a polished low ponytail in minutes. With my essential tool kit and product tips, your style will hold all day. I’ve even got quick fixes for any hair emergencies, so you’re ready to confidently celebrate.
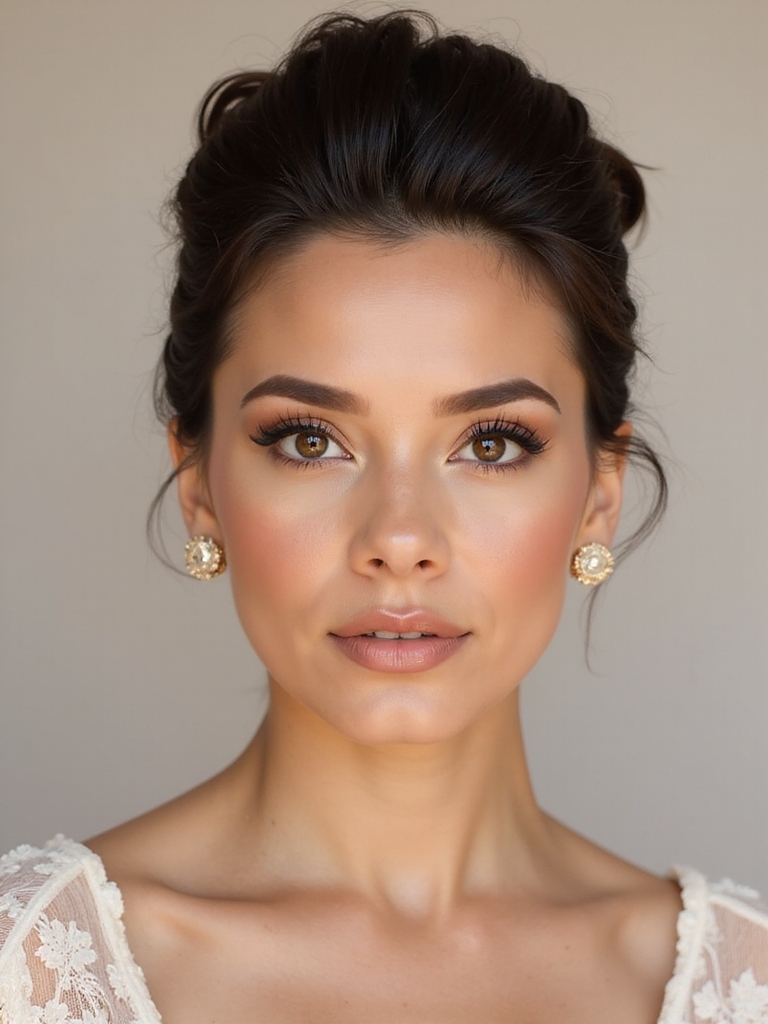
Choose Your Hairstyle Based on the Wedding’s Formality
If you’re wondering where to start, consider the wedding’s formality first—it’s your best clue for narrowing down your options.
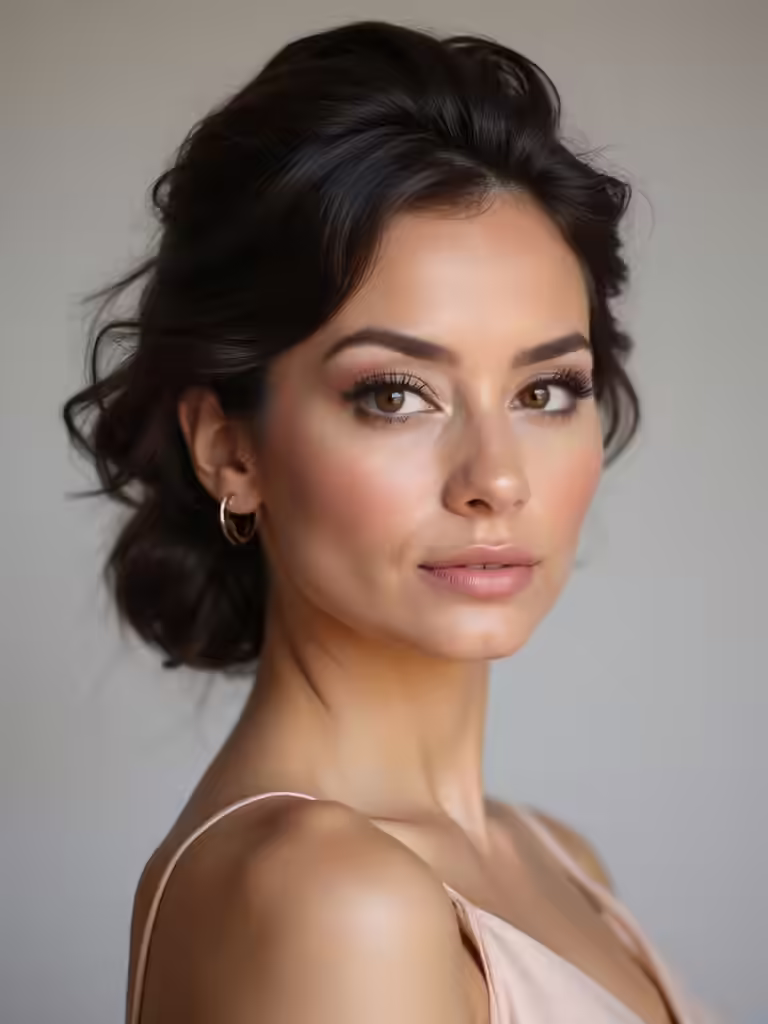
For a black-tie affair, I’d aim for an elegant updo or sleek blowout.
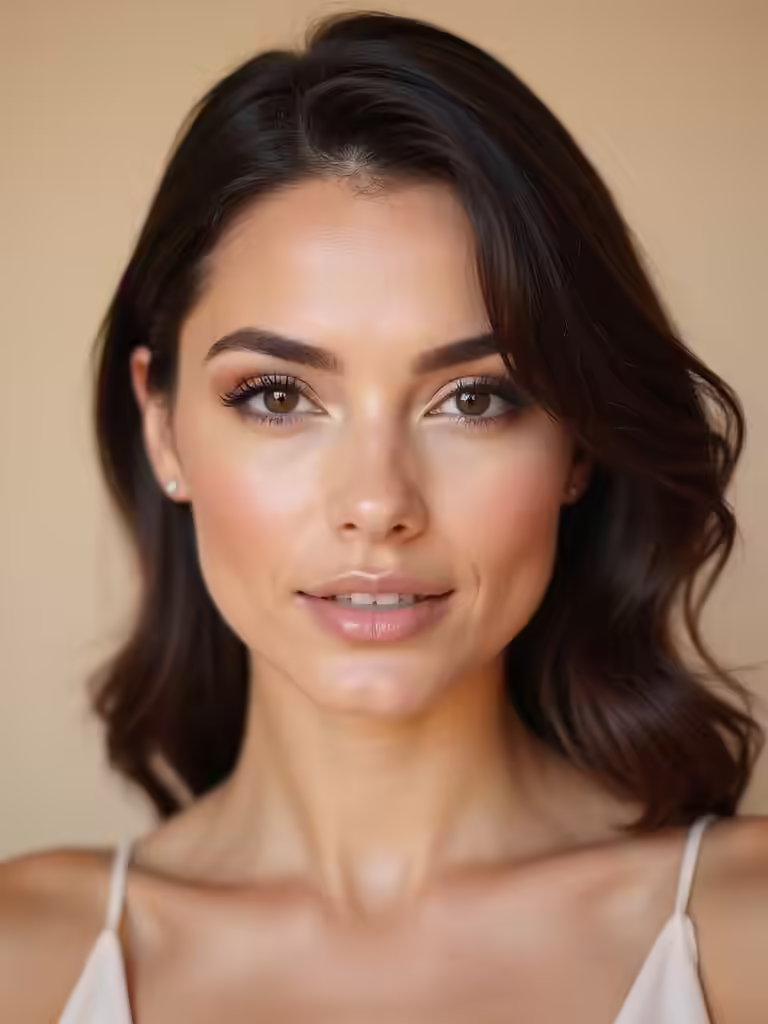
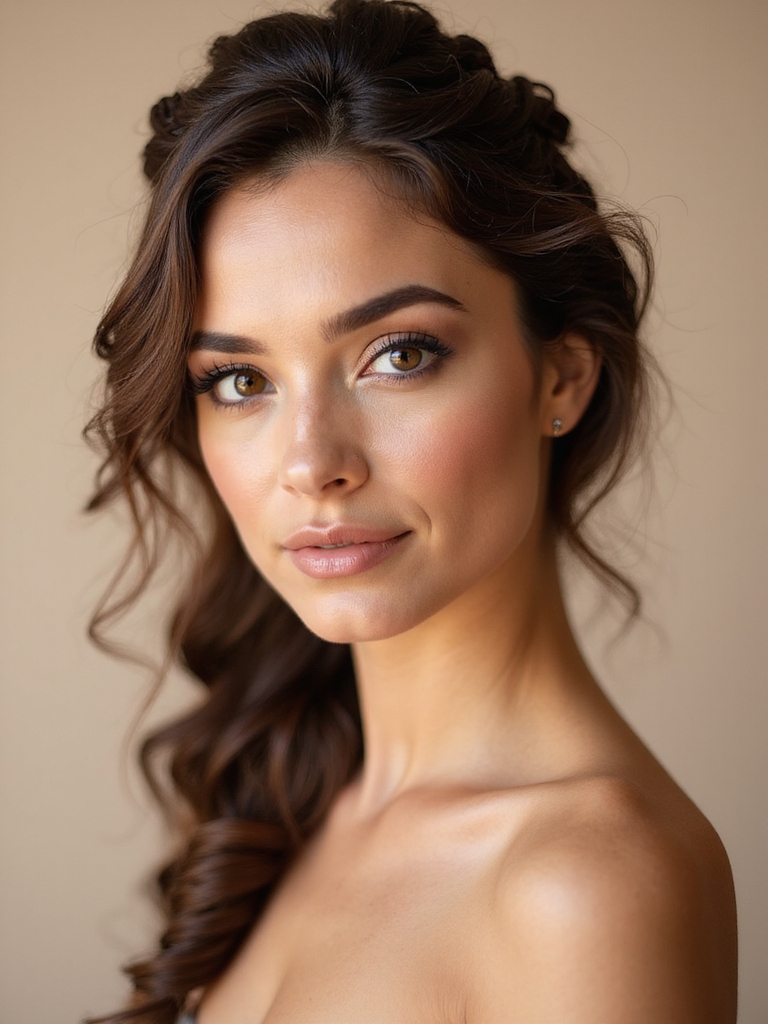
A garden party? I’d keep it soft, maybe with romantic waves.
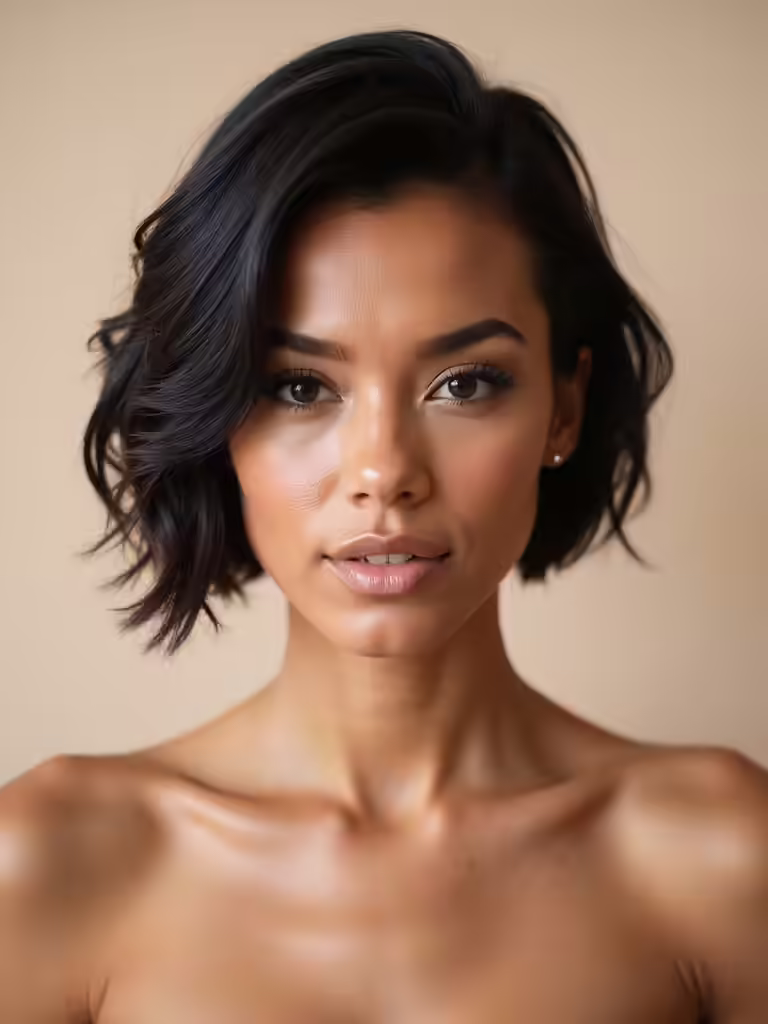
For a casual beach wedding, I’m grabbing a cute claw clip or a simple braid.
Let the dress code guide your look effortlessly. Additionally, charming half up half down hairstyles can provide a beautiful balance for various wedding themes.
Assemble Your Essential Beginner Hair Tool Kit
Let’s gather your basic toolkit so you’re ready to create any style.
I recommend starting with just a few reliable hair tools, a gentle prep product for smoothing, and some simple stylers for hold. Additionally, having some simple wedding guest hairstyles in mind can make the process even easier. Trust me, you don’t need a salon’s worth of gear to look polished.
Must-Have Hair Tools
Before you create a single style, you’ll need a basic kit of reliable tools. I consider a good thermal protector spray non-negotiable.
You’ll also want a quality one-inch curling iron, fine-tooth teasing comb, strong-hold hairspray, and bobby pins that actually grip. A paddle brush detangles easily.
Trust me, having these on hand makes any simple updo or wave possible, even with zero prior experience. Plus, using effortless wedding guest hairstyles can help you feel more confident as you experiment with different looks.
Gentle Hair Prep Products
The secret to gorgeous, manageable wedding hair starts before you even touch a curling iron, with gentle prep products.
I think of them as my base layer; they create smoothness and hold so my style lasts. For my kit, I keep it simple with three heroes.
- A lightweight detangling leave-in conditioner
- A heat protectant spray for any hot tools
- A texturizing mist for gentle grip and volume
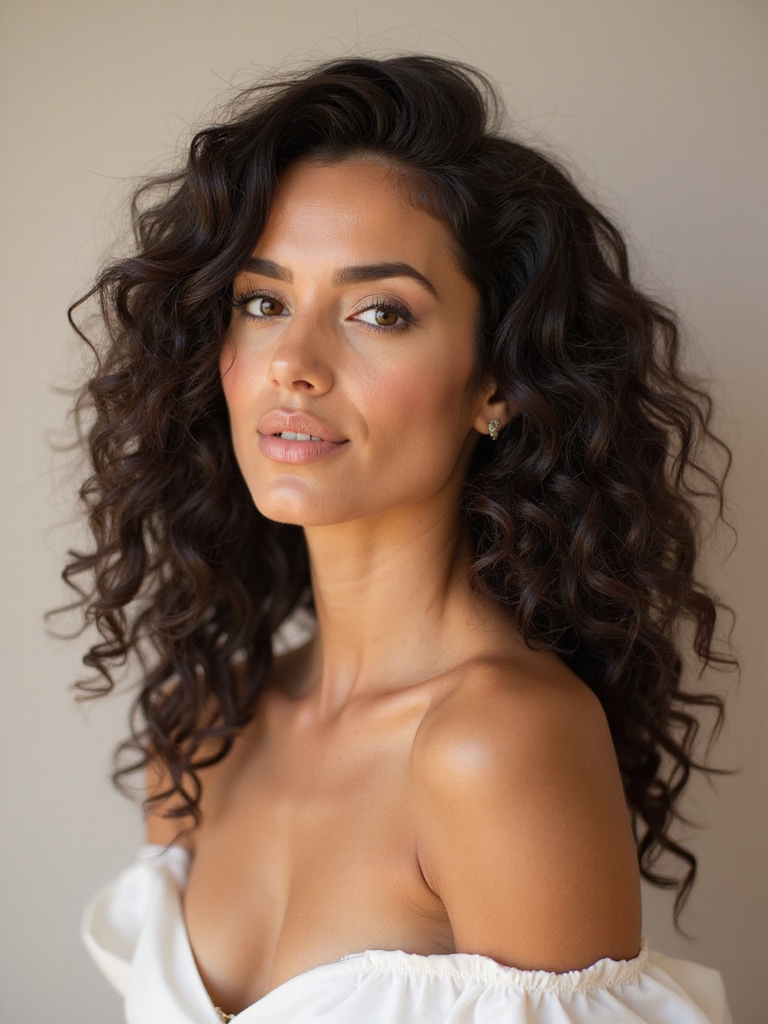
Incorporating natural wedding hairstyles can enhance your overall look by celebrating your most authentic self.
Secure Yet Simple Stylers
Because I’m a huge believer in a solid foundation, my actual styling starts by gathering just a few key tools that I know I can rely on.
I always include a fine-tooth comb, clear elastics, bobby pins with a good grip, and a lightweight, flexible-hold hairspray. They’re simple, foolproof items that offer real control without overwhelming you. Trust me, this basic kit builds any elegant, secure style for a long wedding day. Additionally, these tools are perfect for creating effortless hairstyles that suit any wedding guest.
Prep Your Hair: The No-Heat Waves Braid Method
I’ll show you my favorite way to create lasting waves without any heat.
First, you’ll pick a simple braid style and get your hair slightly damp with a spray bottle.
Then, I’ll walk you through a couple of easy braiding steps you can do yourself the night before the wedding. Adding effortless half-up half-down hairstyles can elevate your look for the big day!
Select Suitable Hairstyle
To create effortless waves without heat, I recommend the braid method, which sets the stage for any style you’ll choose later.
With those perfect waves as your base, picking the final look is so much easier.
Consider these three simple, elegant directions for your event.
- A half-up style with a decorative clip
- A sleek, low ponytail
- Loose, textured waves pinned at one side
Additionally, using the last-minute wedding guest hairstyles technique can help you achieve a polished look in no time.
Gather Required Materials
First, you’ll need just a few things to get those perfect no-heat waves started. I recommend a spray bottle with water to slightly dampen your hair.
You’ll also want a comb for detangling, a handful of regular hair elastics, and some lightweight styling mousse or cream.
That mousse is my secret—it adds texture and helps the waves hold their shape beautifully once you take the braids out. Additionally, using effortless wedding hairstyles can inspire your final look, ensuring it’s perfect for the occasion.
Execute Simple Braiding Steps
**
With your hair slightly damp and detangled from the previous step, grab a section from the front of your hair—about two inches wide—to create your first braid.
I simply make a classic three-strand braid all the way down and secure it with a clear elastic. I repeat this, working around my head.
- Braid from the front hairline to the ends.
- Secure each braid with a clear elastic.
- Create 5-7 braids total for uniform waves.
To achieve those bouncy curls that steal the spotlight, allow the braids to set for a few hours or overnight.
Boost Volume for Fine Hair With This Easy Teasing Trick
When you have fine hair, creating lasting volume can feel like a daily battle, but I’ve found a teasing technique that builds body without damage.
Take a small section near your crown. Hold it straight up and gently backcomb just the mid-lengths, avoiding the fragile roots.
Smooth the top layer over it. This creates an invisible lift that lasts all day without harsh tugging or visible knots. Incorporating short hairstyles can enhance your overall look for any special occasion.
Create a Polished 5-Minute Sleek Low Ponytail

While adding volume works beautifully for an updo, a sleek low ponytail offers an effortlessly chic alternative for polished wedding looks.
I gather my hair at the nape, using a brush and a light-hold gel to tame flyaways before securing it. The key is tension for that clean line.
- Apply a smoothing product to damp or dry hair.
- Brush thoroughly into a low, tight ponytail.
- Wrap a small section of hair to conceal the elastic.
Master the Effortlessly Elegant Low Bun With a Donut
I know a sleek bun can feel intimidating, but mastering this look starts with the right foundation—a hair donut.
Start with a low ponytail, threading the tail through the donut’s center. Then, fan your hair evenly over it and secure with a second elastic.
Finally, wrap the remaining hair around the base and pin it. You’ve instantly created a perfectly round, polished bun that’s incredibly secure.
Try a Romantic Low Bun With Face-Framing Tendrils
After mastering that sleek, polished bun, you can easily transform it into a softer, romantic version. Just secure a looser bun at your nape, then gently pull out a few tendrils.
I always use my fingers to curl these pieces toward my face. The key is imperfection; it’s a lived-in, effortless look.
- Secure a loose, low bun.
- Pull out 2-3 sections near your forehead.
- Finger-curl them forward for soft waves.
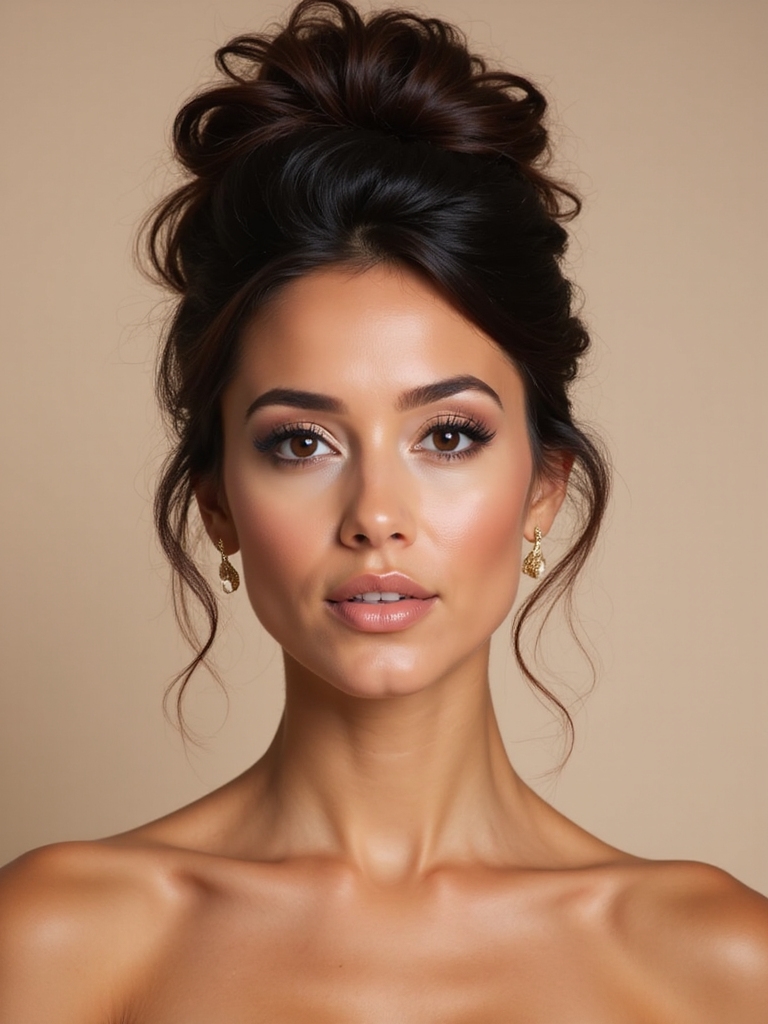
Craft a Classic and Timeless High Ballerina Bun
I’ll start by gathering my essential tools—a brush, hair tie, and plenty of pins.
Proper pre-styling preparation means brushing my hair smooth and adding a bit of texture spray for grip.
Then, I secure my ponytail high on my head and twist it into a classic bun, using pins to shape and anchor every section firmly.
Essential Tools And Materials
Creating a polished high ballerina bun starts with having the right gear. I always grab these essentials first—they’re non-negotiable for that sleek, professional look you want.
Using subpar tools makes everything harder.
- A paddle brush for smoothing and detangling.
- A fine-tooth comb for precise sectioning and flyaway control.
- Strong, coated elastics and bobby pins to secure everything invisibly.
Perfect Pre-Styling Preparation
With our tools in hand, let’s set the stage for the bun.
I always start with day-old, dry hair for grip. I apply a light texturizing spray at the roots for volume and lightly on the lengths to eliminate any slickness.
This creates the perfect foundation—hair that’s soft but has enough “grit” to hold the shape without needing excessive pins or teasing later.
Secure And Shape Bun
First, gather your secured ponytail high at the crown.
Now, twist the length tightly from the base and coil it around the elastic, forming a neat disc. Secure everything with another elastic or pins as you wrap, tucking the ends underneath for a smooth finish.
- Twist the length tightly from base to end.
- Coil around the base to form a flat disc.
- Secure and tuck ends with pins for a polished bun.
Style a Messy (But Intentional) Textured Bun
A messy bun is your perfect solution for looking elegant without overthinking it, and I find the trick is to focus on texture from the very start.
I never brush my hair sleek. Instead, I scrunch in a texturizing spray on damp or dry hair.
Then, I loosely twist and coil the hair, pinning it in place. Finally, I gently pull at sections to create that perfectly undone, romantic shape.
Braid 101: Master the Basic Three-Strand Braid
Let’s get you comfortable with the classic braid, because I’ve found a perfect ponytail start makes the whole process easier.
I’ll walk you through the simple three-strand technique that forms the foundation of nearly every braided style.
Then, we’ll finish strong so your braid stays secure and looks polished all day.
The Perfect Ponytail Start
Because you’ll anchor so many styles with a sleek base, mastering a perfect, high ponytail is the first step before we braid.
I always brush my hair upward to gather it at my crown, smoothing any bumps as I secure it tightly. The key is creating a foundation that feels solid and looks polished.
- Brush from nape to crown to eliminate bumps.
- Secure with a snag-free elastic, wrapping it tightly.
- Use a tail comb to neaten the hairline.
Simple Three-Strand Technique
Now, you’ll learn to build on that ponytail with the essential three-strand braid.
First, divide your hair into three equal sections. Cross the right section over the middle, making it the new center. Then, cross the left section over the new middle.
That’s the pattern: right over middle, left over middle. Keep your grip firm but gentle, pulling each section outward as you cross for neat, defined braid rows.
Secure And Finish Your Braid
Once you’ve braided to your desired length, I’ll show you how to secure it properly.
Hold the end tightly, as loose hairs are the main culprit for a messy finish. My go-to method is a small, clear elastic, which is nearly invisible.
For a polished look, you can also conceal the elastic by wrapping a small section of hair around it and pinning it underneath.
- Hold the end tightly to prevent loose hairs.
- Use a clear elastic for a nearly invisible hold.
- Wrap and pin a hair section around the elastic to conceal it.
Turn Your Basic Braid Into an Elegant Side-Swept Style
If you’ve already mastered a simple three-strand braid, I can show you how to elevate it into a romantic, side-swept look perfect for a wedding.
Start by braiding your hair loosely over one shoulder. Once secured, gently tug on the outer sections to create a fuller, softer braid.
Then, carefully pull the entire braid across the back of your head, pinning it discreetly above your opposite ear.
Create a Chic Twisted Rope Braid for Medium to Long Hair
While that side-swept braid is gorgeous, maybe you want something with a bit more texture and modern flair.
I love this twisted rope braid; it looks intricate but is incredibly simple to master. It’s perfect for medium to long hair and works beautifully as a standalone style or incorporated into an updo.
- Divide & Twist: Split a section into two equal strands.
- Twist Each Strand: Twist each one clockwise until they coil.
- Twist Together: Twist those two coiled strands *counter*clockwise to form your rope.
Style a Simple Half-Updo With a Twisted Crown
A half-updo with a twisted crown is a timeless, elegant choice that instantly elevates your look. I love this style for its simplicity.
First, I lightly tease the crown for volume, then gather a front section from each side. I twist them back and secure them together, letting the rest of my hair flow.
It’s effortlessly polished and keeps hair away from my face for the whole celebration.
Dress up a Half-Up Style With a Decorative Clip
Now that we’ve got our twisted crown base, I’ll show you how a decorative clip can elevate the look instantly.
First, I smooth my base layers to guarantee they’re ready to hold the accessory.
Then, I place the clip at the intersection of my half-up twist, checking the mirror to make certain it’s secure before finishing with a light mist.
Prep Your Base Layers
Start with a strong base by prepping your hair for this half-up style—it’s the key to making that decorative clip look elegant instead of slipping off.
I always begin with dry hair, as texture is your best friend. Here’s my simple routine:
- Apply a light-hold texturizing spray to add grit and volume.
- Lightly tease the crown section you’ll be clipping.
- Secure the half-up portion with a clear elastic for hidden hold.
Add The Perfect Clip
With your base prepped and secured, that pretty clip won’t just sit there—it’ll shine.
I slide it in where my elastic or pin holds the half-up section, letting the decorative top catch the light. Think of it as your final, elegant anchor.
Choose a clip with teeth for grip, pressing it firmly into the gathered hair. It instantly elevates the look from simple to special.
Secure And Style Wisely
A simple half-up hairstyle gets its finishing touch when you securely place your decorative clip. I always aim for style and stability, positioning my clip at the crown so it looks elegant and holds everything in place.
Consider these tips:
- Slide the clip over gathered hair and a bit of the base for grip.
- Angle it slightly upward for a polished look.
- Check that it feels snug before you finalize your style.
Weave a Cascading Half-Up Style With a Hidden Elastic
Achieve a romantic, undone look by weaving a cascading half-up style that cleverly conceals its elastic anchor.
I loosely pull back the top section from my temples. Before securing it with a clear elastic, I create a small hole above the band.
I then gently pull the ponytail through that opening, tucking the elastic inside for a seamless, effortless finish with beautiful face-framing pieces left out.
Fake a Quick and Easy Faux Bob With Just Hairpins
Two simple hairpins can instantly transform your long hair into a chic, chin-grazing bob without a single cut.
I create a low ponytail, fold it under itself, and pin the folded end directly against my nape. This hides all the length for a clean bob silhouette that’s impressively secure.
- Fold and Pin: Tuck the tail up and secure it flat against your head.
- Hide the Elastic: Use the folded hair to camouflage the hair tie.
- Smooth the Sides: Tuck any shorter pieces behind your ears for polish.
Dress up a Simple Ponytail With a Scarf or Ribbon
Beyond a quick faux bob, you can also elevate the classic ponytail using a scarf or ribbon for a dressed-up look.
I find a silk scarf works wonders. Simply tie your ponytail, then wrap the scarf around the base, knotting it neatly.
You can leave the ends to flow or tuck them under. It adds a chic, polished touch that instantly feels more festive and intentional.
Master a Beginner-Friendly French Twist With a Hair Comb
To tackle that elegant wedding guest look, I start by loosely twisting my hair from the nape of my neck upward.
I secure it with one hand, then slip a decorative comb’s teeth straight into the twist where it meets my head, pushing upward to anchor it. The comb locks everything in place instantly.
- Create a soft, loose twist
- Anchor it with a decorative comb
- Tuck any loose ends underneath
Lock Styles In: Choose the Right Products for All-Day Hold
Since I’ve secured my hair in place, I’m picking the right styling products to make sure my look lasts all day without a touch-up.
For fine hair, a strong-hold aerosol spray is essential. For thicker textures, a firm-hold mousse before styling provides lasting volume and control.
I always apply a light hairspray for the final seal. Avoid heavy gels or creams; they can weigh hair down or look greasy.
Fix Common Wedding Day Hair Emergencies in Seconds
Now that my style is set, I’ve got a plan for quick fixes if things go awry. I always stash a tiny emergency kit in my clutch.
Here’s how I tackle the most common hair hiccups in seconds.
- Flyaways: A drop of hand cream smooths them down instantly.
- Frizz: A spritz of hairspray on a brush tames it.
- Sagging Bun: A few bobby pins re-secure it discreetly.
Conclusion
I hope these hairstyles are your white ribbon tying the whole look together. Remember, the secret ingredient is always your own confidence. With your toolkit prepped and a few tricks up your sleeve, you’ve totally got this. Now go enjoy that celebration, knowing your hair is polished, secure, and perfectly you. Have a wonderful time