I know the scramble to look gorgeous before your ride shows up. My toolkit? A fine-tooth comb, strong-hold spray, gripping pins, and texturizing spray. I rely on quick upgrades like a polished ponytail with a hidden band, a twisted low bun, or a voluminous blowout using dry shampoo. A chic headband or statement barrette adds instant glamour. I’ve got more tricks to guarantee your style lasts all night.
The 5-Minute Toolkit: Gather These First
Your five-minute hairstyle needs a solid foundation, so I start by grabbing my essential tools.
I always have a fine-tooth comb for smoothing, strong-hold hairspray, and bobby pins that actually grip.
A small bottle of texturizing spray is my secret for adding instant volume to day-old hair. To elevate your look quickly, consider styles that are effortless to achieve while still looking polished.
I keep everything in one bag, so I’m never searching last minute.
For All Hair Lengths: The Quick Elegant Ponytail
I’ll start by showing you the effortless base maneuver for your ponytail. Then I can share a few simple volume-boosting tips that work wonders. We’ll finish with some elegant touch details to make the whole style special. Additionally, many wedding guests are opting for effortless ponytail looks that enhance their overall style without taking too much time.
The Effortless Base Maneuver
One of the most versatile foundation styles for any wedding look is the quick, elegant ponytail.
I start by gathering my hair at my desired height. I smooth it with my hands or a brush, then secure it with a simple, sturdy elastic.
This clean base sets me up perfectly. I can now wrap a piece of hair around the band to hide it or add accessories later. Many bridesmaids prefer this style for its effortless versatility and chic finish that complements any outfit.
Simple Volume-Boosting Tips
With a sleek ponytail base ready, a few simple tweaks can lift it from flat to full.
I start by gently teasing the crown hair before securing the tail. After tying it, I loosely pull a few face-framing pieces forward.
Next, I lightly tug small sections all over the ponytail to create instant fullness.
It’s my favorite way to add volume in under a minute. For an even more polished look, consider incorporating chic ponytail ideas that can elevate your style for the occasion.
Elegant Final Touch Details
Once your ponytail has that fuller shape, you can focus on refining its polish.
I’ll use a few fast finishing moves for an elegant look.
- Wrap a hair elastic with a small section from the ponytail.
- Tuck in any flyaways with a dab of smoothing serum.
- Add a sleek, decorative hairpin near the base.
- Finish with a light mist of shine spray.
Additionally, consider incorporating ponytail wedding hairstyles for an extra touch of sophistication.
Ponytail Upgrade: The No-Clip Rope Braid
Even though I’m keeping my hair sleek, I want my ponytail to have an extra touch of elegance for this wedding. I simply split my ponytail into two sections and twist them around each other. I secure it at the end with a clear elastic, then gently pull on the twist to loosen and fluff it. This no-clip rope braid instantly adds texture and polish in under a minute. For an even more refined look, consider incorporating stunning ponytail styles that elevate your overall appearance.
The Effortless Twisted Low Bun
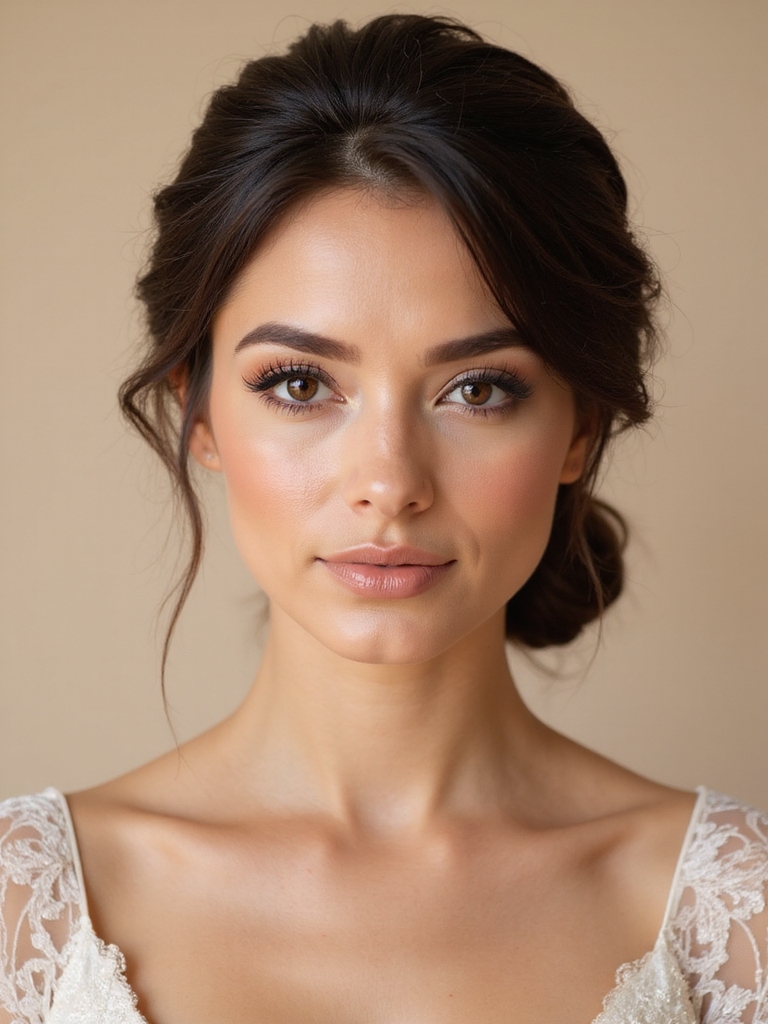
I love a twisted low bun because it’s a quick updo that still looks polished. An easy way to achieve this style is to incorporate updo looks that seem high-maintenance into your routine, adding a touch of elegance without the fuss. I’ll show you my simple tutorial for creating it.
Let’s start with how to prep your hair and secure the style so it lasts.
Twisted Bun Tutorial
Mastering three simple steps will have you creating an elegant twisted bun in just minutes.
- Brush your hair into a low ponytail and secure it.
- Split the ponytail in two, twist each section individually, then twist them together.
- Wrap the combined twist around the base to form your bun.
- Secure everything with pins, tucking the end underneath for a clean finish.
For a beach wedding, consider adding beach-friendly hairstyles to ensure your look stays intact despite the elements.
Quick Updo Options
If you’re running short on time but still want a polished look, the effortless twisted low bun is a perfect quick updo. I gather my hair into a low ponytail and split it. I twist each section, then twist them together around the base. I tuck the end under and secure it with a few pins. It looks elegant and keeps my hair off my neck all night. This style is also ideal for dancing the night away, ensuring you stay comfortable while celebrating.
Prep And Secure Tips
To get the best hold for this twisted low bun, two key prep steps make a big difference. Start with day-old hair or a texturizing spray for grip. Additionally, using simple wedding guest hairstyles can help you find alternative options if you want to switch it up.
Then, master these four secure moves:
- Twist two sections of hair.
- Wrap them around each other.
- Coil the twist into a bun.
- Pin it tightly and tuck the ends.
Finish with a strong-hold hairspray.
The Textured, Lived-In Top Knot
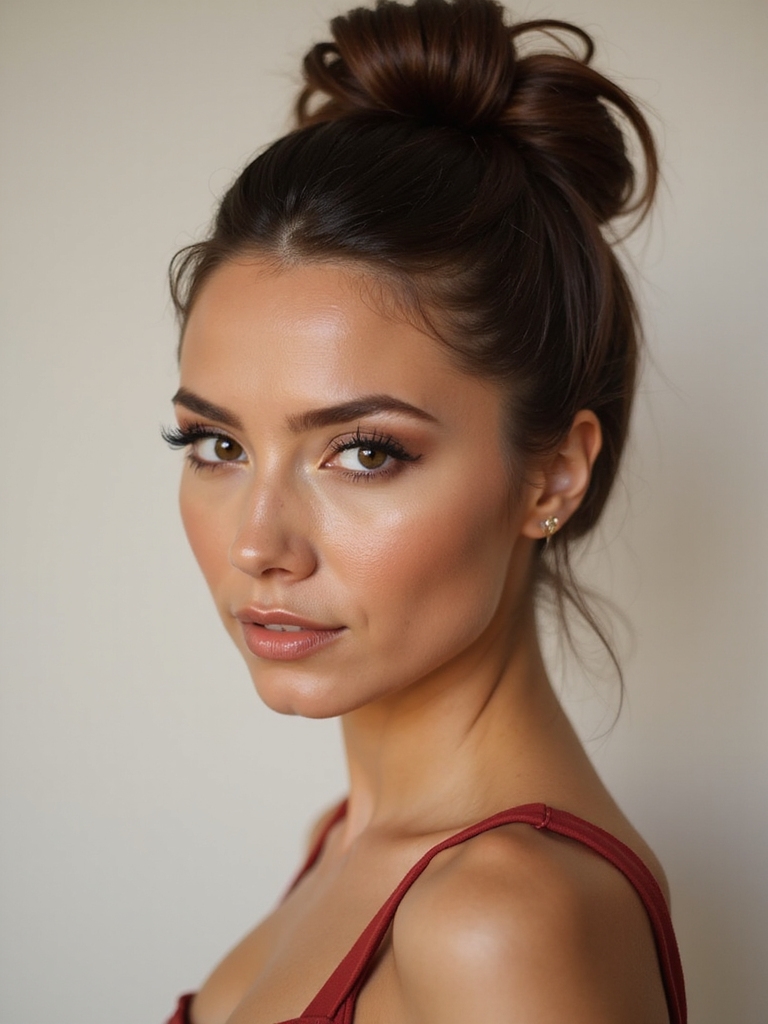
Since you’re looking for an effortlessly chic hairstyle that holds up all day, the textured, lived-in top knot is my go-to choice.
I twist my hair loosely and secure it with a hair tie, leaving some ends free. A few gentle pulls at the bun creates that perfect messy volume.
It takes maybe three minutes and looks polished yet relaxed, which I love for a long celebration.
The Chic Low Messy Bun With Scrunchie
Another great option that looks effortless but stays put is the chic low messy bun with a scrunchie.
I twist my hair into a low ponytail, wrap it loosely, and secure it with the scrunchie. I then gently pull sections to add volume.
- Gather hair at your nape.
- Twist and coil into a bun.
- Wrap a fabric scrunchie around it twice.
- Tug at the bun for a perfectly imperfect shape.
The Simple Faux Bob (For Short to Medium Hair)
I love a faux bob because it’s the perfect instant style swap for a wedding.
I find it creates effortless glamour with just a few simple steps.
It’s a great trick that gives you a sophisticated new look without a single haircut.
The Instant Style Swap
To give your short to medium-length hair a wedding-ready transformation without a cut, you can create a faux bob in just a few steps.
I love this instant swap because it looks polished in minutes.
- Pull your hair into a low ponytail.
- Tuck the ends under to hide them.
- Pin the tucked section securely.
- Gently pull at the sides for a softer, fuller look.
Effortless Glamour Steps
Though it may look like a salon visit, this simple faux bob is a DIY dream.
I gather my hair into a low ponytail and tuck the ends under, securing them with a hair elastic and pins.
I then gently pull at the sides for a soft, full shape. A quick spritz of hairspray locks it in.
It gives me that chic, polished look in literally five minutes.
The Voluminous Dry Shampoo Blowout
Since you’re after big, beautiful wedding-day hair that lasts, let’s master the voluminous dry shampoo blowout.
- Spritz dry shampoo at your roots for instant lift and texture.
- Flip your head upside down and blast with a blow dryer for one minute.
- Flip back and smooth the top layers with a round brush.
- Finish with a flexible-hold hairspray to lock in that volume.
The One-Minute Headband Glamour Look
I’ve found this look gives you effortless glamour in seconds.
Let’s pick your perfect headband based on your outfit and vibe.
It’s honestly my go-to when I’m running late but still want to shine.
Effortless Glamour In Seconds
If you’re racing against the clock, the one-minute headband look delivers instant polish. I just gather my hair, pop on a stylish band, and I’m set.
Here’s my quick method:
- Brush your hair smooth.
- Place the headband where you want it.
- Tuck any loose front pieces behind your ears.
- Gently pull out a few face-framing strands for softness.
Choosing Your Perfect Headband
How do you pick the right headband for that effortless look? I match mine to my dress color.
A silk band looks elegant, while a sparkly one adds instant glam.
Don’t overthink it; slide it over loosely styled hair. Push it back from your forehead for that chic, relaxed vibe.
It’s truly a one-minute upgrade that makes any simple hairstyle feel wedding-ready.
The Statement Barrette Style
Statement barrettes can give you instant glamour without the hassle of a complicated updo.
I just gather my hair into a low, sleek ponytail or a simple twist. Securing it with a beautiful, oversized barrette does all the styling work for me.
Here’s my quick routine:
- Prep with a smoothing serum.
- Make a clean, low ponytail.
- Twist it once and fold.
- Clip the barrette over the base.
The Easy Half-Up Twist With Volume
For days when I want hair with both height and a bit of romance, the easy half-up twist is my go-to.
I start by teasing the crown lightly for volume. Then, I gather a section from each side, twist them once, and secure with a clear elastic.
I gently pull on the twist to loosen it, creating that soft, romantic look. It instantly elevates my outfit without any fuss.
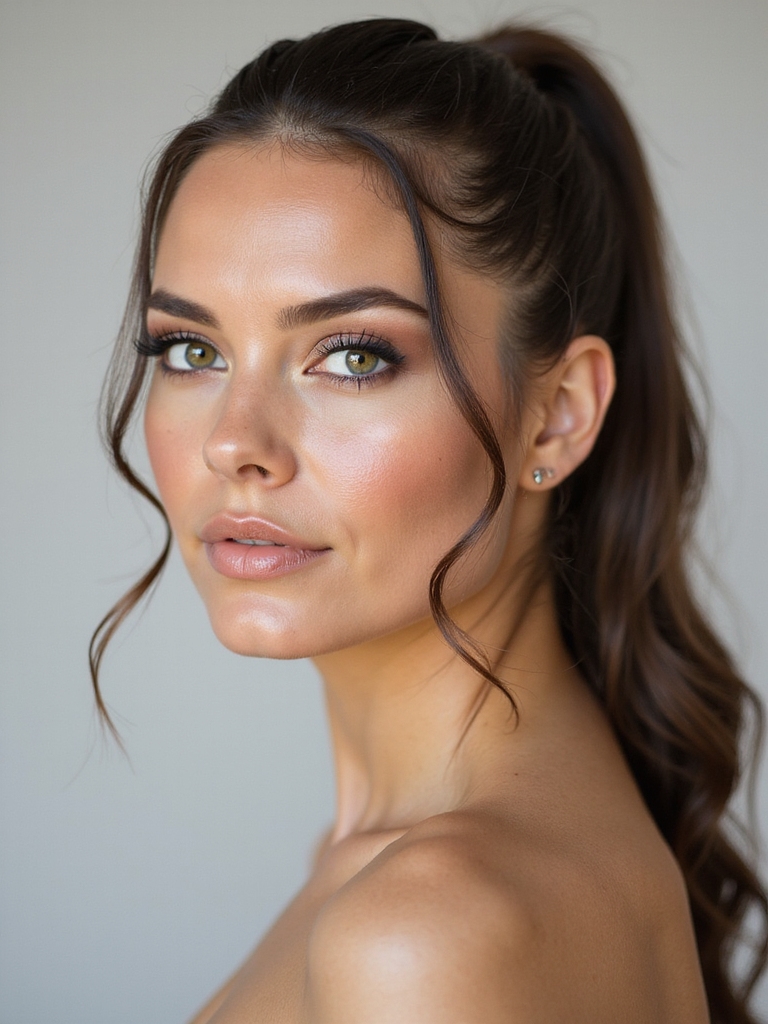
The Sleek Low Ponytail With a Secret
If I’m aiming for a look that’s polished but feels modern, I love a sleek low ponytail with a hidden trick.
Here’s my quick method:
- Work a texturizing spray through damp hair before blow-drying.
- Brush everything into a tight, low ponytail.
- Take a small section of hair from the ponytail and wrap it around the base.
- Secure the end with a bobby pin underneath for that clean finish.
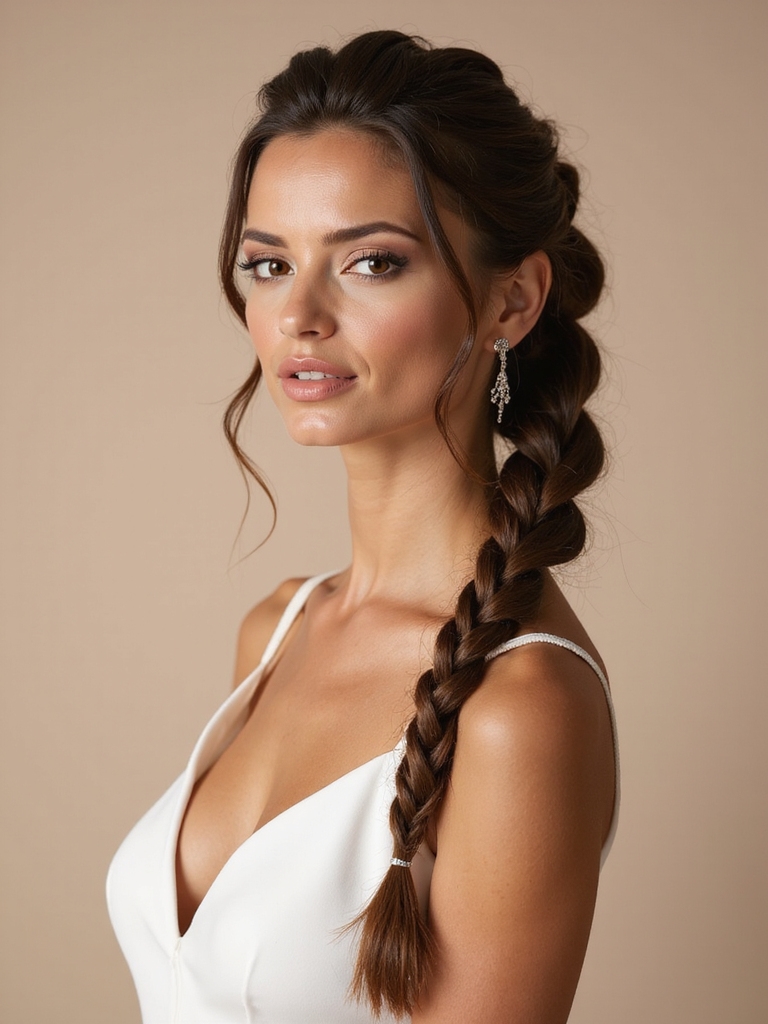
The Romantic Pull-Through Braid
While the sleek ponytail offers clean lines, you might prefer a hairstyle with a bit more texture and romance.
That’s where my pull-through braid comes in. I make a high ponytail and section it into three parts.
Then, I simply pull a little hair through each section, securing it. It creates a gorgeous, full braid instantly, and I don’t even need to know how to braid!
The No-Fuss Braided Crown (Easier Than It Looks)
When you want a hairstyle that looks intricate but actually takes minimal effort, this no-fuss braided crown is the perfect choice.
I love that it’s easier than it looks! Follow my quick steps.
- Part your hair down the middle.
- Make two simple side braids.
- Pull each braid across the top of your head.
- Pin them in place and tuck the ends.
The Elegant Twisted Side Sweep
For a look that’s both polished and wonderfully easy, try the elegant twisted side sweep.
I start with day-old hair for grip, part it deeply, and gather it loosely over one shoulder.
Then, I just twist two small sections from the front, pin them back along my crown, and secure the rest into a low side ponytail.
It gives me instant sophistication without any fuss.
Lock It In: Make Any Last-Minute Style Survive the Dance Floor
That twisted side sweep looks great, but I know it needs to hold through the reception. My secret is a heavy-duty hairspray and strategic pins.
Here’s my last-minute survival kit:
- Spritz roots first for lift and grip.
- Cross bobby pins to lock twists.
- Target the crown with extra spray.
- Tuck a mini spray in your clutch for touch-ups.
It stays put, so you can dance all night.
Conclusion
So grab your five-minute toolkit and pick your favorite. With these tricks, I know you’ll nail a gorgeous look in no time. A little texture spray or a hidden elastic is the cherry on top, making any style last from the ceremony to the final dance. You’ll be ready to head out the door looking polished, with time to spare. Now you can really let your hair down and celebrate!