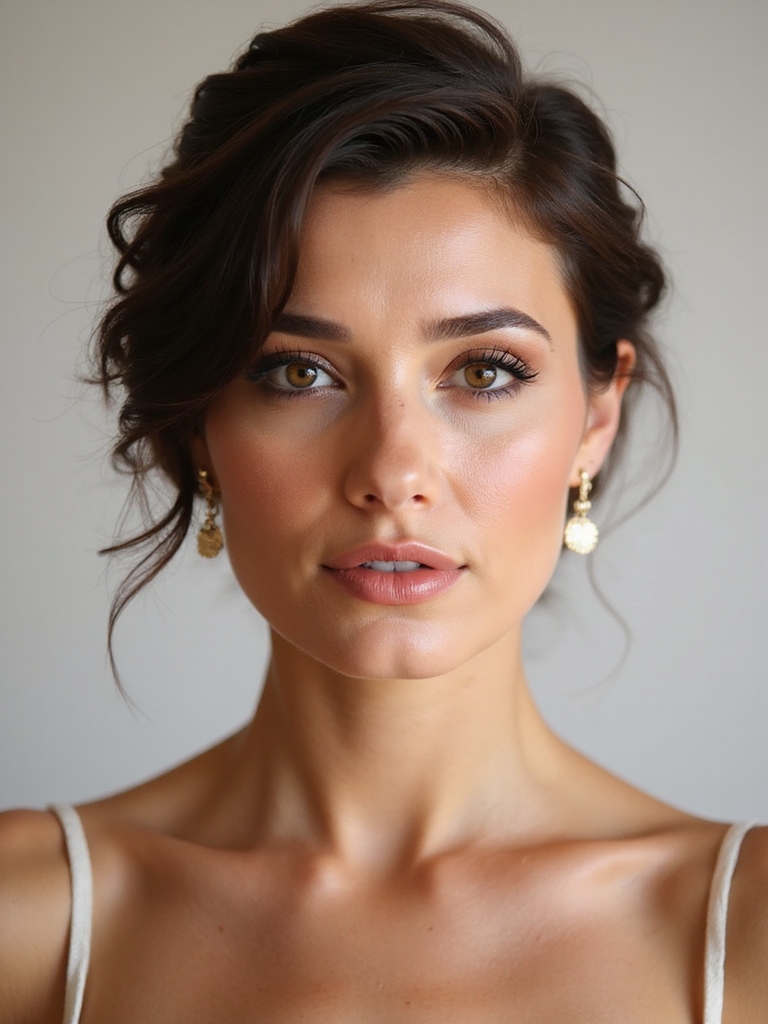
I’ve found sleek straight hair is my go-to as a wedding guest because it’s effortlessly polished, weather-resistant, and complements any outfit. My secret? Prepping with smoothing products and picking a part that flatters my face shape, like a deep side part for drama or a middle part for symmetry. This look stays photo-ready from ceremony to reception. Stick with me and I’ll share my simple tricks to keep it perfect all day long.
Why Sleek Straight Hair Wins for Wedding Guests
Because weddings are packed with photo ops, sleek straight hair guarantees you’ll look effortlessly polished from every angle. I find it’s the ultimate low-maintenance style for a long day; it won’t wilt in humidity or get tangled during dancing. This clean look complements any outfit without competing, ensuring the focus stays on you, not your ‘do. It’s sophisticated simplicity that works from ceremony to the last champagne toast. Additionally, sleek straight hairstyles are versatile enough to match various wedding themes and colors, making them a top choice for any guest.
Prep Your Hair for Maximum Shine and Sleekness
Let’s start by washing my hair with a clarifying shampoo to remove any buildup. I’ll then coat every strand with a heat protectant before I touch my flat iron. Finally, I’ll master a slow, steady smoothing technique to lock in that glossy finish. For a truly polished look, consider incorporating sleek straight bridal hairstyles that showcase timeless elegance.
Pre-Ceremony Cleansing Ritual
Everyone needs a clean canvas before they can create a masterpiece, and the same goes for your hair. For sleek, shiny results, I wash mine the day before the wedding for ideal texture.
My ritual follows three key steps:
- Using a clarifying shampoo to remove any stubborn product buildup.
- Choosing a hydrating, smoothing conditioner to combat frizz.
- Rinsing with cool water to seal the hair cuticle for instant shine.
In addition, using a sleek ponytail hairstyle can elevate your look, making it perfect for a chic wedding guest appearance.
Essential Heat Protectant Application
Once your hair is perfectly prepped and squeaky clean, it’s time to shield it before any hot tools come near it.
I apply a heat protectant spray to damp, towel-dried sections, ensuring every strand gets a light, even coat.
This creates an essential barrier against heat damage, locks in moisture, and boosts shine for that final glass-like finish.
Think of it as non-negotiable insurance for your wedding-guest hair. Remember, using a heat protectant is crucial for protecting your hair from thermal damage, especially when styling for special occasions.
Perfecting The Smoothing Technique
Now that my hair’s shielded, I grab my trusty flat iron because perfecting the smoothing technique is all about methodical sectioning and precise, steady passes.
- Start at the roots and glide down slowly—rushing creates frizz and kinks.
- Overlap each pass slightly to eliminate any missed, wavy strips.
- For the final polish, clamp a cool section and run the iron through once more for insane shine. Incorporating chic wedding hairstyles into your look can elevate your overall style for the event.
Choose Your Base Style: Middle Part vs. Deep Side Part
I always start my sleek look by choosing a part because it frames my face. A deep side part adds a little drama and volume, which can soften strong jawlines, while a clean middle part creates a chic symmetry I find flattering on oval or heart-shaped faces. Honestly, the placement dictates the entire vibe, so I consider my face shape and how much volume I want before committing. Incorporating sleek straight styles can elevate the overall aesthetic of any bridal look.
Face Shape Considerations
Since choosing between a middle and deep side part can literally shape your wedding day look, let’s start with your face shape.
Here’s my quick guide:
- Round or Square Faces: A deep side part adds asymmetry, creating a lovely slimming effect.
- Oval Faces: You’ve won the genetic lottery—you can rock either part beautifully.
- Heart-Shaped Faces: A middle part helps balance a wider forehead with a narrower chin. Additionally, consider beach wedding hairstyles that can withstand the elements while looking stunning.
Part Placement And Volume
Your face shape guides that initial choice between a middle or deep side part, but let’s build on it.
For my middle part, I add subtle “under-volume” at the crown for a modern lift.
With a deep side part, I play up the larger section, using a round brush to create smooth, cascading volume.
Both create that sleek-but-soft silhouette, so choose based on your outfit’s neckline. Additionally, consider how elegant ponytails can transition seamlessly from the ceremony to the afterparty for a chic look.
Find Your Most Flattering Side Part for Your Face Shape
Ever wondered why that side part just doesn’t look right? Your face shape is likely the culprit. Follow this simple guide to find your most flattering part.
- Oval: You’re lucky—deep side parts work wonderfully.
- Round: Create angles with a deep part on either side.
- Square: Soften your jawline with a part just off-center. Additionally, choosing the right wedding hairstyle can elevate your overall look and make a lasting impression.
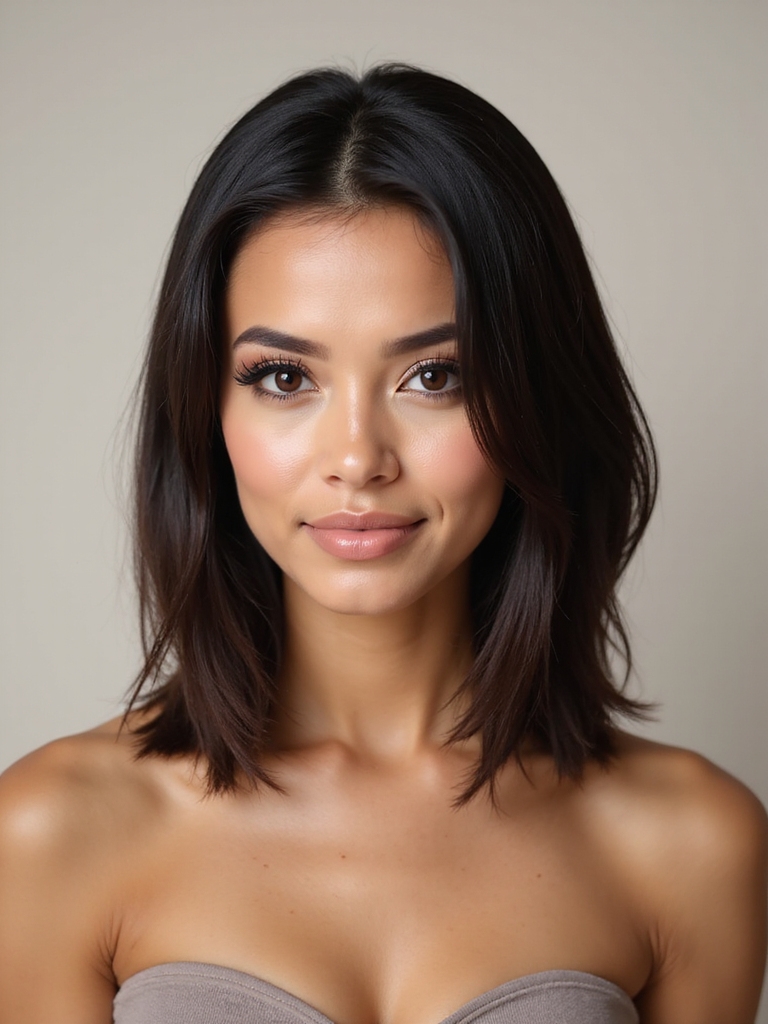
Master the Effortless Glass Hair Middle Part
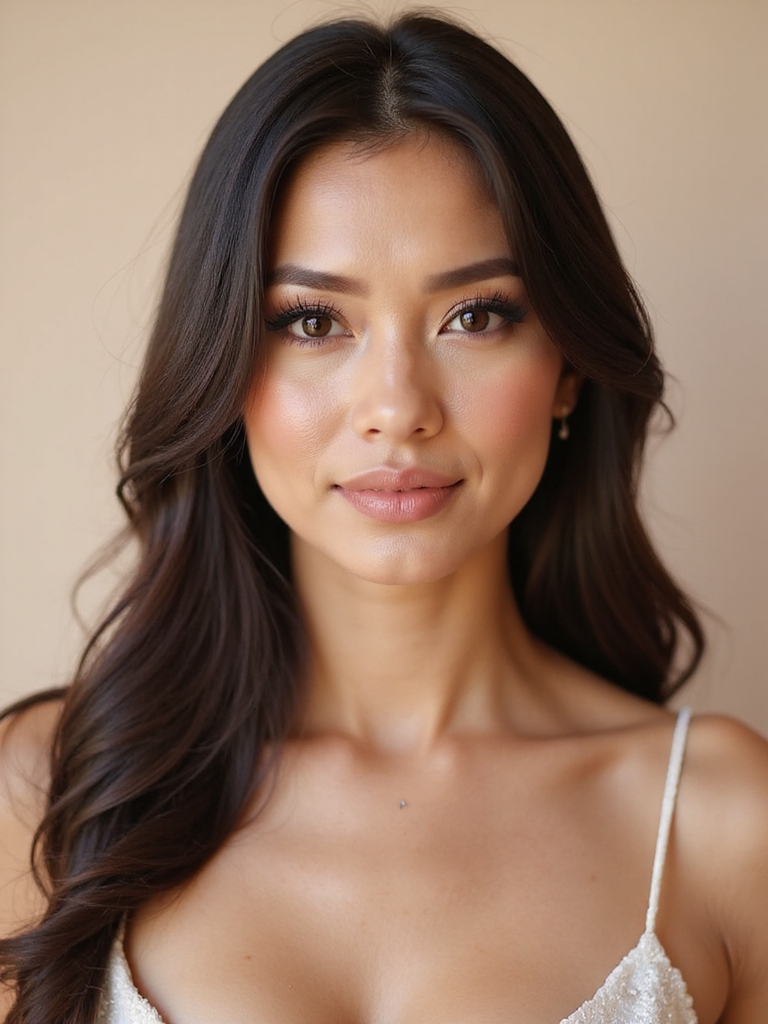
While our last chat was all about side parts, the center part is making a serious comeback for its clean, modern polish.
I get glass hair’s shine from a smoothing serum applied to damp strands before a super-straight blowout with a round brush. That crisp middle part is key—use a fine-tooth comb tail for perfection. This style feels effortlessly chic and keeps focus on your outfit, not your hair. Additionally, achieving elegant hairstyles can elevate your overall wedding guest look.
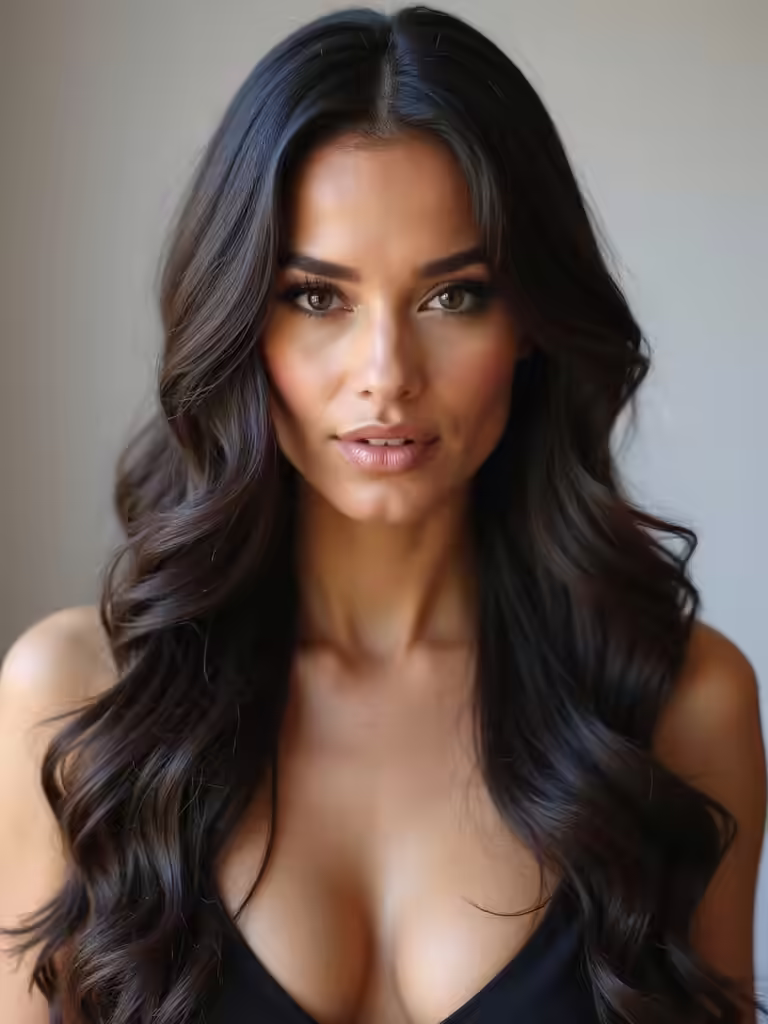
Style a Sleek Deep Side Part for Asymmetrical Drama
I find a deep side part instantly adds glamorous asymmetry, but I always adjust its placement to flatter my face shape.
If you’ve got a rounder face, part it further back to create length; with a longer face, keep the part a bit closer to the center.
It’s a simple trick that makes this sleek look feel custom-made for you.
The Deep Side Part
For a wedding guest look that commands attention with its bold geometry, consider styling a sleek deep side part to create striking asymmetrical drama.
- I find a rattail comb gives me the sharpest, cleanest line from crown to temple.
- Flat iron the roots first in the direction of the part to lay the foundation for that dramatic swoop.
- A strong-hold hairspray is non-negotiable to keep that architectural line intact.
Styling For Your Face Shape
Mastering that architectural side part is one thing, but placing it for your specific face shape is what makes the look go from good to gasp-worthy.
I love a deep side part for creating flattering angles. If your face is round, part your hair lower to visually elongate.
For long faces, try a part closer to the center to add width. It’s your instant, asymmetrical lift.
Pair Your Sleek Style With Your Dress Neckline
While choosing your sleek hairstyle, you’ll want to regard it a deliberate extension of your dress’s neckline—they’re a team, not rivals.
I think of it as elegant geometry.
- Strapless or Sweetheart: Play it up! A sleek center part emphasizes that beautiful, clean line.
- V-Neck: Mirror it. A deep side part creates a matching, elongating angle.
- High Neck or Halter: Go for volume at the crown. It balances the coverage and adds polish.
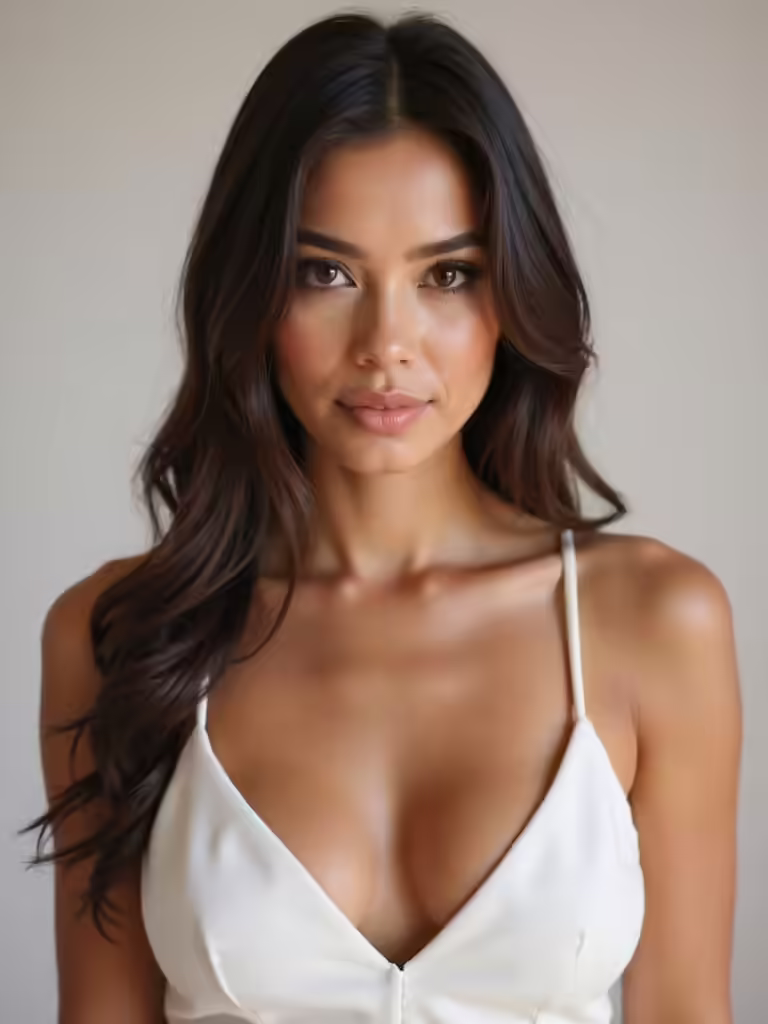
The Polished Low Ponytail for Minimalist Dresses
If you’ve chosen a minimalist dress, the polished low ponytail is your secret weapon, elegantly framing your face without a single hair out of place.
I love how it feels sophisticated yet modern. The trick is a good comb and serum for a glass-like finish at the nape of your neck.
It’s a deliberately simple style that lets your dress and your features do all the talking.
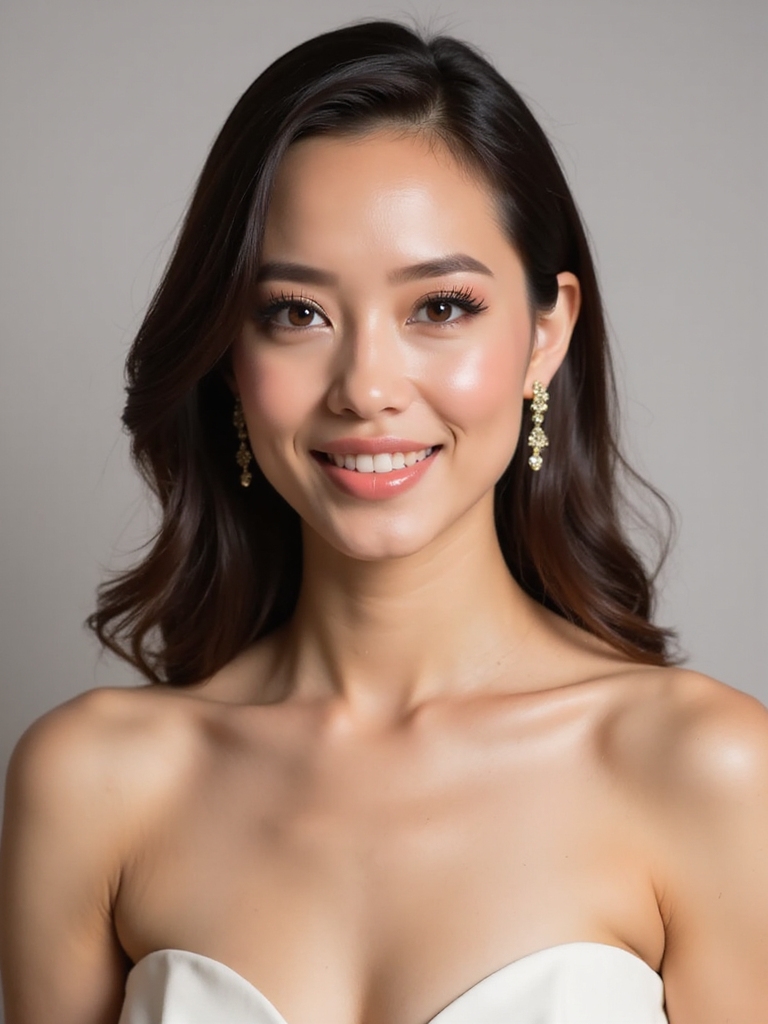
A Chic High Ponytail to Showcase Statement Earrings
Make that statement earring investment count by pairing it with a chic high ponytail, which provides the perfect clean backdrop.
It’s all about creating a frame for those fabulous jewels. My pro-tips for maximum impact are:
- Secure it high at your crown for an instant lift.
- Use a bristle brush and serum for a glass-like finish.
- Wrap a small section of hair around the base to conceal the band.
Accessorize With a Statement Clip or Baroque Pearl
I love how a statement clip instantly elevates a simple style, so I always place mine just above my ear for a modern, asymmetrical look.
For a more romantic vibe, I’ll weave a baroque pearl pin into a deep side part, letting its organic shape peek through.
Both tricks add serious polish without a single curl.
Statement Clip Placement Tips
Because that sleek straight style you’ve perfected creates a stunning blank canvas, let’s talk placement for your statement clip or baroque pearl.
My favorite trick is placing it off-center to avoid a severe look. For the most impact, just slide it in.
- The Asymmetric Edge: Clip it just behind your temple on one side for instant, effortless chic.
- The Classic Center: Secure a deep side part at the crown for elegant symmetry.
- The Low Profile: Nestle it where a low ponytail would gather to add subtle detail from behind.
Baroque Pearl Styling Ideas
Now that your clip is perfectly placed, let’s explore how these pearls can elevate your sleek straight look.
A baroque pearl’s organic shape adds an elegant, slightly edgy contrast.
I like to gather a low side section, securing it loosely for a touch of effortless glamour. It creates a focal point without fuss.
This single piece makes your hair feel curated, proving a minimalist accessory often has the greatest impact.
Incorporate a Delicate Tiara or Headband
One of the easiest ways to instantly elevate your sleek wedding guest hairstyle is by slipping in a delicate tiara or headband.
It’s my secret for adding that bridal-adjacent glamour without stealing the spotlight.
- Choose Wisely: A subtle, crystal-adorned piece looks elegant, while a floral band offers a romantic vibe.
- Place Strategically: Nestle it just behind your hairline for a secure, integrated look.
- Keep it Simple: Let the accessory be the star against your clean, straight hair.
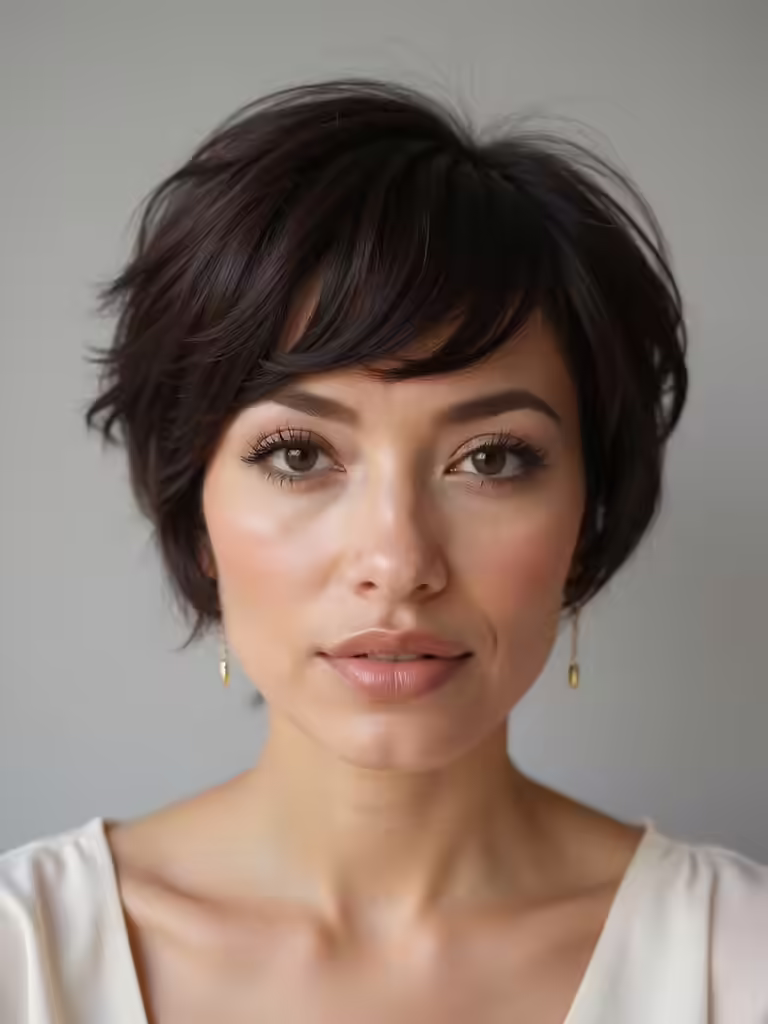
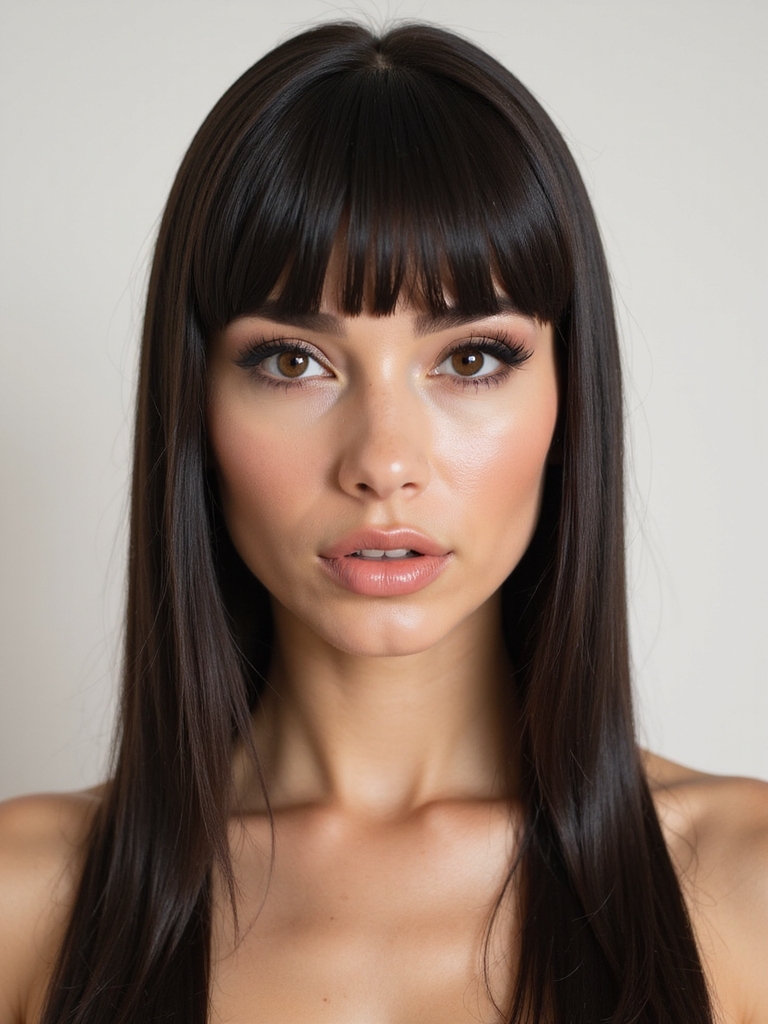
Add Face-Framing Curtain Bangs to Straight Hair
For a softer take on sleek hair, consider adding a pair of face-framing curtain bangs. I love how they instantly add movement and romance.
This ’70s-inspired detail softens your look without sacrificing polish. Ask your stylist for a long, parted fringe that blends into your length.
You can style them with a quick blow-dry, and they’re wonderfully forgiving if you need to fix them last-minute.
Hide a Delicate Braid for Boho Lace Details
Sometimes a wedding’s boho-lace details call for a hidden surprise in your sleek style.
I love weaving a delicate braid near my nape, tucking it secretly for a touch of romantic texture that complements the decor. It’s my whimsical secret!
- Part a small section from behind your ear.
- Braid it tightly, securing the end.
- Pin it flat against your head under the top layer of hair.
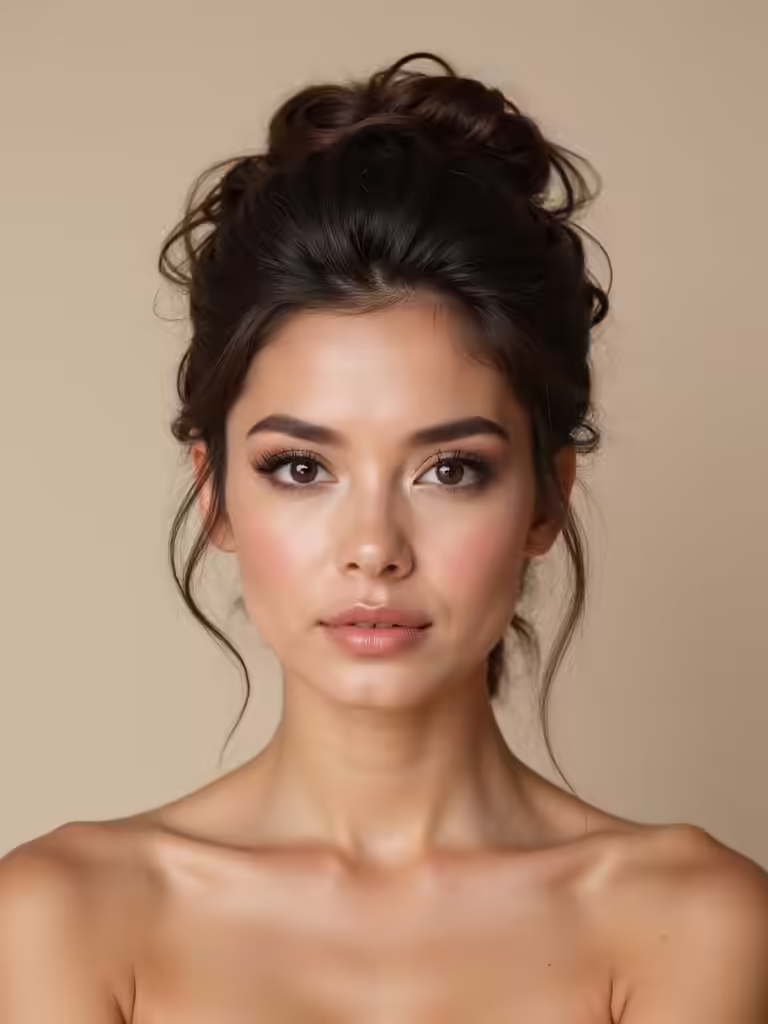
Try a Sleek Tucked Style for High-Neckline Gowns
I love how a sleek tucked style clears the stage for a high neckline, and my go-tos are the polished low bun or a graceful asymmetrical tuck.
These looks are incredibly practical, keeping hair off your face and neck all night while letting the gown’s details shine.
You’ll find both styles are deceptively simple to achieve with a good brush and some strong-hold spray.
The Polished Low Bun
Three, two, one—and you’ve got it: the polished low bun is your chicest strategy for complementing that stunning high-neckline gown.
It clears the canvas, letting the neckline and jewelry shine. My pro-tips for a bun that stays put?
- Start with sleek, blown-out hair.
- Use a texture spray for grip, not shine.
- Secure with pins in a crisscross pattern.
It’s elegance, engineered.
Graceful Asymmetrical Tuck
A sleek asymmetrical tuck offers you a modern alternative that pairs perfectly with that structured high-neckline dress.
I love how this style creates a clean, sculptural line that echoes your gown’s architecture.
Simply sweep your hair to one side and tuck it behind your ear—I find a bit of pomade keeps every strand in its elegant place.
It’s effortlessly chic and completely practical for a long celebration.
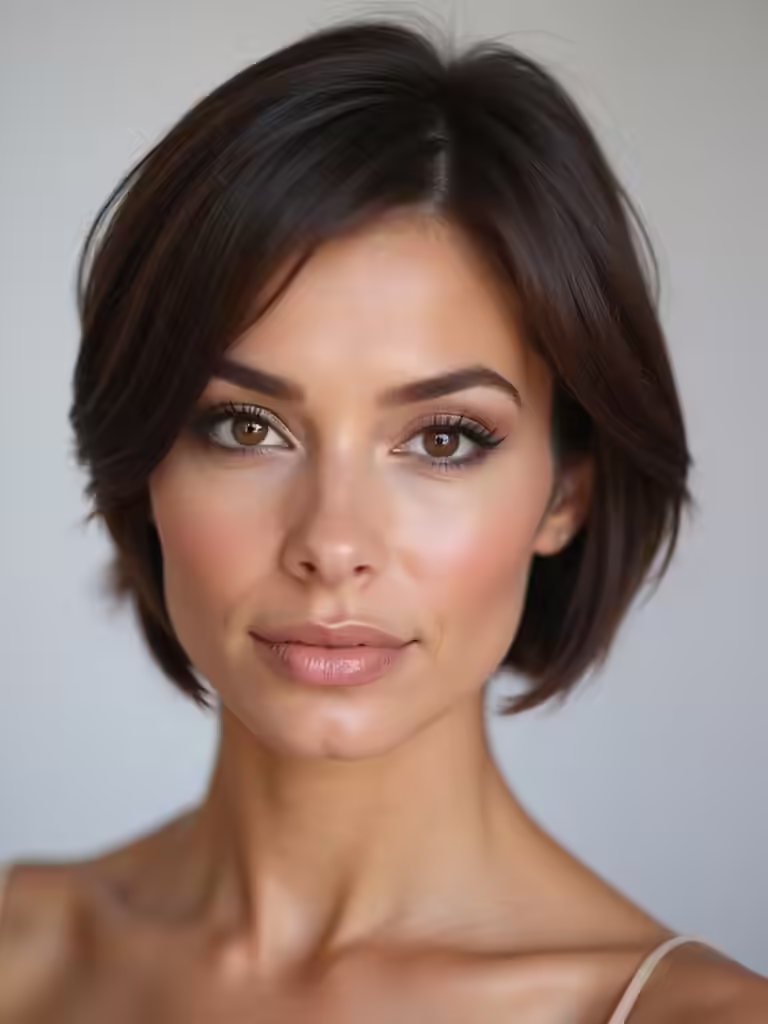
Style Sleek Blunt Bobs for Modern Weddings
For your next wedding invitation, consider a sleek blunt bob—it’s the sharp, modern accessory your look might be missing.
It’s architectural and effortlessly chic, cutting through any outfit’s fussiness. I achieve this polished statement with a flat iron and a light-hold serum.
My three pillars for a flawless bob are:
- Precision Ends: Blunt cuts need zero fraying.
- Glass-like Shine: A glossing spray is mandatory.
- Strong Hold: Use a texturizing paste at the roots for lift.
Add a Soft Flip to Sleek Long Layers
Moving from that sharp bob, let’s talk about a style with a bit more movement.
I’m suggesting a soft, outward flip at the ends of your sleek, long layers. It’s that effortless “just stepped out” vibe, and it’s incredibly easy.
Just run a flat iron down your hair, then gently bend the ends outwards with a quick flick of the wrist. It adds polish without sacrificing any bounce.
Match Your Sleek Hair to the Wedding Venue
Your sleek hairstyle should feel like a natural extension of the wedding’s setting. You can adapt your look to match the venue’s vibe effortlessly.
- Garden Ceremony: I’d add a delicate braid crown to an otherwise simple ponytail for a touch of romantic whimsy.
- Modern Loft: Ultra-straight, center-parted hair mirrors the clean architectural lines.
- Black-Tie Ballroom: A deeply side-parted, low chignon feels elegantly at home.
Lock in Your Style for Hot and Humid Weather
Since summer weddings often bring the heat, I’ll let you in on a few secrets to keep your sleek style from wilting.
First, a solid thermal protectant is non-negotiable before flat ironing—it seals your cuticle.
Then, use a humidity-blocking spray as your final shield. This creates a barrier so moisture can’t penetrate and cause frizz.
Trust me, this one-two punch makes all the difference on a sweltering day.
Essential Products for All-Day Hold and Shine
While I’ve covered battling the humidity, let’s talk about actually building that sleek style from the base up.
You need products that create a smooth foundation and lock in shine. Here’s my non-negotiable trio:
- A smoothing blow-dry cream to prep damp hair and cut frizz.
- A lightweight thermal protectant spray for your flat iron.
- A strong-hold, shine-enhancing hairspray for the final, lasting seal.
Add Volume at the Roots Without Losing Sleekness
Achieving a sleek look with lift often seems like a contradiction, but I’ve found the secret lies in targeted application.
I apply a lightweight root-lifting spray or mousse only to damp roots before blow-drying.
Then, I use a round brush to lift sections at the crown while keeping the lengths pin-straight.
A final pass with a flat iron seals the smoothness, locking in that invisible volume where it counts.
Conclusion
There you have it—my blueprint for perfectly sleek wedding guest hair. With the right prep and products, you can master that chic, polished look that complements any outfit. Remember, it’s all about strategic shine and all-day hold. So, are you ready to turn heads with your flawless style? Just follow these steps, and you’ll be wedding-guest gorgeous from the first photo to the final dance.