I’ve been that girl scrambling for a hairstyle an hour before a wedding, and I’m here to tell you looking expensive doesn’t have to mean complicated. I’m talking low buns with face-framing wisps for effortless polish, messy top knots that hide a multitude of sins, sleek low ponies that fool everyone into thinking you spent hours, and half-up half-down twists that scream romantic without trying. For short hair, textured waves and architectural pixie cuts are your secret weapons. If you keep scrolling, I’ll show you how to pull off embellished styles with fresh flowers and refresh your hair between the ceremony and reception.
Easy Low Bun With Face-Framing Wisps
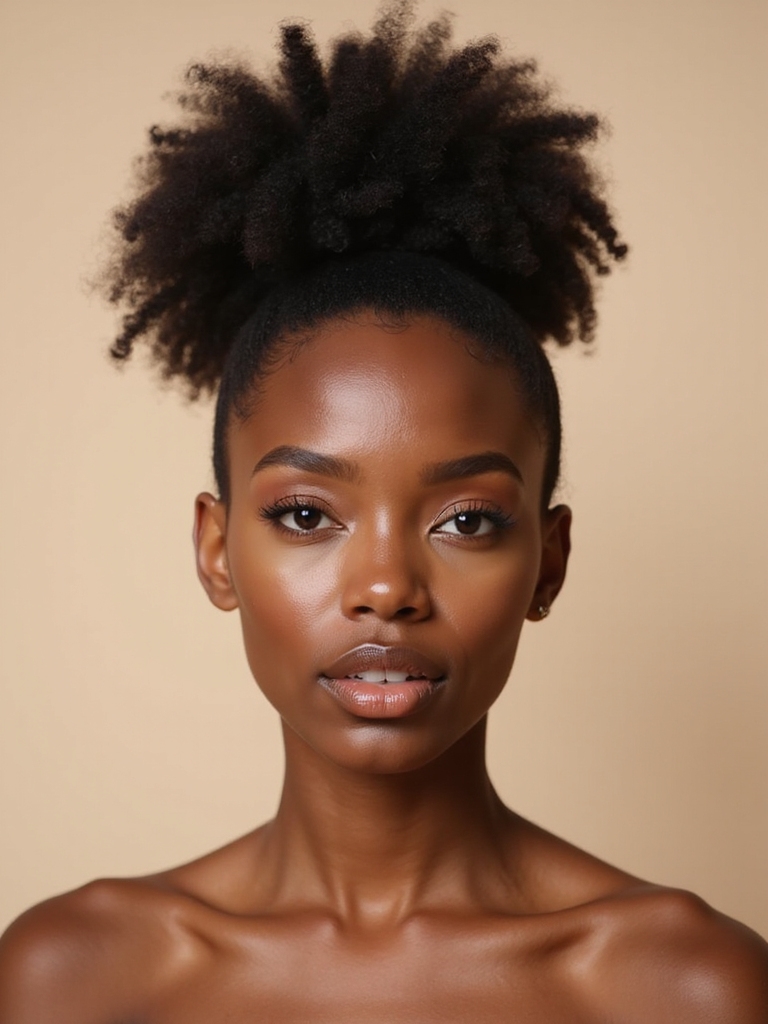
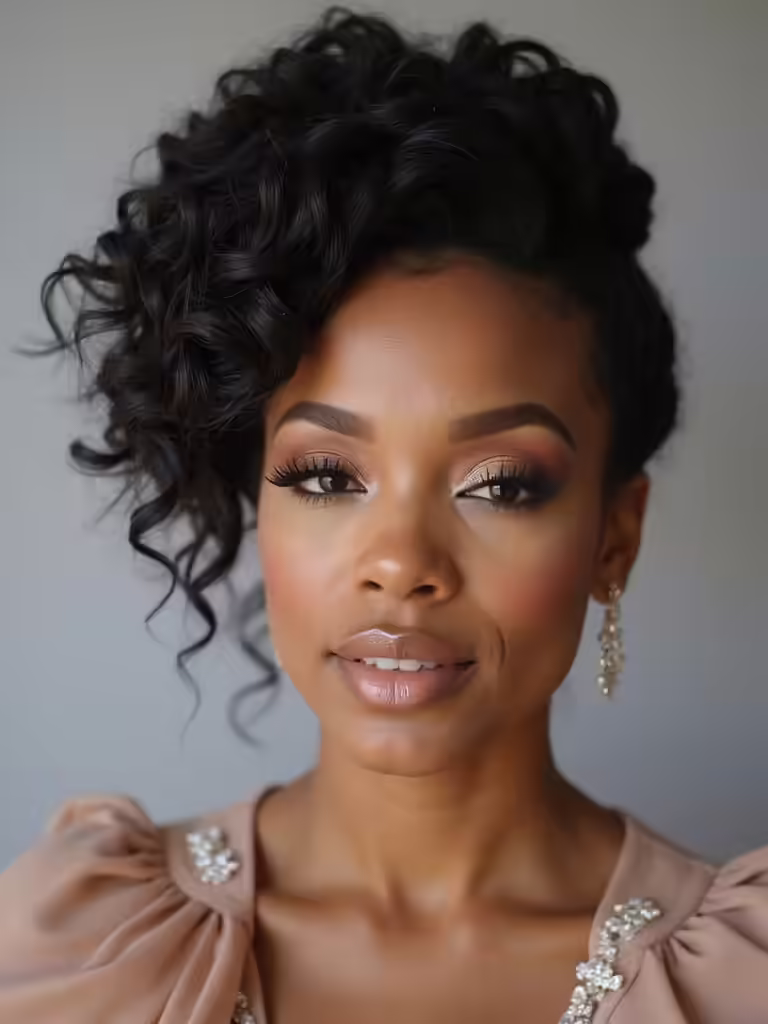
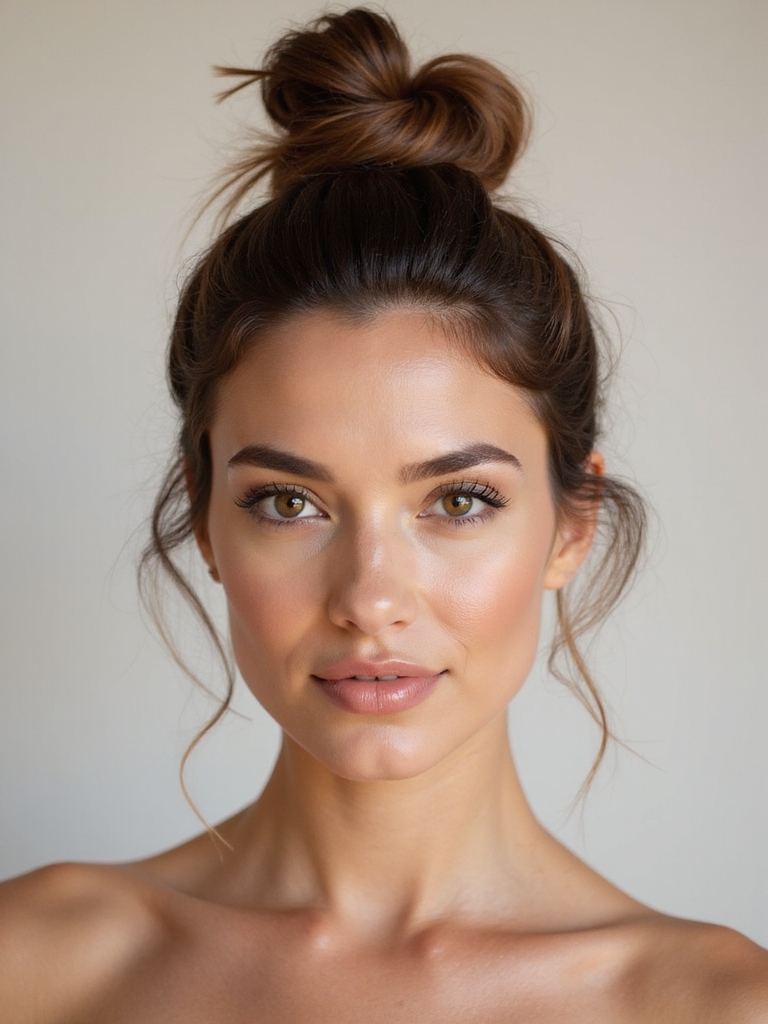
The low bun has saved me from bad-hair-day disasters more times than I can count, and when I add face-framing wisps, it transforms from “I gave up on my hair” to “I absolutely meant to look this effortlessly gorgeous.” This style works beautifully for wedding guests because it keeps your hair off your neck during outdoor summer ceremonies while looking polished enough for formal evening receptions. Incorporating elegant low bun ideas can elevate your look even further, ensuring you stand out at any event.
Simple Messy Top Knot for Quick Elegance
I’m a fan of the messy top knot because it saves me when I’m running late for a wedding but still want to look polished.
I’ll walk you through a simple step‑by‑step guide that gets you from ponytail to chic knot in under five minutes.
All you need is a hair tie, a few bobby pins, and a texturizing spray—basically the bare‑bones toolkit for instant elegance. This style is reminiscent of effortless bridal hairstyles that can elevate your look without the fuss.
Step‑by‑Step Guide
One quick trick to turning a rushed morning into a polished look is to master a messy top knot in under five minutes—I’ve done it while dodging the bridal party’s champagne toast, and it still held up.
First, I mist my hair with texturizing spray and scrunch it for grip.
Next, I gather my hair into a high pony, twist it loosely, and coil it around the base.
Finally, I secure it with bobby pins, leaving out a few face-framing strands for that effortlessly chic vibe.
For added volume and texture, consider using texturizing spray to enhance the overall look.
Essential Tools
A handful of essentials stands between you and that perfectly imperfect top knot: a texturizing spray, bobby pins, a soft hair tie, and a fine-tooth comb.
I use texturizing spray first because my hair needs grip. The fine-tooth comb detangles gently, the soft hair tie won’t hurt, and bobby pins hide in my bag.
These four tools save my look every wedding. Additionally, a beach wedding hairstyle can also benefit from these essentials to withstand the elements.
Sleek Low Ponytail With Volume
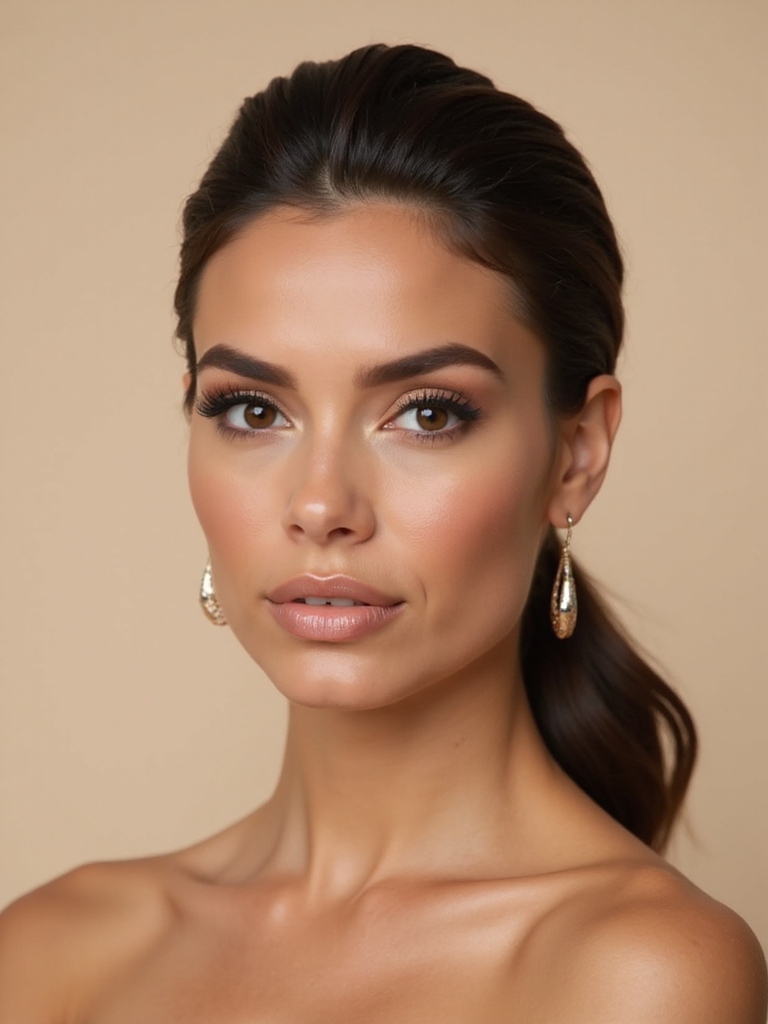
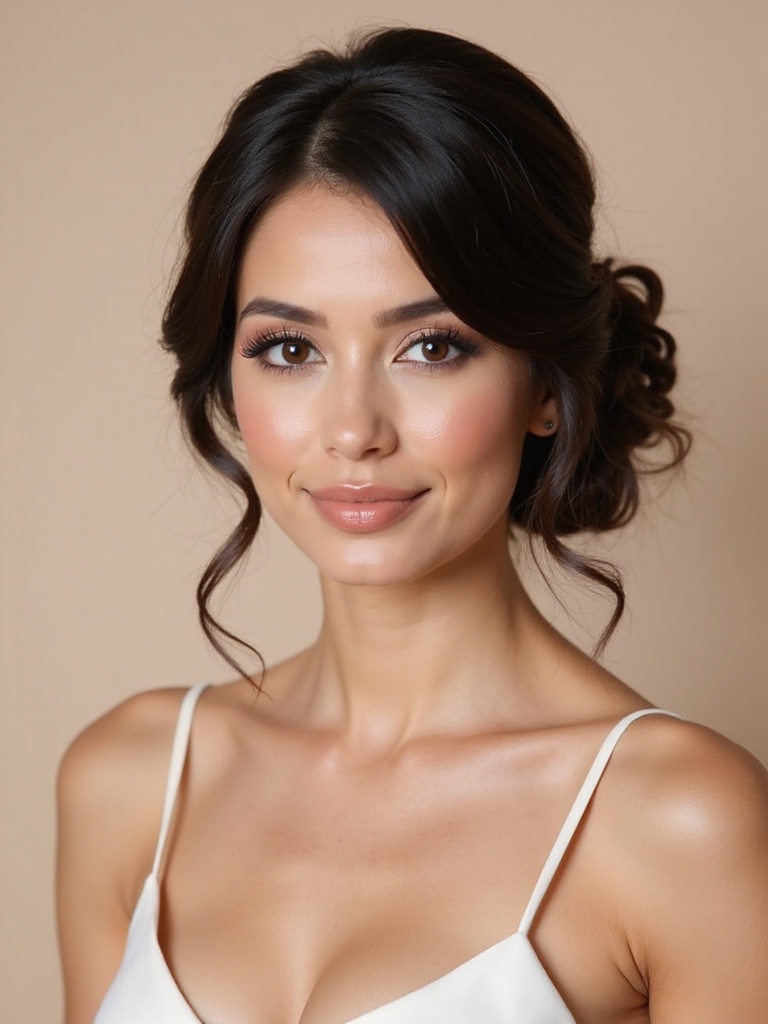
The sleek low ponytail with volume gives you that effortlessly polished look without spending hours in front of the mirror.
I love this style because it takes me five minutes—gather hair low, tease the crown slightly, wrap a strand around the elastic. It looks like I spent more time on it than I actually did, and my hair stays put through dancing, cake cutting, and that awkward hug from your cousin. This style is a perfect example of how elevated ponytail styles can elevate your wedding guest look while remaining chic and sophisticated.
Pulled-Back Ponytail With Polished Roots
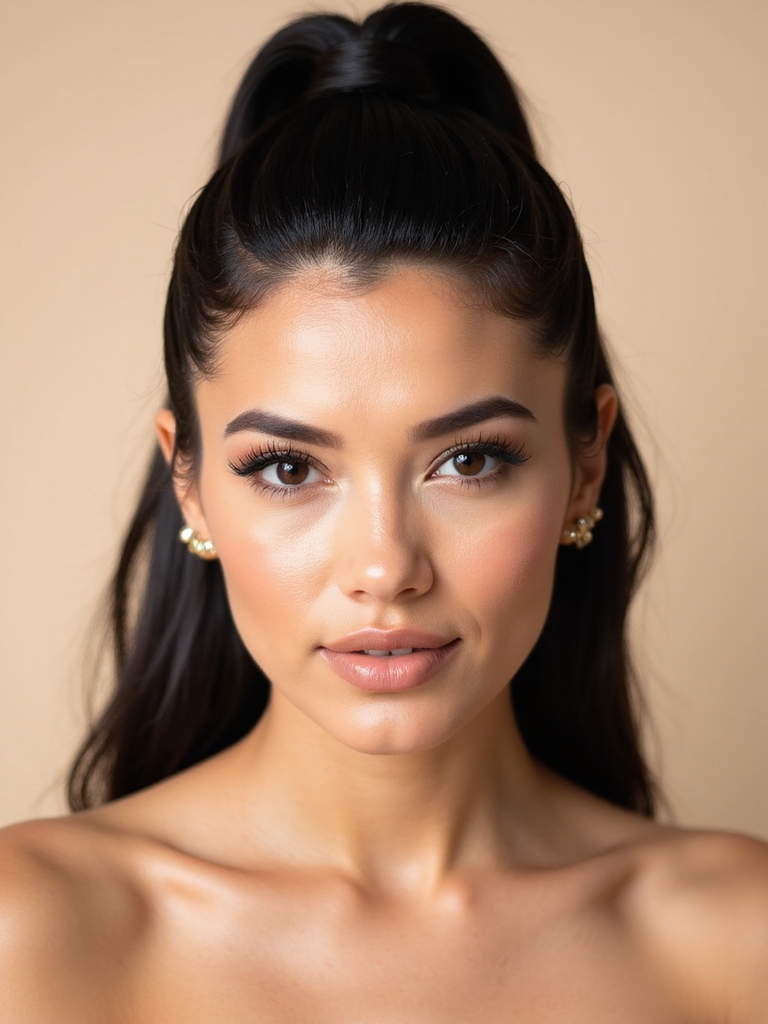
Five minutes stands between you and a pulled-back ponytail with polished roots that fools everyone into thinking you hired a pro. I slick my roots with a bit of pomade, gather my hair at the nape, secure it with an invisible band, then mist the whole thing with anti-humidity spray. This elegant style is perfect for transitioning from the ceremony to afterparty without missing a beat. Zero evidence that I actually hit snooze twice.
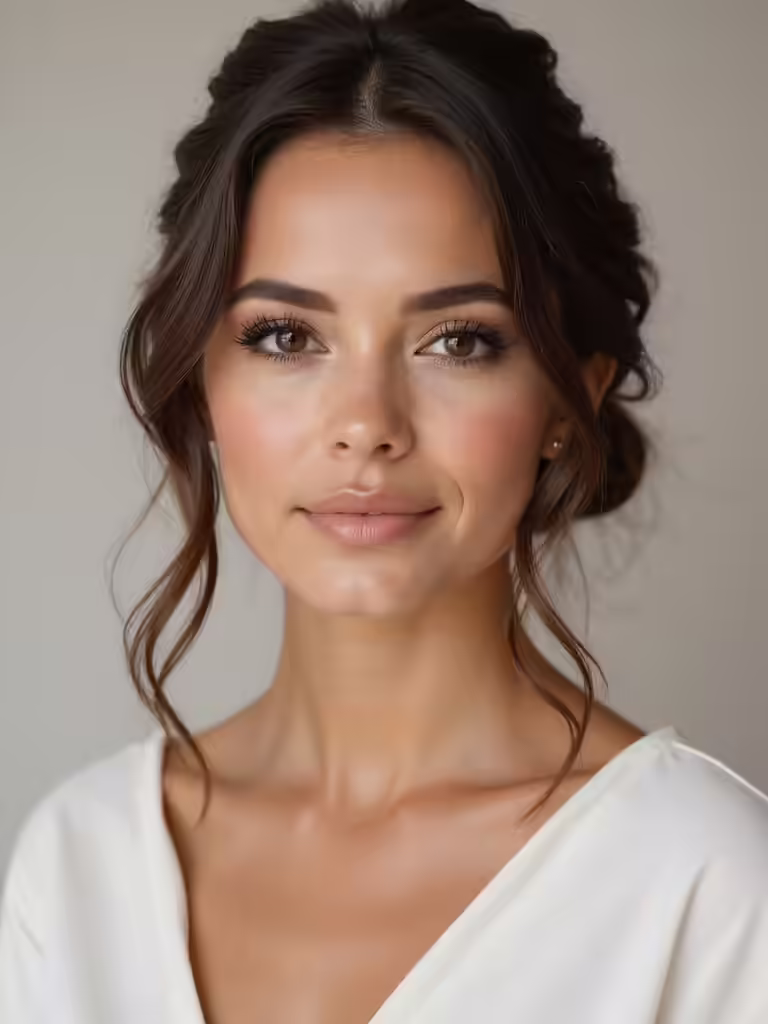
Romantic Half-Up Half-Down With Twists
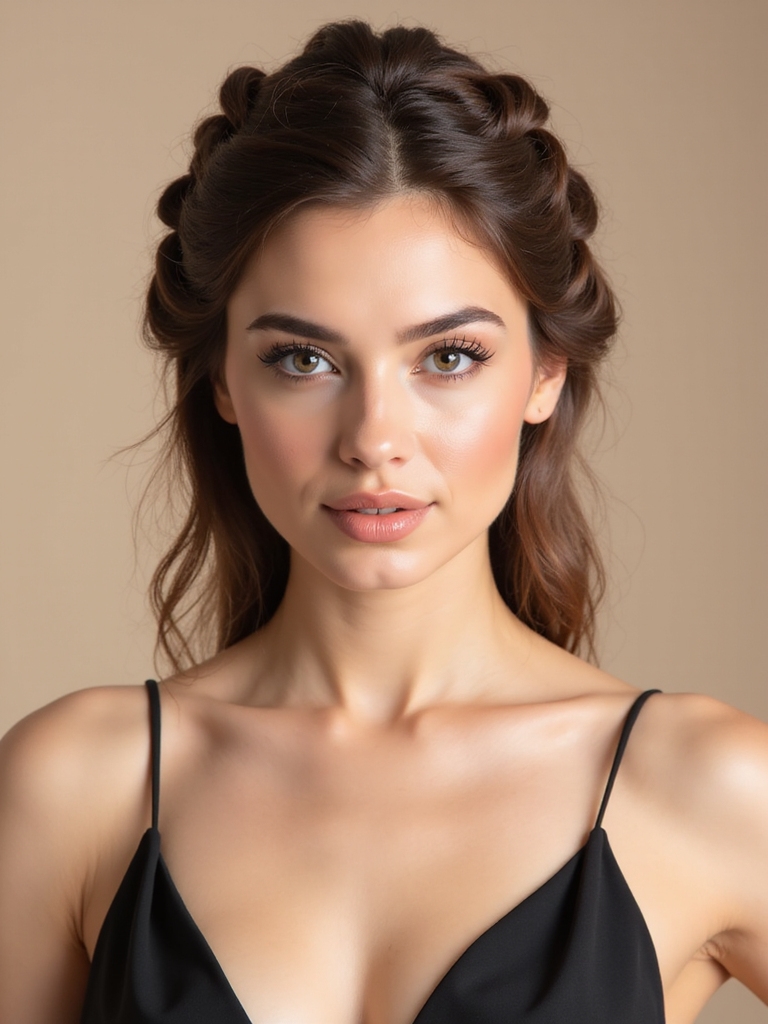
Ever wished you could magically transform your hair into an elegant half-up half-down style without a salon visit? I’m going to show you exactly where to position those twists for maximum impact, recommend accessories that stay put, and share my secret to a flawless, professional-looking finish. Plus, incorporating stunning half-up half-down wedding hairstyles can elevate your look to a whole new level. Ready to become your own hairstylist?
Twist Placement Guide
One thing I learned after botching my first attempt at a twisted updo is that placement matters way more than you’d think.
I positioned my twists too high once and looked like I’d spring-loaded hair ready to bounce.
Now I place them at ear level, gently sweeping sections toward the back.
This creates that romantic, effortless vibe without appearing like you’re about to launch into orbit at a fancy garden wedding. Incorporating elegant half-up half-down styles can also elevate the overall look, making it feel more polished.
Hair Accessory Ideas
Once you’ve got your twists positioned at ear level, the right accessory transforms this half-up half-down look from “casual Tuesday” to “I totally planned this” without actually trying—and that’s the whole point. I adore pinning a vintage pearl clip near each twist for instant elegance, or a simple gold bobby pin adds just enough shimmer without screaming for attention. Consider incorporating chic half-up half-down styles that bridesmaids often wear for a polished finish.
Polished Finish Tips
After you’ve pinned those accessories in place, the final step is misting a lightweight holding spray about 12 inches from your head—I’ve found this prevents that dreaded crunchy-hair effect while still keeping everything where it belongs through the reception.
- Spritz from roots to tips for all-over flexibility
- Skip the heavy gels that turn your waves into a helmet
- A blast of cool air locks in the style like magic
Incorporating elegant half-up half-down styles can elevate your look and add a touch of romance to your wedding guest hairstyle.
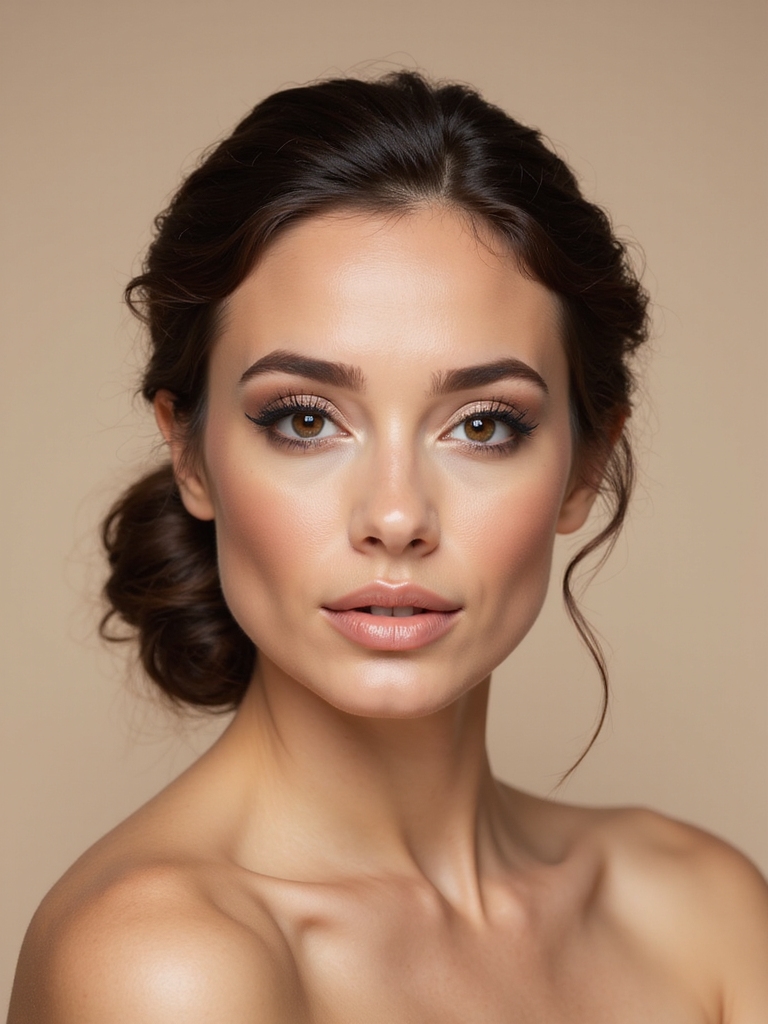
Soft Hollywood Waves for Long Hair
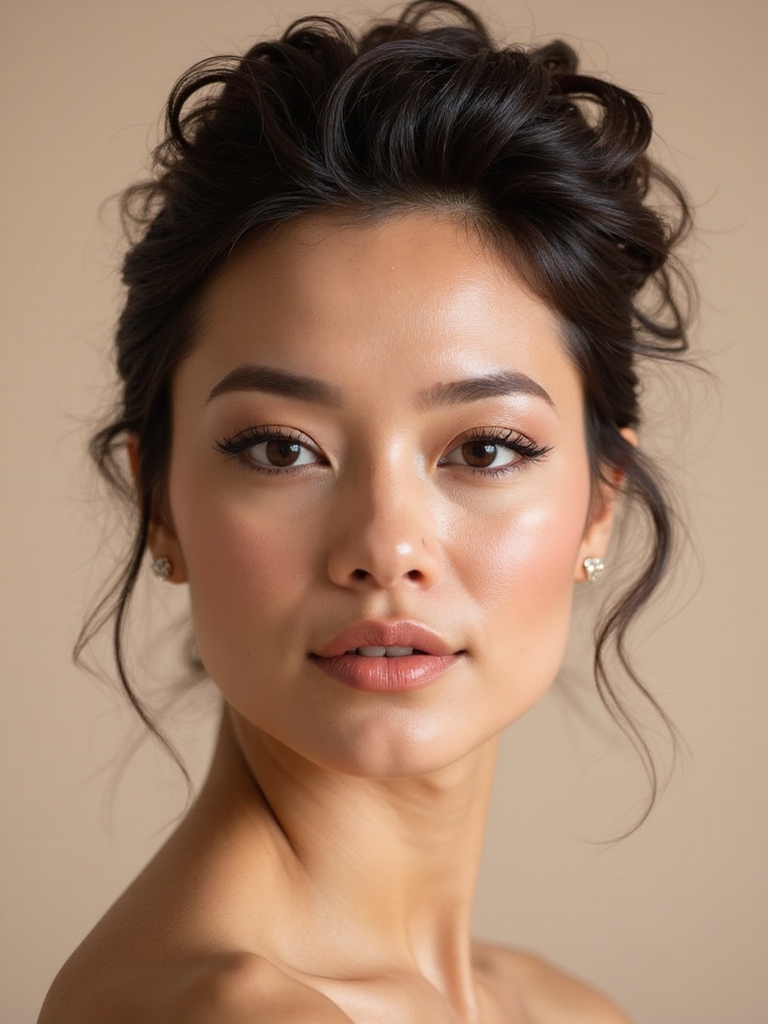
When you need red-carpet glamour without the celebrity budget, soft Hollywood waves transform long hair into something that looks far more expensive than your brunch tab.
I swear by a 1.5-inch barrel curling iron, working in 2-inch sections and letting each curl cool completely before finger-combing.
Mist with flexible-hold spray—the secret isn’t overcommitting, or you’ll look like you raided your grandmother’s vanity.
Loose Mermaid Waves With Sea-Spray Texture
If the Hollywood waves felt too red-carpet for your taste, loose mermaid waves give you that beachy goddess vibe without trying.
I swear by sea-spray texturizing spray for that effortless, windswept look. Here’s how I nail it:
- Spritz damp hair with salt spray before blow-drying
- Scrunch waves with your hands as hair dries
- Finish with a lightweight hold mist to lock in that goddess vibe perfectly
Side-Swept French Braid for Weddings
One fail-safe trick that saves me from looking like I got into a hair-product fight with a tornado is the side-swept French braid.
I sweep all my hair to one side, weave it into a French braid, then pin it behind my ear with bobby pins. It looks fancy but takes me ten minutes, and no one believes me when I tell them.
Romantic Waterfall Braid Tutorial
The side-swept French braid keeps everything locked in place, but the waterfall braid lets your hair cascade in soft layers—and it’s just as easy once you get the rhythm.
I stumbled through my first attempt, but now I swear by this romantic style for every wedding.
- Start with a 1-inch section near your temple
- Drop the lower piece after each crossover stitch
- Let the hair flow naturally for that effortlessly elegant vibe
Fishtail Braid for Bohemian Style
Gathering two equal sections, I cross them over and tuck tiny pieces from the outside in—this simple motion creates that intricate woven look that fools everyone.
The fishtail screams boho goddess without screaming for attention. I secure it with a clear elastic, then gently tug the edges for that effortlessly imperfect vibe.
My secret? Whisper a few bobby pins for security—Aunt Marge’s reception line won’t mess this up.
Double Dutch Braids With Relaxed Finish
I’ve been doing double Dutch braids for years, and I’m excited to show you how simple they really are.
I’ll walk you through the styling steps first, then share my relaxed finish tips that keep everything looking effortlessly chic.
The best part? These braids hold up beautifully even after hours of dancing at wedding receptions.
Styling Steps
Before you begin, mist your hair with a texturizing spray—slightly damp strands hold braids better, and I’ve learned this lesson the hard way after my first attempt collapsed halfway through a reception.
- Section hair into two equal parts
- Braid each side using Dutch technique, pulling strands outward for volume
- Gently tug at the braids to loosen them slightly for that relaxed vibe
Relaxed Finish Tips
Once you’ve mastered those double Dutch braids, the real magic happens during the finishing phase—that’s where I transform tight schoolgirl plaits into effortlessly chic waves.
I gently loosen each braid with my fingers, spritz on texturizing spray, then scrunch upward for soft, romantic waves. One final mist of hold spray keeps everything in place.
This “undone” look screams expensive but takes just minutes—my secret weapon for wedding guest glory.
Elegant Chignon With Hidden Pins
The chignon is the hairstyle that whispers “I woke up like this” while actually requiring strategic pin placement.
I’ve mastered this look by hiding bobby pins beneath rolled hair layers, creating a seamless finish that screams sophistication. Use matte-finish pins matching your shade and place them horizontally for maximum grip.
- Match pin color to your hair
- Position pins horizontally
- Spray lightly to smooth flyaways
Glamorous French Twist Step-by-Step
Trust me, I’ve turned a messy morning hair day into a French twist that lasts through the reception, and I’m excited to show you how.
We’ll start by prepping the hair section, then create the twist, and finish by securing it with pins that stay hidden.
Let’s get that elegant twist done before the first dance, shall we?
Prep Hair Section
Three things I wish I’d known before attempting my first French twist: sectioning matters more than you think, the right bobby pins are absolute game-changers, and there’s definitely a trick to making it look effortlessly elegant instead of like you’ve been caught in a wind tunnel.
Before twisting anything, I’ve learned these prep essentials:
- Mist texturizing spray on clean, day-old hair for grip
- Comb through knots gently—yanking breaks the mood (and the hair)
- Divide hair into three sections: bottom, middle, and crown
Create Twist
First up: grab that middle section and roll it inward toward your scalp, keeping the tension firm but not hair-yanking tight—as you roll, tuck the ends under and hold the whole thing in place with your non-dominant hand while you reach for a bobby pin (the ones with the little waves on them, remember?).
Now twist the remaining hair upward, spiraling it over your rolled section like you’re wringing out a towel but fancier.
Secure With Pins
Once you’ve got that rolled section pinned in place, grab your bobby pins and attack the twist from multiple angles—you want them scattered like you’ve just sprinted through a wind tunnel, not lined up in a neat little row.
Here’s my go-to pinning move:
- Angle them under the twist
- Push past loose strands
- Layer at least two pins
This chaos keeps my updo locked tight through dancing, hugging, and every awkward guest interaction.
Textured Wavy Bob for Short Hair
The textured wavy bob is your secret weapon when you’ve been invited to a wedding but your patience for complicated styling runs exactly zero minutes.
I spritz on texturizing spray, scrunch my waves with my fingers, and boom—instant volume that photographs beautifully. It looks like I spent an hour when I actually spent three minutes.
The slightly undone vibe fits perfectly with wedding guest attire without trying too hard.
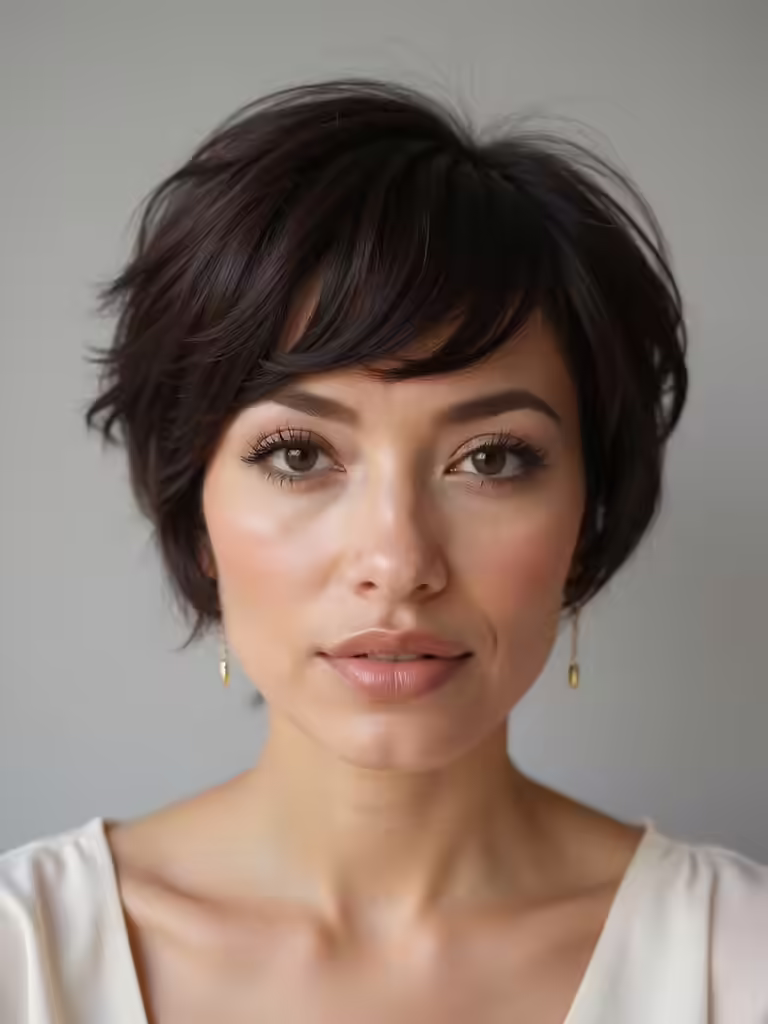
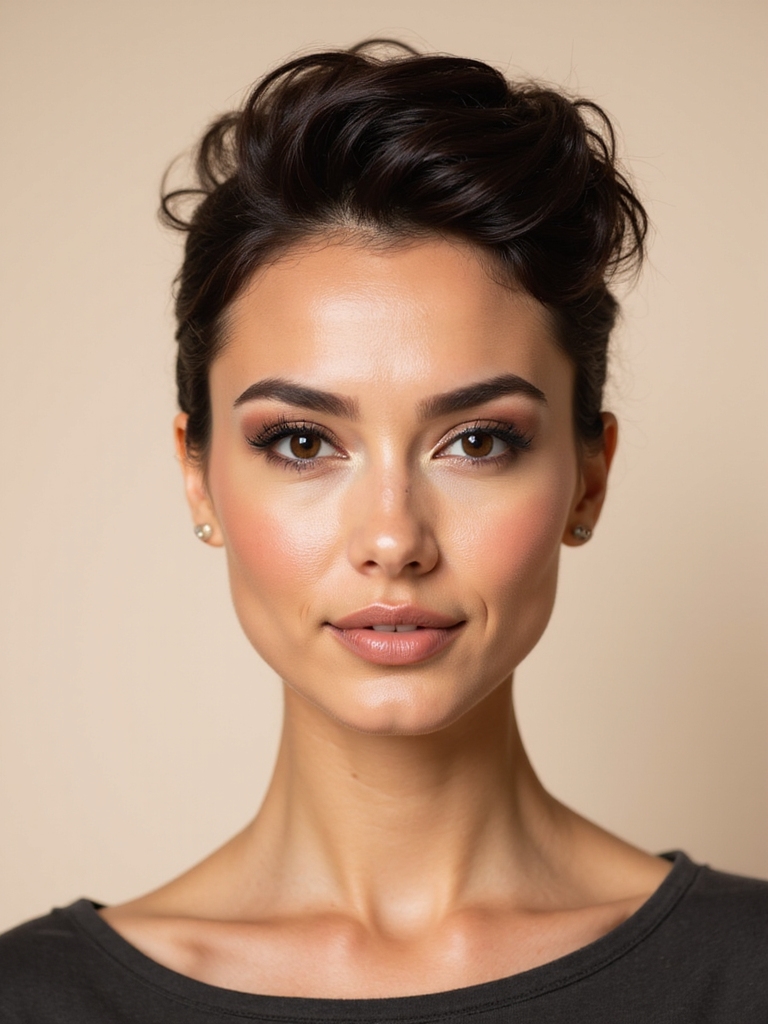
Sleek Pixie Cut With Architectural Shape
If you’re like me and barely have time to run a comb through your hair before dashing out the door, the sleek pixie cut with architectural shape is about to become your wedding season MVP.
This sculpted ‘do channels serious “I woke up like this” energy without the effort.
- Requires zero styling time—just smooth with fingertips
- Holds its shape through dancing, hugs, and cake cutting
- Looks ridiculously expensive while actually being practical
Embellished Wedding Style With Fresh Flowers
Let me tell you how I stopped spending a fortune on salon embellishments and started raiding the grocery store’s flower section instead—because nothing says “I made an effort” quite like strategically placed peonies in your bun.
I scout for roses, baby’s breath, or wildflowers, keeping stems short and securing them with bobby pins near my ear or tucked along my updo.
They’re cheap, fragrant, and I grab them on my way to the venue—instant elegance without the markup.
Hair Refresh Tips Between Ceremony and Reception
One minute you’re crying happy tears into your bouquet, the next you’re sweating through the reception photos—and my hair knows it.
Here’s my fix:
- Dry shampoo refreshes my roots instantly
- Bobby pins in my clutch save flattening emergencies
- Light setting spray locks my style through dinner and dancing
These tricks keep me looking expensive even when I’m a hot mess.
Conclusion
I’ve tried all these looks on my own hair, and honestly, they’re life‑saver for any wedding invite. Want to know the secret? It’s less about pricey salons and more about a few clever pins and a spritz of hairspray. So grab your brush, laugh at the mirror, and step out looking fab—because you deserve to shine without breaking the bank. And if a strand rebels, twist it into a tiny bun and call it chic.