I’ve crafted sleek bridal looks that pair polished crowns with romantic texture. You’ll find styles here that flatter any hair type, from structured low knots to modern ponytails. I guide you through creating the perfect slicked-back base and choosing focal accessories like pearls. My tips guarantee effortless elegance. Stay with me to discover how these looks can elevate your wedding day style.
Defining the Slicked-Back Bridal Look: Polished Meets Effortless
While a slicked-back style might seem simple, achieving that perfect bridal balance—where polished meets effortlessly chic—requires a bit of insider know-how.
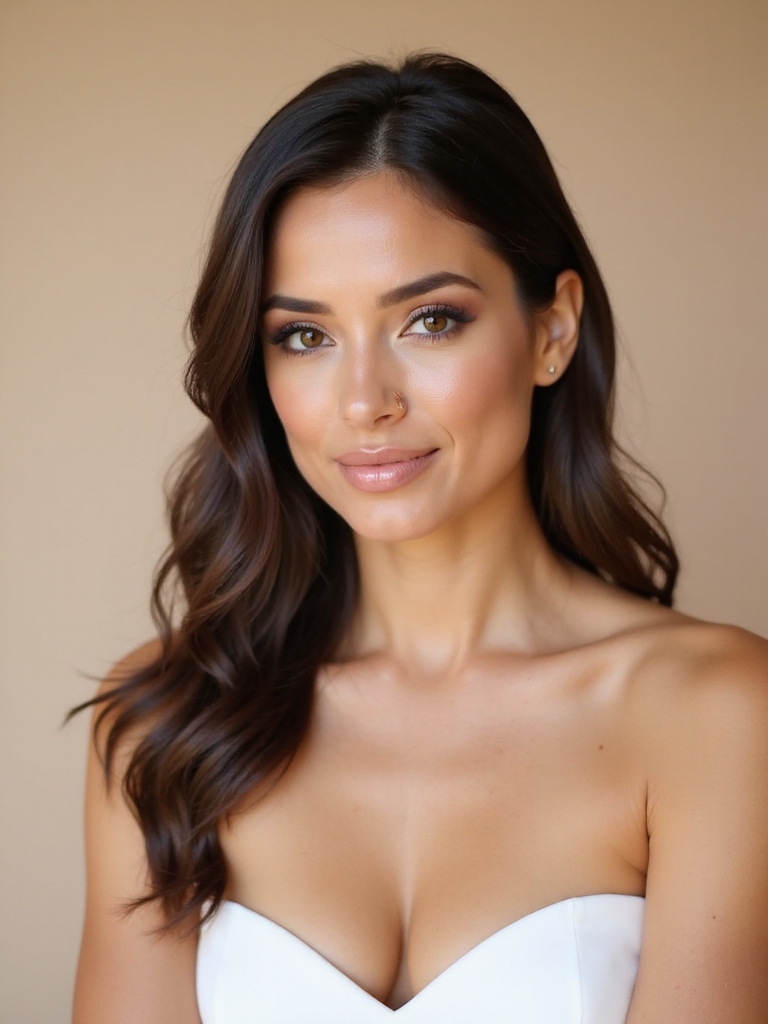
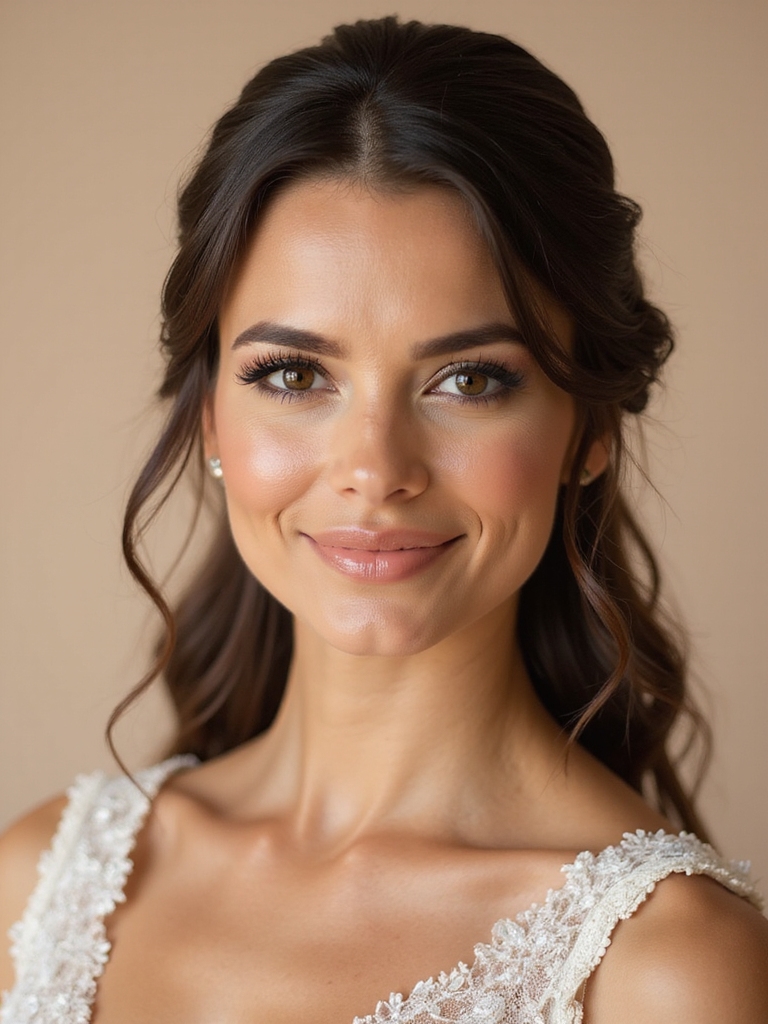
I define it by its smooth, tight crown, but the secret’s in the texture you leave out. I keep the lengths loose, whether in waves or a straight fall.
That controlled yet soft contrast is the modern, intentional elegance I craft for my brides.
Incorporating elements from half up half down wedding hairstyles can add a timeless yet contemporary flair to the overall look.
Why the Slicked-Back Style Flatters Every Hair Type
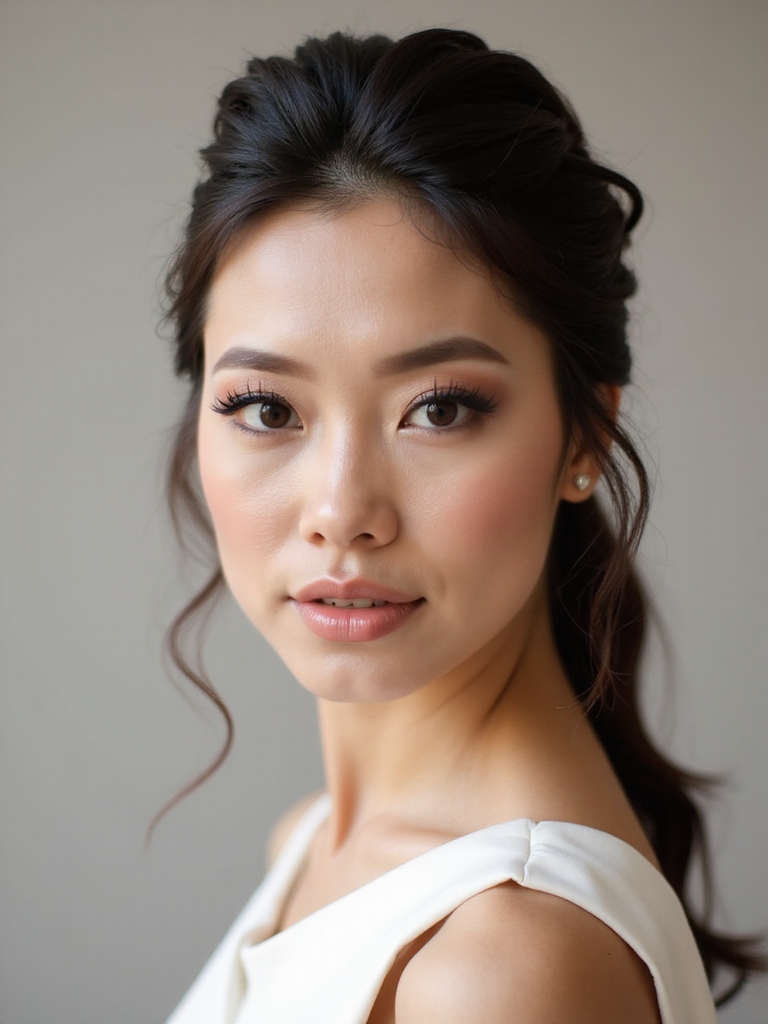
Because the foundation of this style is in its sleek, gathered crown, it works with—not against—the natural volume and texture of any hair type.
I find it tames frizz for straight hair, defines waves beautifully, and gives fine hair a lift it desperately needs.
For thick curls, that sleek top section creates a stunning contrast, making the style universally flattering and incredibly manageable for your wedding day.
Additionally, incorporating half up half down hairstyles with bangs adds a chic and romantic touch that complements the slicked-back look perfectly.
Sleek & Structured Slicked-Back Styles
I’ll show you three structured styles perfect for this look.
Start with the classic low knot for an elegant, secure foundation.
Then consider an angular side part for modern definition, or add texture with a voluminous crown braid woven into the sleek back.
For brides with straight hair, embracing sleek hairstyles always results in a stunning and effortless look.
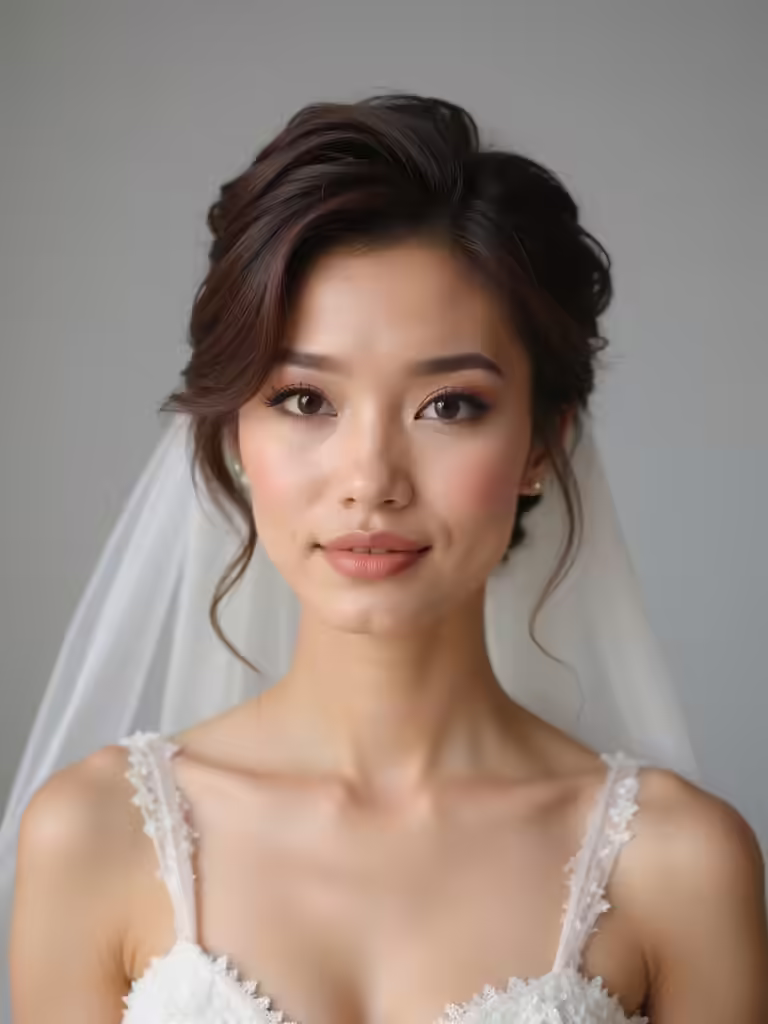
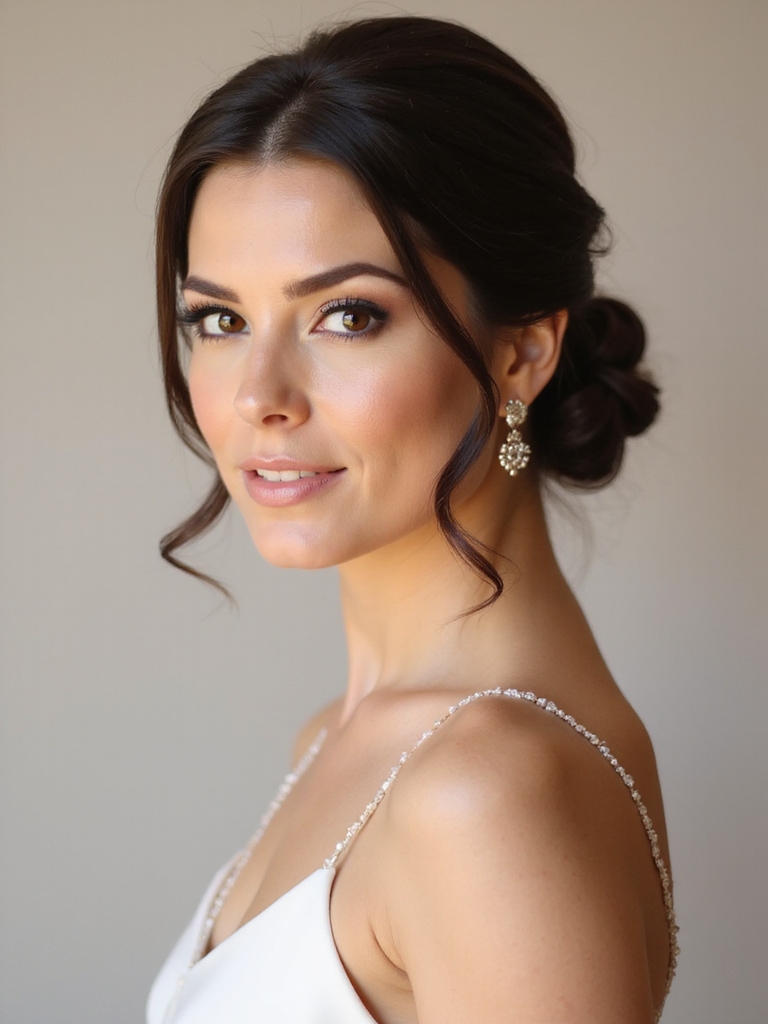
The Classic Low Knot
Achieving a sleek, structured wedding hairstyle begins with a perfectly executed Classic Low Knot.
I always start with a strong-hold gel at the roots, ensuring my ponytail base is immaculate. Then, I twist the hair into a secure, clean knot, pinning it firmly. This creates an elegant focal point that feels modern yet timeless.
For brides looking for versatile options, incorporating half up half down hairstyles can add a charming and romantic touch to the sleek look.
The Angular Side Part
While a smooth ponytail forms the foundation, introducing a strong, angular side part transforms the look into something sharply sophisticated.
I always suggest using a fine-tooth comb and strong-hold gel to carve a clean line from your temple to the crown.
It’s a stark, modern detail that beautifully frames your face, creating powerful geometry that feels both bridal and fashion-forward for a polished ceremony aesthetic.
For brides seeking elegance, incorporating half up half down hairstyles can add a romantic yet contemporary touch to this sleek look.
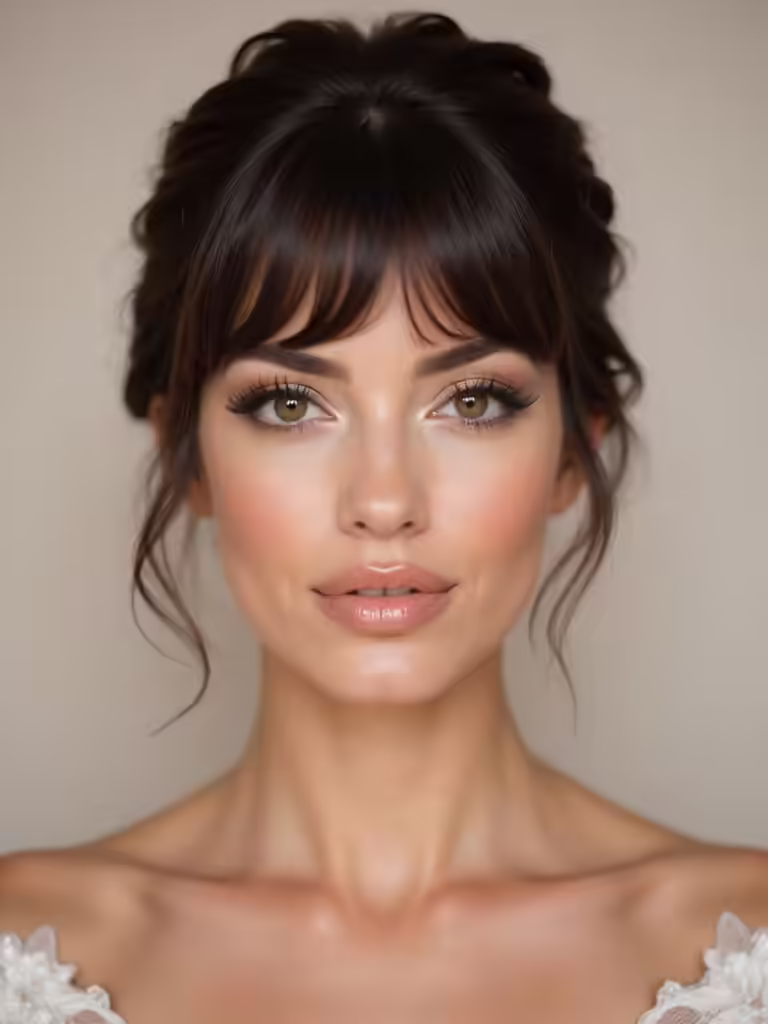
The Voluminous Crown Braid
For a truly show-stopping variation of the sleek, structured style, I recommend building a voluminous crown braid over the foundation of a slicked-back ponytail.
I work on second-day hair for grip, then gently pull the braid’s loops apart for a soft, textured halo. This anchors a cathedral veil beautifully.
Finish with a firm-hold, shine-enhancing spray to keep every strand perfectly polished from ceremony to final dance.
This hairstyle is one of the most stunning half up half down wedding hairstyles to inspire you for your big day.
Create a Classic Slicked-Back Low Bun
I’ll start by explaining how to prep your hair and tools for a slicked-back style.
Next, I’ll show you how to masterfully slick the crown area to eliminate flyaways.
Finally, I’ll guide you through securing the perfect, polished low bun for a timeless wedding look.
Achieving this style effortlessly combines simplicity with an expensive look that enhances your bridal elegance.
Prep Hair And Tools
Start with clean, dry hair, as the slicked-back style demands a smooth foundation without any residual oils or moisture.
I gather my tools so everything’s within reach.
- A fine-tooth comb for maximum control and sleekness.
- Strong-hold gel or pomade to lay every hair flat.
- Hair elastics, pins, and a texturizing spray for securing and finishing the bun.
For added elegance, consider incorporating half up half down wedding hairstyles for a stunning bridal look.
Slick The Crown Area
With your tools ready, I move directly to smoothing the hair at the crown.
I apply a strong-hold gel to damp hair, working from my forehead back. Using a fine-tooth comb, I meticulously sleek every section flat against my scalp.
I eliminate any bumps or flyaways for that polished foundation. This creates the signature, modern bridal silhouette before I gather the hair for the bun.
These effortless techniques are inspired by popular wedding guest hairstyles that you can actually pull off without a pro, making it easier to achieve a flawless look at home with minimal effort.
Secure The Low Bun
Next, gather the half-up portion I’ve just smoothed and secure it into a classic low bun at the nape of my neck.
I guarantee it’s sleek by following these steps:
- Twist the gathered hair tightly to eliminate any gaps.
- Wrap it into a compact coil, keeping it flat against my head.
- Secure everything with hairpins, criss-crossing them through the bun’s center for all-day hold.
This elegant style is perfect for brides looking for half up half down hairstyle inspiration that combines sophistication with a touch of softness.
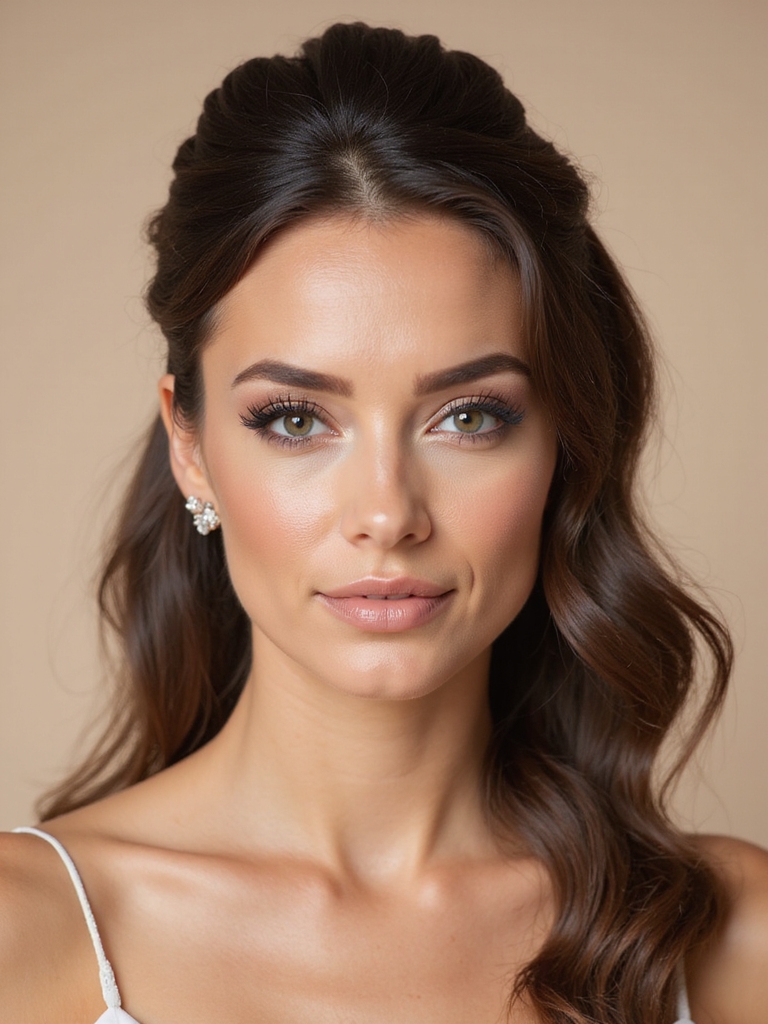
Try a Modern Slicked-Back Bridal Ponytail
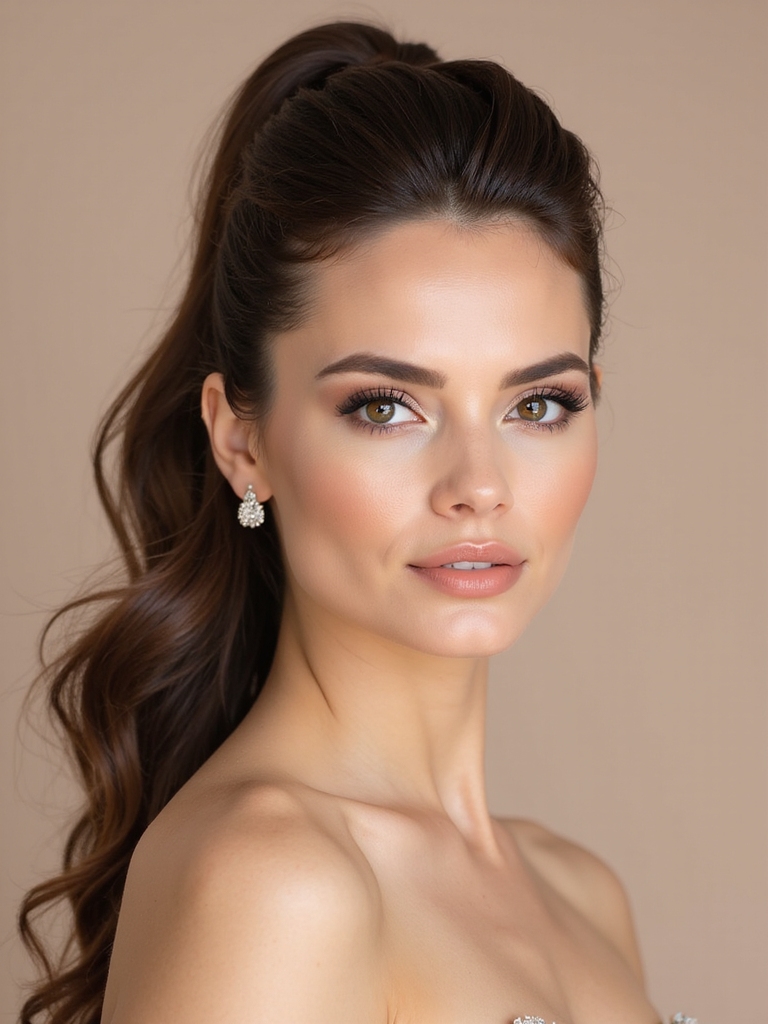
Achieve sleek sophistication by choosing a modern slicked-back bridal ponytail, a look I consider the ultimate fusion of clean elegance and contemporary style.
I recommend using a strong-hold gel to secure every strand against your scalp for that flawless finish.
This style beautifully showcases your facial features and jewelry.
It’s perfect for a minimalist or architectural gown, creating a stunning, intentional silhouette that feels both powerful and polished.
Get a Glamorous Slicked-Back Deep Side Part
A glamorous slicked-back deep side part delivers an instant dose of Hollywood elegance.
I create this look by focusing on impeccable tailoring and high-shine product.
My signature process:
- Section a dramatic, clean part close to one ear.
- Smooth hair back with strong-hold gel, ensuring zero flyaways.
- Gather the lower half into a soft, luxurious wave, leaving volume at the crown for balance.
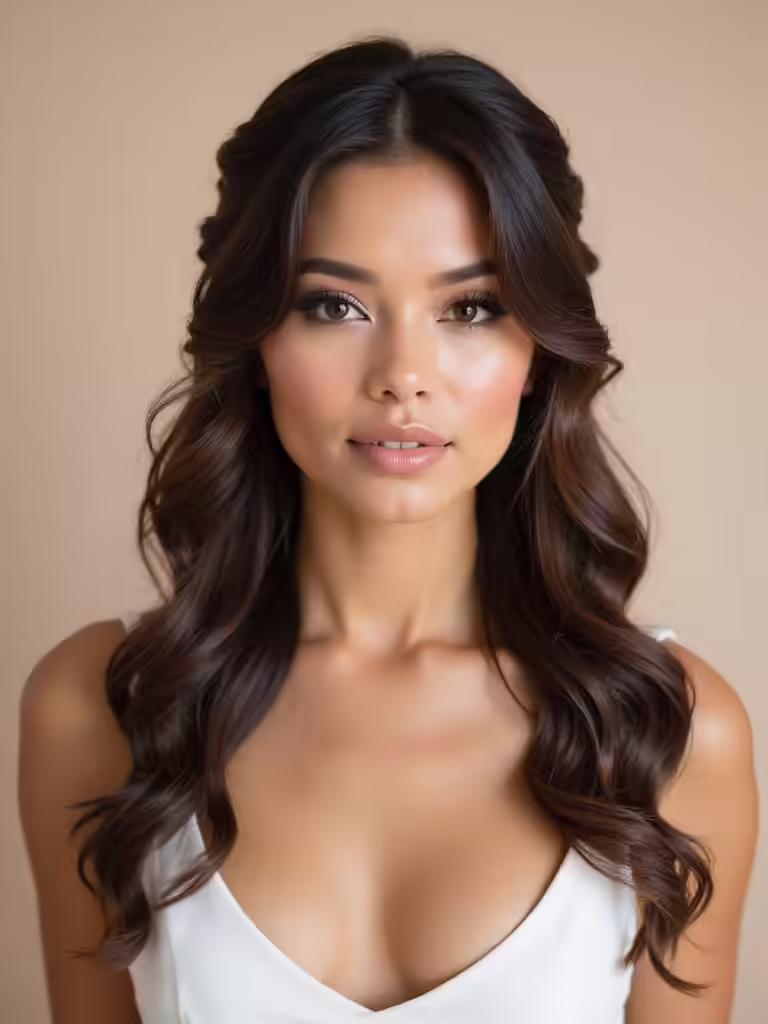
Textured & Romantic Slicked-Back Styles
While the previous style leaned toward sleek glamour, I’m focusing on softer, textured versions of the slicked-back style for a romantic effect.
I achieve this by using a texturizing spray on damp roots before blow-drying, creating subtle volume.
I then gently pull hair back, securing it loosely. This method leaves the crown and lengths with beautiful, lived-in movement for an effortlessly elegant bridal look.
Add Face-Framing Tendrils to Your Slicked-Back Do
If you love that soft, textured back but want a bit more dimension around your features, incorporating face-framing tendrils is your next step.
I use this technique to soften the look and add movement. For a picture-perfect result:
- Select two fine pieces from your temple.
- Wrap each around a curling iron for soft, piecey waves.
- Pin them back just behind your ear for a perfect, effortless hold.
Incorporate a Braided Crown for Boho Elegance
For a touch of whimsical sophistication, I often incorporate a braided crown into half-up styles to elevate that boho elegance.
I weave the braid from temple to temple, securing it beneath the gathered top section. It anchors the style beautifully and creates a stunning focal point.
For fine hair, I braid extensions for volume. Remember, keep it slightly loose; you’ll want that romantic, effortless texture to shine through.
Style Loose, Hollywood Waves With a Slicked-Back Top
A braided crown offers a soft, textured frame, but you might also consider pairing those cascading waves with a sleek, polished top for modern glamour.
I create this look by focusing on contrast and volume. Here’s my method:
- Apply a strong-hold gel to damp hair, then blow-dry the top section slick and smooth against the head.
- Set the bottom half on large curling irons for soft, body-hugging waves.
- Secure it all with a hidden center-part comb, leaving a few face-framing pieces loose.
Embellished & Glamorous Slicked-Back Styles
Embellished and glamorous slicked-back styles turn this polished look into a show-stopping statement with strategic adornments.
I anchor crystal vines or a delicate chain at the crown for drama that holds all day. For fine hair, I prep with a texturizing spray so grips and pins secure everything.
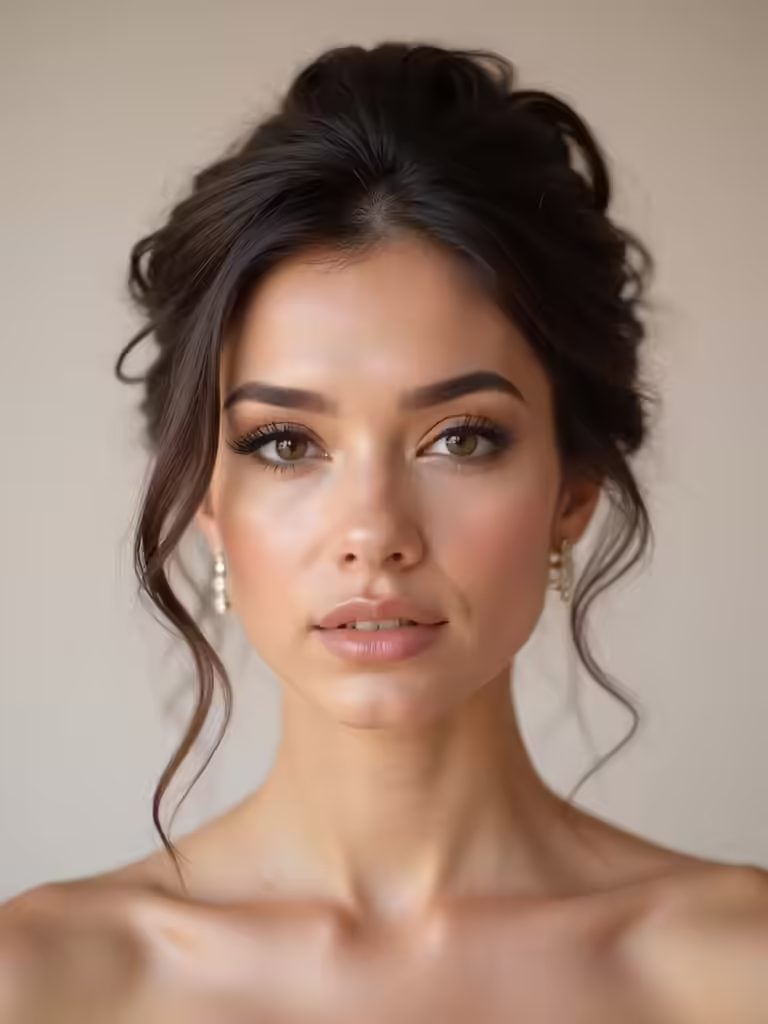
Elevate Your Look With Pearl Embellishments
I’ll show you how pearl placement can instantly elevate your half-up style from classic to bridal perfection.
We’ll explore stunning accessory ideas that range from delicate pins to statement-making headbands.
Getting this detail right is all about strategic positioning that complements your hairstyle’s texture.
Pearl Placement Essentials
Since you’re aiming for elegance, knowing where to place pearls can transform your half-up half-down style from simple to stunning.
My practical guidance focuses on strategic points that create a balanced, cohesive look. For clarity and precision, consider these three placements:
- Weaving a single strand through the base of your updo’s twist.
- Scattering smaller pearls along your center part.
- Anchoring a delicate hairpin at the crown’s focal point.
Stunning Pearl Accessory Ideas
While pearls effortlessly enhance bridal elegance, choosing the right accessory determines your style’s final impact.
I’d select a timeless, floating pearl comb to weave into your half-updo’s crown. For a minimalist, apply single, matte pins along your hair’s part. Alternatively, try pearl-trimmed velvet bands for a textured, modern twist.
Use a Dramatic Hair Accessory as Your Focal Point
If you’re looking to instantly elevate your half up half down style, I recommend choosing one bold accessory to serve as the centerpiece. It anchors the look.
Keep the hair sleek to let it truly shine. My top picks are:
- A sculptural, embellished comb tucked into the crown.
- A single, oversized silk flower pinned near the twist.
- A delicate chain-linked headpiece draped across the gathered section.
Try a Slicked-Back Voluminous Quiff for Retro Flair
I’ll guide you through creating that retro quiff, starting with styling the top section into a voluminous, sleek sweep.
You must secure this volume firmly at its base with a strong-hold product to guarantee it lasts the entire celebration.
Then, I always suggest embellishing the quiff’s anchor point with a delicate bridal accessory for the perfect finishing touch.
Style The Sleek Quiff
One standout option for a statement-making half-updo is the sleek, voluminous quiff.
I prep damp hair with volumizing mousse, then blow-dry the top section using a large round brush for ultimate lift. I focus on smoothing the surface with a boar bristle brush before a light mist of hairspray sets the shape.
- Apply volumizing mousse to damp roots.
- Blow-dry with a round brush, rolling hair upward.
- Smooth the crown with a bristle brush.
Secure With Strong Hold
After smoothing and setting that voluminous shape, I switch to a strong-hold gel or pomade to lock it in.
I use just a dime-sized amount, working it through from roots to ends on my quiff section. This step is non-negotiable; it fights humidity and keeps that retro height intact all day.
A firm-hold hairspray is my final shield, ensuring every sleek strand stays perfectly in place.
Embellish For Bridal Flair
Nine times out of ten, a wedding hairstyle needs a final touch to feel truly bridal. I achieve that with a slicked-back, voluminous quiff.
For that retro flair, my three-step finish is key:
- Thread a delicate pearl hairpin into the quiff’s base.
- Mist a shine spray over the sculpted crown.
- Nestle a single, statement silk flower behind the ear.
How to Perfect Your Slicked-Back Base at Home
Since mastering a polished, slicked-back base is the essential first step for countless half up half down styles, I’ll guide you through perfecting it at home with professional results.
Start on damp, detangled hair. Using a boar bristle brush, apply a firm-hold gel from roots to ends, following your hairline’s natural shape.
Tension is key; brush each section smoothly backward, securing any shorter pieces before they dry.
Choose the Right Products for All-Day Hold and Shine
Because you’ve perfected that sleek foundation, I’ll guide you toward choosing products that lock it in with lasting shine.
It’s all about strategic layering for a wedding day that lasts.
- A strong-hold mousse at your roots builds volume that resists flattening.
- A flexible-hold gel sculpts your slicked-back section without stiffness.
- A shine serum on your mid-lengths and ends seals the style with a gorgeous finish.
Conclusion
So, you think your rebellious flyaways can outlast my pro-level gel and a white-hot flat iron on your big day? Darling, I’ve seen humidity that would make a monsoon weep. My satin-wrapped, cement-hold technique guarantees your slicked-back perfection survives even the most tearful aunt’s hug. Trust me, your hair will be the one thing that doesn’t surrender to chaos.