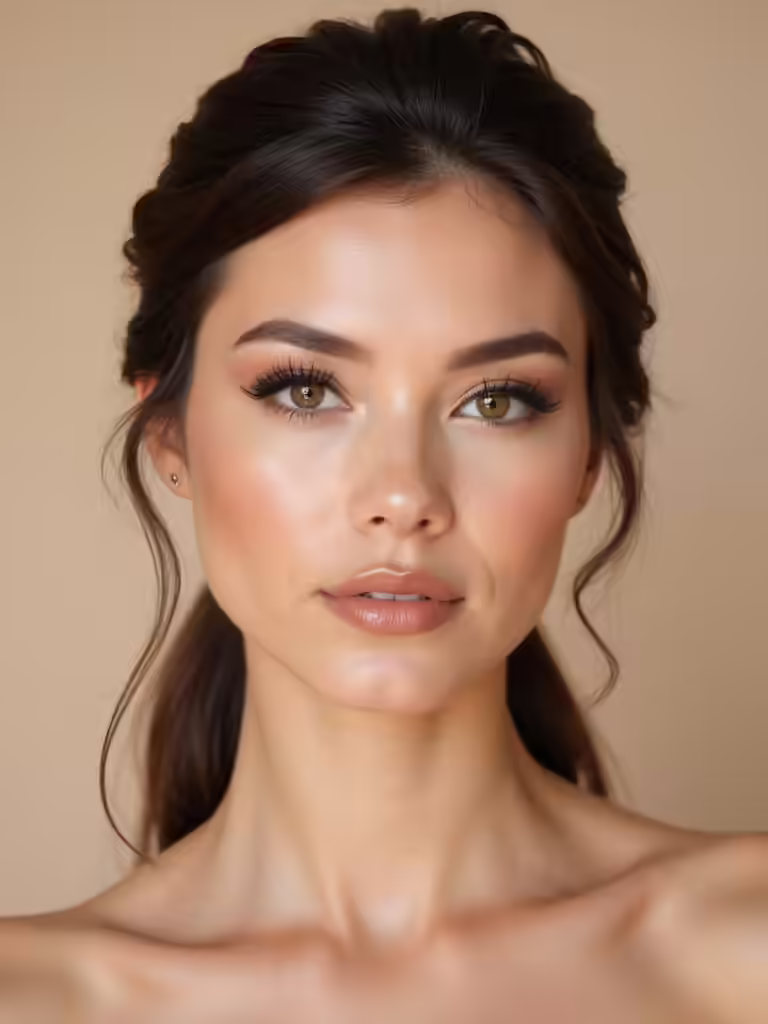
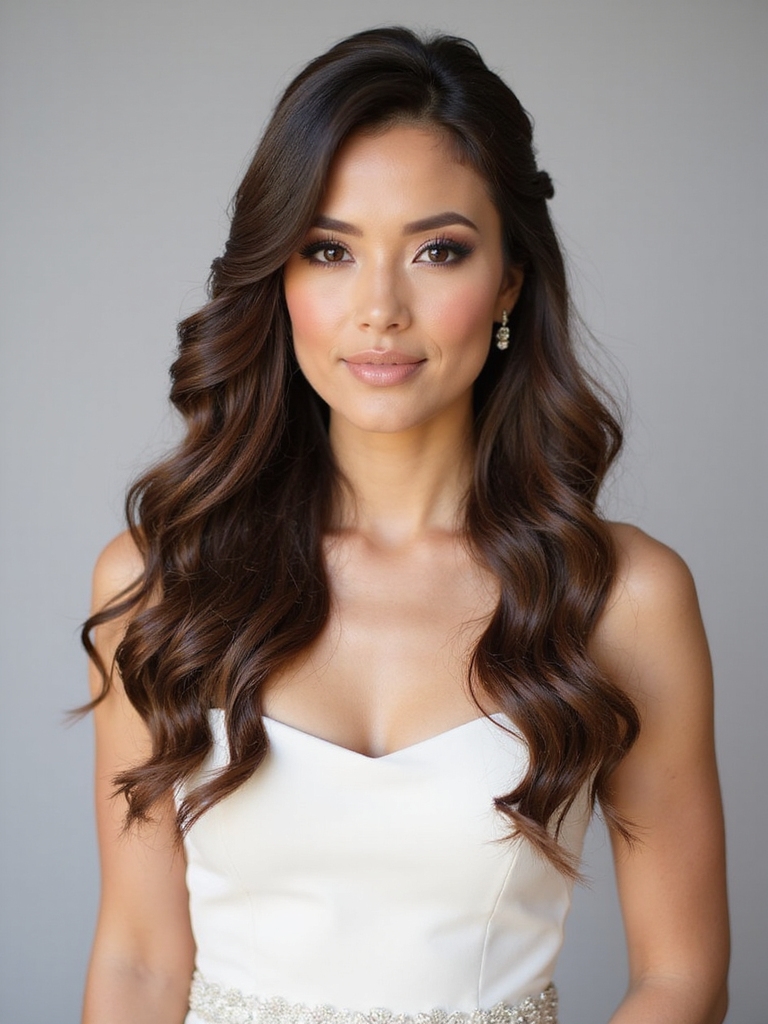
I love how a half-up half-down style lets me be elegant at the altar and ready to dance later! Clip-in extensions are my secret for that glorious volume. They’re perfect for creating soft waves, vintage glamour, or even working with shorter hair. Choosing the right match and securing them properly makes all the difference. I’ve got a few more secrets to share for making that look last all day.
Why Half-Up Half-Down Is the Perfect Wedding Hairstyle
Envision this: your big day’s finally here, and you’re staring at your reflection wanting a look that’s both timeless princess and ready-to-party.
That’s the half-up half-down magic. It keeps things elegant for vows yet lets your hair flow freely for dancing.
It’s versatile, flattering on everyone, and honestly, it’s just fun. You get the best of both worlds without committing to a full updo or all-down waves.
Many brides find that stunning half up half down wedding hair ideas perfectly combine elegance and ease, making them a top choice for their special day.
How Clip-In Extensions Elevate Your Wedding Day Hair
Three little words explain why clip-in extensions are a wedding day hair hero: volume, length, and security.
They transform my fine hair in minutes, letting me create any dream style. For a half-up look, they’re my secret weapon.
- Instant Volume: No more flat crowns; I get gorgeous, lasting body.
- Effortless Length: I can braid, twist, and style with ease.
- Rock-Solid Hold: Those clips keep everything secure from “I do” to the last dance.
Plus, they work beautifully with half up half down wedding hairstyles, especially for brunettes looking to enhance their natural beauty.
How to Choose Your Clip-Ins: Length, Texture, and Color
Now that you’ve seen how they can save your wedding day, let’s talk about picking the perfect set.
For length, choose pieces that blend, not dwarf your natural hair.
Texture must match yours—silky extensions won’t hide in my curls!
Color is trickiest; I always order samples, because “honey blonde” can mean ten different things.
Don’t guess; test. Your goal is seamless, glorious volume, not a costume.
For an elegant look, consider styles inspired by half up half down hairstyles that brides love for their wedding day.
How to Attach Clip-Ins for a Secure Half-Up Base

I’m a huge fan of half-up styles, so let’s talk about locking in that base.
First, I make sure my real hair is prepped and sectioned properly.
I’ll show you where to place the anchor clips and how to snap them shut securely.
For modern brides, mastering elegant half up half down styles ensures a chic and timeless wedding hairstyle.
Preparing A Solid Foundation
Let’s get your half-up style off to the best start by preparing a rock-solid foundation; think of it as the bedrock that’ll hold everything in place all day long.
For that, I do three things right out of the gate:
- Brush my natural hair thoroughly to remove any tangles.
- Apply a light texturizing spray to give my hair some grip.
- Part my hair cleanly where I want the half-up section to sit.
This preparation is key to achieving effortless half-up half-down wedding hairstyles that last and look elegant throughout your special day.
Sectioning And Anchor Placement
Because I’ve got my groundwork ready, I can move on to the truly strategic part: carving out my sections and locking in those first, essential clips.
I’ll start by clipping a weft horizontally where my half-up ponytail will sit—it’s my main anchor. That foundation weft must be perfectly straight and secure; if it’s crooked, my whole fancy updo will be lopsided, and I can’t have that!
This technique is inspired by stunning half up half down wedding hairstyles that emphasize balance and elegance in every strand.
Securing Clip Wefts Properly
Now that my first weft is locked in as the anchor, I need to guarantee every clip grips its section of hair like it’s holding on for dear life—a shaky base means my half-up style is doomed.
My top three grip-and-flip moves:
- Tease the roots where each clip sits for instant friction.
- Snap all clips shut directly onto my scalp—no halfway clicks!
- Tug gently on the weft; if it moves, my technique needs work.
For an extra touch of elegance, incorporating half up half down curly wedding hair can elevate the overall look while providing a natural base for the clip-ins.
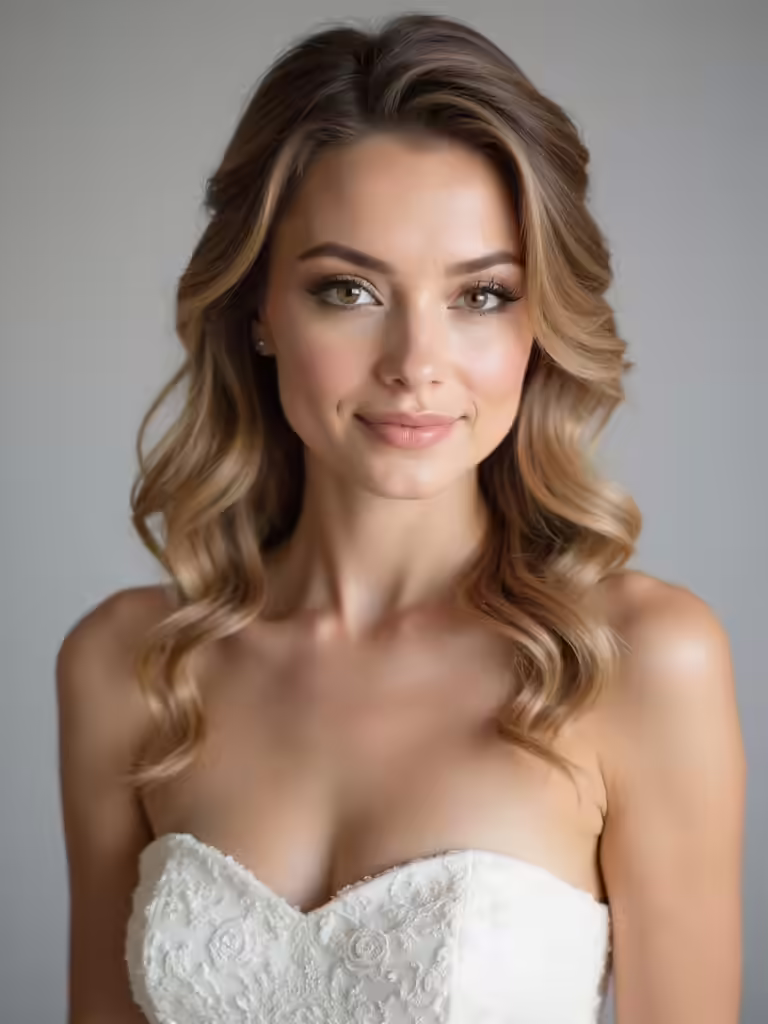
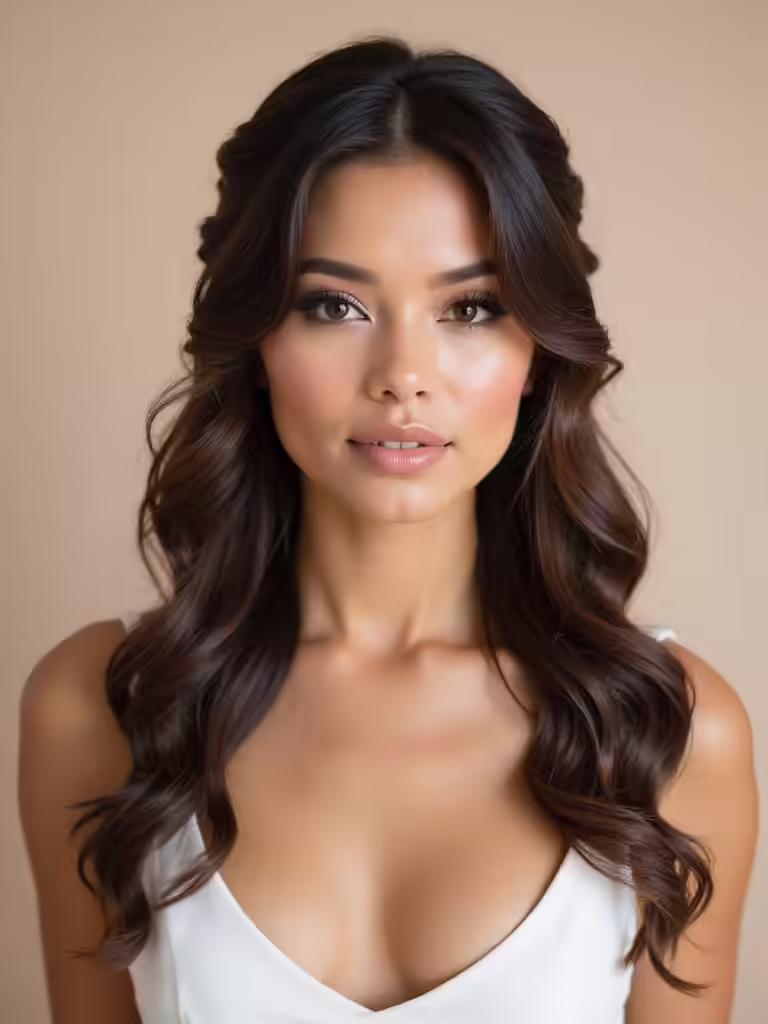
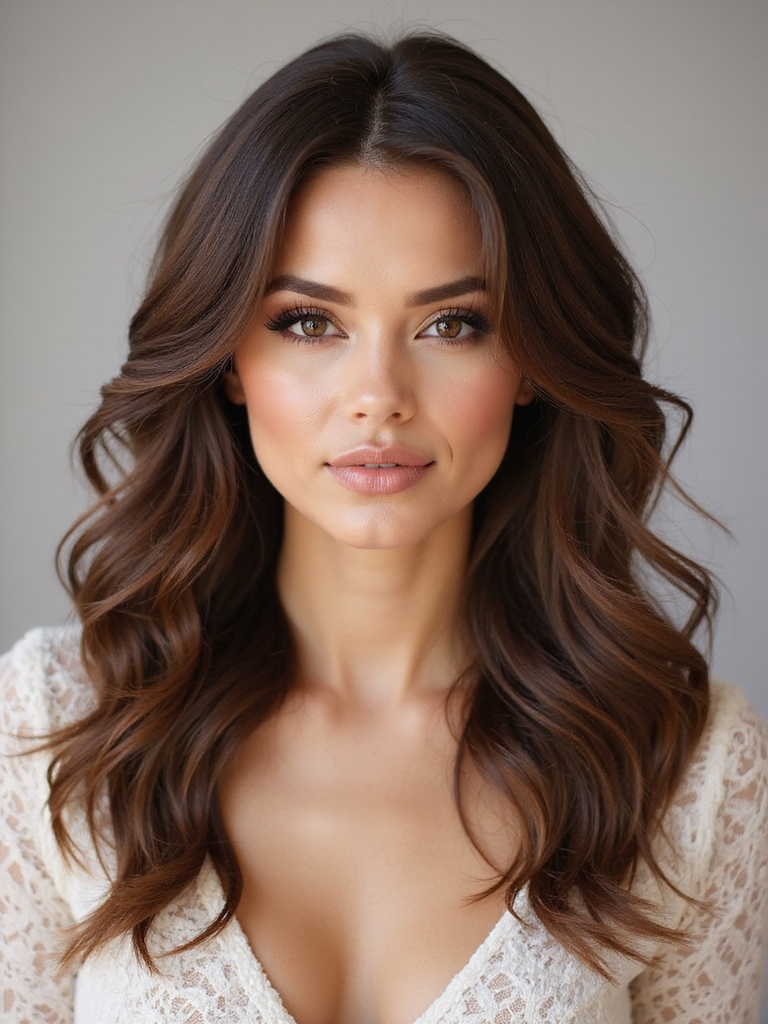
The Classic Boho Half-Up Half-Down With Soft Waves
First, I’ll show you how those soft waves can add serious volume without a hot tools marathon.
Let’s grab some cute floral clips to make this look authentically boho.
Finally, I’ll prove securing your half-up style can be simple and actually hold all day.
This classic look perfectly captures the essence of Boho Half Up Half Down styles for free spirits.
Soft Waves For Volume
A classic method for adding serious volume, the boho half-up half-down with soft waves gives you an effortless, romantic look that works for everything from weddings to weekend brunches.
I use extensions to get those lush, bouncy waves that my fine hair just can’t manage alone.
- Section and clip your extensions horizontally along your crown.
- Curl everything together, alternating directions for chaos.
- Rake it out with your fingers for that perfectly imperfect finish.
If you prefer to avoid extensions, there are plenty of bridesmaid hairstyles for medium-length hair that create a similar volume and texture without extra length.
Adding Floral Hair Accents
Since you’ve already nailed the base style with those voluminous waves, you can elevate that romantic vibe by weaving in a few floral accents.
I prefer delicate dried blooms or silk flowers—they’re lightweight and won’t fight your extensions. Just tuck them subtly around the half-up crown or let a tiny blossom peek from behind.
Trust me, it’s the easiest way to look like a woodland fairy without the hassle.
For a truly timeless look, consider incorporating romantic half up half down bridal hairstyles to enhance the overall elegance of your wedding day style.
Securing The Half-Up Style
Now that you’ve tucked those blooms in place, let’s keep the magic going by pinning up the half-up part of this look.
I always tease my crown for volume first—trust me, it prevents drooping.
Then, I loosely twist the top sections back, leaving a few face-framing strands.
- Tease for volume at your crown.
- Pin the twist with criss-crossed bobby pins.
- Gently pull the twist forward for a relaxed, romantic pouf.
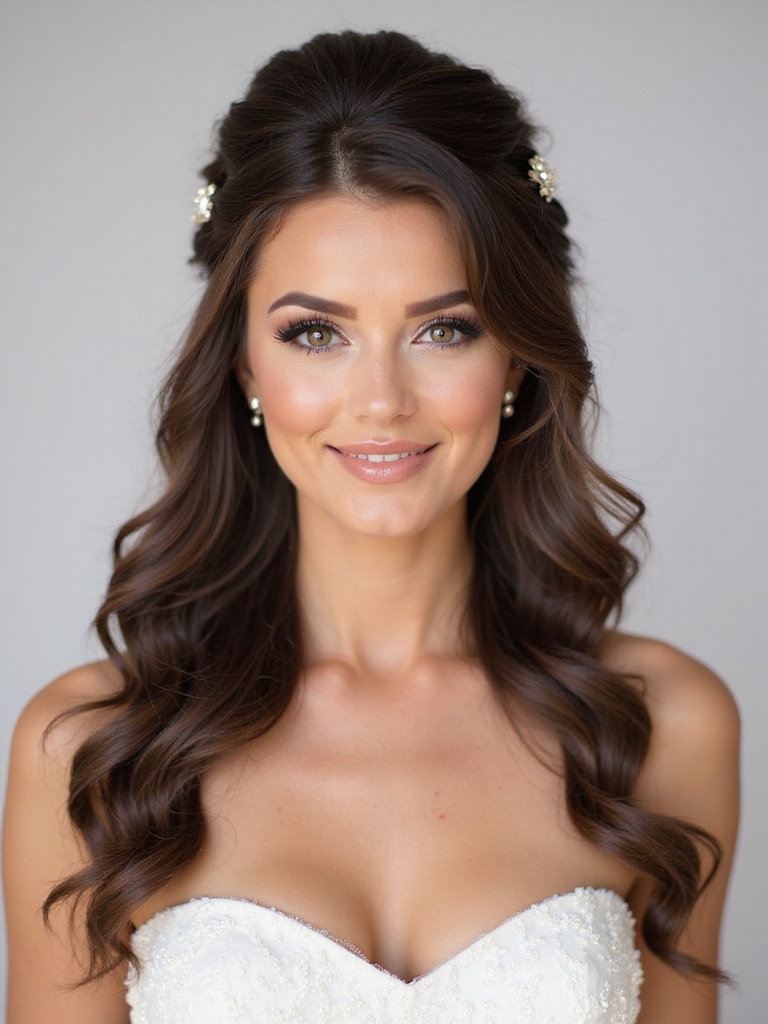
A Romantic Half-Up Style With a Braided Crown
Picture your hair like a beautiful garden, with a braided crown blooming atop romantic, flowing locks. I clip extensions into the top half for serious volume, then weave a simple three-strand braid across the back of my head.
I pin it like a tiara, letting the rest cascade down. Honestly, this style screams “wedding day” but secretly feels like you’re wearing a fairytale.
It’s surprisingly easy, and you’ll look regal instantly.
Effortless Texture: a Half-Up Messy Bun With Loose Curls
Forget all that perfect, complicated stuff—my absolute favorite way to look put-together is by actually looking a little undone.
This half-up messy bun with loose curls is my go-to for effortless texture. Here’s my simple formula:
- Tease the crown for instant volume.
- Twist the top section into a messy, pinned bun.
- Let your curled extensions fall loosely around your face for that romantic, carefree vibe.
Get a Formal Look With an Elegant Twisted Chignon
I love how a classic chignon builds a flawless foundation for your style.
Then, we’ll charm it up with a twist that adds just the right elegant flair.
It’s the perfect way to transform your extensions into a seriously polished look.
Classic Chignon Construction
Because you’ve chosen to try a twisted chignon, you’re already on the right path to an effortlessly elegant updo.
I always start with a neat, low ponytail for structure. Your construction’s success hinges on three simple steps:
- Twist the length until it naturally coils upon itself.
- Wrap that coil flat against your head.
- Secure everything with pins, hiding the ends.
A solid base is everything!
Charming Twist Embellishment
While that sleek twisted base looks polished on its own, we can quickly elevate it from “boardroom ready” to “black-tie fabulous” with a few cleverly placed clip-in extensions.
I love tucking a wispy, curled piece right into the twist itself—it’s like hiding a little secret of glamour.
Suddenly, that classic chignon has a charming, textured flourish that feels incredibly special and looks perfectly formal.
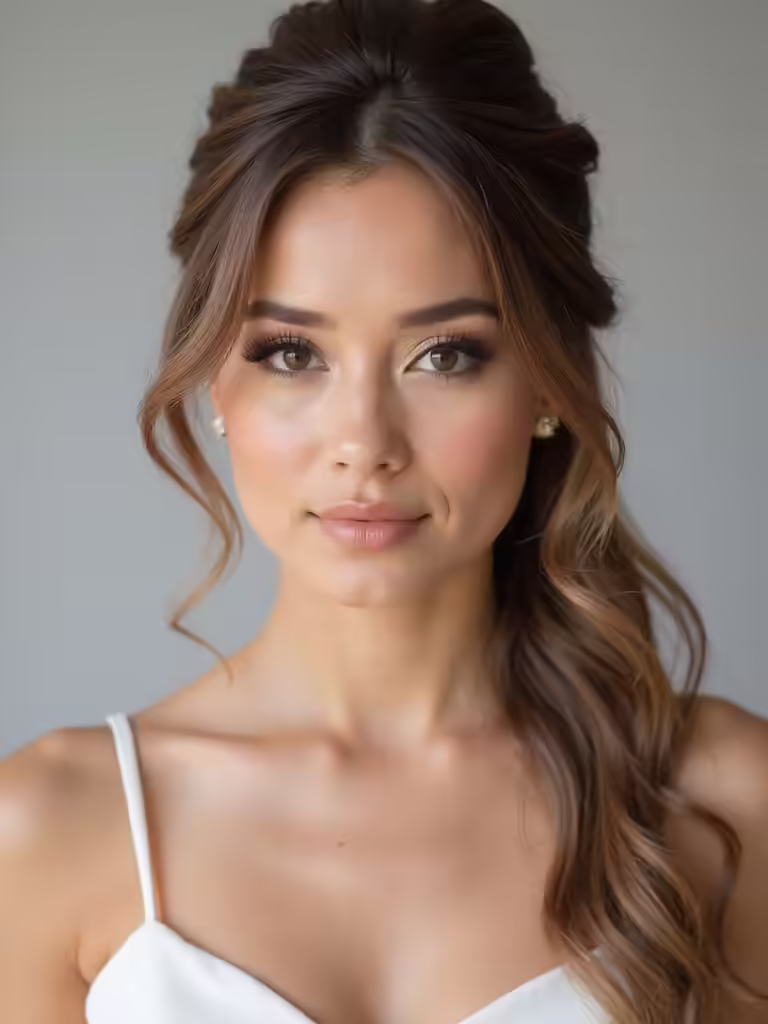
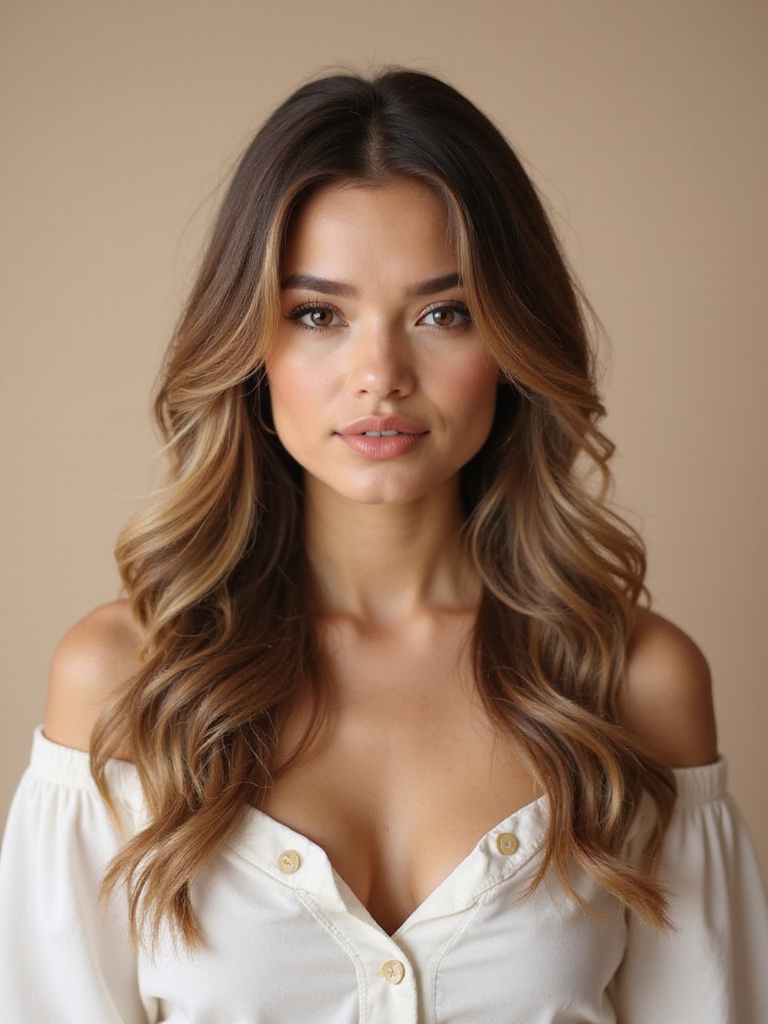
Half-Up Style With Subtle Colored Highlights
Starting a half-up style with subtle colored highlights is like revealing an easy cheat code for fantastic hair days, giving you volume, color pop, and a polished look without a salon appointment.
My secret is using clip-ins strategically. Here’s how:
- Clip a few highlighted extensions just below your crown for instant, believable dimension.
- Secure your half-up section, letting those pops of color peek through.
- Fluff and blend—now you look like you spent hours, not minutes.
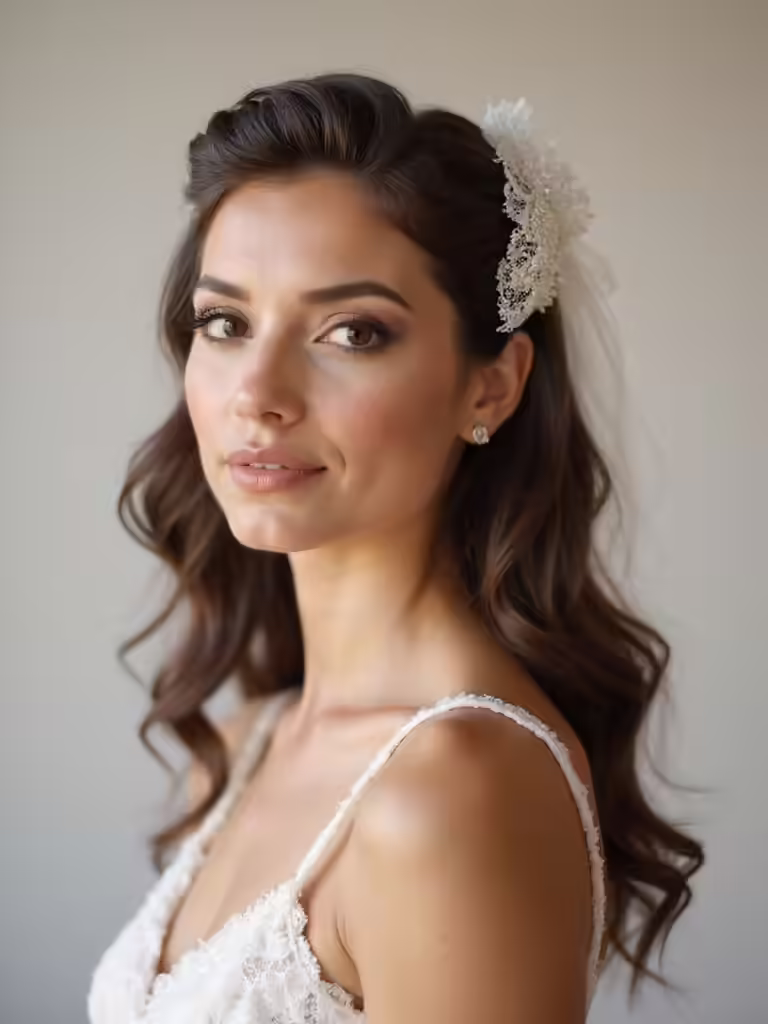
How to Incorporate a Veil With Half-Up Hair
Let’s figure out the best spot for your veil’s comb so it doesn’t pull a disappearing act.
I love tucking a delicate veil into a crown braid for that fairytale vibe. Just style your half-up hair first, then pop the veil in exactly where you want it before you get too excited.
Veil Attachment Placement Options
Since you’re rocking that gorgeous half-up style, you might be wondering exactly where to pin your veil without messing up your look.
I’ve got three great spots that’ll feel secure and look seamless!
- At the Bump: Hide the comb right under the gathered section for a classic, lifted look.
- In the Bun: Anchor it directly into a low bun for a sleek finish.
- Under the Curls: Tuck it beneath the cascade for a soft, hidden hold.
Veil With Crown Braid Integration
After securing your veil in a classic half-up style, imagine taking that look up a notch by weaving it into a crown braid.
I’ll braid the veil’s comb right into the start of my braid. This anchors the veil securely so it can’t wander off mid-ceremony!
The tulle flows beautifully through the braid, creating a gorgeous, ethereal look that’s both romantic and surprisingly sturdy.
It’s pure bridal magic.
Pre-Styling And Veil Positioning
Several key steps guarantee your veil stays securely anchored in your half-up hairstyle, starting with how you style the base hair.
Don’t create a slippery slope! My three golden rules are:
- Secure the Pouf: Tease the gathered crown hair slightly for grip.
- Pin Before Veiling: Anchor that half-up section with bobby pins first.
- Weave, Not Just Clip: Slide the comb through the teased hair, not just over it.
Add Volume at the Crown for Fine Hair Types
Let’s get right to it—one of my favorite tricks for fine hair is adding volume at the crown with clip-ins.
Section off the top layer, then clip a weft horizontally right at the base. Hide it perfectly by pulling your natural hair back over it.
You instantly get that gorgeous lift without teasing, which frankly, my fine strands could never hold anyway.
It’s my secret for a lasting, full-bodied style.
Modern Edge With a Half-Up Top Knot and Straight Lengths
My favorite three-step hack for a modern edge?
- Clip extensions into your top layer for a voluminous, textured base.
- Gather that section into a high, loose top knot—don’t worry about perfection!
- Let the remaining extensions fall sleek and straight, creating a sharp contrast.
It’s effortless chic, giving you that cool-girl vibe without sacrificing any length.
Vintage Glamour With Hollywood Waves
Switching from a modern top knot to old-school Hollywood waves doesn’t mean you’re giving up on drama—you’re just trading edge for elegance.
For this style, I clip in extensions for serious volume, then use a large-barrel iron to create those deep, glossy waves.
I loosely pin back the top section, letting the rest cascade. It feels fabulously retro, like I should be sipping a martini at a premiere.
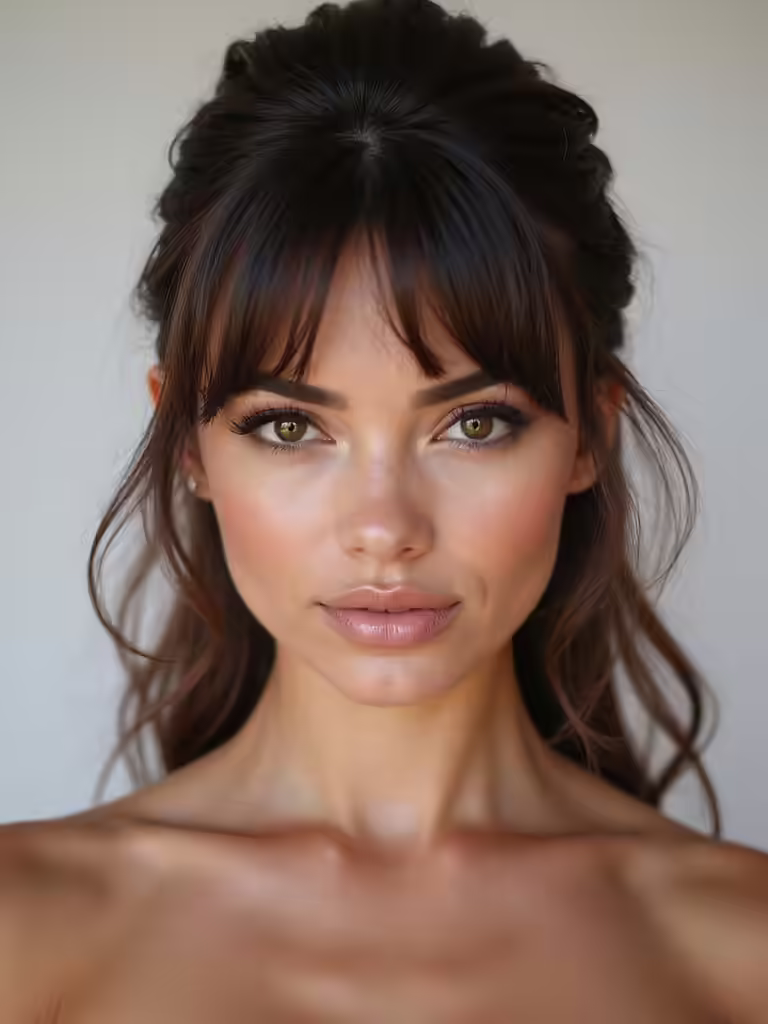
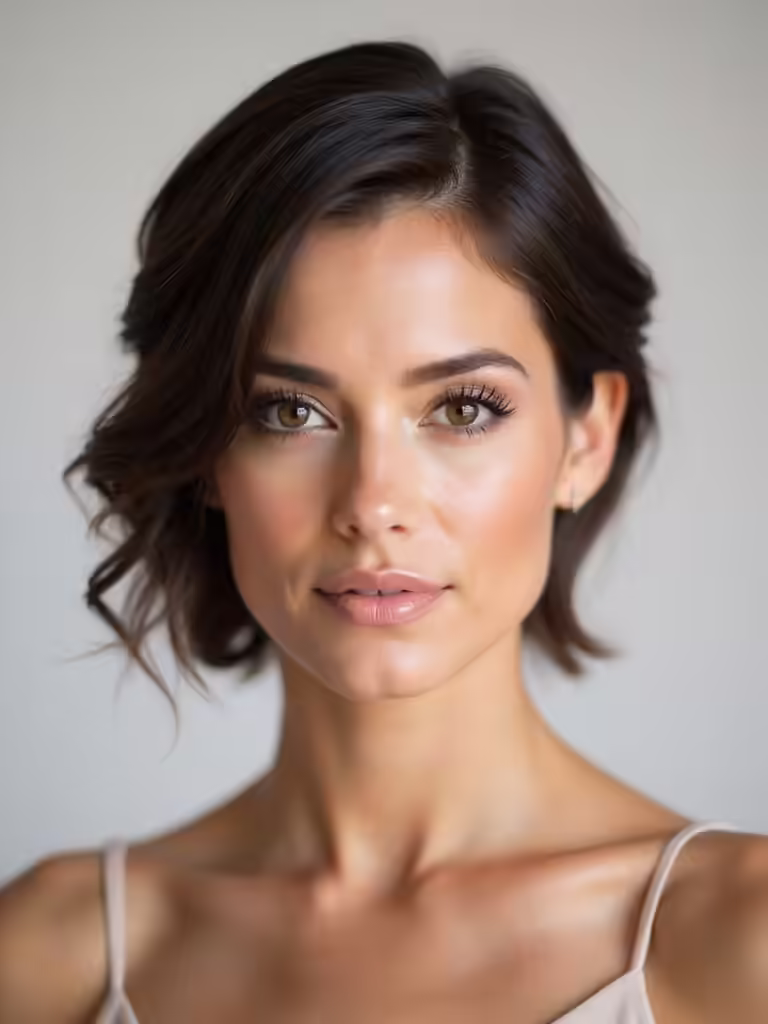
Half-Up Half-Down Styles for Short Hair
Ever wondered how short hair can still nail the half-up, half-down look? You can!
I’ve mastered these tricks:
- Use tiny clips to secure the top section, creating instant volume.
- Tease the crown lightly for a fuller, more polished base.
- Twist the gathered hair instead of just tying it—this hides shorter lengths beautifully.
It’s my go-to for adding sophistication without needing inches of extra hair.
Make Your Style Last: All-Day Hold Tips
Three simple tricks will lock your look in place from morning coffee to midnight adventures.
First, I tease my natural hair slightly at the crown before clipping in extensions for a grippy base.
Second, I swear by a strong-hold hairspray, spraying each section before and after styling.
Finally, I secure everything with extra bobby pins, especially around the clips.
This trio fights gravity so you can dance all night.
Your Hair Trial: Essential Questions About Clip-Ins
How do you know if clip-in extensions are the right choice for you? I ask myself three key things during a trial run:
- Can I headbang without a clip landing in my cake?
- Does the color match look natural, or like a bad paint swatch?
- Does the weight feel secure, or am I tipping over?
Your answers decide if they’re a wedding-day win or a woe.
Conclusion
So while these clips may help turn a “good hair day” into a legendary one, remember the best accessory is your joy. I’d say skip a full practice run for your final look, but let’s just say you don’t want a new acquaintance with your hairdresser on the big day. Ask your stylist those key questions to guarantee your glamour remains perfectly, elegantly… secure.