I first check my invitation to match my hairstyle to the venue and dress code. For a polished look, I love an elegant low bun or chic updo. Romantic waves with flexible-hold spray are timeless, while modern braids like fishtails are secure for dancing. I accessorize with budget-friendly pearl pins or a satin ribbon. Starting with day-old hair guarantees lasting hold, so I can enjoy the party. I’ve gathered plenty more dreamy options for you.
How to Match Your Hairstyle to the Wedding Venue and Dress Code
When you’re planning your wedding day look, I think it’s smart to start by letting the venue and dress code guide your hairstyle choice.
A beach wedding calls for relaxed waves; a formal ballroom suits a sleeker style. If the invite says “black tie,” I’ll aim for a more polished ‘do. It helps me narrow down options quickly, saving time and money on potential styling trials that wouldn’t fit the vibe anyway. Additionally, considering cool and chic summer wedding hairstyles can elevate your look while keeping you comfortable in the heat.
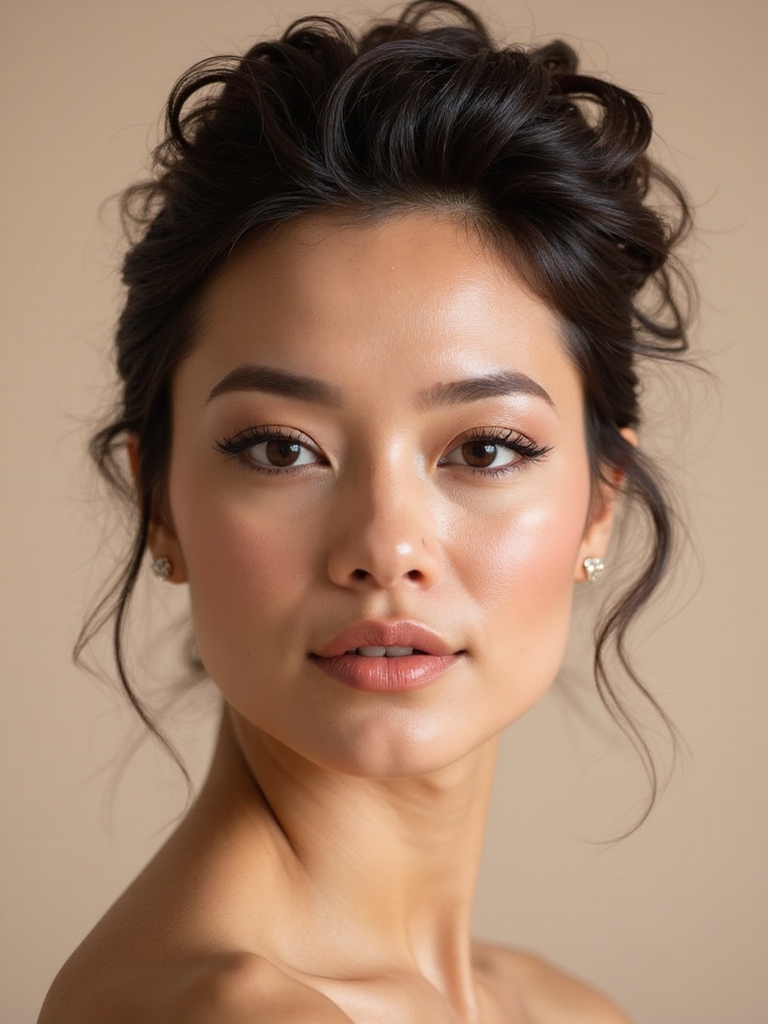
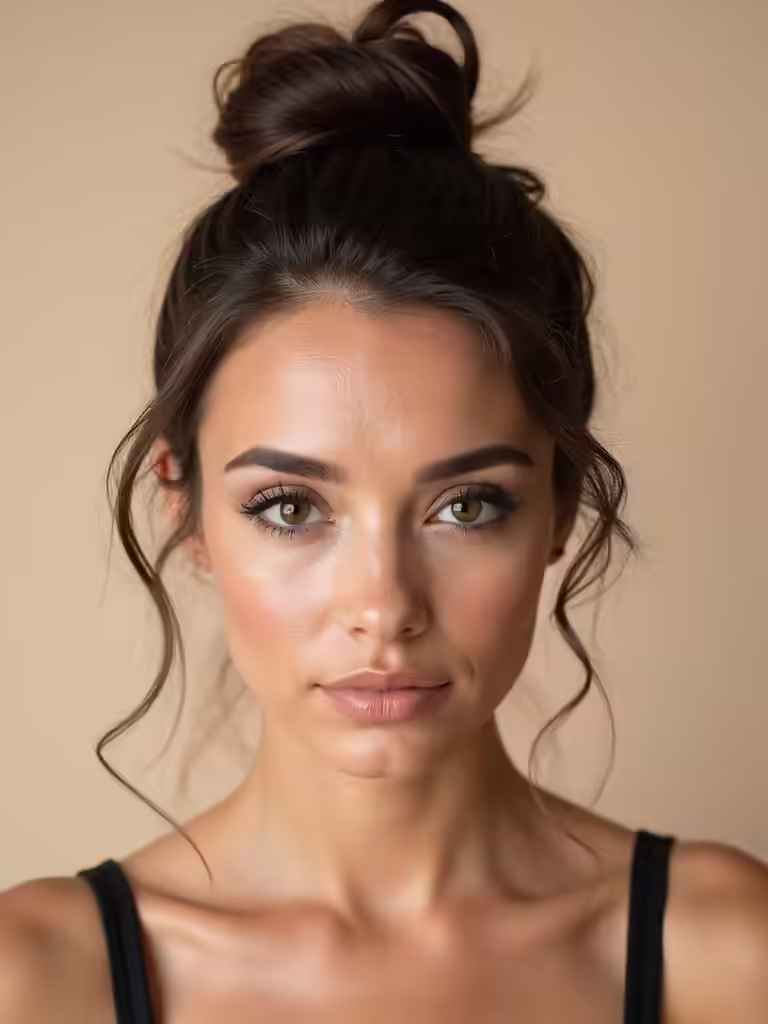
Elegant Low Buns: Chic, Polished, and Secure
Since an elegant low bun is such a versatile and secure style, it’s a top choice for everything from a formal wedding to a busy workday.
I love that it keeps hair off my face and neck. For a polished look, smooth hair into a low ponytail, twist it, then wrap it around the base, securing with pins.
A bit of hairspray and a pretty clip from my collection finishes it perfectly. Incorporating elegant low buns into your hairstyle repertoire can elevate any look, showcasing a refined aesthetic.
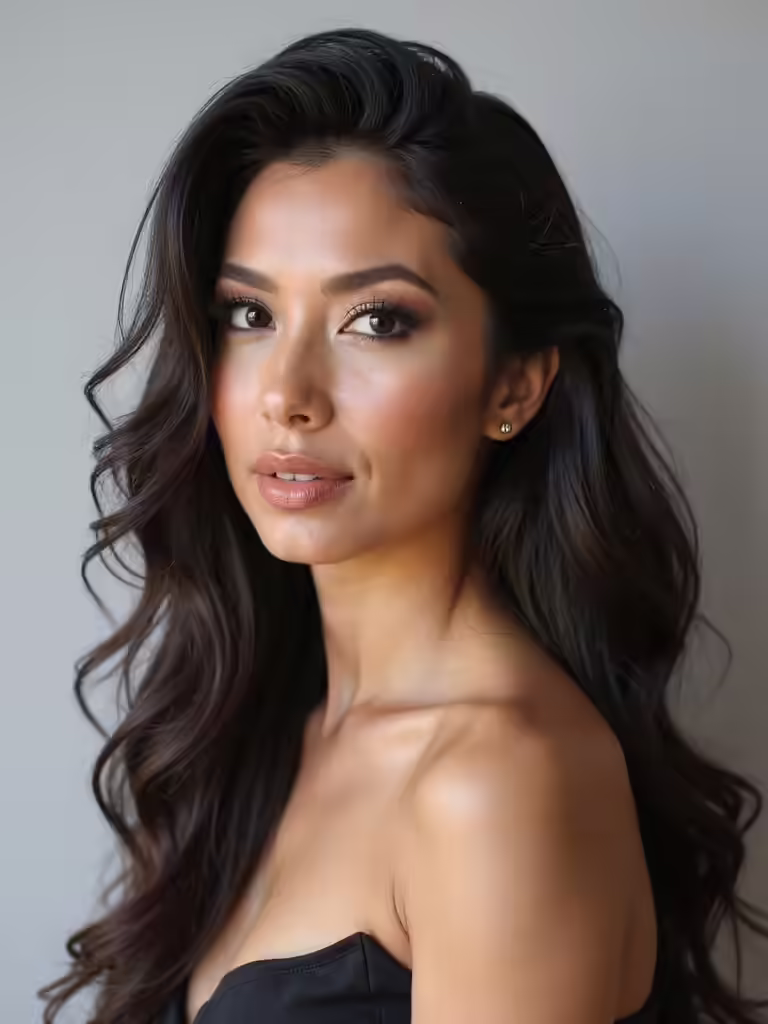
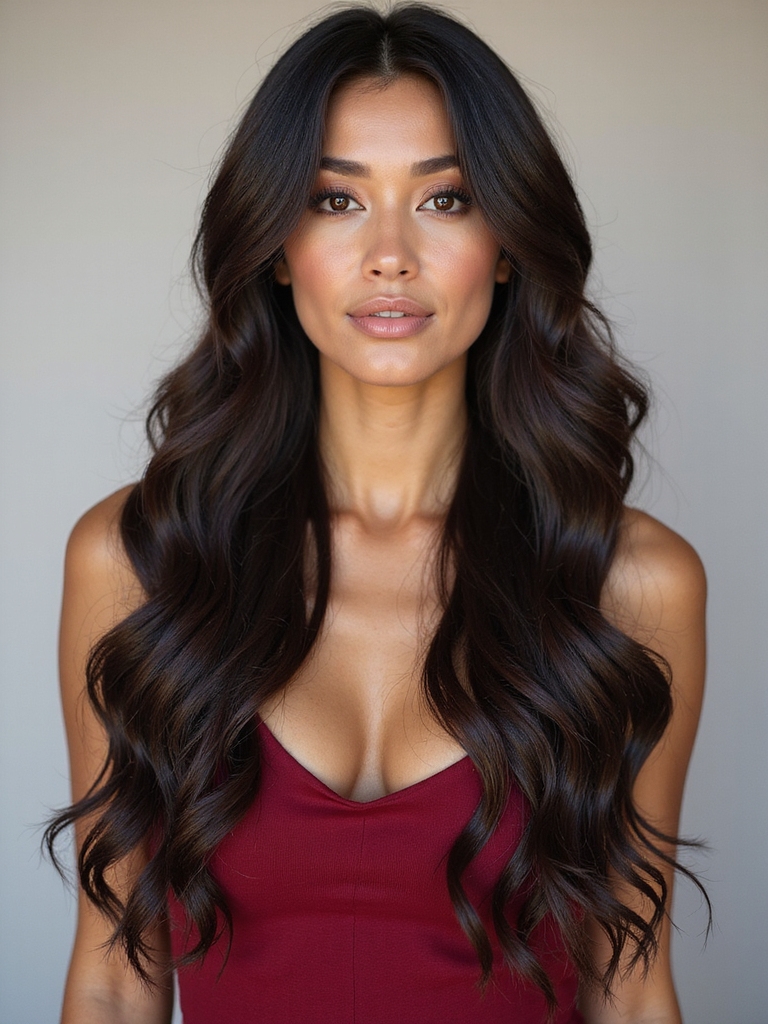
Romantic Hollywood Waves for Timeless Glamour
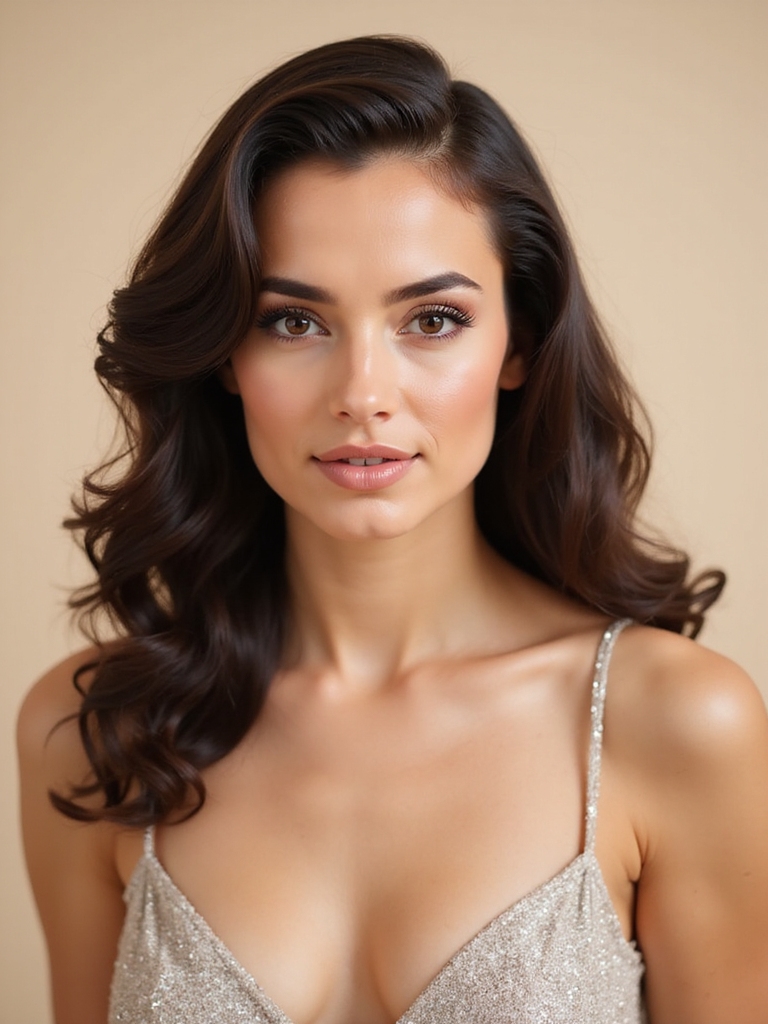
I find I get the best Hollywood waves when I start by prepping my hair with a light mousse. Let’s walk through curling each section away from my face and then breaking up the curls with my fingers for a softer look. A quick mist of flexible-hold hairspray locks in the style without making it feel stiff. For an enchanting touch, consider incorporating ethereal bridal open hairstyles that effortlessly enhance your overall look.
Preparatory Hair Care Steps
Before you even think about hot tools, the secret to those soft, glamorous waves starts with a thorough wash and deep conditioning.
I always air-dry my hair about 80% before styling to limit heat damage. This simple prep makes all the difference for hold and shine.
- Feeling like a movie star begins in the shower.
- Transform dry strands into a touchable silk canvas.
- Protect your hair’s health while chasing that vintage glamour.
Incorporating heat protection products into your routine can enhance the longevity of your style while safeguarding your strands.
Step-By-Step Styling Process
The first step for achieving those classic Hollywood waves is grabbing my trusty heat protectant spray, which is a budget-friendly necessity I won’t skip.
I let my one-inch curling iron fully heat, then I work on two-inch sections, wrapping hair away from my face. I hold each curl for ten seconds, then release it without brushing to set the pattern.
Working upward guarantees volume lasts. This technique is often used in romantic wedding hairstyles to create a timeless look that complements any outfit.
Finishing Touches And Hold
Now that my waves are cooled, I’ll gently run my fingers through them to separate the curls and create that soft, romantic finish.
A light mist of flexible-hold hairspray locks in the look without stiffness. This final touch guarantees my glamorous waves last through every celebration photo.
- That effortless, touchable texture you’ll love running your hands through.
- Feeling elegantly put-together without a stiff, helmet-head feel.
- Confidence your beautiful style will survive all the dancing and hugs.
To achieve those dreamy waves, consider using curly wedding hairstyles that enhance your natural texture for a stunning, show-stopping look.
Modern Braided Styles: From Fishtail to Dutch
I’m a huge fan of modern braids because they’re actually easier than they look. Let’s start with a fishtail braid for an elegant look that doesn’t cost a thing, then I’ll show you how a Dutch crown can add gorgeous detail. You just need your hands and a couple of hair ties for these stunning styles. Combining these styles with stunning braided half up half down wedding hairstyles can elevate your overall look for any occasion.
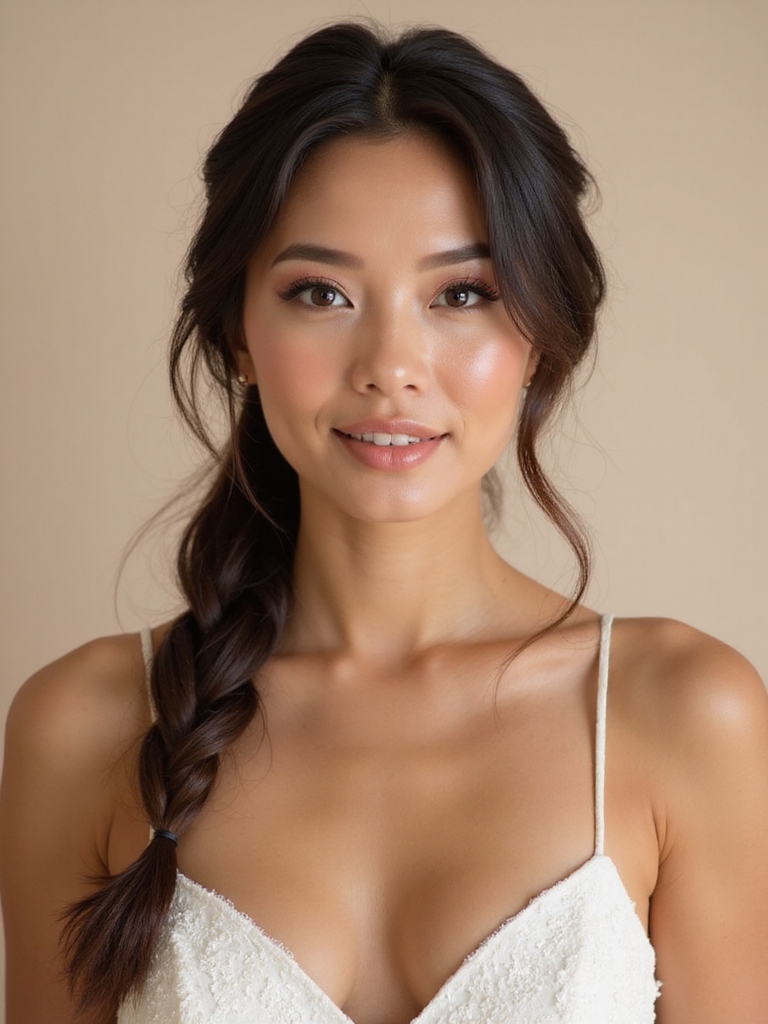
Fishtail Braid Elegance
Want a hairstyle that looks intricate but is surprisingly simple once you get the hang of it? I love the fishtail braid for its elegant, textured look.
Practice the basic cross-over technique on loose hair first—it’s easier than it seems! This style works with my hair’s natural texture, saving me money on heat styling.
- Feel like a romantic heroine with every delicate weave.
- Turn heads with detail that whispers, not shouts.
- Achieve a luxurious, boho-chic vibe for zero cost.
Plus, the fishtail braid is a perfect choice for stunning half up half down styles, making it a versatile option for any wedding guest.
Dutch Crown Detail
Twist your everyday look into something special with the Dutch crown braid, a style that feels both regal and effortlessly cool.
I master this by braiding two Dutch braids inward along my hairline, then pinning them to meet at the back. It’s surprisingly secure for dancing, and you only need a few bobby pins.
This classic style looks expensive but truly keeps your budget in check. Plus, it pairs beautifully with Bohemian braided styles that add a whimsical touch to any wedding ensemble.
The Half-Up Crown Braid for a Fairy-Tale Feel
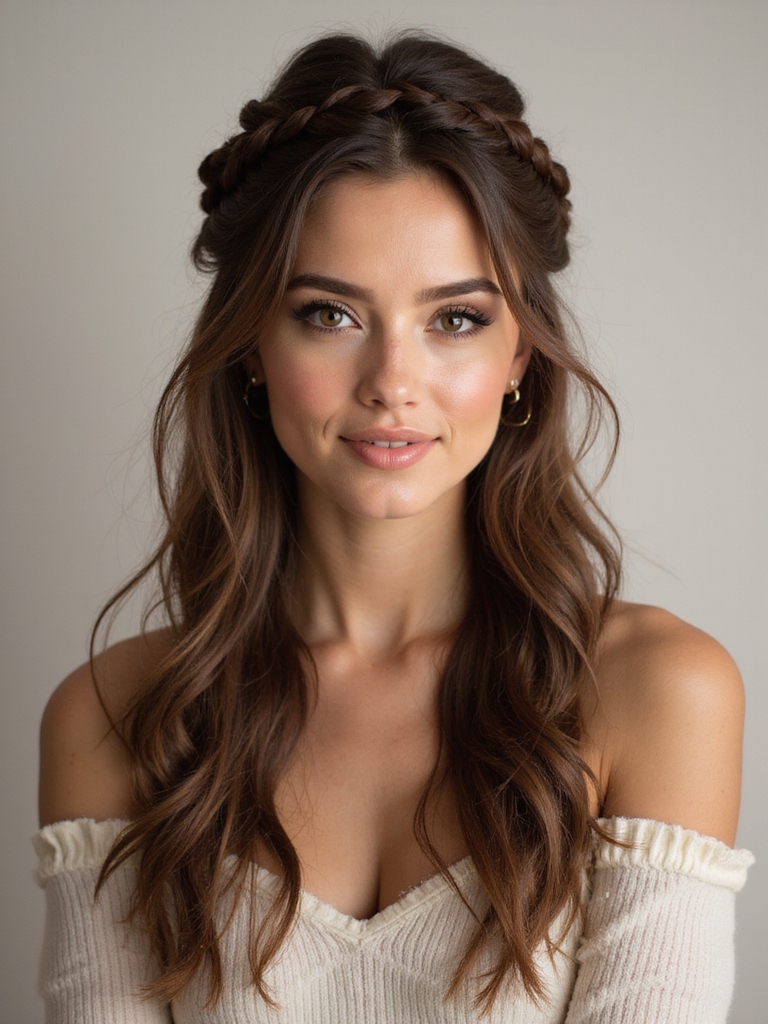
A few strategic braids can weave a crown of magic into your long hair without requiring a royal stylist. I simply part my hair down the middle and make two low pigtails, braiding each one.
I then pin them over the top of my head, tucking the ends. It’s my go-to for a romantic, ethereal vibe that feels special yet totally doable at home. This style is reminiscent of timeless bridal hairstyles that short hair brides swear by.
- Instantly feel like a storybook heroine.
- Turns basic hair into a work of art.
- Saves you a fortune on salon updos.
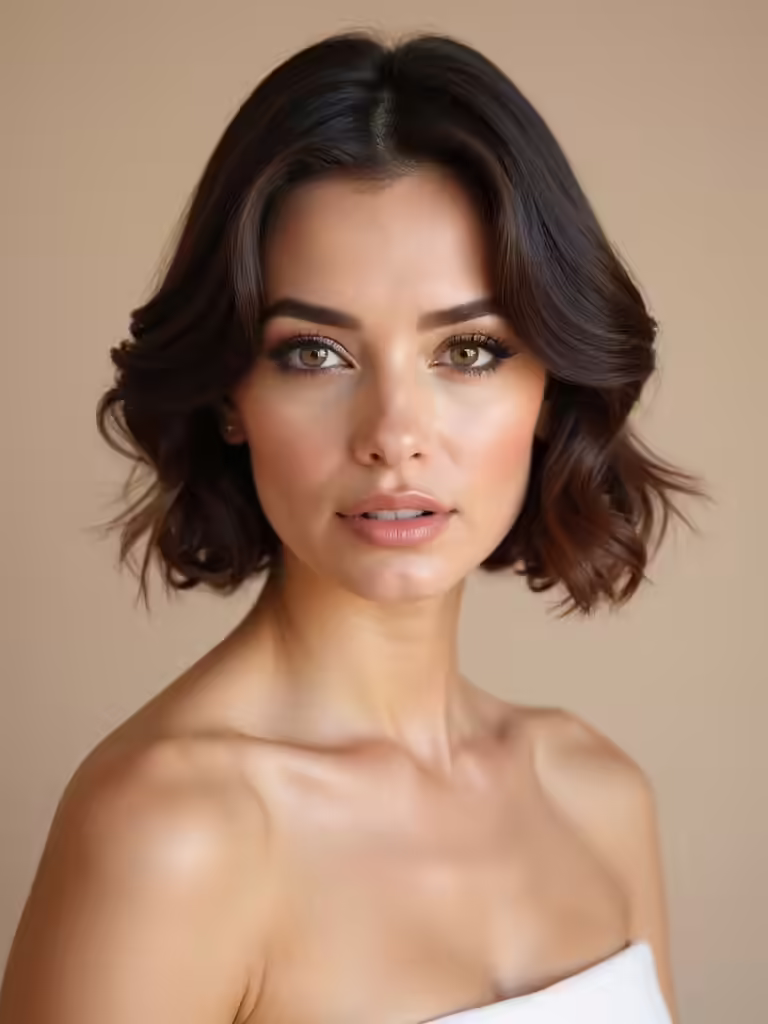
Sleek, Deep-Side Parted Waves for a Polished Look
I’ll show you my go-to method for getting that sleek side part without any fancy products.
Creating polished waves is actually pretty easy if you start with slightly damp hair and a basic curling iron.
This whole style costs almost nothing but makes me feel perfectly put-together.
Sleek Side Part Essentials
While you might think achieving a deep-side part requires professional products, I’ve found a simple boar bristle brush and a touch of hairspray do the trick. I use the brush to smooth hair and create a crisp line before spraying a light mist to set it.
- The satisfying glide of the bristles through your hair.
- That instant, sophisticated shift in your look.
- Knowing a chic style cost almost nothing.
Polished Wave Creation Steps
Three steps from that deep side part to polished waves are all you need.
First, I apply a heat protectant to damp hair before loosely twisting sections away from my face.
Next, I blow-dry those twists to set the wave’s direction.
Finally, I run a curling iron over each section, following the established path, to lock in that sleek, polished shape without fighting my hair’s natural movement.
The Bohemian Halo Braid With Delicate Accents
Crafting the Bohemian halo braid lets you feel effortlessly chic, and I find adding delicate accents elevates this classic look.
I create two loose dutch braids starting at my temples, pinning them to meet at the nape. For accents, I weave in satin ribbons or tiny faux flowers I already own, securing with extra bobby pins for all-day wear.
- Tucks a romantic secret into your everyday crown.
- Whispers of wanderlust with every turn of your head.
- Proves elegance doesn’t have to cost a thing.
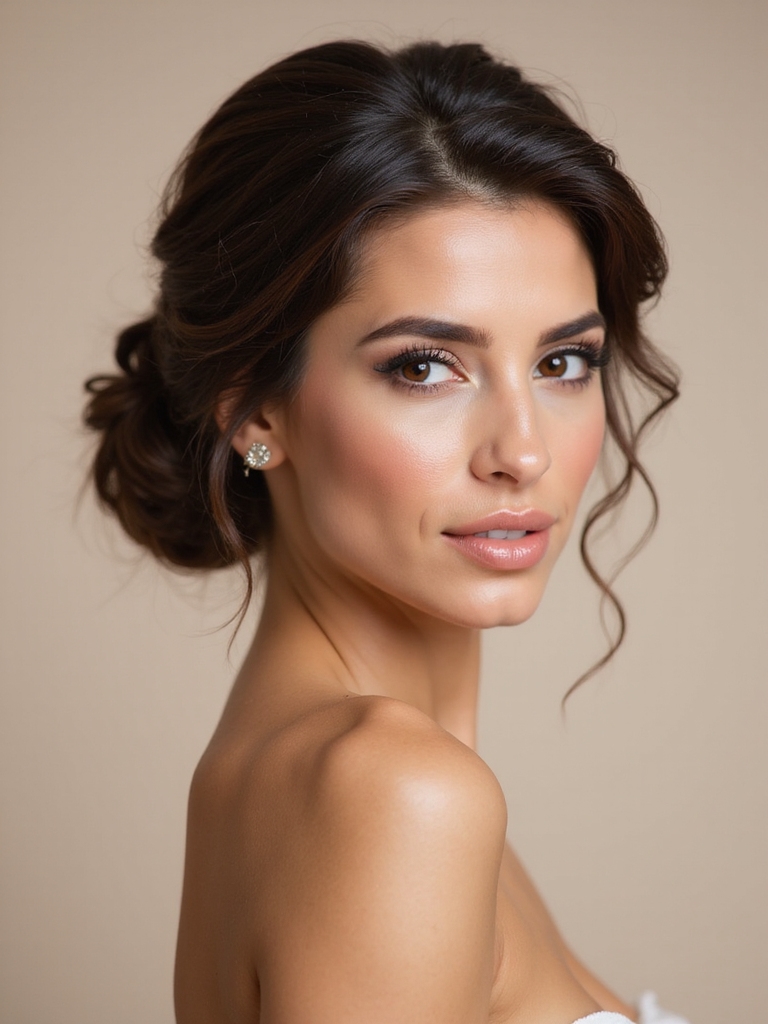
Elegant Chignons and Twisted Updos
A few well-placed twists can transform your long hair from casual to cocktail-ready. I love that you only need pins and hairspray!
Start with a low, slightly messy bun, but twist sections first for texture. A simple rope braid along your crown adds instant elegance.
Pull out a few face-framing pieces to soften the look. It’s chic, stays secure, and feels special without spending a dime on extra accessories.
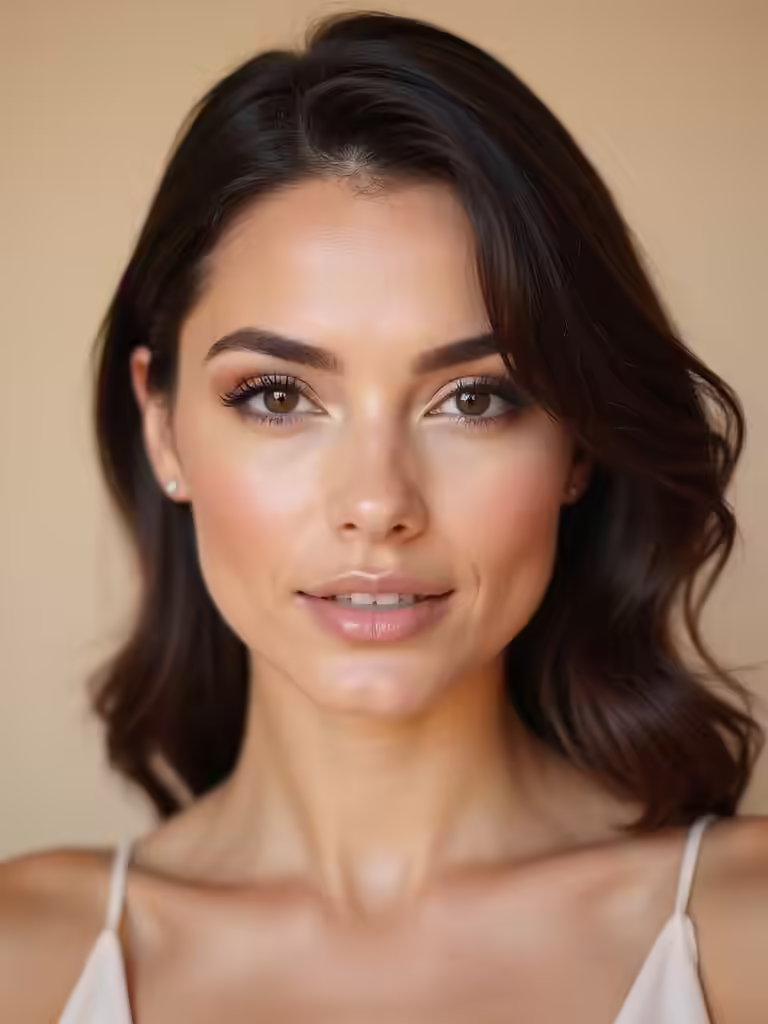
Soft, Face-Framing Curls With Decorative Clips
Nothing beats the easy glamour of soft curls that gently highlight your features. I get them with a standard curling wand, then use my fingers to pull a few pieces loose around my face.
A couple of pretty clips from the accessory aisle instantly elevate it from casual to wedding-ready. The best part? It’s a look you can recreate yourself without a salon visit.
- The flattering bounce that catches the light just right.
- Feeling polished yet completely comfortable all day long.
- Finding the perfect vintage-inspired clip for under five dollars.
The Twisted Rope Braid Ponytail: Elegant and Easy
When you need an elegant look in minutes, I find a twisted rope braid ponytail is my go-to solution.
I simply split my ponytail in two, twist each section clockwise, then twist them together counter-clockwise. I secure the end with a basic hair tie.
This creates instant texture and polish without needing any fancy tools, and it’s a style that looks much more intricate than it actually is.
The Voluminous “Old Money” Bun With Ribbon Detail
Building a lush, voluminous bun always feels more luxurious with a ribbon detail, and this “old money” style is surprisingly simple for how polished it looks.
I start with a high ponytail, tease it lightly for volume, then twist and pin it into a loose knot. I secure a silk-like ribbon from the drugstore around the base.
- The whisper of ribbon against your neck feels utterly romantic.
- That “effortless” chic look from a few pins and a $5 accessory.
- The confidence of a style that looks expensive but isn’t.
A Cascading Waterfall Braid for Maximum Romance
For those days you love the idea of a braid but want something softer than a tight, structured look, a waterfall braid is your answer.
I start by pulling hair into a loose side ponytail, then weave a simple waterfall section along my hairline.
It’s easier than it looks! I secure the end with a clear elastic and gently pull on the braid’s loops for that dreamy, romantic volume.
The Intentional Messy Ballerina Bun
Next, I’ll show you how to create a romantic textured updo with the intentionally messy ballerina bun.
I use a simple, secure technique to set this style so it holds all day. You can get this look with just a hair tie and a few bobby pins, which keeps things easy on your budget.
Romantic Textured Updo
1. I love this romantic textured updo because it’s less fussy than a perfect bun.
Start by curling your hair to build volume, then loosely twist sections and pin them into a soft, gathered ballerina bun.
Don’t worry about symmetry; pull out a few face-framing strands.
- Effortlessly elegant, like you just stepped out of a garden party.
- Holds that “I tried, but not too hard” vibe all night.
- Costs nothing but a few pins and your existing curls.
Secure And Set Technique
If that looser romantic style appeals to you but you need something sturdier for a full day, let’s lock in the same look.
I create a strong, messy ballerina bun using a simple elastic. Then, I backcomb the ponytail slightly for texture before twisting and pinning it with good bobby pins.
A light mist of flexible-hold hairspray sets everything without making it stiff. It lasts through every dance.
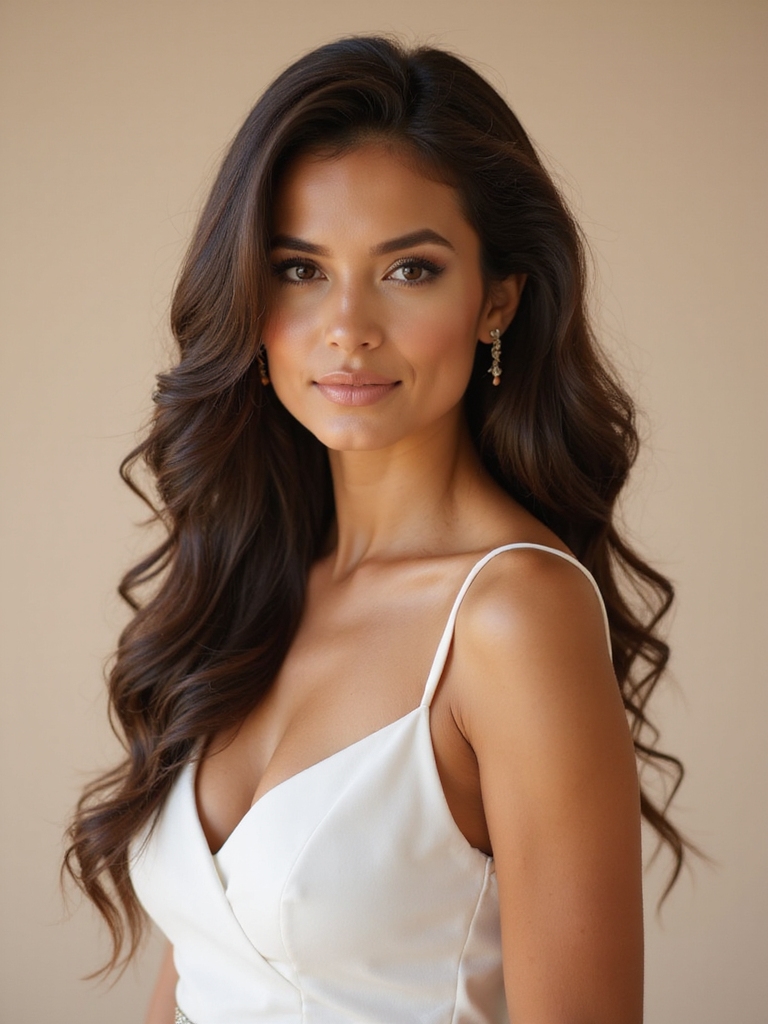
Glamorous Side-Swept Curls With Volume at the Crown
Once you’ve prepped your damp hair with a mousse or volumizing spray, I’ll show you how to create glamorous side-swept curls, starting where it matters most—building lift at your crown.
Tease gently at the roots, then secure the top section. Use a large-barrel curling iron, wrapping sections away from your face. Let them cool, then brush through for soft, voluminous waves. It’s easier than you think!
- Feel like a Hollywood starlet with that instant volume.
- Turn every “hello” into a hair-flip moment.
- Achieve a red-carpet look without the salon price tag.
The Braided Headband: Simple Yet Stunning
For a quick change of pace from voluminous curls, try framing your face with a braided headband.
I love this look because it’s elegant but incredibly simple. Just braid a section from above your ear, then pin it across your crown to the opposite side.
It tames flyaways and adds instant polish without any extra products. You’ll find it’s a stunning, budget-friendly way to elevate your style effortlessly.
A Sophisticated Low Ponytail Wrapped With a Scarf
- The gentle tug of the scarf feels like a secret, elegant touch.
- I adore reusing my favorite accessories for a new purpose.
- Watching the silk catch the light brings a quiet moment of joy.
Vintage-Inspired Pin Curls for a Retro Vibe
Six pin curls are all you need to create this classic look.
I dampen my hair slightly, roll small sections up, and pin them flat with good old-fashioned bobby pins. You can sleep on them overnight for soft waves, but I sometimes just use a blow dryer on low heat.
It’s timeless and costs almost nothing. This retro vibe always gets compliments without looking fussy.
Intricate Dutch Braid Updos
One intricate Dutch braid forms a stunning foundation for countless elegant updos. I love that it’s a single, manageable braid you master once. You can then twist it into a chic bun or wrap it into a crown, saving you from pricey salon visits.
It’s a versatile style that feels custom-made.
- The secure, woven texture that lasts all night.
- Turning one braid into a masterpiece.
- Feeling polished without the high-end cost.
Choosing the Right Accessories: Pearls, Clips, and Ribbons
While mastering that foundation braid is half the battle, picking the right accessories lets me put my own stamp on the look.
I love tiny pearl pins woven into a braid for subtle elegance. A statement clip can instantly dress up a simple low bun. For a soft, romantic feel, I weave a satin ribbon through my hair.
You don’t need much—a few well-placed pieces create a gorgeous effect.
Pro Tips for Lasting Hold and Wedding-Day Perfection
Even though I’ve practiced my hairstyle for weeks, making sure it looks perfect and stays put throughout the wedding day requires a few key steps.
Start with day-old hair and a budget-friendly texturizing spray for grip. I swear by bobby pins that match my hair color and a light-hold hairspray I can reapply without stiffness.
- The confidence of knowing every strand is secure.
- Dancing freely without a second thought.
- Looking flawless in every photo, from ceremony to send-off.
Conclusion
Honestly, after all that work on your hair, you’ll probably spend the whole reception eating cake and laughing, not posing for photos. But isn’t that the ironic goal? All these tips help you look effortlessly perfect, so you can forget your updo and actually have fun. My final budget-friendly advice? A travel-sized hairspray in your clutch is the real wedding guest MVP. Now go enjoy that free champagne!