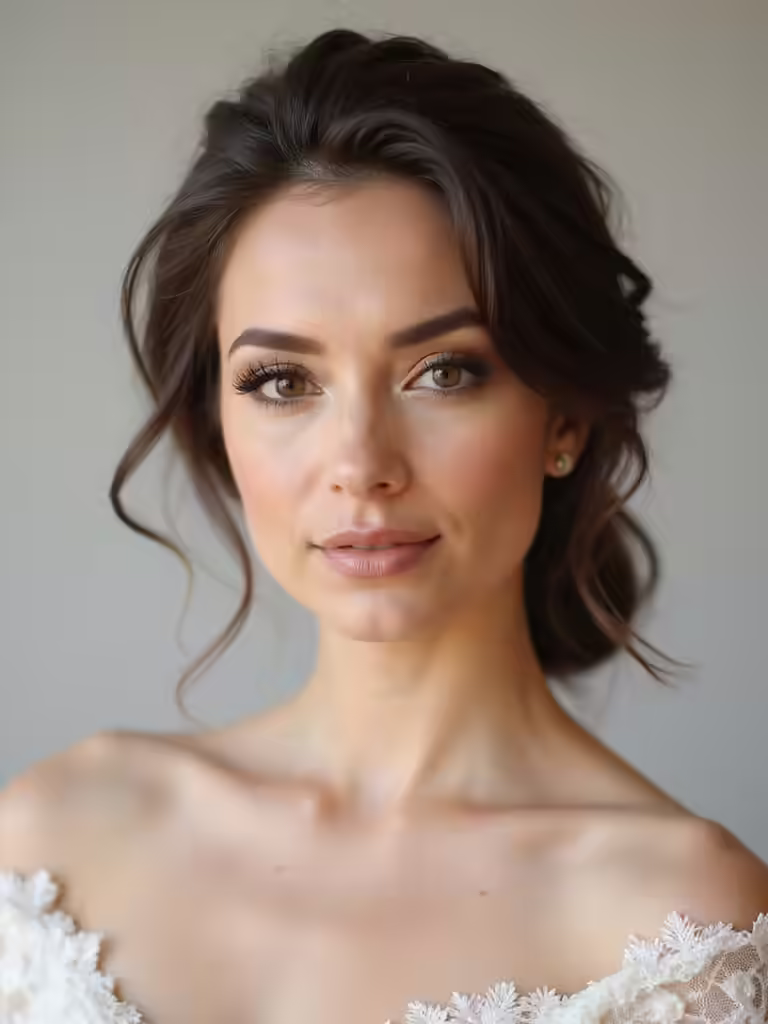
I’ve been that guest staring at my reflection, wondering if my medium-length hair can look polished in under five minutes. Spoiler: it can. I’ve tested beach waves with dry shampoo for volume, classic low buns with three bobby pins, half-up styles with soft pulls, side-swept waves, and messy top knots with face-framing strands. Quick side braids save me at the last minute. Want more fail-proof wedding guest looks that actually hold through dancing and hugs?
Beach Waves for a Relaxed Wedding Vibe
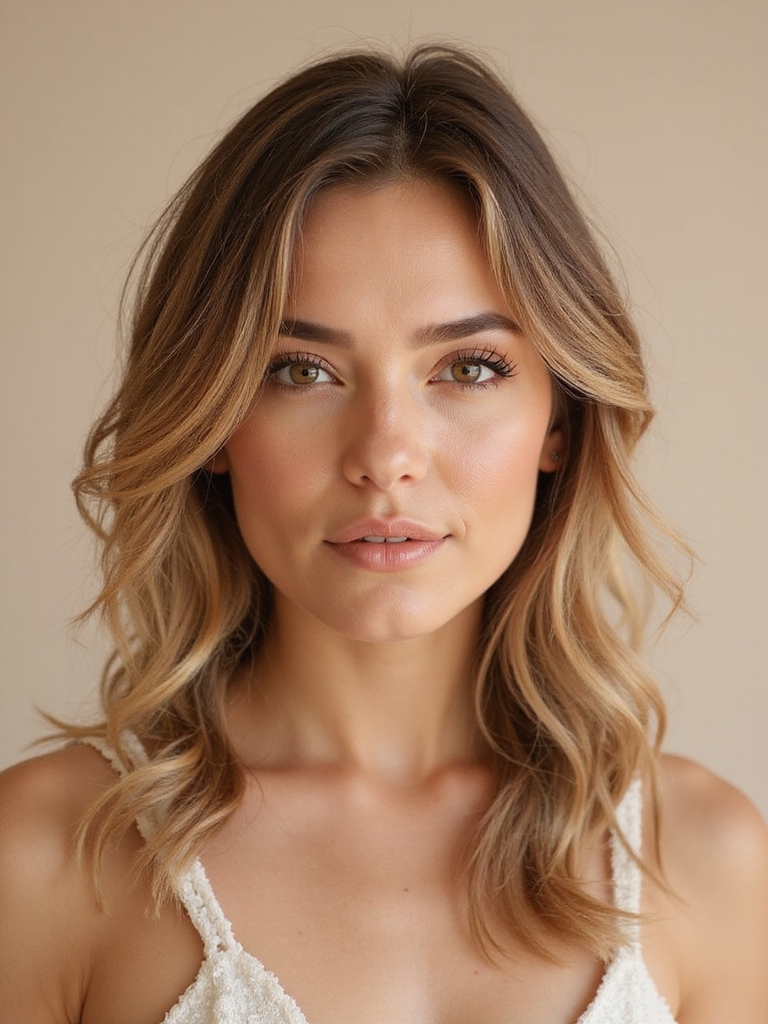
If you’ve ever tried to look effortlessly beachy while actually being at a beach, you know that’s a whole different beast from looking effortlessly beachy at a formal wedding.
My go-to hack? Dry shampoo at the roots, a curling wand, and a light hold spray.
I scrunch it up, let it fall naturally, and boom—instant relaxed bride-worthy vibes without the sand. For a touch of elegance, consider adding elegant wedding hairstyles that complement your beachy look.
Classic Low Bun: 5-Minute Formal Look
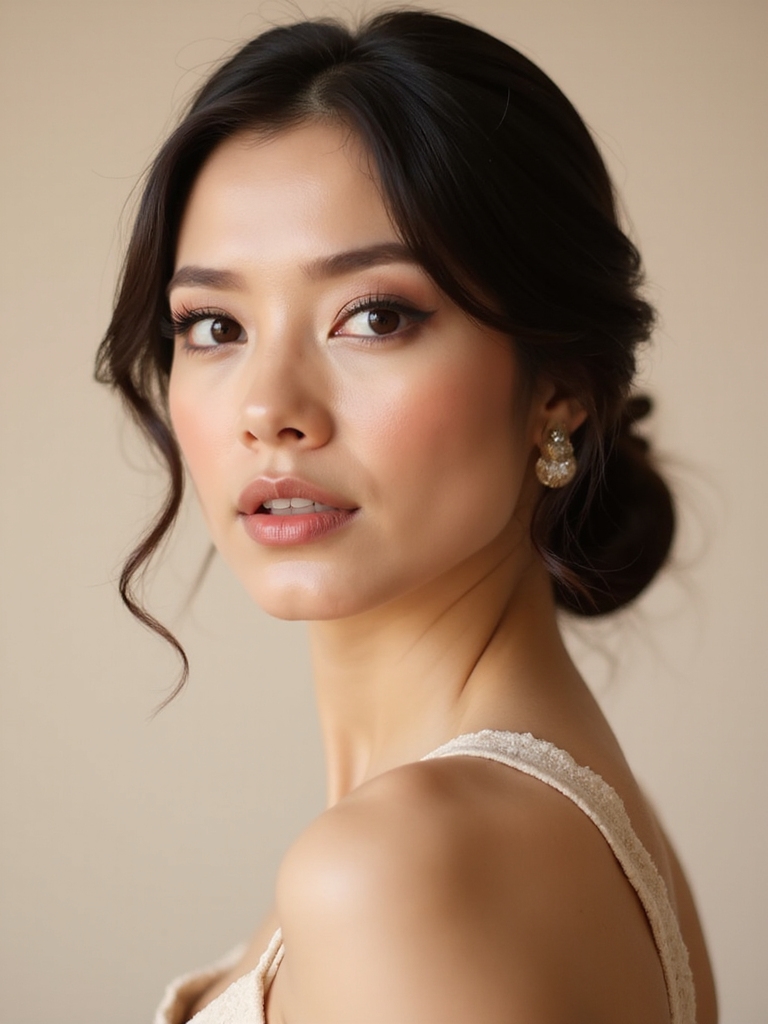
Three bobby pins and two minutes later, I’ve got a polished low bun that screams “I woke up like this”—without the lie.
I gather my hair at the nape, twist, wrap, and pin. This classic look works with any dress code, from cocktail to black-tie. Plus, it pairs beautifully with elegant half up half down styles, making it a versatile choice for various wedding themes.
I finish with a light hairspray and a few bobby pins for security, then I’m ready to toast the happy couple.
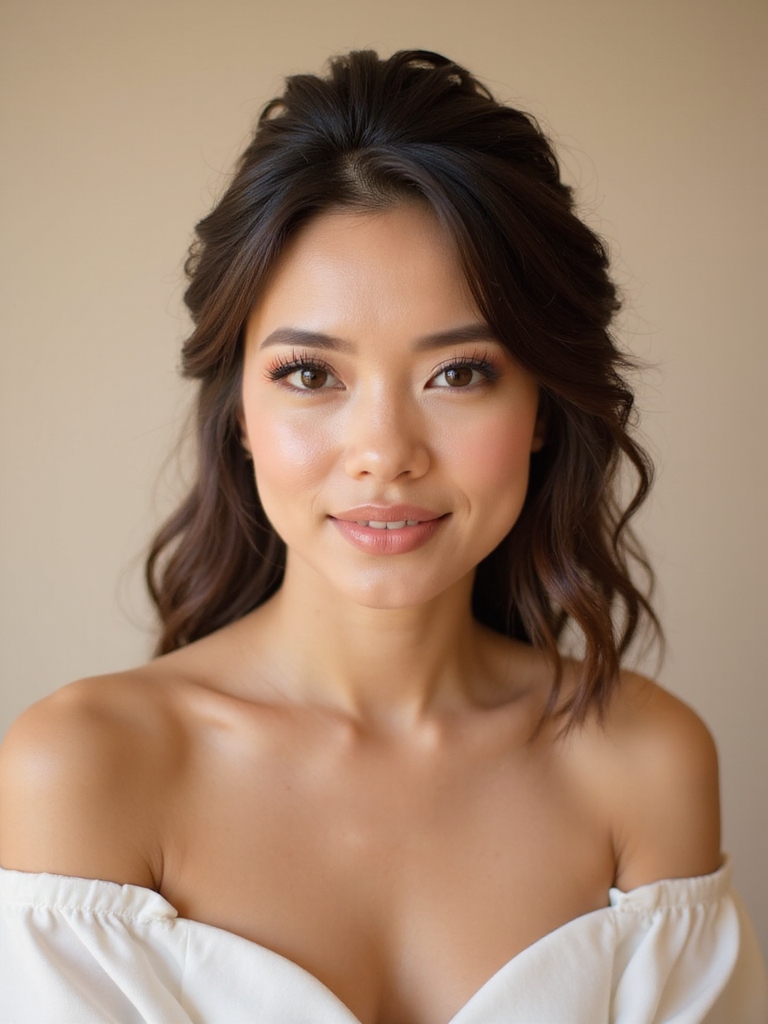
Half-Up Half-Down With Soft Pull
Tired of having all my hair stuck to my neck at summer weddings, I swap my polished low bun for a half-up half-down with soft pull—it’s the perfect balance of put-together and breezy. I tease the crown, pin the top with a tiny claw, and let the bottom flow—your neck stays cool, photos look chic, and you won’t waste time fixing it. This style is also reminiscent of stunning half up half down wedding hairstyles, making it suitable for a variety of occasions.
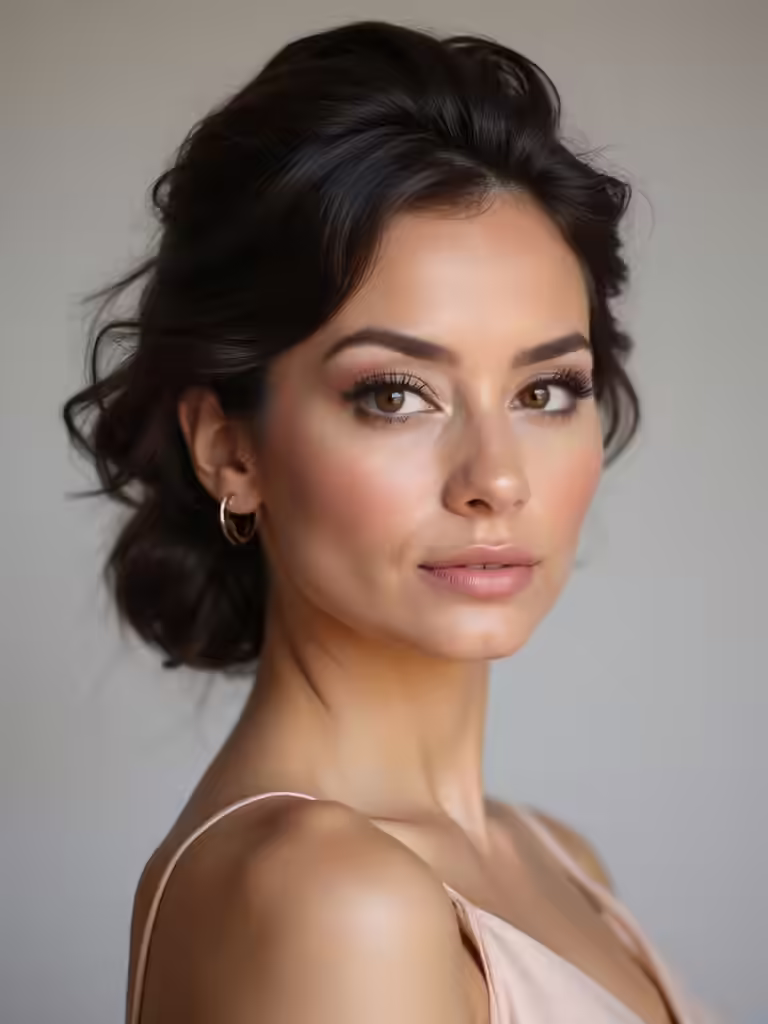
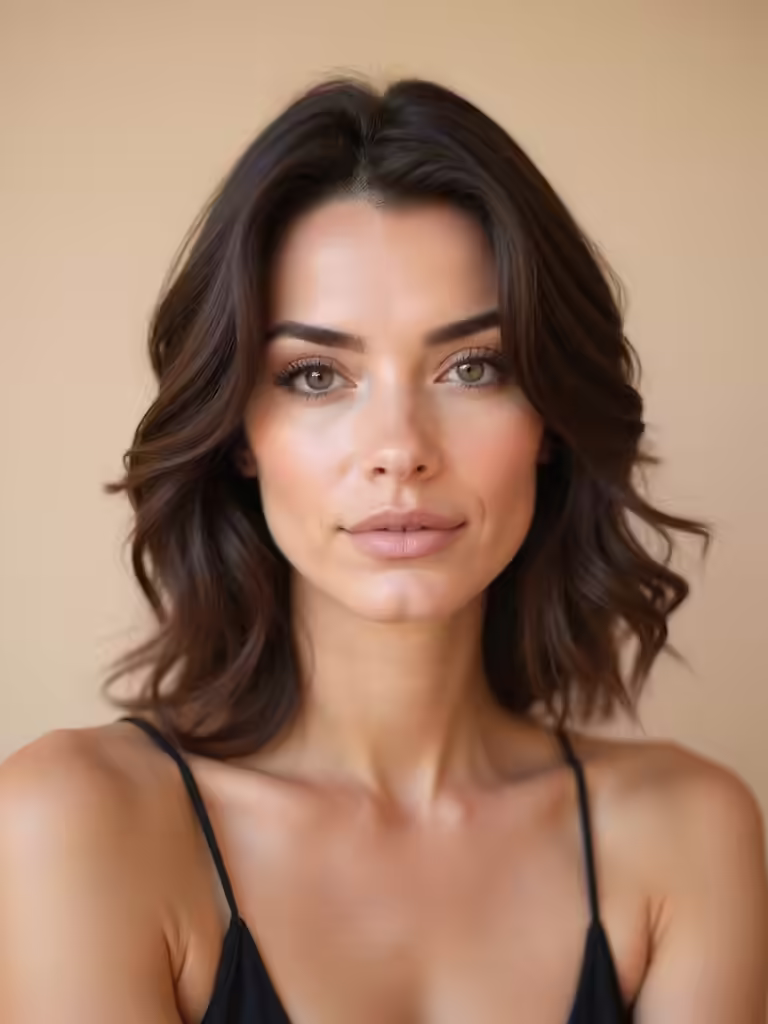
Side-Swept Waves for Romantic Charm
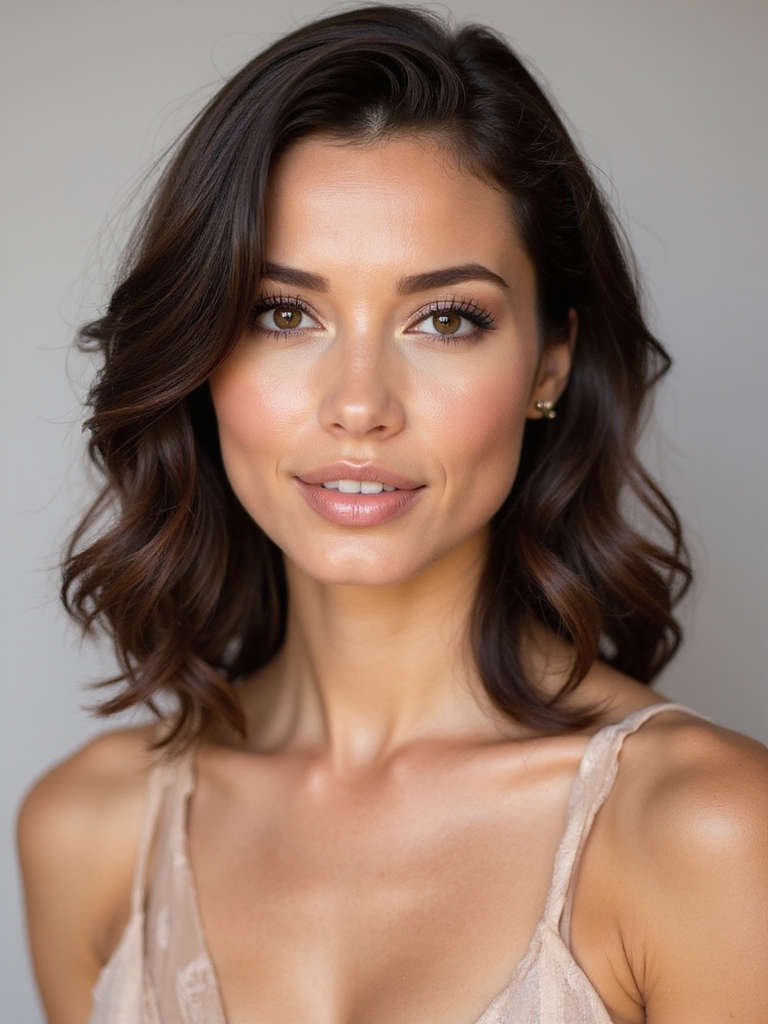
Although I’m not trying to upstage the bride, side-swept waves hit that perfect balance between effortless and romantic—when the photographer catches you mid-laugh, you look like you woke up this good, not like you spent three hours fighting a flat iron in the hotel bathroom.
I curl with a large iron, spray lightly, and sweep the waves gently to the side, easily. Consider pairing this look with chic half up half down styles for an even more elegant appearance.
Simple French Twist for Elegant Events
If you’ve ever watched a French woman twist her hair in ten seconds and look like she stepped off a magazine cover, the simple French twist is your answer to elegant events without the drama.
I grab my hair, twist it upward, secure it with bobby pins, and I’m ready. It’s timeless, polished, and works with any outfit. This versatile hairstyle is perfect for medium length bridesmaid hairstyles, ensuring you look chic and sophisticated.
Boho Crown Braid Tutorial
I tried this boho crown braid for my cousin’s wedding and honestly, it’s way easier than it looks.
I’m going to walk you through the step-by-step and share my best styling tips so you can pull it off without a mirror or a second set of hands. This look is perfect if you want something romantic but still want to dance all night without your updo collapsing. Plus, it strikes the perfect balance between effortless half-up hairstyles and elegance, making it a great choice for any wedding.
Step By Step
Here’s the thing about boho crown braids—they look like you’ve spent an hour at a salon, but the secret is in the technique. I start by misting damp hair with texturizing spray, then I create two Dutch braids on each side. To achieve that effortless look, effortless wedding guest hairstyles are essential for any special occasion. I pin the ends across my crown, securing with bobby pins that match my hair color for an invisible finish.
Styling Tips
One thing nobody warns you about with crown braids is that they’ve a sneaky habit of loosening by dessert.
I’ve learned to prep with texturizing spray before braiding, secure each section with tiny clear elastics, and give it one final mist of stronghold hairspray once finished. Plus, incorporating stunning braided hairstyles can elevate your look even further.
Trust me, these three steps keep your braid intact through cake and the last dance.
Textured Low Ponytail With Hair Wraps
You can pick a silk scarf or ribbon for the wrap, and I’ve found that the smoother the fabric, the less it fights your hair.
I always create loose textured waves first, then gather them into a low ponytail so the curls peek out around the wrap.
Once the ponytail is in place, you secure it with bobby pins and loop the wrap around the hair tie to keep everything from sliding down the dance floor. Additionally, this style is perfect for effortless hairstyles that require minimal maintenance throughout the event.
Choosing The Right Wrap
When you’re hunting for the perfect hair wrap, think of it as the accessorizing equivalent of finding the right wingman for a wedding speech—it needs to complement without stealing the show.
I always grab silk scarves because they slide through my textured ponytail without snagging.
Pick neutral tones that match your dress, and you’ll look effortlessly polished. Additionally, consider elegant ponytail styles that can transition seamlessly from ceremony to afterparty for a chic look.
Creating Textured Waves
Those neutral silk scarves you picked out aren’t just for looking polished—they’re about to become your secret weapon for the textured low ponytail you’ve been dreaming about.
I start with day-old hair and apply a texturizing spray at my roots, scrunching gently to coax out those imperfect waves.
The silk wrap ties everything together, hiding any flat spots while adding that polished, intentional vibe.
Securing Low Ponytail
Once my waves have that perfectly imperfect vibe going, I secure the low ponytail with a few strategic twists—none of that too-tight nonsense that leaves you with a headache by the time the cake cutting happens.
Then I wrap a small piece around the elastic, tucking the end with a pin—it’s the secret to looking effortlessly polished without ever trying too hard.
Rope Braid Accent Details
If you’ve mastered the basic rope braid and are ready to take it up a notch, the accent details are where your style really shines.
I love weaving tiny flowers through mine—it looks fancy but takes only seconds. Small pearl pins add elegance without drama.
I twist the ends tighter for a polished look and mist with workable hold spray so everything stays put through dinner and dancing.
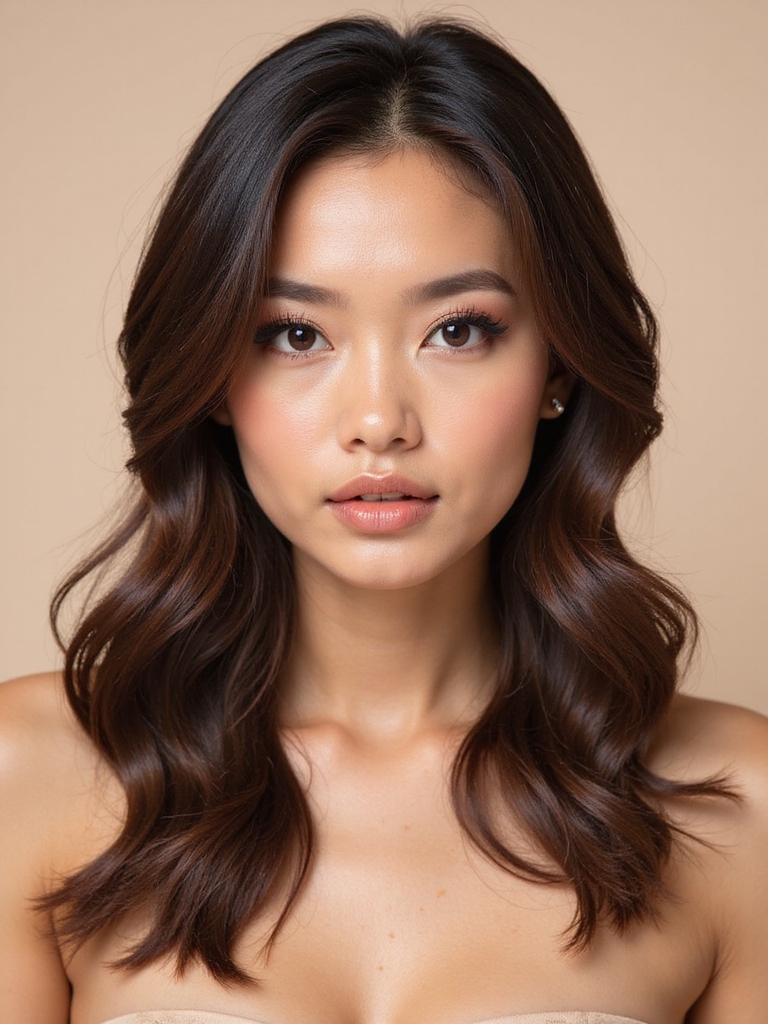
Soft Curls With Bobby Pin Securing
While some brides spend a fortune on updos, I’ve found that soft curls held with bobby pins look just as elegant for a fraction of the cost.
I simply curl my medium-length hair in sections, let them cool, then twist and pin the waves where they frame my face.
It’s foolproof—I learned this after three wedding disasters and countless bobby pins.
Waterfall Braid for Sophisticated Style
Since my hair refuses to behave at formal events, I’ve discovered the waterfall braid is my secret weapon for looking effortlessly sophisticated at weddings.
I side‑part my hair, then start a three‑strand waterfall braid, dropping the middle strand and adding a defiant piece each step. A tiny clear elastic secures the end, keeping the look intact through the ceremony and reception tonight.
Sleek Low Bun for Evening Receptions
One night I swapped my waterfall braid for a sleek low bun when the reception venue turned into a sauna, and I’ve never looked back.
I twisted my medium-length hair into a rolled coil at my nape, secured it with bobby pins that actually stayed put, and added a subtle shine serum for that evening elegance.
It survived dancing, hugging relatives, and the cake cutting without budging.
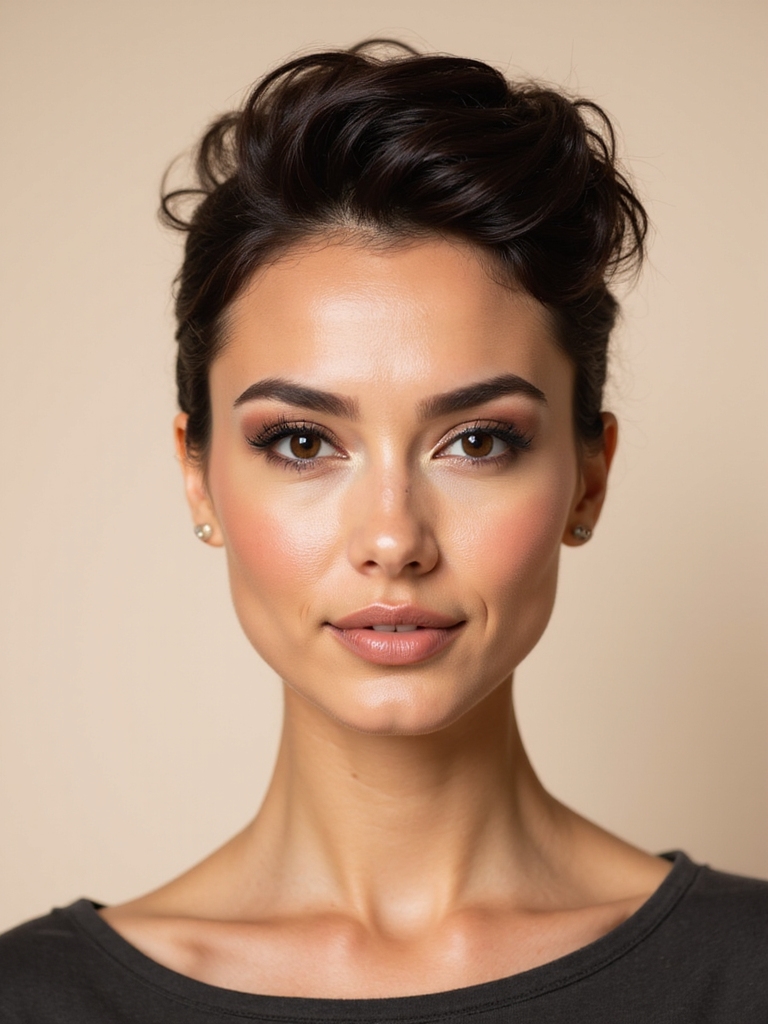
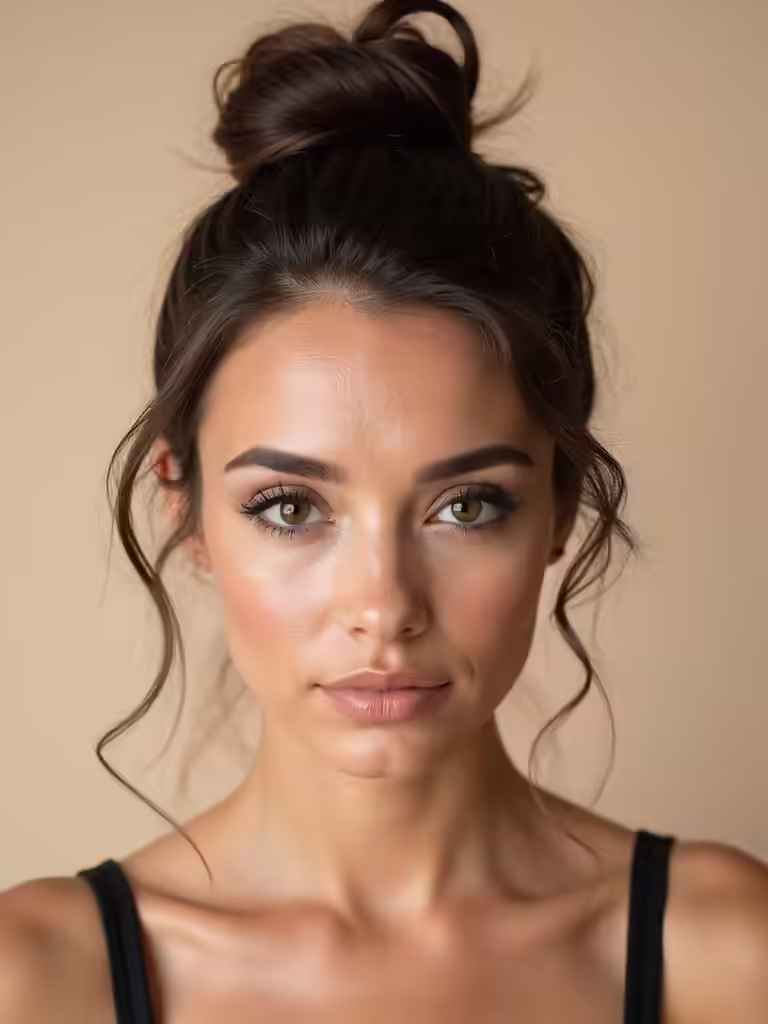
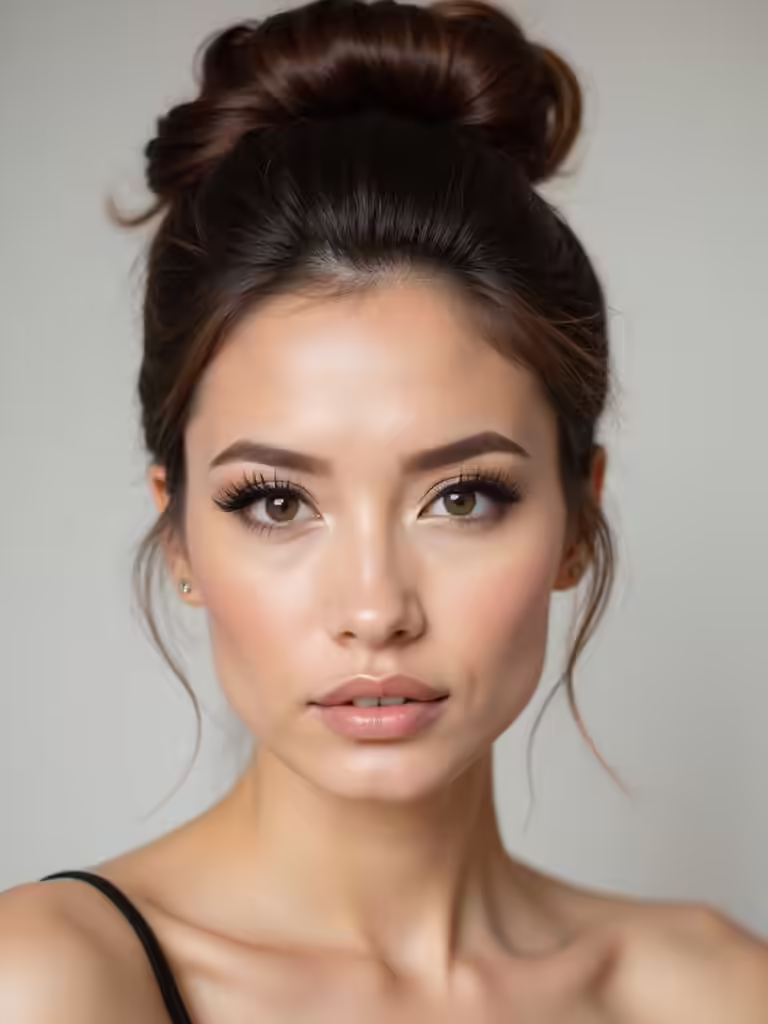
Messy Top Knot With Face-Framing Tips
I tried the messy top knot for my cousin’s wedding and it’s become my go-to for any formal occasion.
You’ll need some bobby pins, a hair tie, and a little texturizing spray to get that effortlessly undone look.
The secret to face-framing magic? Pull out a few strategic strands around your cheeks and forehead before you secure the knot.
Tools Required
Three tools stand between you and that effortlessly chic messy top knot: a good texturizing spray, a handful of bobby pins, and a hair tie that won’t snap under pressure.
I always grab a sea salt spray first—it gives my hair grip without feeling crunchy.
Those bobby pins? I stash them everywhere because a wandering strand can ruin everything.
And the hair tie matters more than you’d think; I’ve snapped enough cheap ones to know quality counts.
- Texturizing spray – creates grip and that perfectly imperfect texture
- Bobby pins – your secret weapon against rebellious strands
- Sturdy hair tie – skips the scalp-stinging snap cycle
Face Framing Tips
The real secret to a top knot that looks intentional rather than “I just rolled out of bed” lies in what you leave hanging around your face—those few loose strands can either frame your features beautifully or make you look like you lost a fight with a fan.
I always leave two pieces in front and twist them loosely around my fingers before securing them near my cheekbones. This gives that soft, romantic vibe.
A light mist of hairspray keeps them in place without crunchiness.
Double Dutch Braids: Playful Festival Style
If you’re torn between looking polished and wanting to dance until the sun comes up, double Dutch braids are your answer.
I wore these to my cousin’s wedding and they held up through the Cha Cha Slide and accidental champagne splashes.
Here’s my quick guide:
- Part hair down the middle into two sections
- Braid each side tight, adding strands as you go down
- Secure with clear elastics and tug for that effortlessly messy vibe
Quick Side Braid for Last-Minute Glam
When you’re running late to a wedding but still want to look polished, I always grab a quick side braid because it takes under five minutes and looks effortlessly chic.
I pull a small section to the side, twist it into a three‑strand braid, secure the end with a clear elastic, and gently tug a few strands for a relaxed vibe.
For extra glam, I spritz on a texturizing spray, add a statement bobby pin, and lock it all in with a quick hairspray mist so the style holds all night.
Quick Side Braid Steps
Grab your hair ties and prepare to look effortlessly elegant with this quick side braid that saves you from those awkward wedding-day hair emergencies.
Here’s my foolproof sequence:
- Sweep all hair to one shoulder and secure loosely at my nape—this creates your starting point.
- Divide into three sections and braid downward, catching loose strands as I go for that “I tried but not too hard” vibe.
- Fasten with a hidden bobby pin and spritz with hairspray so it survives dancing, hugging, and that emotional ceremony moment.
Effortless Glam Tips
A handful of beauty secrets have saved me from wedding day hair disasters more times than I can count, and I’m passing along the ones that actually work.
I spritz dry shampoo at my roots, twist three hair sections into a loose side braid, pin it with bobby pins hiding behind my ear, and tug a few strands loose for that effortlessly romantic vibe.
Five minutes, zero stress, maximum compliments.
Conclusion
I’m wrapping up my list of fourteen effortless dos, and honestly, I think I’ve saved you at least a hundred stress‑filled minutes. Whether you choose beachy waves or a sleek low bun, remember a few bobby pins are my secret weapon—like a knight’s sword in a medieval battle, they tame any rogue strand. So grab your favorite style, smile, and own that wedding day. You’ve got this! I guarantee you’ll turn heads and start trend.