I’ve picked nine medium-length bridesmaid styles that feel effortless and photo-ready—soft romantic waves, a low twisted chignon, half-up boho braid, sleek straight tuck, messy textured bun, pompadour-front updo, half-up knotted halo, tousled lob with sparkling pins, and a wrapped ponytail with ribbon.
Each balances movement, discreet pins, and light texturizers so hair flatters varied necklines and dances all night. Keep going and I’ll show how to prep, pin, and finish each look.
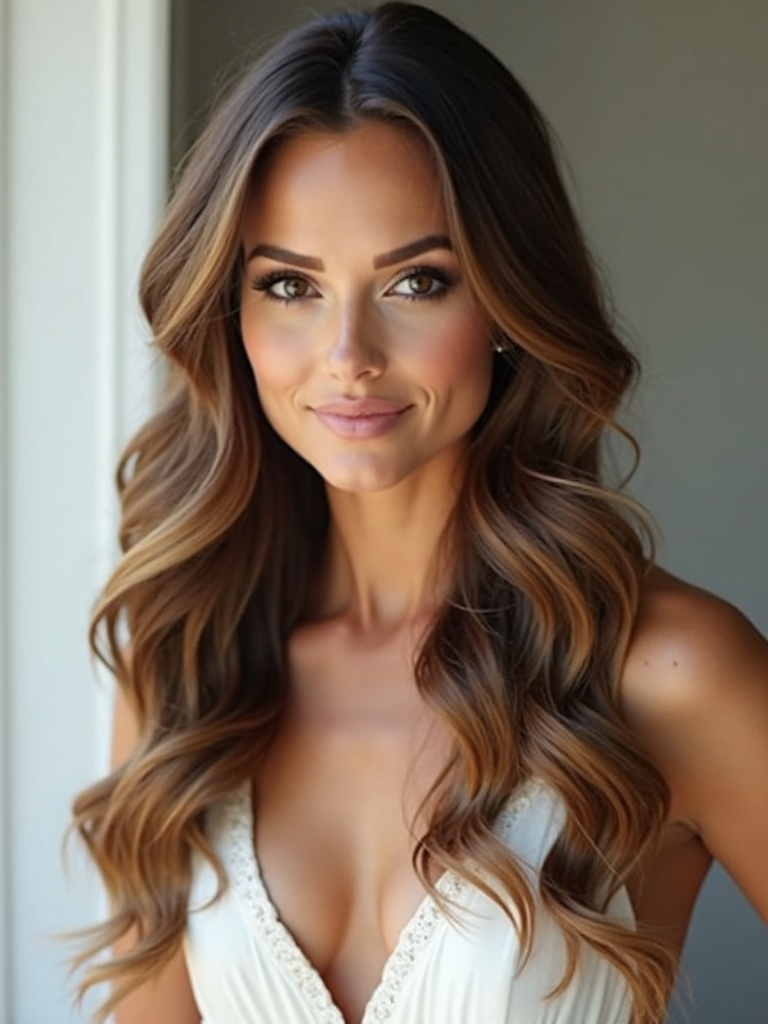
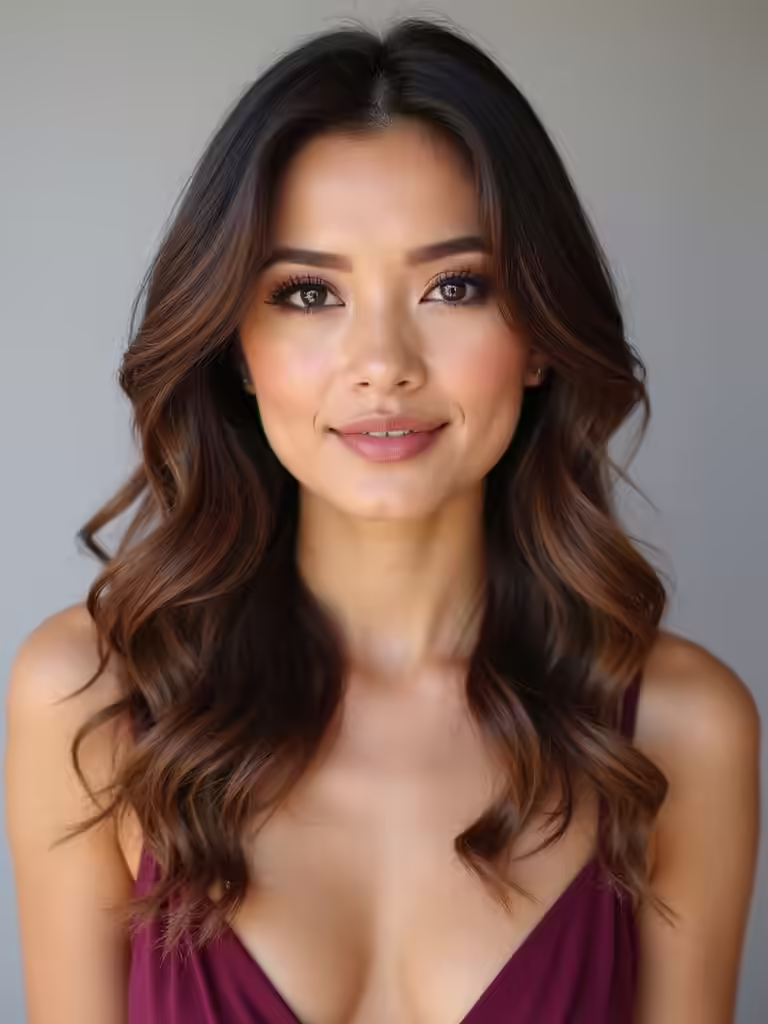
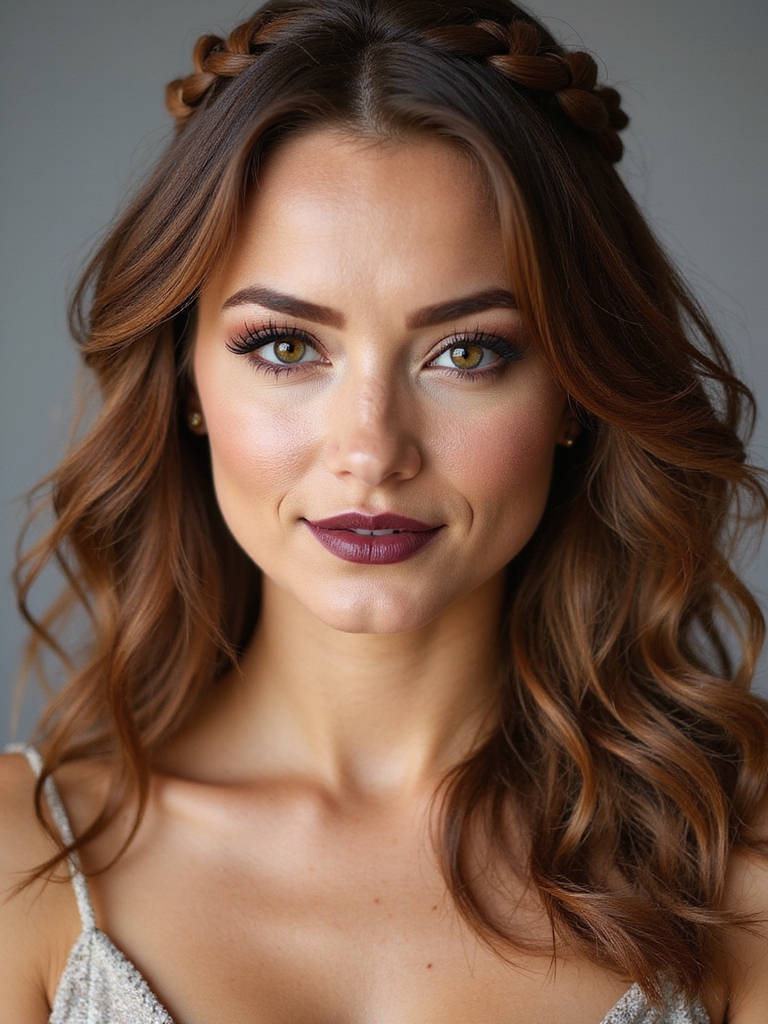
Soft Romantic Waves
I often reach for soft romantic waves when I want bridesmaids to feel both effortless and elegant; they frame faces gently, catch light in a way that photographs beautifully, and work with veils or floral accents.
I recommend loose, controlled bends, light texturizing spray, and discreet pins to shape movement without stiffness.
The result feels timeless, wearable, and beautifully cohesive for any ceremony.
I also love how effortless loose waves for bridesmaids create a unified, flattering look that complements a range of dress styles and wedding themes with versatile cuts.
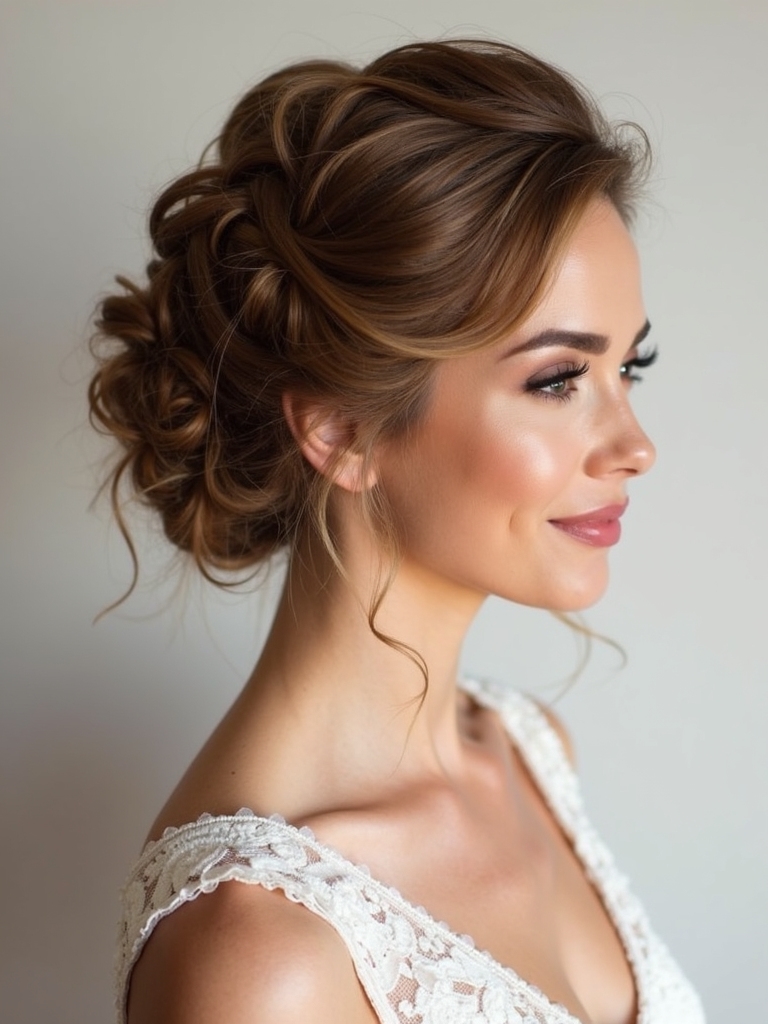
Low Twisted Chignon
I love how a low twisted chignon feels both effortless and elegant, with soft face-framing tendrils to keep the look romantic.
I’ll show you how to twist and anchor a secure low knot that holds through dancing and hugs.
With a few simple pins and a light mist, you’ll have a timeless style that flatters every face.
These long-lasting techniques are ideal for medium-length bridesmaid updos to ensure your hairstyle stays put all night.
Soft Face-Framing Tendrils
I often pick the low twisted chignon with soft face-framing tendrils when I want bridesmaids to feel effortlessly romantic and perfectly polished.
I loosen a few delicate strands to soften cheekbones, mist with flexible-hold spray, and tuck the rest into a gentle twist at nape.
- soft tendrils for movement
- relaxed, wearable romance
- quick touch-ups between photos
This style channels the understated elegance of Quiet Luxury while keeping the look modern and wearable.
Secure Low Twisted Knot
When I want something a bit more polished and locked-in than soft tendrils allow, I reach for the secure low twisted knot — a low twisted chignon that stays put through vows, toasts, and late-night dancing.
I twist sections into a low knot, pinning with strong bobby pins and light hairspray.
It feels elegant, comfortable, and quietly romantic, flattering necklines and keeping hair tidy all day.
This style is one of several elegant bridesmaid low bun ideas that offers timeless sophistication and practicality, especially as a bridesmaid low bun option.
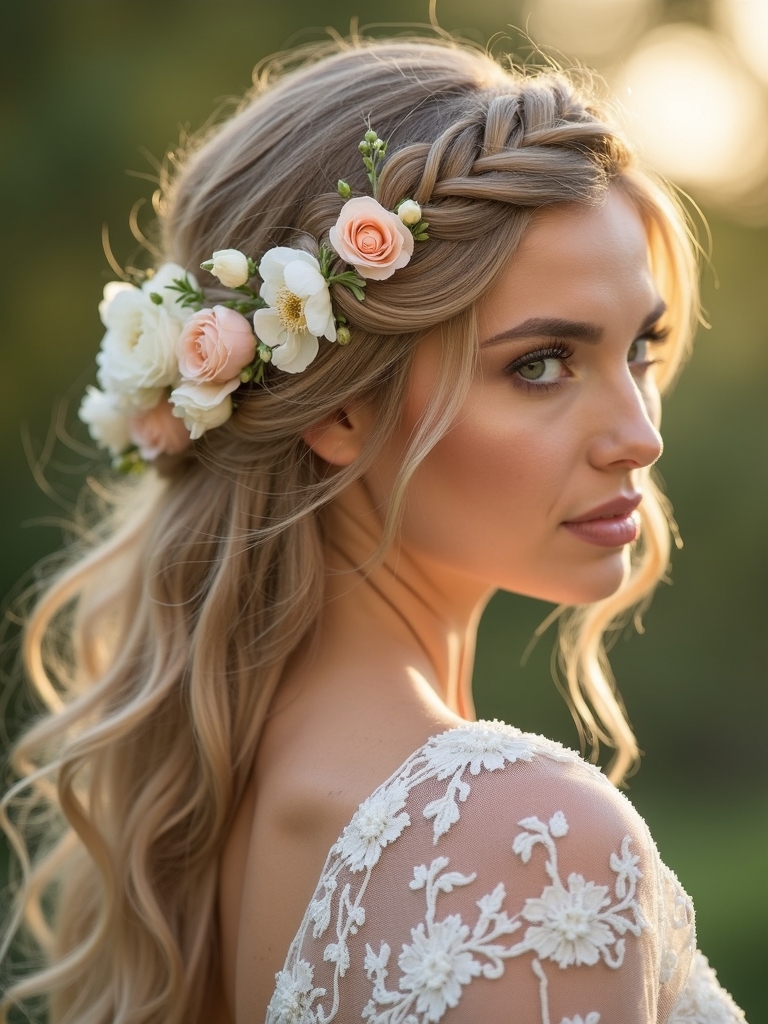
Half-Up Boho Braid
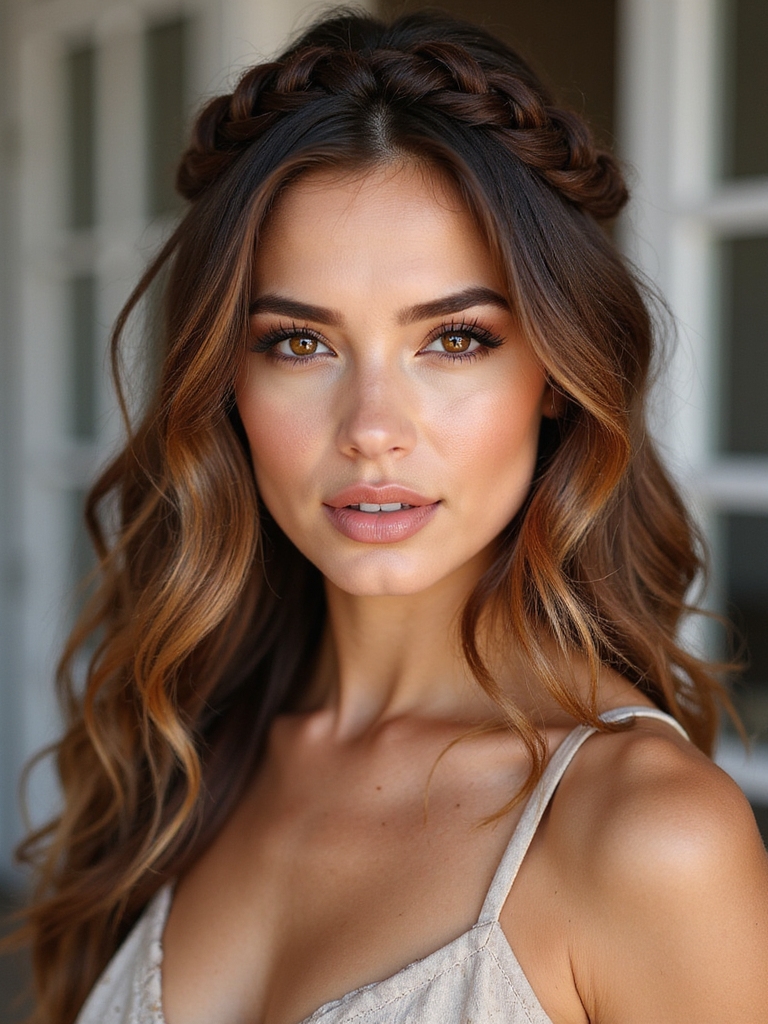
I love how a half-up boho braid feels both effortless and intentional, so I always start by prepping texture with sea-salt spray or a light mousse to give the hair grip and movement.
Then I’ll talk through braid placement options—crown, off-center, or twin braids—so you can choose what flatters the face and the dress.
Finally I’ll share my go-to ways to secure the braid discreetly and finish with pins, a touch of hairspray, or a few loose tendrils for a soft, lasting look.
For more inspiration, I often reference braid combos that pair half-up styles with complementary down-hair textures.
Texture Prep Tips
Let’s start by waking up the hair’s natural movement so the half-up boho braid sits soft and lived-in.
I gently roughen damp strands, mist sea salt for grit, and warm oil on ends.
Then I:
- Scrunch lightly to coax waves.
- Use a texturizing spray at roots.
- Twist sections before drying for airy hold.
This creates effortless texture without stiffness. Many wedding guests are choosing medium-length styles for their versatility and ease.
Braid Placement Options
Placement matters—where you set the half-up boho braid changes the whole vibe, so I’ll walk you through choices that flatter face shape and dress styles.
I suggest high crowns for elongating round faces, low napes for romantic, soft profiles, and off-center placement to balance asymmetrical necklines.
Centered braids suit classic gowns.
Each option softly frames you, guiding attention where you want it.
Consider also braid size and texture for overall balance with the cut and length, such as choosing braid thickness to complement medium-length hair.
Securing and Finishing Touches
When you’re ready to lock the braid in place, I reach for a small clear elastic and a few discreet bobby pins so the style feels effortless, not fussy.
I tuck and tease gently, then finish with light mist. Details matter:
- Use a matte texturizer for grip.
- Hide pins beneath the braid’s curve.
- Softly pull face-framing strands for movement and romance.
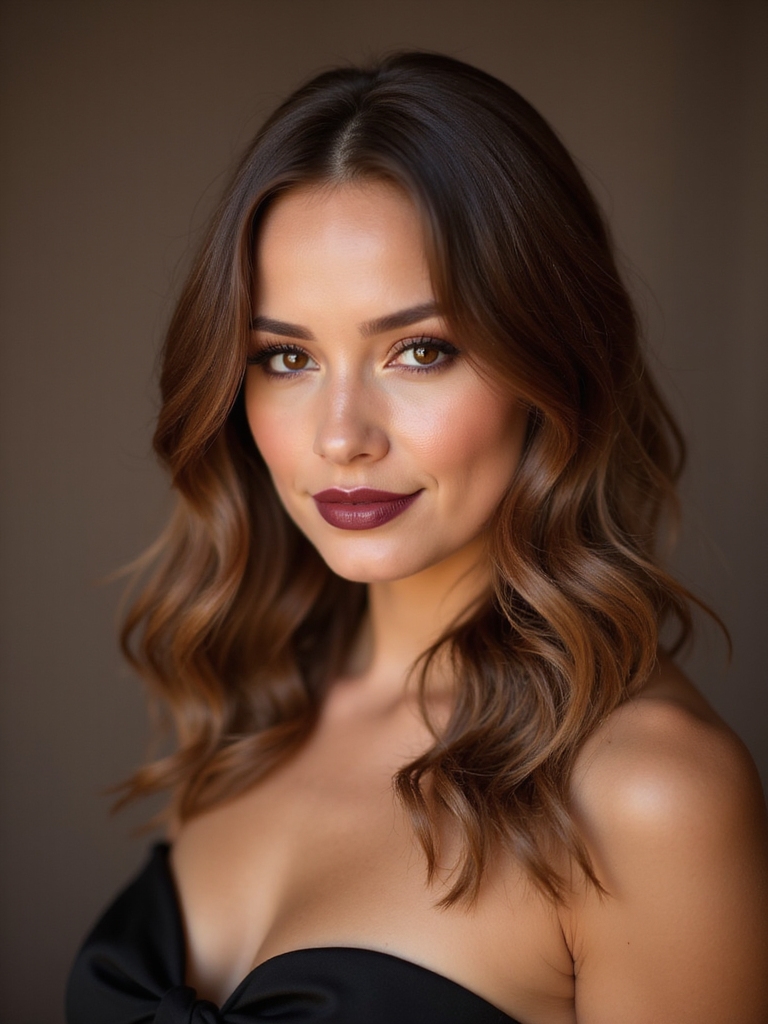
Sleek Straight Tuck
I love the Sleek Straight Tuck because it feels both modern and effortless — you smooth your hair down, tuck the ends neatly behind the ears or into a low collar, and the look instantly reads polished without fuss.
I use a lightweight serum, comb for precision, and secure with discreet pins.
It flatters necklines, keeps focus on faces, and lasts through vows.
Messy Textured Bun
I often reach for a messy textured bun when I want a look that’s relaxed yet deliberately pretty — hair tousled, volume teased at the crown, and loose tendrils softening the face.
I shape a soft knot that feels effortless and secure.
- quick to create
- holds through dancing
- frames the face gently
Braided Crown Accent
If you like the softness of a messy textured bun but want a touch more polish, I often add a braided crown accent to lift the look and frame the face.
I braid along the hairline, pinning gently so tendrils can whisper loose. It secures the style, adds elegance without stiffness, and adapts easily to veils, fresh flowers, or simple jewelry for a cohesive finish.
Vintage-Inspired Finger Waves
I love creating vintage-inspired finger waves because they transform simple hair into something timeless and elegant.
First I’ll talk about prepping and sectioning so the waves sit smoothly, then I’ll show the finger wave technique step by step, and finish with the best holding and finishing tips to keep everything in place.
Stick with me and you’ll have soft, sculpted waves that last through vows and dancing.
Prep and Sectioning
When I prepare for vintage-inspired finger waves, I start by cleansing and setting the hair so every strand behaves; clean, slightly damp hair holds the pattern best, and a light mousse gives the waves definition without stiffness.
I section deliberately, mapping rhythms across the head, then secure control and flow.
- Create a deep side part
- Clip sections horizontally
- Work from front to nape
Finger Wave Technique
Start by setting your hands and tools—comb, clips, a thin-tooth comb, and a medium-hold setting lotion—so you’re ready to sculpt each S-shaped curve.
I glide through sections, pinching and smoothing with rhythm, shaping waves that catch light.
I keep gestures deliberate, working from hairline to nape, balancing symmetry with slight imperfection for vintage charm that feels modern and wearable.
Holding and Finishing
Although the sculpting’s done, I don’t let the waves wander — I lock them with a light mist of medium-hold hairspray, then press and pin each S-curve into place so the shape sets without stiffness.
I work patiently, smoothing shine and easing tension.
- Use a satin scarf while cool
- Replace pins with discreet clips for photos
- Finish with a feather-light serum for gloss
Loose Side Sweep
I love how a loose side sweep feels effortless and romantic, drawing attention to your face while letting hair move freely.
I gather hair to one side, secure softly with pins or a tiny elastic, and pull gentle pieces free to soften the look.
It complements necklines, stays comfortable through dancing, and tolerates humidity—simple, forgiving, and quietly elegant.
Knotted Low Ponytail
I’ll walk you through the knotted low ponytail starting with smart prep and clean sectioning so the style holds and looks effortless.
Then I’ll show step-by-step knotting techniques—how to twist, loop, and secure each knot for a soft, polished finish.
With a few simple moves you’ll have a romantic, bridesmaid-ready look that feels both modern and timeless.
Prep and Sectioning
When I prep a knotted low ponytail, I start by smoothing the hair with a lightweight leave-in to add slip without flattening natural texture, then detangle gently from ends to roots so each section lies cleanly.
- Divide into three balanced sections: crown, sides, nape.
- Clip securely but softly.
- Note growth patterns and part accordingly, aligning sections.
Knotting Technique Steps
Now that the sections are set and the hair’s smooth, I start the knotting by gathering the nape section into a low ponytail and securing it loosely with an elastic a half-inch from the ends.
I twist the tail, fold it into a single knot against the nape, then tuck and pin stray ends. I soften edges with fingers, keeping balance and ease.
Cascading Curled Ends
I love how cascading curled ends soften a bridesmaid look, letting glossy waves spill naturally while keeping everything polished; I’ll show you how to shape those curls so they frame the face, hold through the day, and tuck beautifully into bouquets or straps without looking stiff.
I guide you through gentle heat, cooling, and misting:
- Use medium barrel curls
- Pin to set, then release
- Finish with flexible hold mist
French Twist With Face-Framing Pieces
With a few careful twists and deliberate loosening, I turn the classic French twist into something soft and modern by pulling out delicate face-framing pieces.
I tuck and pin while letting wisps soften the forehead and jaw, creating movement and ease.
It stays secure through vows yet feels lived-in, flattering different face shapes and pairing beautifully with veils or simple earrings.
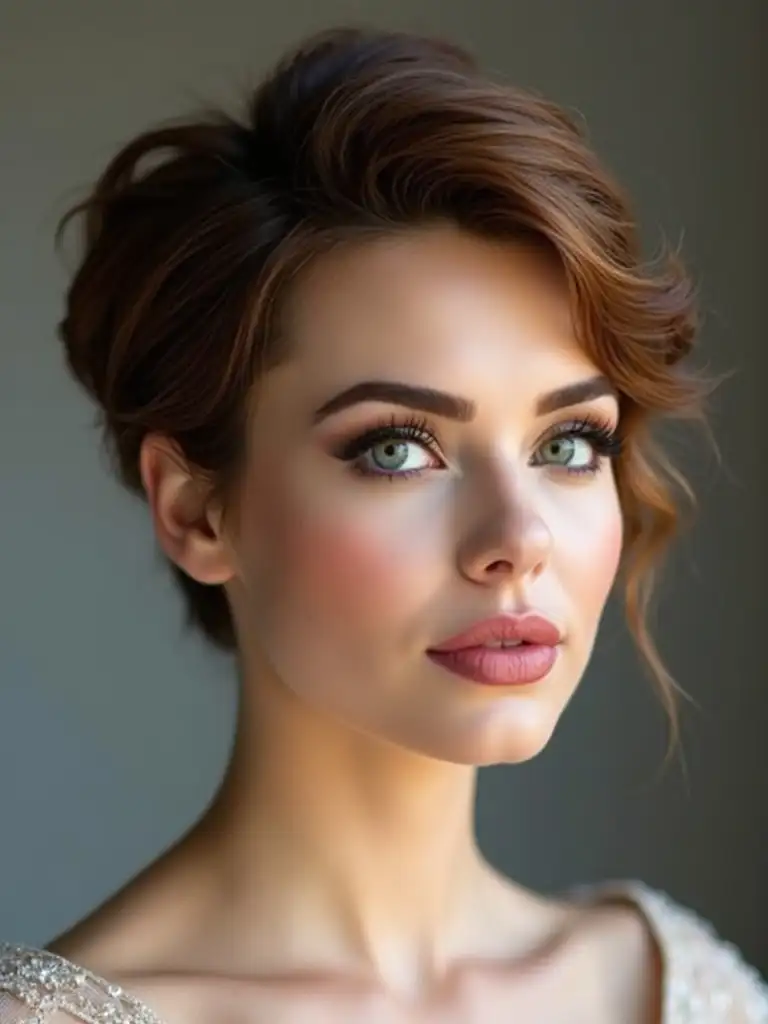
Pompadour-Front Updo
Lift the crown and I shape a Pompadour-front updo that feels both bold and effortless. I sweep the front into airy height, secure the back into a soft chignon, and smooth flyaways for a polished, romantic finish.
Try textures to suit the dress and mood.
- Face-lifting volume
- Soft chignon base
- Subtle shine and hold
Half-Up Knotted Halo
After finishing the pompadour-front updo, I often like to soften the mood with a Half-Up Knotted Halo that feels both whimsical and grounded.
I gather crown sections, tie a loose knot, and pin just enough to hold shape while letting tendrils breathe.
It frames faces gently, stays secure through vows and dancing, and suits bridesmaids who want effortless polish without stiffness.
Tousled Lob With Sparkling Pins
I often reach for a tousled lob when bridesmaids want something modern but relaxed; I roughen the cut with sea-spray texture, tuck strands behind one ear, and place a few sparkling pins where the light catches the jawline.
- soft waves for movement
- pins positioned for subtle shimmer
- quick touch-ups between photos
It feels effortless, elegant, and quietly joyful.
Wrapped Ponytail With Ribbon
While the tousled lob brings a relaxed, windswept charm, I often reach for a wrapped ponytail when the bride wants something a bit sleeker but still romantic.
I smooth mid-length hair into a low pony, wrap a ribbon around the base, and tuck ends for polish. It feels elegant without stiffness, moves beautifully, and complements gowns from vintage lace to modern minimalism.
I could gush forever about these medium-length bridesmaid looks — each one’s a little love letter to your hair, ready to turn ordinary into unforgettable. Whether you want whisper-soft waves, a rebel bun, or a ribboned ponytail that practically waltzes down the aisle, you’ve got options that feel effortless and utterly swoon-worthy.
Pick a style that mirrors your heart, and watch everyone gasp like you just walked out of a fairytale.