I always choose a polished bun as a wedding guest because it’s elegant and lasts all night. Mastering a few key techniques, like a secure low knot or a voluminous donut bun, gives me effortless style that complements any outfit. From romantic messy buns to sleek braided updos, these looks are quick to achieve and stay picture-perfect. I’ve got the essential tips to guarantee your style holds from the ceremony through your last dance.
Master the 5-Minute Classic Low Knot
Let’s master the timeless classic low knot, a versatile style you can complete in five minutes. I start by brushing my hair into a low ponytail. Then, I twist it tightly and wrap it around the base. I secure the knot with pins, tucking in the ends. A few final pins lock it in place. It’s elegant, secure, and perfect for any wedding when I need reliable, polished style quickly. This elegant bun hairstyle is not only chic but also complements a variety of outfits, making it a go-to choice for wedding guests.
Why a Bun Is Your Ultimate Wedding Guest Style

I always choose a bun for weddings because it gives me a timeless, elegant look. It’s also a style I can finish quickly and still feel completely polished. No matter the dress code, a bun adapts perfectly to the occasion. This versatile style can also withstand all-night dancing, ensuring you look fabulous from the ceremony to the last dance.
Sophisticated And Timeless Elegance
For countless weddings, my go-to style has been the bun because it assures a polished look that transcends fleeting trends.
It’s inherently elegant, lending a timeless aura to any outfit. You won’t fuss with your hair all night, and it always appears neat.
This simple silhouette guarantees you look refined without competing with the bride. A bun frames your face beautifully, creating a sophisticated focal point. Additionally, elegant low buns are versatile enough to suit various wedding themes and styles, ensuring a perfect match for any celebration.
Quick And Polished Finish
Why shouldn’t your wedding guest hairstyle be as effortlessly chic as your outfit? I love that a sleek bun gives me a perfectly polished look in minutes. It’s the ultimate solution when I’m short on time but still want to appear put-together. A few pins secure everything neatly, ensuring my style stays flawless from the ceremony through the last dance without any fuss or constant adjustments. Plus, a well-executed bun can last all day and keep you looking stunning through every photograph and celebration.
Adapts To Any Dress Code
Whether you’re dressed formally or opting for something more casual, a bun complements any attire seamlessly.
I love that it works for any dress code. It elevates my simple sundress and equally suits my cocktail attire.
This versatility means I don’t stress about matching my hair to my outfit. I just choose a style, secure it, and know I’ll look appropriately polished.
It’s my foolproof solution. Plus, buns for every style offer countless variations, ensuring you can find the perfect look for any occasion.
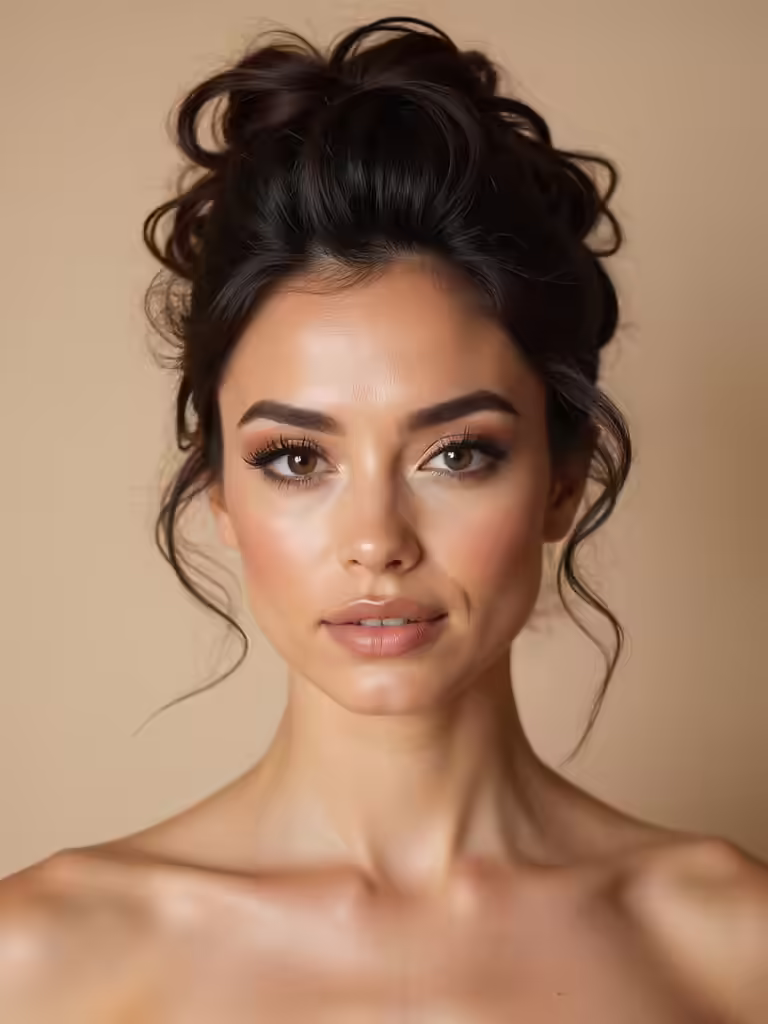
Get Romantic Vibes With an Effortless Messy Bun
Although many brides envision an intricate updo, an effortless messy bun captures a uniquely romantic and relaxed vibe.
I gather my hair into a loose, low ponytail and twist it, wrapping it around the base. I secure it with pins but deliberately pull out a few face-framing strands and soften the shape with my fingers.
This creates that perfect, intentional “undone” look that feels both beautiful and effortless. The best part is that this style is perfect for dancing all night, ensuring you stay comfortable while looking fabulous.
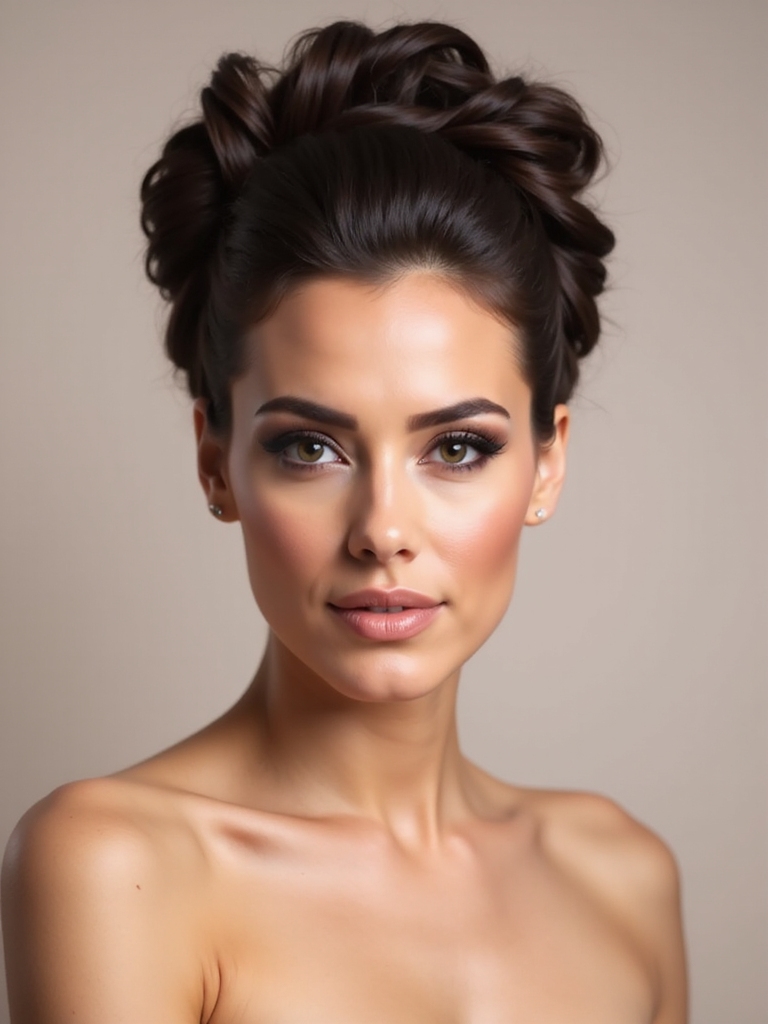
Create a Polished Statement With a Sleek High Bun
I’ll start by showing you how to craft the classic ballerina bun for a timeless look.
Next, we’ll focus on achieving that sleek texture perfection that’s essential for polish.
Finally, I’ll share my tips to guarantee the style is secure and elegant all day. A well-crafted wedding bun hairstyle can stay flawless from the ceremony to the last dance.
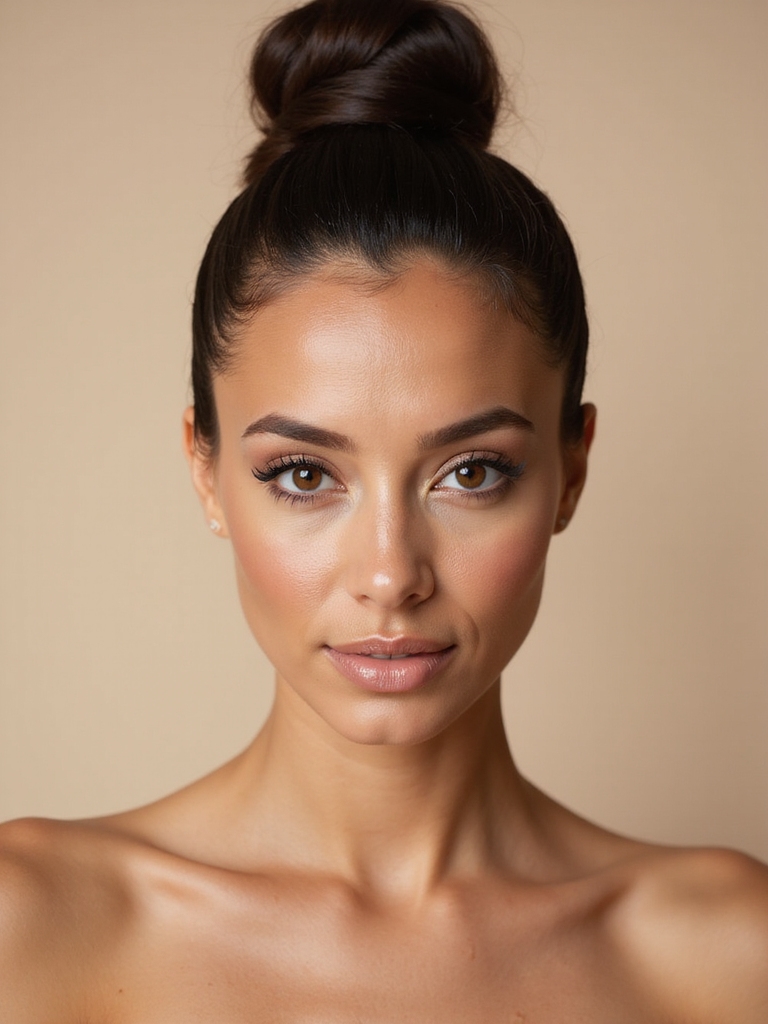
The Classic Ballerina Bun
One great option for achieving a polished statement is the classic ballerina bun, a sleek high updo perfect for a wedding.
I gather my hair into a high, tight ponytail. Then, I twist the length and wrap it around the base, pinning it securely. This creates an elegant, timeless silhouette.
It’s an effortlessly chic style that pairs beautifully with statement earrings and a formal gown. Additionally, the bridal bun hairstyles are versatile enough to suit various wedding themes, making them a popular choice among brides and guests alike.
Sleek Texture Perfection
Some hairstyles require meticulous texture work to achieve their signature sleek look.
I start with thoroughly detangled, damp hair. I apply a smoothing serum and blow-dry with a round brush, pulling hair taut for maximum polish.
I gather it into a high ponytail, smoothing every strand. I twist it tightly into a coil and pin it against my head. This creates a sharp, architectural silhouette perfect for a formal event.
Achieving this look is all about sleek ponytail techniques, which emphasize a polished finish.
Secure All-Day Elegance
To secure that sleek high bun for all-day wedding elegance, you’ll need the right foundation.
I start by teasing my hair slightly at the crown for grip. Then, I use a strong-hold gel on smoothed sections before wrapping.
I anchor the bun tightly with multiple pins, crisscrossing them for security. A final mist of flexible-hold spray locks the style without stiffness. This approach is similar to the techniques used for secure bridal buns that stay perfect through the first dance.
It withstands hours of celebration without a single strand slipping.
Braid It First: An Easy Braided Bun Updo
If you want a wedding hairstyle with extra detail and hold, try creating a bun from a single braid.
I simply French braid my hair down my back, secure the end, then coil it into a neat bun at my nape. It anchors perfectly.
This method adds beautiful texture while preventing flyaways. You’ll find it’s much more secure than a standard bun for a full day of celebration.
Add Texture With a Simple Twisted Rope Bun
While you can achieve gorgeous texture with braids, I love the quicker elegance of a twisted rope bun.
Section your hair into two pieces. Twist each one tightly in the same direction. Then, twist those two strands together in the opposite direction.
Coil this rope around its base and pin it securely. You instantly get a bun with beautiful, defined texture perfect for any wedding celebration.
Try the Modern Bubble Bun for Playful Style
Let’s explore the modern bubble bun for a playful wedding look.
I’ll cover how you can choose your bubble bun style and then show you the steps to create it.
It’s a fun twist on tradition that’s surprisingly easy to do.
Choosing Your Bubble Bun
When considering a playful style, why not try the modern bubble bun? I choose mine based on the wedding’s tone. A sleek, high bun feels formal, while a lower, tousled one suits a garden party. Your hair length and texture also guide your choice.
- Formal Event: Opt for a polished, centered bun.
- Casual Wedding: A relaxed, side-swept bubble bun works.
- Hair Volume: Fine hair may need extra teasing for defined bubbles.
Creating The Bubble Bun
To create the modern bubble bun, I start by gathering my tools: a brush, hair ties, and pins.
I brush my hair into a high ponytail and secure it. I then section the tail, tying small segments with elastics down its length.
I gently tug each “bubble” to expand it for that full, playful shape.
I finally tuck the ends and pin everything securely for a polished, lasting finish.
Use a Donut for a Perfectly Symmetrical Bun
If you’re aiming for a flawlessly round, polished bun, I recommend a simple hair donut to achieve perfect symmetry every time.
Pull your hair through a donut, then spread and wrap the ends around its base, securing with pins. It instantly creates that chic, structured look that’s ideal for formal events.
- Hides imperfections in your bun’s shape.
- Adds volume even to fine hair.
- Speeds up styling for a reliable, elegant result.
Style a Half-Up, Half-Down Bun
While you might want to keep some length flowing, a half-up, half-down bun elegantly pulls your look together.
I gather the top section of my hair and secure it with a hair tie. I then twist this ponytail into a neat, low bun and pin it securely.
I gently pull on the bun’s edges for a softer, fuller finish, leaving the rest of my hair down.
Elevate Your Bun With a Dutch Braid
Because a simple bun sometimes needs extra flair, I’ll weave a Dutch braid into my hairstyle.
Start with a deep side part and braid from your temple back, adding hair from the top as you go. Secure the braid into a low bun. This creates elegant texture that lasts all day.
- The Dutch braid’s raised profile adds noticeable dimension.
- It’s a secure foundation that anchors the bun.
- This technique elevates the look from casual to wedding-ready.
Soften Your Look With Face-Framing Pieces
To add a romantic touch to my wedding bun, I’ll incorporate soft, face-framing pieces.
I’ll gently pull a few strands free from my temples before securing the bun.
I’ll then use a curling iron to create loose waves in these pieces.
This softens my features and adds effortless elegance.
It’s a simple detail that makes my formal hairstyle feel more approachable and pretty.
Craft a Low Twisted Chignon for Garden Weddings
For garden weddings, a low twisted chignon works beautifully with the natural surroundings.
I create it by twisting two sections of hair and wrapping them into a soft bun at my nape. It’s elegant but relaxed.
- Keep the style slightly undone to avoid looking too formal.
- Use a texturizing spray for a better grip and hold.
- Secure it firmly with pins so it lasts through the celebration.
Accessorize Your Bun With a Decorative Clip
I’ll walk you through choosing the perfect clip for your bun and its ideal placement.
You’ll also learn my technique for securing the accessory firmly so it stays put all day.
Let’s make sure your hairstyle is both beautiful and dependable.
Choosing The Perfect Clip
Once you’ve shaped your bun, one elegant accessory can define the entire look. I consider the clip’s finish to complement my jewelry and the wedding’s formality.
I always test its grip on a hair section first.
- Match the metal of your other accessories for a cohesive style.
- Assess the size relative to your bun; too large overwhelms, too small gets lost.
- Prioritize a secure hold to prevent slipping throughout the day.
Clip Placement Techniques
Now that you’ve chosen your clip, let’s place it. I find the most flattering spot is often where your bun meets your head, as it anchors the style.
For side-swept buns, position the clip on the fuller side. You can also tuck it directly into the bun’s twist for a seamless look.
Experiment by clipping it near your part or at the bun’s base to highlight different angles.
Securing The Accessory Firmly
The key to a secure clip lies in finding purchase in the bun’s structure, not just your hair. I always open the clip’s prongs, then slide one side under a tightly wound section of the bun itself. This anchors it.
For extra security, I’ll use two smaller, coordinating clips from opposite sides.
- Anchor the prong under a bun loop.
- Press the clip closed against the bun’s base.
- Use two clips for heavy or slippery styles.
Quick Updo Styles for Short Hair
Even when you have short hair, I know you can still create a beautiful wedding-ready updo if you choose styles designed for your length.
Try twisting sections into a small, chic knot at your nape. Or, pin back your top layers into a half-up style with decorative pins.
You can even create a faux bob by curling ends and tucking them up with pins for an elegant, polished look.
Pro Tips: Secure Your Bun to Last All Night
Since a loose bun can ruin your wedding look, I’ll share how to secure yours so it stays flawless from vows to dancing.
Start by applying texturizing spray to dry hair for grip.
Then, use these key tools:
- Lock the base with strong-hold pins in a crisscross pattern.
- Wrap with a coil instead of just tucking the ends.
- Anchor with U-pins directly into the bun’s core.
Choose the Right Hairspray and Finishing Products
Securing your bun with pins gives you structure, but it’s the right hairspray and products that lock in that hold and add the final polish.
I always use a strong-hold hairspray for longevity. A light shine spray or serum tames flyaways for a sleek finish.
Avoid anything too heavy or sticky. These final touches guarantee your style stays flawless from the ceremony through the last dance.
The Essential Tools for Every Wedding Bun
A few essential tools can transform your wedding bun from a simple updo into a flawless, lasting style. I never attempt a formal bun without these basics.
They provide the control and security I need to enjoy the celebration without constant fixing.
- A rat-tail comb for precise sectioning and smooth lines.
- Strong-hold bobby pins to anchor the shape invisibly.
- Clear, elastic hair ties that grip securely without snapping.
Conclusion
I find wedding style tricky, but a bun is wonderfully simple. It can be messy and romantic or sleek and polished, yet it always looks put-together. These styles demand attention without demanding your time. So skip the stress and choose your bun. You’ll look like you spent hours, but we’ll know your secret was just minutes.