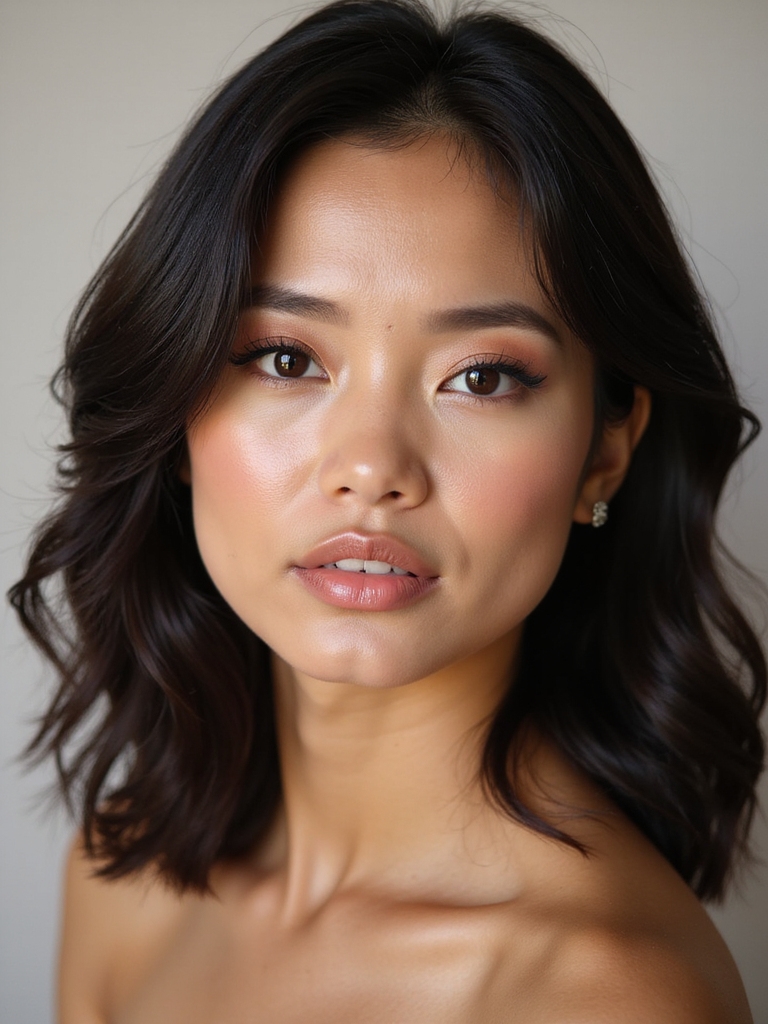
Searching for a wedding guest ‘do? I swear by a bun. It instantly polishes any outfit, keeps you cool and frizz-free for dancing, and photographs beautifully. You can go for timeless elegance with a low bun, modern polish with a high style, or romantic charm with a textured look. Best part? Each one is surprisingly versatile. Stick with me and I’ll show you how to nail seventeen styles that truly elevate your entire look.
Why a Bun Is Your Ultimate Wedding Guest Hairstyle
It’s your secret weapon for every wedding on the calendar. A bun instantly looks polished, lets you dance without frizz, and complements any dress silhouette. I’ve found it shifts seamlessly from ceremony to reception, always feeling elegant. It keeps you cool, avoids hair-in-the-face moments during heartfelt speeches, and photographs beautifully. Plus, elegant bun hairstyles can elevate your look, ensuring you stand out in any crowd. You’re guaranteeing a look that’s effortlessly chic, saving you precious time to focus on celebrating.
How to Create a Simple, Elegant Bun: The Foundation
Mastering one essential, elegant bun gives you a versatile foundation for any wedding.
I always start with sleek, brushed-back hair. I pull it into a tight, high ponytail, securing it firmly.
Then, I twist the length and wrap it around the base, pinning it securely with bobby pins. A light mist of hairspray locks everything in place.
This polished, classic knot works with any accessory and is my go-to. Plus, this style can be adapted to create buns for every style, making it perfect for any wedding theme.
The Timeless and Chic Low Bun
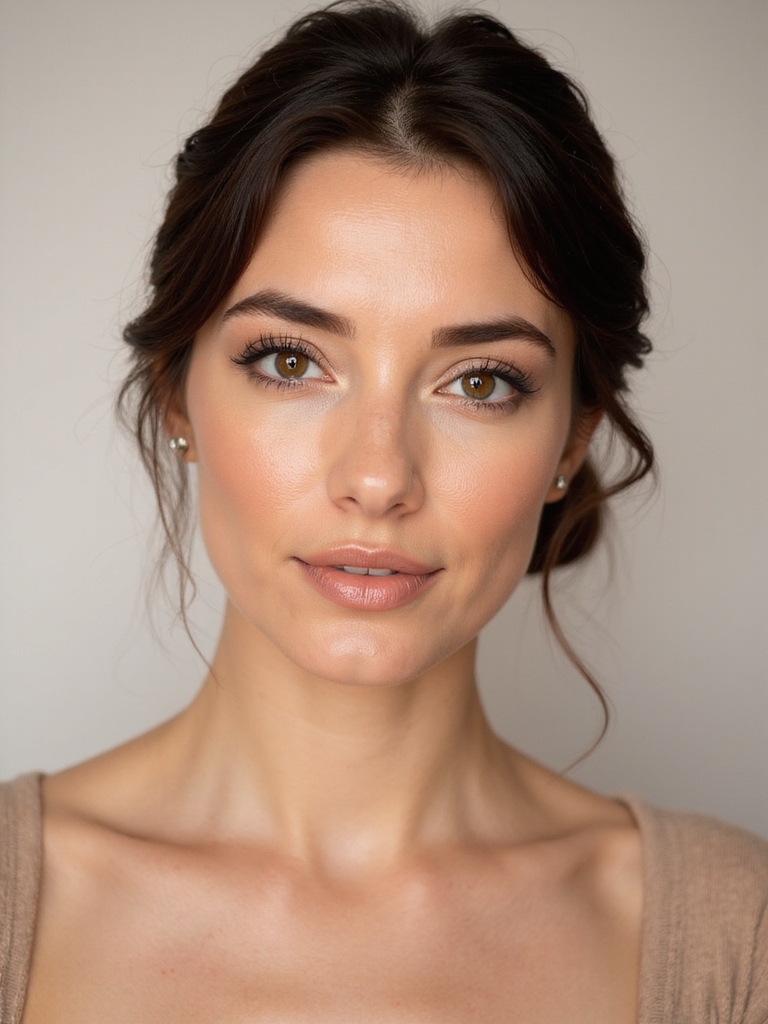
I’m a huge fan of the low bun for weddings because it’s effortlessly elegant and works with almost any hair length. Let’s break down its key elements, like that perfect placement at your nape and securing it for all-day wear. Then, I’ll show you how to adapt the style, whether you’re rocking a chic bob or flowing long locks. The low bun is a bridal style that can also serve as a stunning choice for wedding guests looking to elevate their look.
Low Bun Key Elements
Because the timeless and chic low bun is a cornerstone of wedding guest hairstyles, let’s break down its key elements.
It needs that perfect sweet spot at your nape—not too high, not too low. Create a base with a smooth, secured ponytail first.
Then, focus on texture. Twist, knot, or wrap that pony for dimension; a slick, flat bun rarely feels modern or romantic.
Finally, master your pins for all-day hold. For optimal results, consider incorporating elegant updos that can withstand all-night dancing.
Styles for Every Length
Since you’ve mastered your nape placement and your pin technique, let’s get into how you can build your perfect low bun whether your hair barely brushes your shoulders or flows down your back.
For shorter hair, I twist mine into a knot and anchor it with pins.
With long hair, I prefer a sleek, classic wrap—more length means a fuller, more dramatic bun that’s effortlessly elegant. This style is perfect for ensuring your look remains polished and flawless all night.
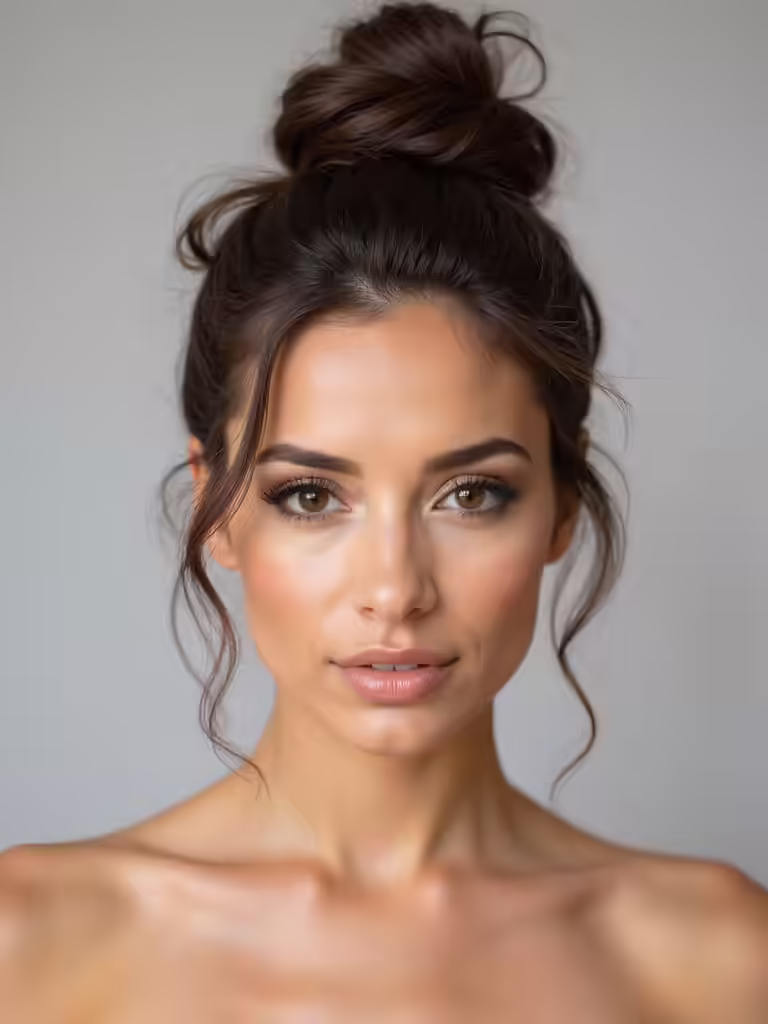
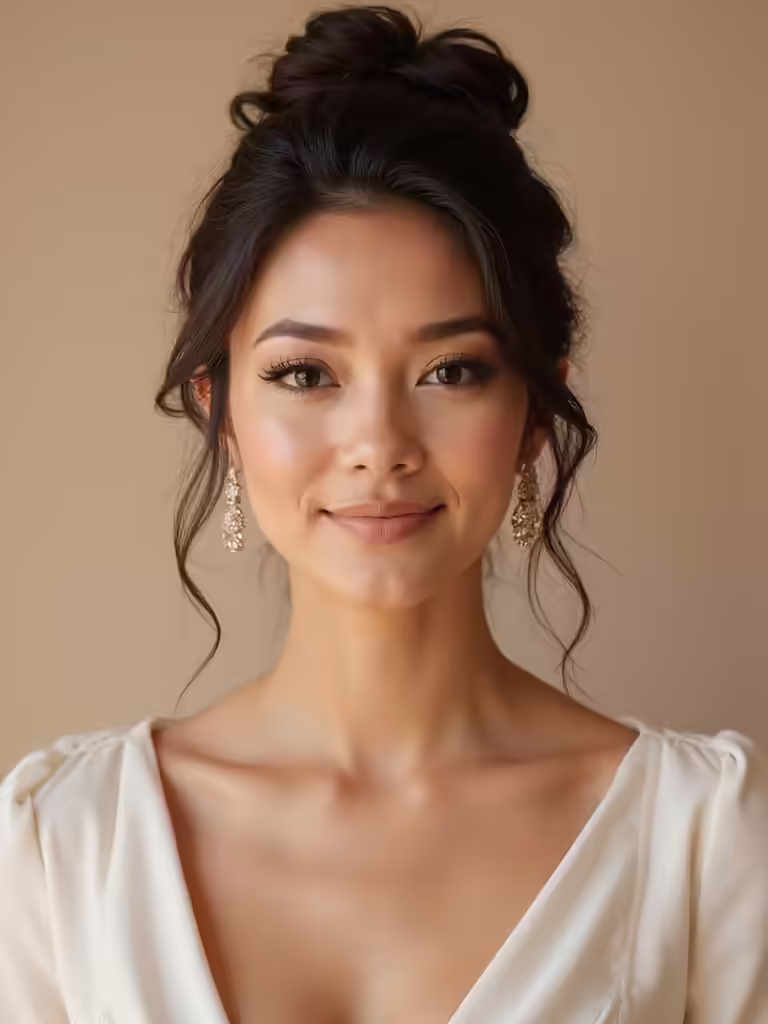
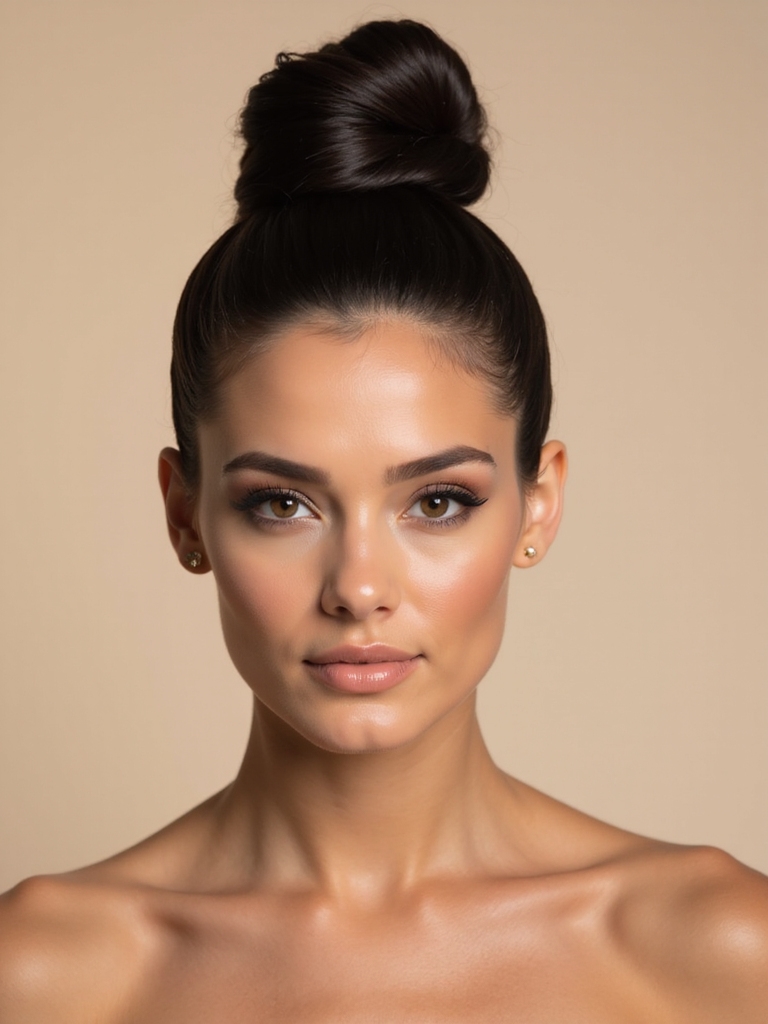
The Modern Polished High Bun
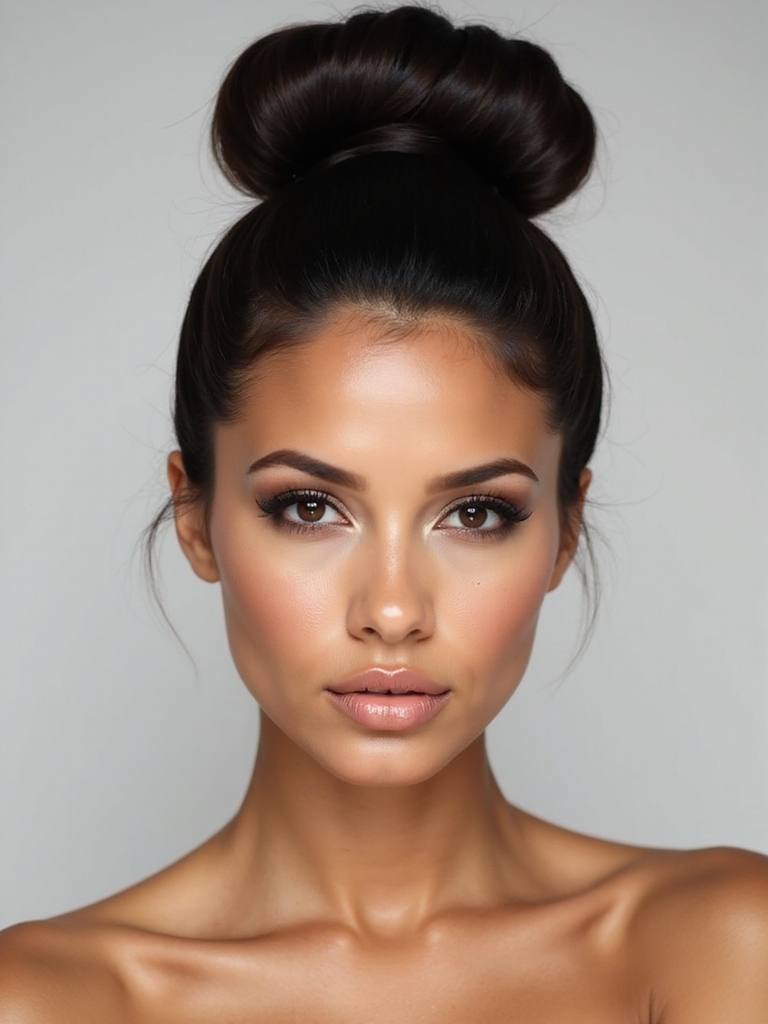
I trust my favorite texturizing spray to build a foundation that lasts through every toast. Let’s check my tool kit for sleek results, whether you’re styling fine strands or thick waves. I adapt the technique a bit for each hair type, but the polished finish always turns heads. For those attending a black-tie event, elegant bridesmaid updos can inspire stunning variations of this classic style.
Tool And Product Guide
While achieving a sleek, modern high bun might seem like a magic trick, you just need the right tools in your kit.
I always start with a paddle brush and fine-tooth comb for a smooth ponytail base. A few spritzes of strong-hold hairspray and a touch of styling cream are my secrets.
Don’t forget bobby pins, a snag-free hair tie, and a teasing brush for that perfect volume. Additionally, using updo hairstyles that bridesmaids adore can provide inspiration for your look.
Styling For Different Hair
Whether you’ve got thick, thin, or textured hair, you can master this polished high bun by adjusting your prep.
For fine hair, tease the crown and use a bun form for volume.
Thick hair needs a strong-hold gel before smoothing into the elastic.
My curly friends should style on damp, product-coated hair for definition, then let it air-dry partially for a secure, frizz-free hold that lasts all night. A well-executed bridesmaid bun style can elevate the overall look and ensure you feel confident throughout the celebration.
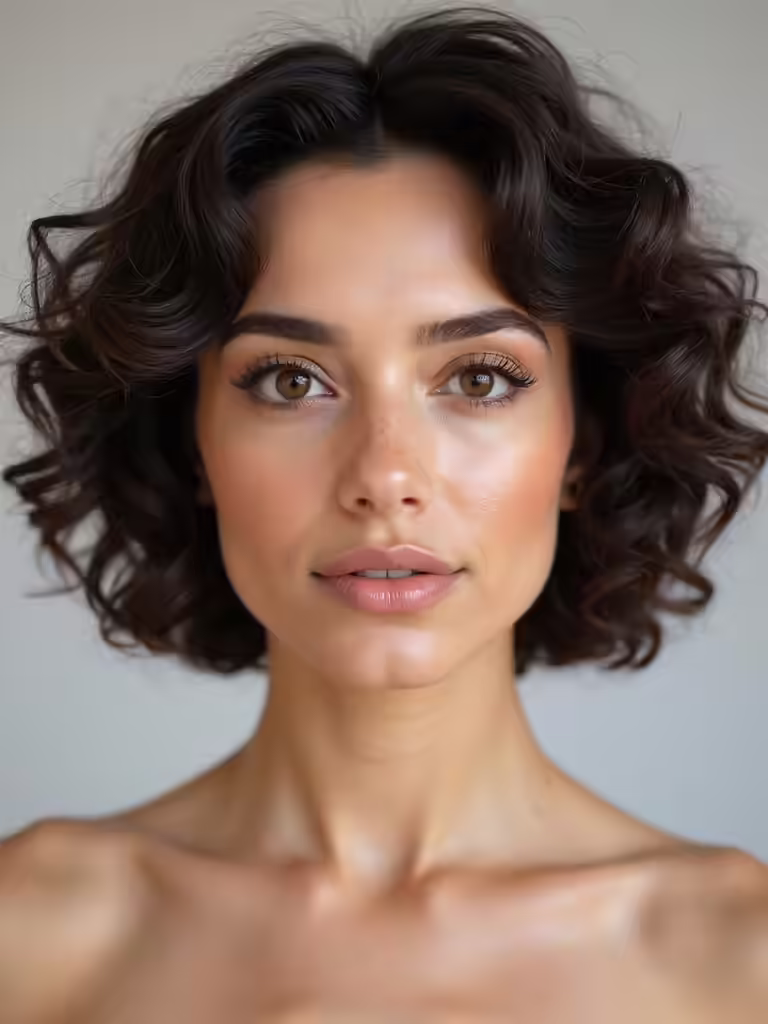
The Romantic Textured Messy Bun
Achieving a romantic, textured messy bun requires three key elements: soft volume, intentional imperfection, and a few strategic pins.
I start by teasing my crown for lift. Then, I loosely twist my hair into a low ponytail. I wrap it into a bun, but I don’t secure it tightly.
I gently pull at sections to create softness, letting a few tendrils frame my face before anchoring it all with pins. Incorporating elegant bridesmaid low buns can also enhance the overall romantic vibe of your hairstyle.
The Intricately Detailed Braided Bun
Three charming braids weave together to create the intricately detailed braided bun, a stunning style that looks far more complex than it actually is.
I master this look by braiding three small sections, twisting them together, and coiling the unified plait into a bun. Securing it with pins, I leave a few face-framing tendrils loose for softness.
It’s my secret to achieving an elegant, artistic updo that lasts all day. Additionally, this style draws inspiration from whimsical braided bridesmaid hairstyles, making it perfect for any special occasion.
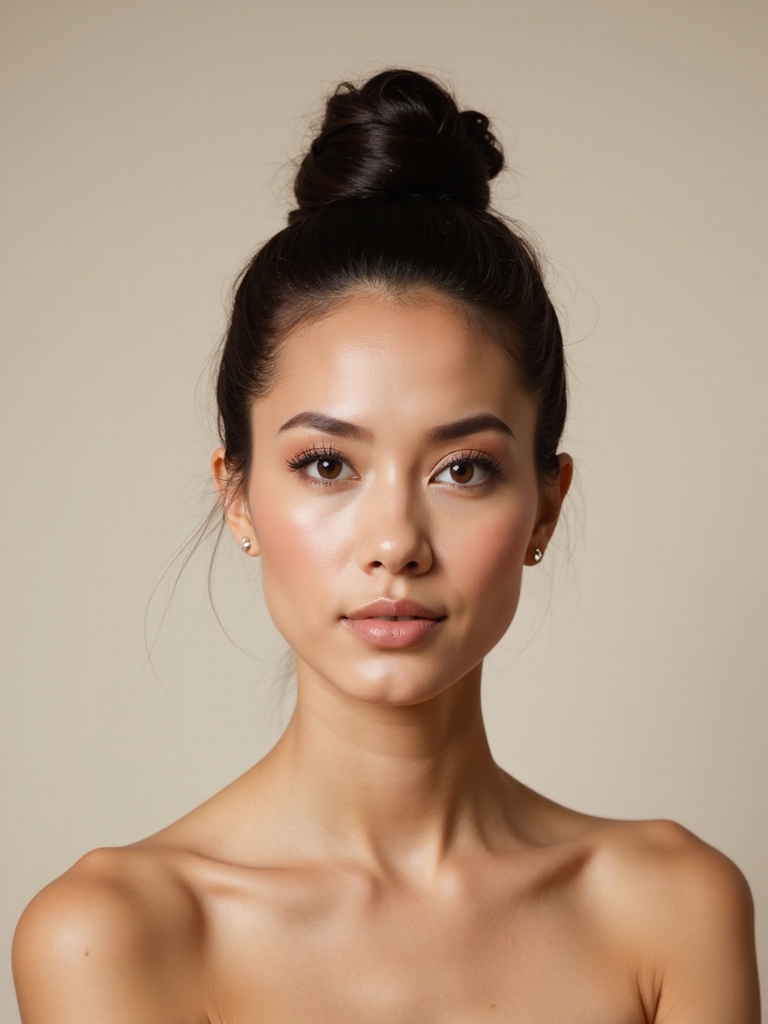
The Elegant Ballerina Bun
I find the classic ballerina bun a perfect wedding guest option, as its twist-and-pin method is surprisingly simple to master.
It delivers a sophisticated silhouette that feels effortless and timeless.
Trust me, this look is your secret weapon for polished elegance without any fuss.
Twist and Pin Method
Start by twisting your hair into a taut rope near the crown of your head, then coil it into a graceful knot.
I secure mine with bobby pins, weaving them through the base for an unshakeable hold.
It’s all about that polished twist! A final mist of hairspray locks every strand in place.
This method gives you that classic, elegant shape that lasts from the ceremony straight through to the final dance.
Sophisticated Yet Effortless Look
While it might look perfectly polished, the elegant ballerina bun is surprisingly simple to create.
I twist my hair into a sleek, high ponytail, then wrap it around its base. I secure everything with a hair tie and some pins, finishing with a light mist of shine spray.
It’s my go-to for achieving that sophisticated, effortless look without spending hours at my mirror.
The Playful and Trendy Bubble Bun
For a look that’s equal parts whimsical and chic, you can’t beat the bubble bun.
I love its structure and how the playful “bubbles” create a modern silhouette. You section a ponytail and tie elastics down its length, then gently pull each section to plump it.
It pairs beautifully with statement earrings and feels surprisingly secure all day, adding a youthful, fashion-forward twist to your guest ensemble.
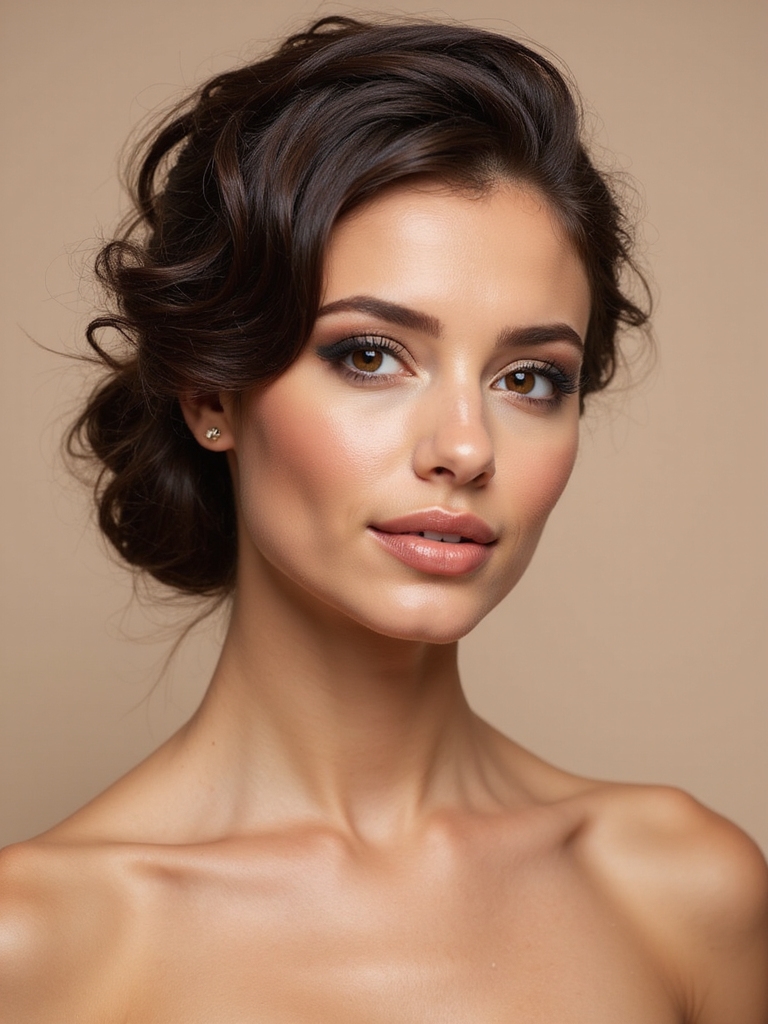
The Asymmetrical Side-Swept Bun
I love how an asymmetrical side-swept bun gives you instant glamour, and it all starts with your part.
Before you tease the crown for volume, I’d pick a deep side part to set that swooping foundation.
Then, I focus my backcombing on that higher side before twisting and pinning the bun securely at my nape.
Define Your Starting Part
How can a simple hair part transform your entire look?
For our asymmetrical bun, I skip a traditional center part. Instead, I create a deep side part, placing it opposite where I’ll eventually drape the bun.
This off-balance foundation is my secret; it immediately creates chic, intentional volume on one side and lays the groundwork for that elegant, sweeping silhouette.
Trust me, this single step defines the entire style.
Position The Teasing Comb
Now, grab your teasing comb, because this tool is about to become your best friend for building that gorgeous, swooping volume.
Starting about an inch from my scalp, I lightly backcomb the crown section I just created. I focus on the roots for maximum lift, creating a hidden cushion.
This is my secret for that elegant, asymmetrical shape—it’ll make the side-swept drape look effortlessly full and romantic.
Secure With Strategic Pins
Secure the teased foundation with strategic bobby pins to anchor that voluminous shape and guide the hair into its elegant, side-swept drape.
I always criss-cross my pins for a grip that lasts all night.
Don’t just stab randomly—place them where the hair wants to fold, hiding them in the bun’s texture.
A few well-chosen pins create a sleek silhouette that looks effortlessly chic, never stiff or overworked.
Choosing a Bun to Flatter Your Dress Neckline
Since your dress’s neckline is the centerpiece of your look, your bun should be chosen as its perfect partner.
I’d go with a high, sleek bun to complement a strapless or scoop neck, elongating your silhouette.
For a dramatic halter or high neckline, I’d pick a chic low bun to create balance.
This simple focus guarantees your hair frames, never fights, your fabulous dress.
Buns for Every Wedding Dress Code
Whether you’re steering through “black-tie optional” or embracing “festive casual,” I’ve got a bun that’ll perfectly match the dress code’s vibe.
A sleek, low bun whispers elegance for formal affairs. Opt for a relaxed, textured high bun with festive casual.
Beach wedding? A tousled, undone bun feels effortlessly chic.
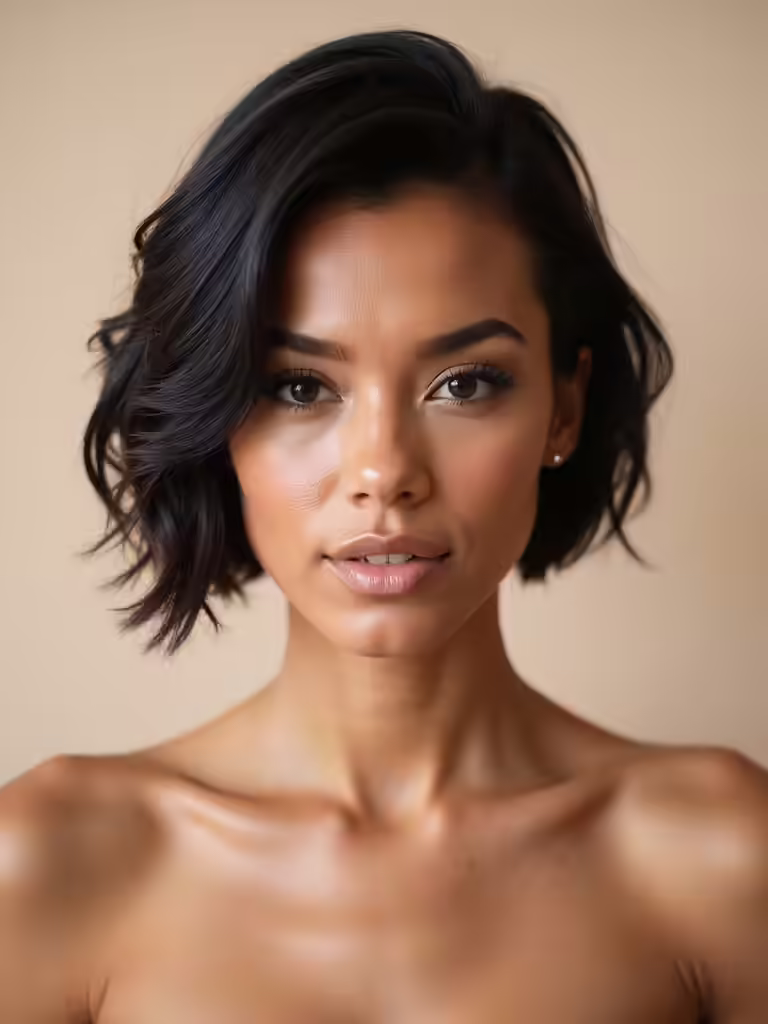
The Best Bun Styles for Short or Layered Hair
Don’t let short or layered strands fool you—you can absolutely rock a wedding guest bun.
I often start with a messy, textured bun; it lets your ends play peekaboo for a chic, effortless vibe.
Alternatively, gather your top layers into a small, sleek bun at your crown, securing the rest with pins.
It’s all about embracing texture and strategically pinning any shorter pieces to create a polished finish.
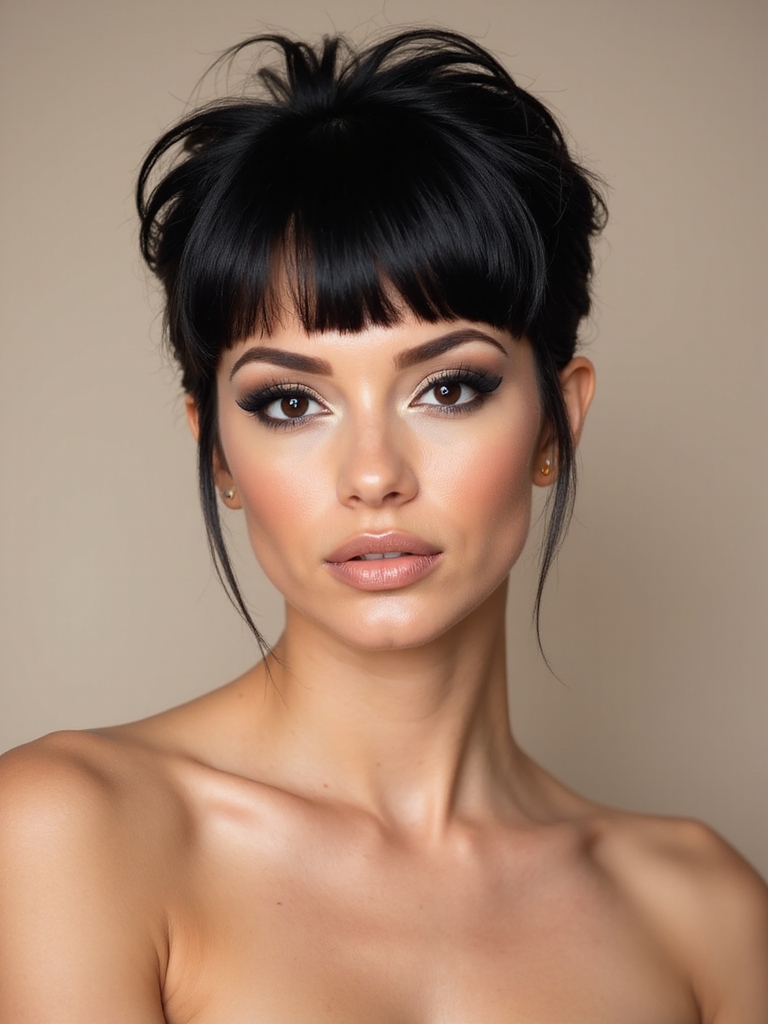
Adding Volume and Height to Your Crown
Moving from shorter lengths, creating volume at your crown works for any hair type.
I always start with a good tease; it’s the foundation of a regal bun.
- Gently backcomb the crown section before smoothing over.
- Consider a volumizing powder for fine hair.
- A small, hidden bun insert can be a game-changer.
- Loosely gather the top for height before securing it tight.
- Dry your hair upside down for instant lift.
Elevating Your Bun With Hair Accessories
Because a beautiful bun provides the perfect canvas, I love to take it to the next level with hair accessories.
Strategically tuck a decorative pin into its folds or wrap a delicate chain around its base. A silk scarf woven through adds effortless chic, while a simple comb injects instant glamour.
Securing Your Bun for an All-Night Dance Floor
While you want a bun that looks elegant, it also needs to stay securely in place through every celebration. I swear by a solid foundation and the right products. A wobbly bun can’t survive the dance floor!
- Begin with day-old hair or a texture spray for extra grip.
- Secure your ponytail base tightly with a snag-free elastic.
- Use bobby pins that match your hair color, criss-crossing them for hold.
- Mist with a strong-hold hairspray, focusing on the bun’s core.
- Finally, do a quick “headbang test” to check for any looseness.
Quick Last-Minute Bun Tutorials
If you’re suddenly short on time, don’t worry—I’ve got you covered with a few last-minute bun saviors.
My messy bun is your best friend: simply twist a ponytail, wrap it loosely, and pin. For a sleek look, a low ponytail knot secured with a single elastic works wonders.
These tricks take under two minutes and create polished, elegant shapes that’ll perfectly complement your wedding guest attire.
Pro Styling Tips: Frizz-Free Finish and Lasting Hold
Even a flawless bun can fall flat without the right finishing touches. I rely on these pro tips for a sleek finish and all-day security.
- Lock strands with a light-hold hairspray before you even start styling.
- Tame baby hairs using a toothbrush spritzed with hairspray.
- Apply serum to your palms and smooth it over the surface.
- Secure strategically with extra pins where the bun feels heaviest.
- Finish with a shine spray for a polished, camera-ready look.
Conclusion
So there you have it—the bun is your secret weapon. Use it! I once saw a guest transform a simple silk dress into a fashion moment just by adding a low, sleek bun and two strategic pearl pins. She looked curated, not just *done*. Trust these looks, pick your favorite, and own that dance floor all night. You’ve got the expertise; now go be the guest with the unforgettable style.