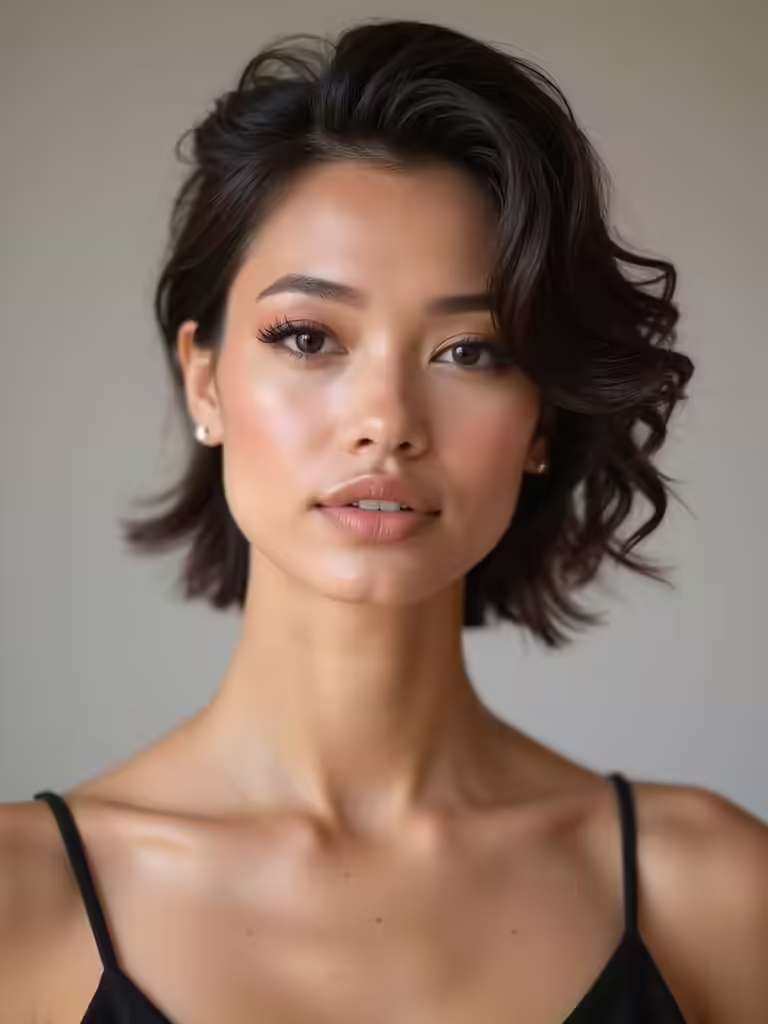
I think a chic bun is your wedding guest secret weapon. I love how it moves seamlessly from ceremony elegance to dance-floor durability, resisting humidity and drink spills. You can choose sleek polish or playful texture, then add face-framing tendrils for softness. A few pro tips, like using a texturizing spray and strategic pins, lock in that gorgeous look all night long. Let me share the details to make your style unforgettable.
Why a Bun Is the Ultimate Wedding Guest Hairstyle
If you’re wondering why my go-to hairstyle is always a bun for weddings, let me tell you: it’s the ultimate multitasker.
It looks chic from the ceremony through the last dance, never fights humidity, and keeps hair out of my champagne.
I get compliments without trying, and it frees me up to actually enjoy the party.
That’s smart style with a serious return on investment. Plus, a bun can easily transition from sleek to messy depending on your mood or the formalness of the event.
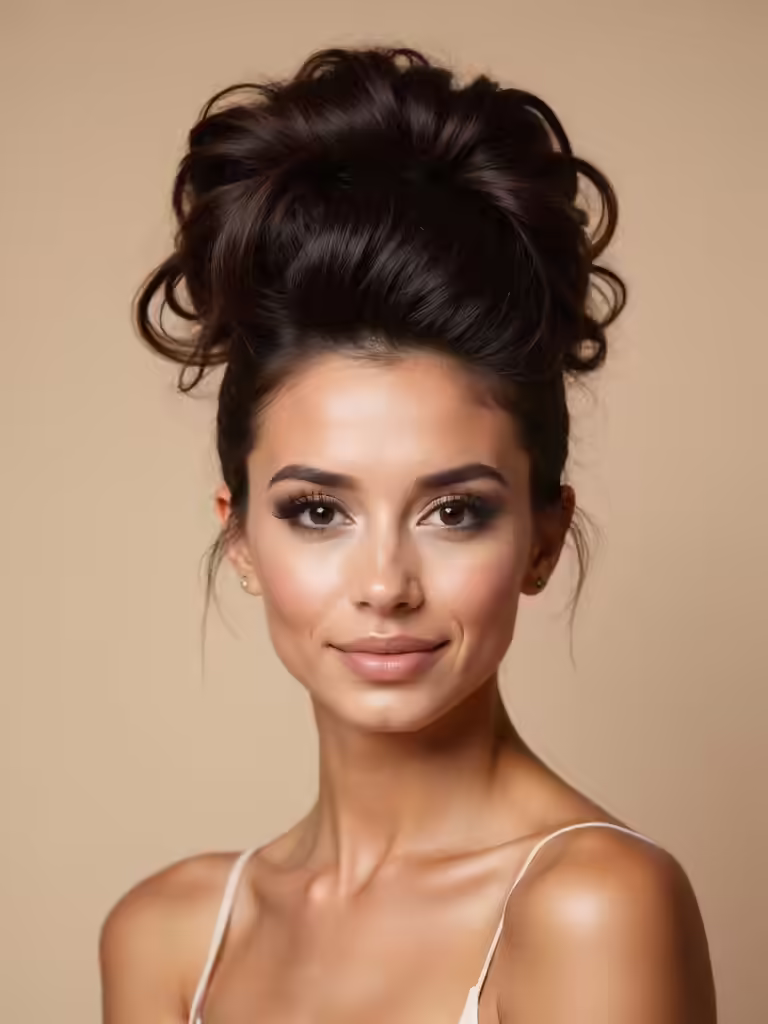
Pick Your Bun Vibe: Sleek, Polished, or Messy?
I’ve got three fabulous bun vibes for you to choose from!
You can rock a sleek and sophisticated updo, transform a polished ponytail into a bun, or go for a messy and effortlessly chic style. Choosing the right bun can help ensure your hairstyle is elegant for all-night dancing without losing its charm.
Let’s figure out which look perfectly matches your personal flair.
Sleek And Sophisticated Updos
Since your wedding guest outfit deserves the perfect finishing touch, let’s explore the bun spectrum.
For a high-impact, elegant look, I’m all about sleek updos. Think of these as your beauty power play—sharp, refined, and totally timeless.
Here are my go-to vibes:
- A glossy, low bun resting at your nape
- The architectural drama of a sleek top knot
- A side-swept chignon for modern asymmetry
- The slicked-back bun for pure, undiluted glam
Incorporating bridal bun styles can elevate your look and ensure you stand out among other guests.
Polished Ponytails To Bun
Want a hairstyle that effortlessly shifts from ceremony to celebration? A polished ponytail-to-bun is my go-to.
I start with a slick, tight ponytail for the vows—it’s elegant. Later, I just twist and pin it into a sophisticated low bun for dancing.
This quick transformation feels entrepreneurial, letting me maximize my fun without a salon visit. It’s two perfect styles in one seamless look.
Messy And Effortless Styles
For those who love a more relaxed look, a messy bun skips the polish for something playful. I think it’s the ultimate entrepreneurial style—it looks like you’ve got better things to do than fuss with your hair, yet you’re totally put together.
My secrets for that perfect undone vibe?
- Embrace texture with a texturizing spray.
- Pull out face-framing pieces.
- Secure it loosely with a scrunchie.
- Don’t overthink it—perfection is the enemy here. Plus, the right bridesmaid updo can keep your hair secure while you dance the night away.
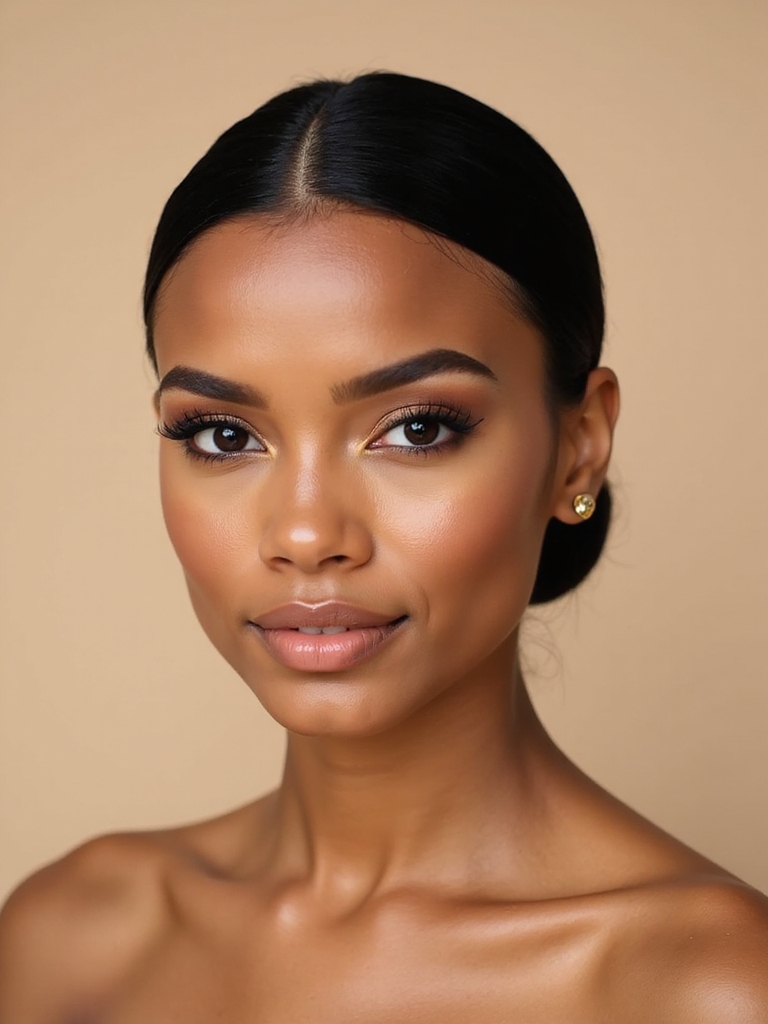
The Classic Low Slicked-Back Bun
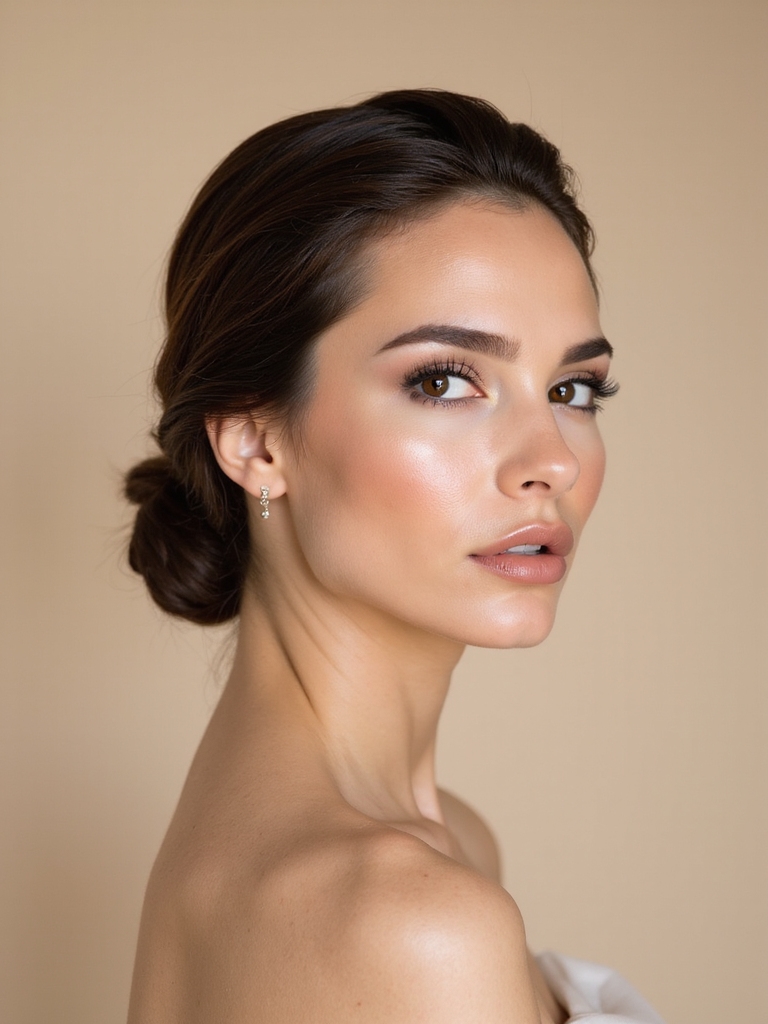
If you’re aiming for timeless elegance that commands attention, the classic low slicked-back bun is my go-to.
I use a strong-hold gel for a sleek finish that frames your face beautifully.
It’s my secret weapon because it looks incredibly polished but is surprisingly quick to create.
This style guarantees you’ll look chic and sophisticated all night, letting your outfit and accessories truly shine. Plus, this hairstyle is perfect for flawless wedding buns that last from the ceremony to the last dance.
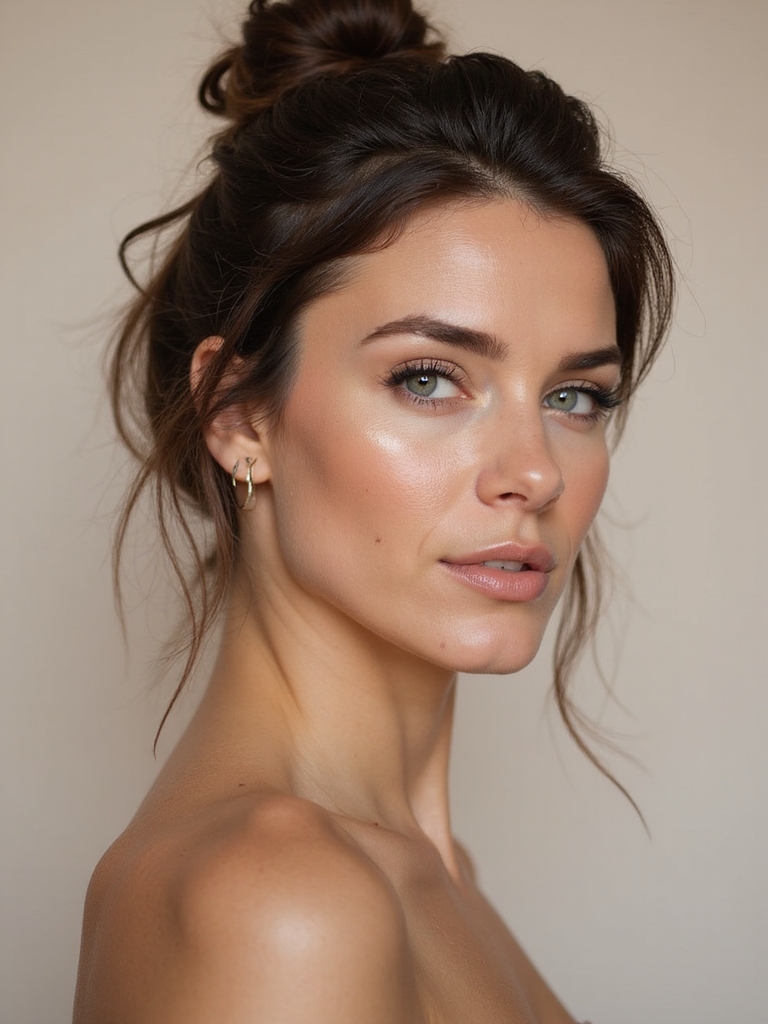
The Effortlessly Cool Messy Ballerina Bun
I’m obsessed with how this look starts by securing a perfect base ponytail right where you want your bun to sit. Don’t skip teasing that pony for volume—it’s my secret for texture that lasts all night. Trust me, those two steps are the only ones you need to nail the messy-cool vibe. This style is perfect for those who want effortless updo ideas that can be mastered in no time.
The Perfect Base Ponytail
Once you’ve nailed the perfect base ponytail, you’re already halfway to that effortlessly cool messy ballerina bun I’m obsessed with.
Think of it as your foundation—get this right, and the rest is a breeze.
My pro-tips for a flawless start:
- Secure it high—crown-level is your best friend.
- Smooth the surface, but don’t stress perfection.
- Use a snag-free band for easy twisting later.
- Keep the tension firm, not tight.
To ensure your updo survives the day, consider updo hairstyles for wedding guests that are designed to last through dancing and celebration.
Strategic Teasing For Volume
Now, we’re diving into the magic of strategic teasing to build that voluminous, effortless base for our messy ballerina bun.
Trust me, you don’t need tons of product. Grab small sections near the crown and tease gently. This creates internal structure—your secret empire of lift! Remember, the right chic updo hairstyles can elevate your look, making it perfect for any wedding celebration.
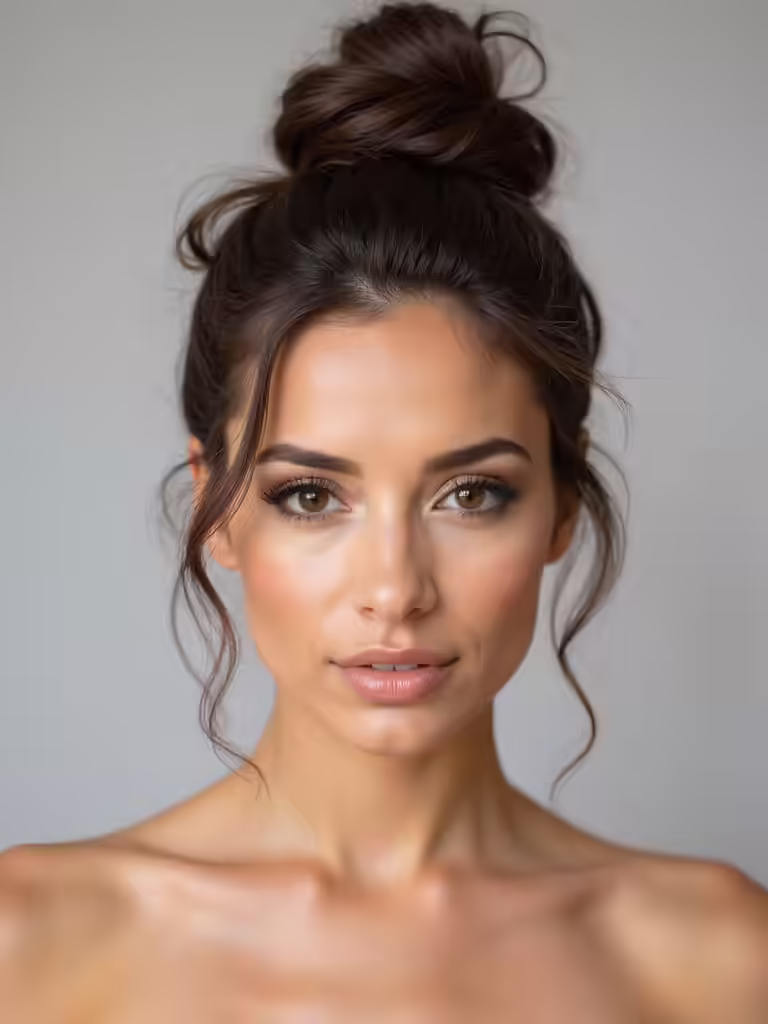
A Textured Bun With Face-Framing Tendrils
For a wedding guest hairstyle that’s effortlessly chic, let me introduce you to the textured bun with face-framing tendrils. It’s my go-to for looking polished without trying too hard.
- Loosely gather your hair into a low bun.
- Gently pull it apart for that coveted lived-in texture.
- Select a few delicate strands around your face.
- Softly curl these tendrils to frame your features beautifully.
This style is reminiscent of elegant low bun ideas that exude quiet luxury, making it perfect for any wedding setting.
The Sophisticated Braided Crown Bun
I always start this look with a neat, low bun for the ultimate Braided Bun Foundation. Next, I work on the Graceful Crown Weaving by softly braiding sections to wrap around my head like a halo. Finally, I secure and finish everything with pins and a little hairspray for a style that lasts all night. Adding whimsical braided touches can elevate the overall design, making it beautifully unique for any wedding celebration.
Braided Bun Foundation
Because you want a hairstyle that whispers elegance without shouting for attention, let’s build the sophisticated braided crown bun together.
We’ll start with a rock-solid foundation for that gorgeous updo. Here’s your core blueprint:
- Prep with texturizing spray for serious grip.
- Secure a high, tight ponytail as your anchor point.
- Braid that tail into a classic three-strand plait.
- Wrap the braid loosely around the base—don’t pin it yet!
Graceful Crown Weaving
Now, take that loose braid you’ve created and let’s gently guide it into place to form a crown.
I like to start at my nape, carefully wrapping it around my head like I’m my own royal stylist.
Don’t pull it tight; keep it soft and romantic.
As you tuck the end, you’re not just finishing a braid, you’re crafting the elegant foundation for a truly show-stopping bun.
Secure And Finish
Once the braided crown rests comfortably around your head, it’s time to anchor it and transform it into that sophisticated bun.
I treat this final step as my signature finish—it’s the detail that makes my look uniquely elegant.
- Wrap and tuck the remaining tail.
- Pin securely with strong, hidden bobby pins.
- Perfect the shape, smoothing any loose strands.
- Add shine with a light mist of hairspray.
A Low Twisted Bun With a Hidden Braid
If you’re aiming for elegance that whispers rather than shouts, I love how a low twisted bun conceals a surprise inside: a delicate, hidden braid.
It’s my signature secret touch. You weave the braid first, then twist your hair around it. I find this style incredibly secure for dancing.
It’s elegant entrepreneurship for your hair—offering classic beauty upfront with a clever, detailed business plan hidden in the back!
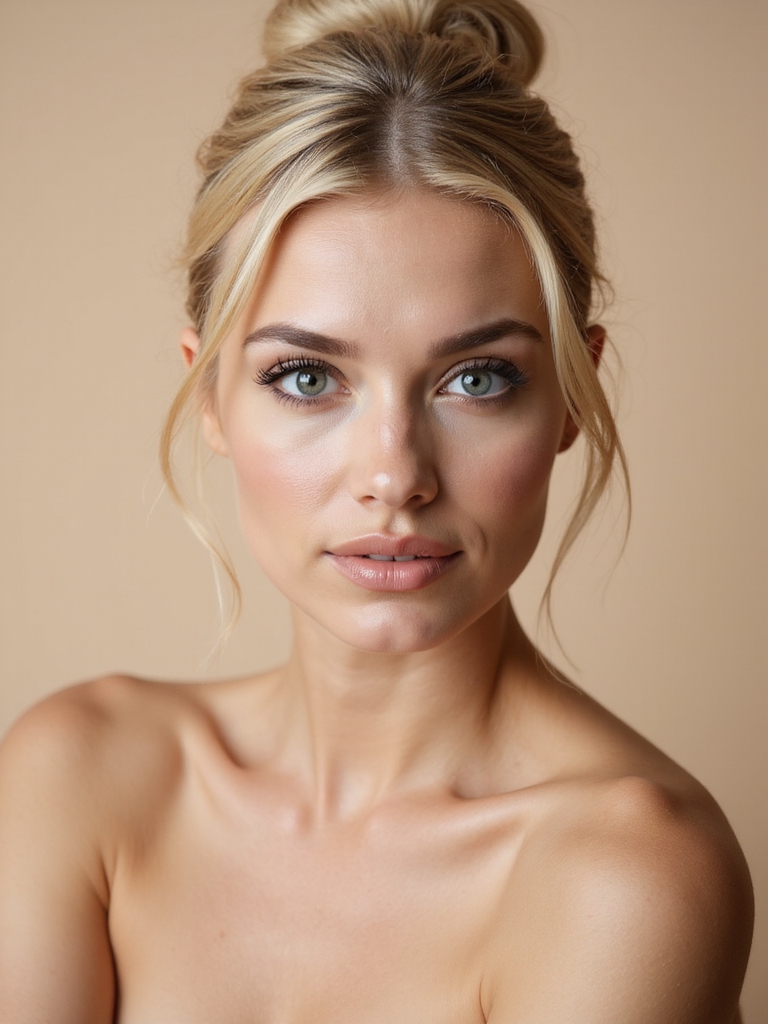
The Elegant Modern Bubble Bun
I’m obsessed with how a modern bubble bun starts with your part’s position, so I’m telling you to get that perfect line down first.
Next, I want you to focus on a flawlessly smooth texture before you even think about creating those bubbles.
Trust me, mastering these two things is what separates a good bun from a great one.
Precision Part Positioning
How do you transform a simple bun from everyday casual to modern elegance? I’ll tell you my secret: precision part positioning.
That strategic first slice with your comb is your blueprint. It sets your entire silhouette.
- A deep side part for bold, dramatic asymmetry.
- A razor-sharp center part for minimalist, clean lines.
- A soft, curved part for a romantic, gentle feel.
- No part at all for a sleek, gathered crown.
Polished Smooth Texture Finish
Now for step two: polishing that perfect texture. Think of your hair as fine silk.
I gently brush each section, then mist and smooth with a light-hold spray. I’m not just slicking it down; I’m creating a seamless, glassy canvas.
This polished foundation is what makes my modern bubble bun look expensive and intentional, never sloppy. It’s the non-negotiable secret to an effortlessly elegant finish.
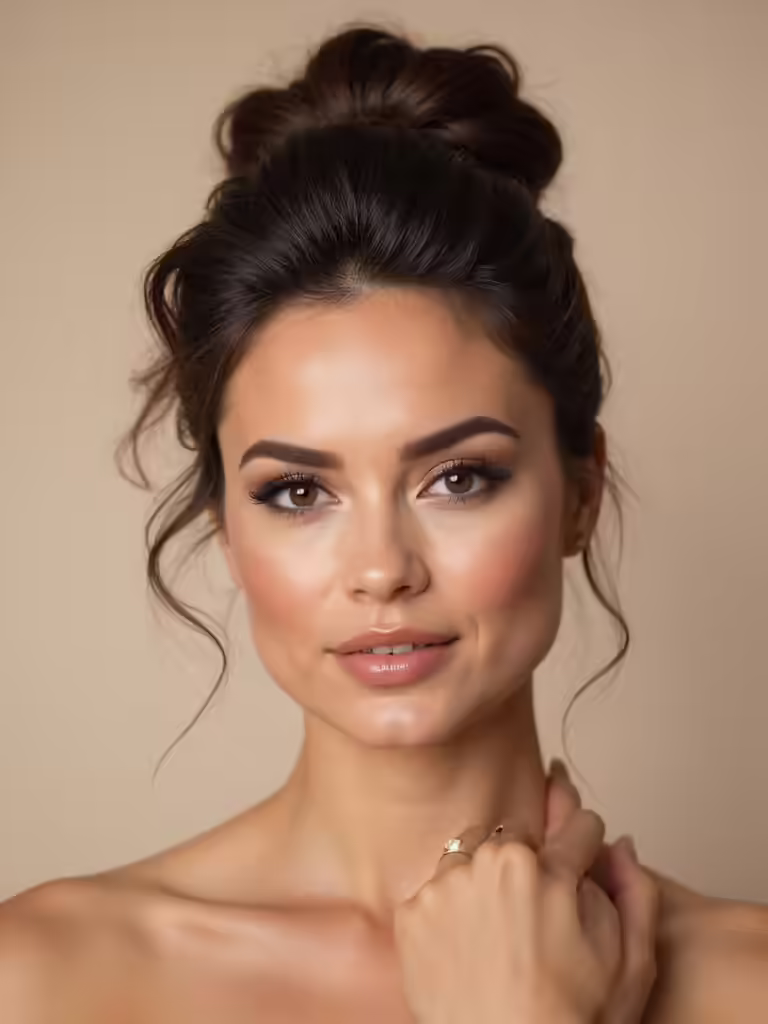
A Voluminous Half-Up, Half-Down Bun
Let’s create a voluminous half-up, half-down bun that gives you the best of both worlds: elegant polish and gorgeous, free-flowing texture.
This is my go-to style for a look that’s sophisticated yet totally approachable. My secret? You’re building serious volume into that top section.
I start by teasing the crown hair lightly before I gather it.
- Tease the crown for instant lift.
- Secure a half-up ponytail loosely.
- Twist and pin it into a soft bun.
- Gently pull on the bun edges for fullness.
The Romantic Bun With a Rope Twist Detail
I’ll walk you through creating that eye-catching rope twist; it’s simpler than it looks!
This hairstyle is perfect for a garden party or a formal evening wedding.
Let’s match it with attire that balances its intricate detail, from elegant dresses to chic pantsuits.
Rope Twist How-To
Because you want a look that’s elegant yet effortless, the romantic bun with a rope twist detail is a perfect choice for a wedding guest.
I’ll show you my secret to building this statement style.
- Section your hair: Create two equal strands from a ponytail base.
- Twist individually: Twist each strand tightly before wrapping them together.
- Coil the rope: Wrap the combined twist into your bun shape.
- Pin and flourish: Secure it and let a few ends playfully escape.
Perfect Occasions And Attire
Though it seems crafted for a gala, this romantic bun with a rope twist detail truly shines at semi-formal weddings where you can mingle comfortably.
I think it’s my secret weapon for garden parties or afternoon ceremonies. It pairs perfectly with a flowy midi dress and strappy sandals, elevating your look without fuss.
You’ll feel effortlessly chic, ready to celebrate without a single hair out of place.
A Sleek High Bun With a Middle Part
For our third look, let’s master a sleek high bun with a middle part—a style that’s all about polished confidence.
I create this by first defining that sharp center line, then pulling hair taut into a high ponytail. I wrap it tightly around the base, securing every strand. The result is a commanding silhouette that says I’m here with intention.
My essentials are:
- A fine-tooth comb for the perfect part
- Strong-hold gel to eliminate flyaways
- A hair elastic that doesn’t slip
- A bun form for that flawless, rounded volume
The Boho-Chic Bun With Floral Accents
Now let’s embrace a softer, more romantic vibe with a boho-chic bun adorned with fresh flowers.
I love this look for its effortless charm. Think a loosely gathered, slightly tousled low bun.
Then, I tuck in a few petite blooms, like baby’s breath or a single garden rose.
It’s my go-to for transforming a simple style into a stunning, ethereal statement that feels personal and artfully crafted.
A Minimalist Low Knotted Bun
Shifting from floral adornments, a minimalist low knotted bun offers a beautifully understated alternative.
I love this for its sleek, polished vibe that works with any dress. Think effortless elegance. You can achieve it quickly, and it complements rather than competes. It’s your secret weapon for looking chic without fuss.
- Focuses on clean, sculpted lines
- Anchors securely at the nape
- Requires minimal product—just a comb and pins
- Exudes quiet confidence
The Vintage-Inspired Gibson Tuck Bun
If you adored the minimalist bun‘s sleekness but crave a dash of drama, the vintage-inspired Gibson tuck bun is your next obsession.
I love its elegant, folded look—it whispers old Hollywood but shouts modern confidence.
It’s surprisingly simple to create; you fundamentally just tuck and pin.
Trust me, mastering this look feels like revealing a secret, timeless beauty hack for any formal affair.
A Side-Swept Bun for Asymmetrical Glamour
Since we’re building on that folded vintage vibe, let’s shake things up by tossing it all to one side. This asymmetrical glamour instantly modernizes any look.
My pro-tip? Anchor it right above your ear. It’s a statement maker that frees up one shoulder for fabulous earrings.
- Anchor point: Position the bun right above your ear.
- Volume trick: Tease the crown gently before sweeping.
- Finish: Leave a few face-framing pieces loose.
- Secret weapon: A strong-hold hairpin for all-day security.
The Faux Bob Bun Illusion
Want a chic, short-hair look without the commitment? I’m a huge fan of the faux bob bun. It’s my go-to for weddings—smart, sophisticated, and a total conversation starter.
You simply create a low bun, then tuck the ends up and pin them underneath. Presto! You’ve got the sleek bob illusion while keeping every inch of your long locks.
It’s the ultimate style hack for a polished guest appearance.
A Bun Wrapped With Your Own Braid
For a touch of romantic whimsy, I love wrapping a bun with my own braid—it’s the perfect way to add texture and a dash of fairy-tale charm.
I create this style by securing a low bun, then braiding a side section to wrap around its base. It’s my go-to for looking polished yet effortlessly creative.
Here’s my simple method:
- Secure a low, messy bun
- Braid a front section of hair
- Wrap the braid around the bun’s base
- Pin everything securely for lasting charm
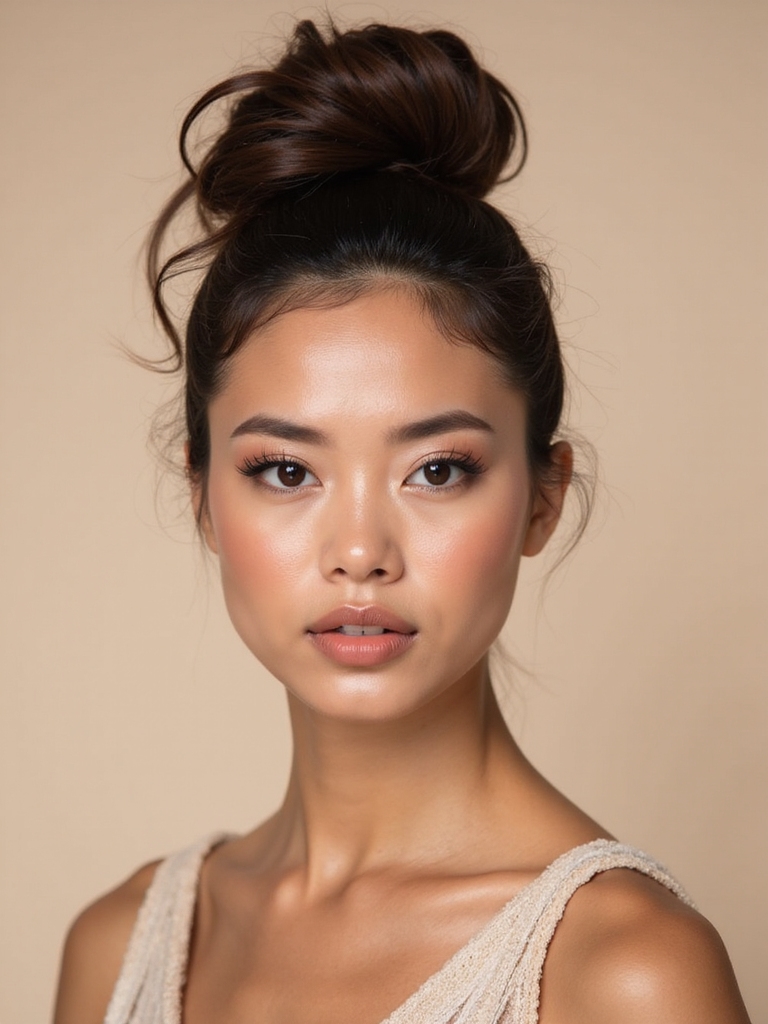
The Polished Donut Bun for Instant Volume
When my hair needs a quick boost, I grab a donut bun maker for that full, polished look without the fuss.
It’s my secret for instant volume that screams elegant, not effort. I pull my hair through the center, wrap and tuck the ends, then secure with pins.
This trick builds a perfect foundation for any wedding-ready finish, proving chic doesn’t have to be complicated.
Make Your Bun Last: Tips for All-Night Hold
I’ve got three secrets to make that polished bun last from the first toast to the final dance. My entrepreneurial, hair-hacking approach uses a few key tools.
- Prep with texture spray on damp hair for grip.
- Secure with two criss-crossed elastic bands.
- Lock it down with a mist of strong-hold hairspray.
- Tuck and pin every stray end with discreet bobby pins.
The Right Bun Accessories for Final Touches
Three finishing touches can transform a simple bun from secure to spectacular.
I adore using a silk scrunchie for its chic, gentle hold.
Next, I weave in a pearl-accented pin for a hint of wedding-day glamour.
Finally, a delicate, embellished hair comb tucked beside the bun seals my look.
These are my entrepreneurial secrets—small investments that make your style feel luxe and complete.
Conclusion
Imagine yourself at that reception, your elegant bun catching the candlelight as you dance. It’s a style that whispers confidence and sparkles with your own flair. I love how a simple twist can become your signature. Now go, own that celebration and let your hair (tied up perfectly) be the last thing on your mind. You’ve got this!