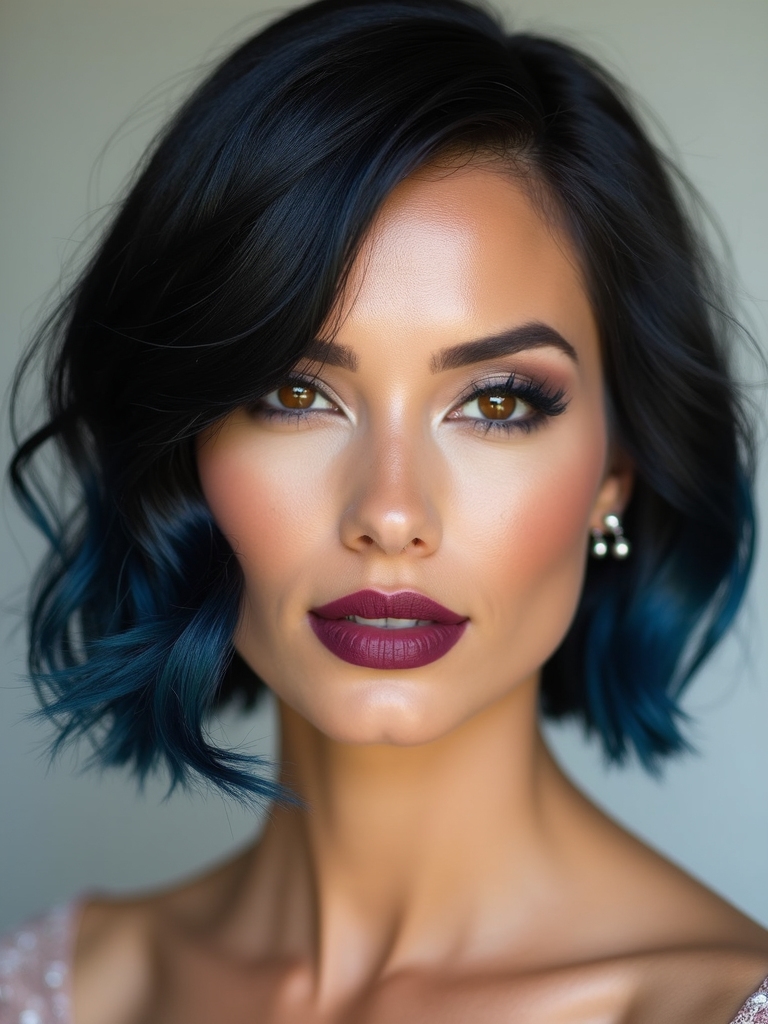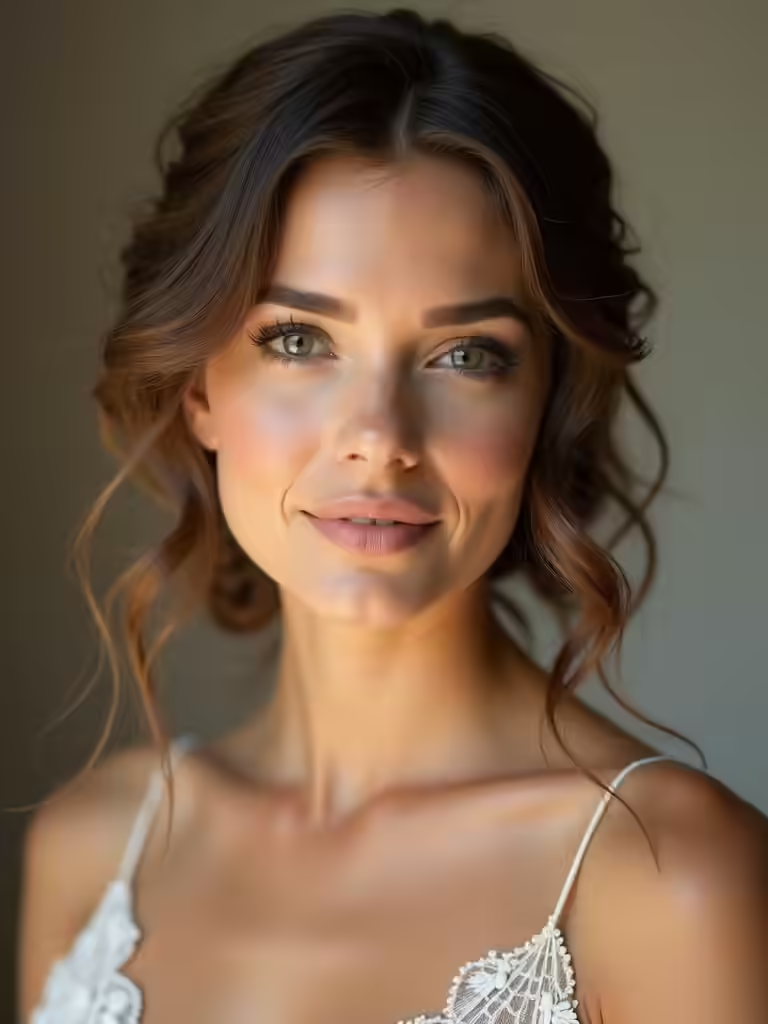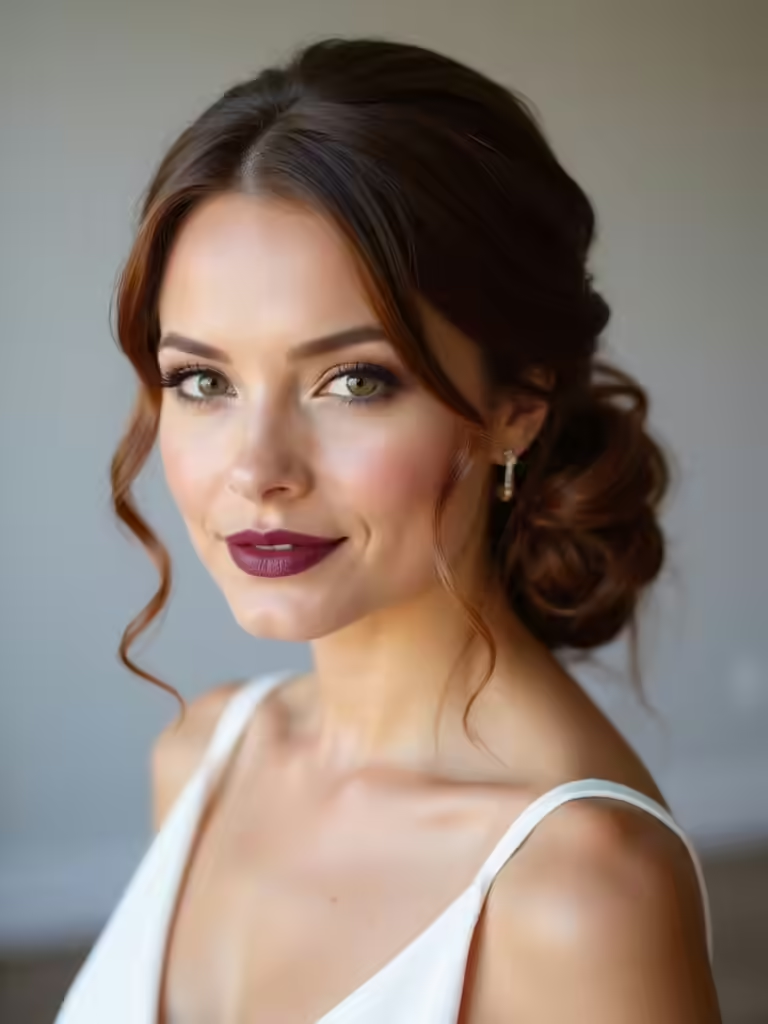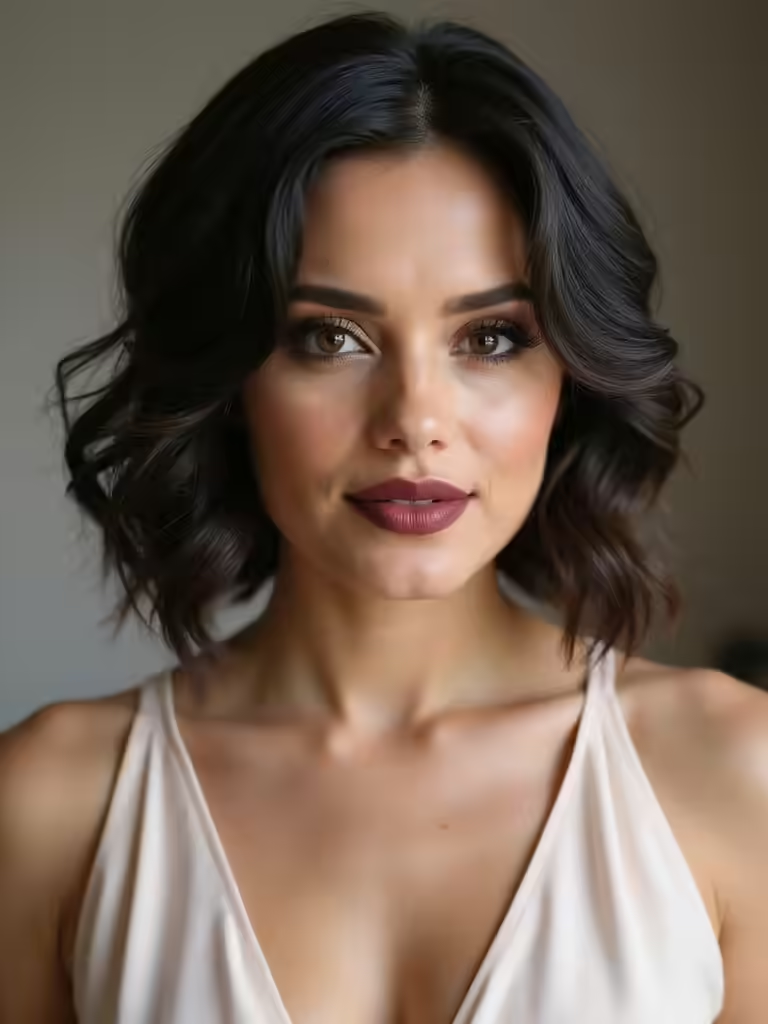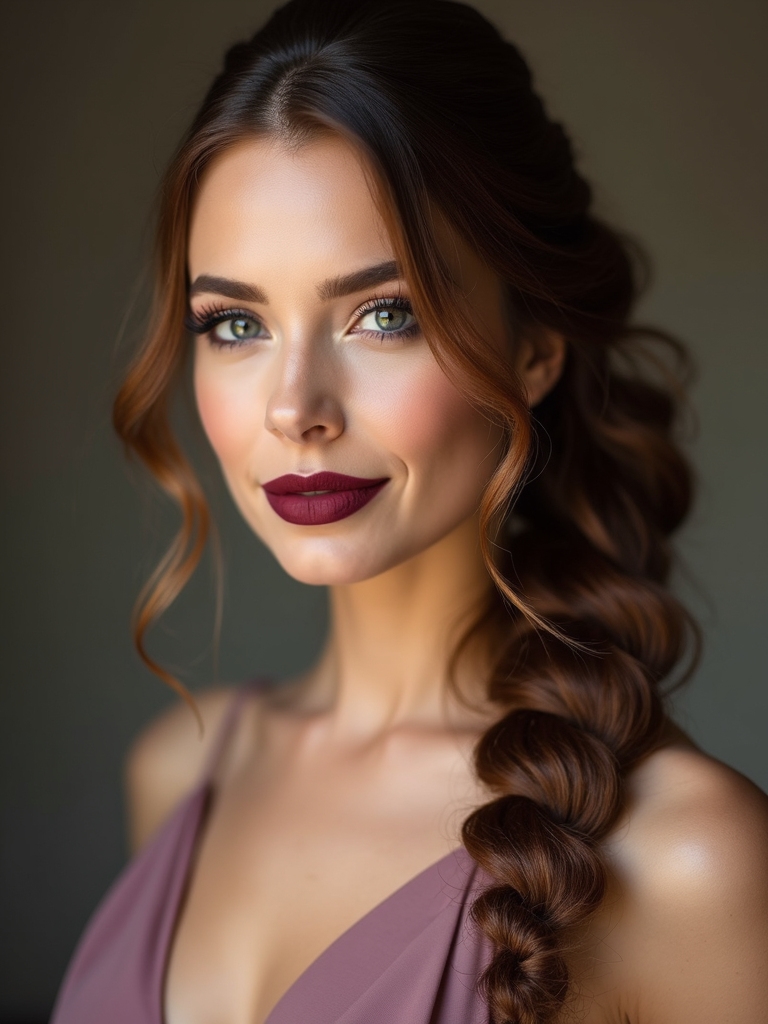

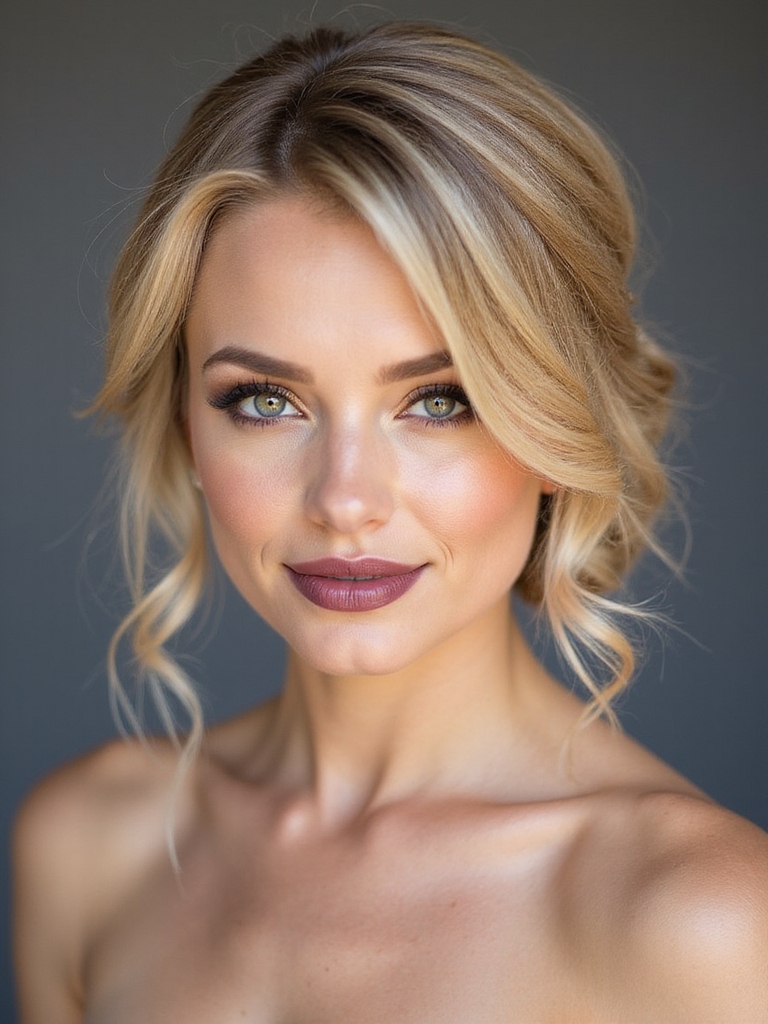
I’ve got quick, salon-smart bridesmaid styles you can DIY without drama: think a sleek low chignon tucked in under ten minutes, a textured ponytail that survives hugs and cake, heatless beach waves you sleep into, a half-up twist with a tucked bloom, or a knotless Dutch braid that won’t loosen.
Pack clips, pins, texture powder and a light spray, loosen pieces for softness, and you’ll look effortlessly polished—keep going and I’ll show you how each comes together step by step.
Quick Prep: Tools and Products to Have on Hand
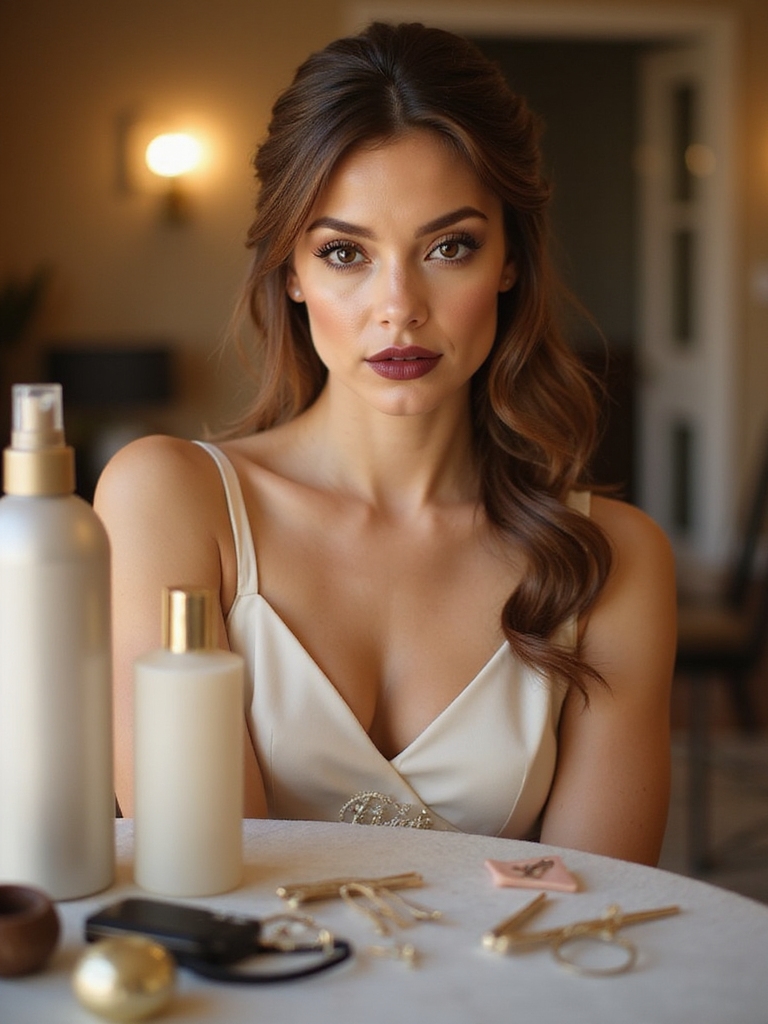
Before we plunge into braids and updos, I lay out the arsenal you’ll actually need — think glitter-free, salon-smart, and portable.
I pack a travel brush, sectioning clips, elastic variety, bobby pins sorted by strength, a mini hairspray, texture powder, and a heat-protectant spray.
Bring a compact mirror, a lint-free cloth, and confidence; these essentials keep chaos out and style on rhythm.
Quick, repeatable techniques like the 15-minute styles in Effortless Bridesmaid Hairstyles You Can DIY Quickly are perfect for busy wedding mornings.
Classic Low Chignon in Under 10 Minutes
Grab a few pins and a mirror — I’ll show you how to create a sleek, classic low chignon in under ten minutes that looks like you spent an hour.
I gather hair at the nape, twist into a tidy coil, tuck ends, and secure with hidden pins. Smooth flyaways with a light spray, loosen a face-framing strand, and you’re effortlessly polished, chic, and totally wedding-ready.
For bridesmaids aiming for coordinated, understated elegance, a low bun is a staple of quiet luxury that complements many dress styles.
Effortless Textured Ponytail
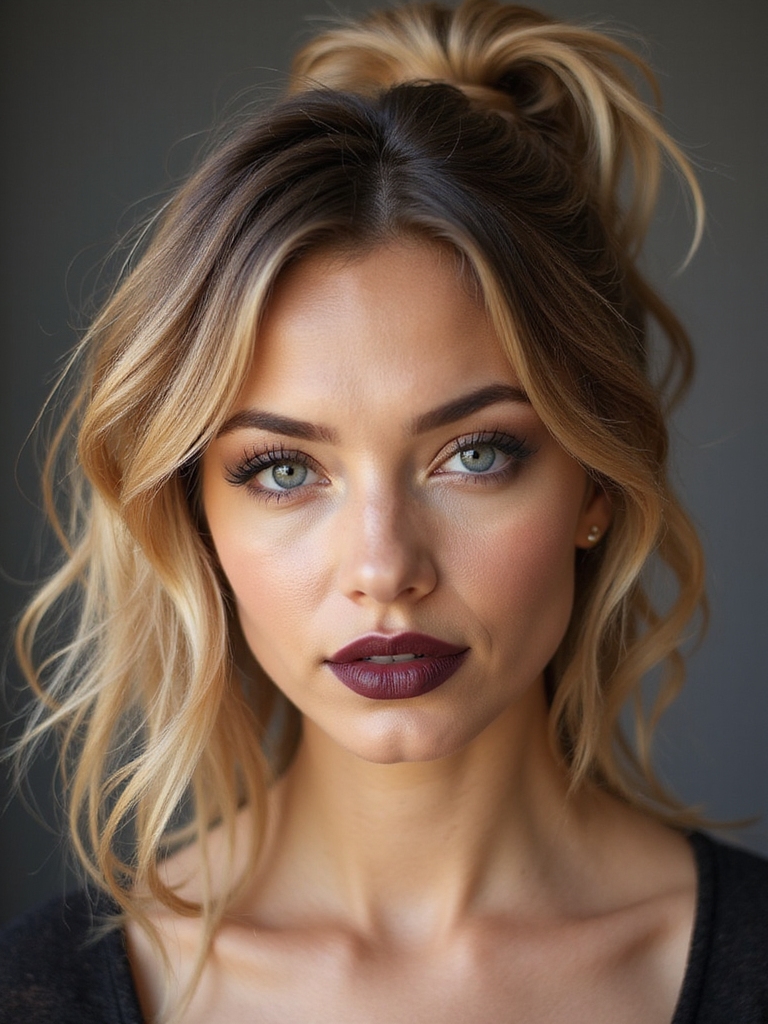
I grab textured spray first to give the hair grit and movement, because a ponytail needs personality not polish.
I’ll show you how the same sexy, easy shape works low and sultry or high and playful, quick as a wink.
Then I pull a few face-framing strands loose to soften the look and keep everything feeling fresh and kiss-ready.
Stylists often recommend experimenting with different ponytail placements to suit each bridesmaid’s face shape and dress silhouette; see tips on bridesmaid ponytail placement.
Prep With Textured Spray
Spritzing a textured spray into my palms feels like giving my hair permission to be a little wild and perfectly put-together at the same time.
I rake it through roots to ends, coaxing grit and gentle lift—no stiffness, just grit-kissed movement. Fingers shape, tease the crown, smash flyaways for softness. The ponytail grips better, dances truer, and somehow looks effortlessly rehearsed.
This technique is one of several effortless wedding guest hairstyles you can actually pull off without a pro.
Easy Low or High
Once the texture’s settled and your fingers have worked that lived-in grit through, I’ll show you how to turn it into an easy low or high ponytail that looks like you actually tried (but not too hard).
I gather, smooth, and secure with a band, then tease the crown for oomph.
- Sweep
- Secure
- Tug
Bridesmaids often choose ponytails for weddings because they’re versatile and effortless to style for a group on a timeline.
Finish With Face-Framing Strands
While you tease the crown for oomph, I let a few wisps fall loose to frame the face—the tiny rebels that make a pony look lived-in, not staged.
I sweep and twist those strands, misting texture spray so they curl like sunlit ribbons. They soften the jaw, flirt with the cheekbone, and turn a tidy pony into effortless romance—polished but playfully undone.
Elevated ponytails add height and polish for a modern bridal look, perfect when you want a balance of structure and softness with elevated ponytail styles.
Soft Beach Waves Without Heat
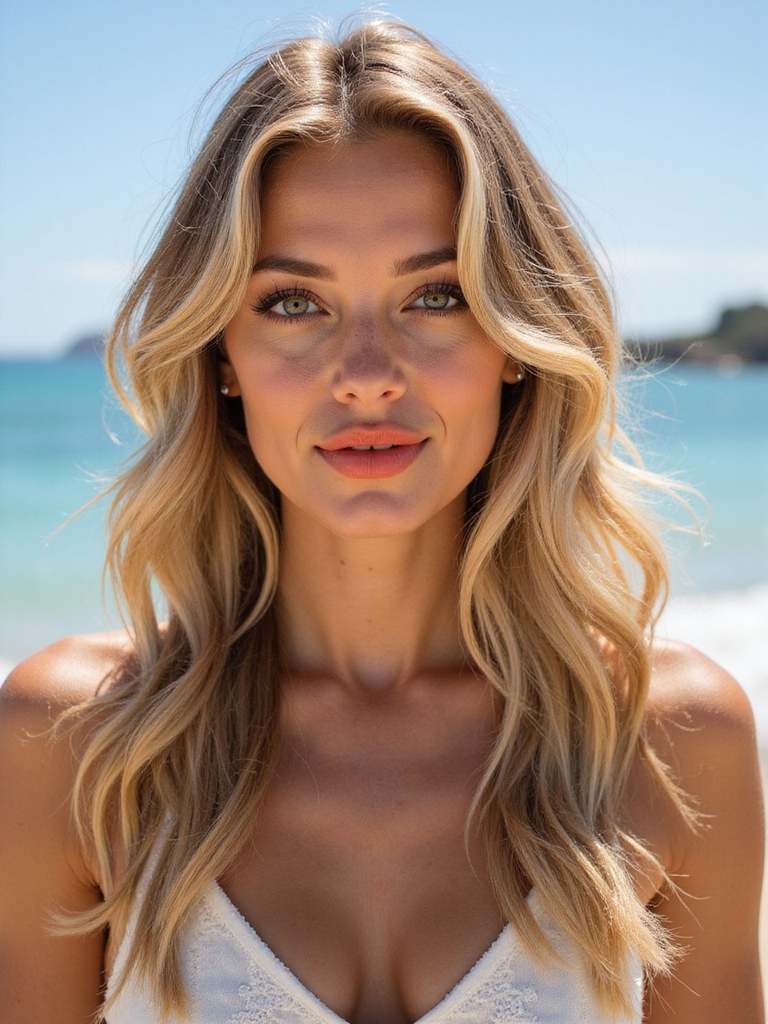
I’m about to show you how to get soft beach waves without a curling iron, using easy heatless wave methods that feel like a seaside breeze in your hair.
First we’ll talk styling prep tips—think the right product, dampness level, and gentle twists that set without frizz.
Stick with me and you’ll have undone, romantic waves that survive a long ceremony and a champagne toast.
Try techniques inspired by effortless wavy bridesmaid hairstyles with beachy vibes to enhance movement and texture.
Heatless Wave Methods
Let’s ditch the curling iron and work some low-key magic: I’ll show you how heatless waves give that effortless, just-stepped-off-the-beach look without frying your ends.
I’ll guide you through playful, damage-free tricks that wake your hair like ocean breezes.
- Twist-and-pin ribbons
- Braids left overnight
- Foam rollers for bouncy texture
Styling Prep Tips
Prepping your hair for heatless beach waves is like laying a good foundation for a watercolor—you want the color to bloom, not bleed.
I spritz light salt spray, finger-comb for texture, and mist a leave‑in conditioner to tame frizz.
I section hair, twist or braid while damp, and clip roots for lift.
Overnight magic; morning undone waves that whisper seaside glamour.
Half-Up Twist With Floral Accent
When I twist the top sections back, the look instantly softens—like sunlight through sheer curtains—while a cluster of tiny blooms pins everything into place; you’ll love how the style feels effortlessly romantic without trying too hard.
- Twist two sections, secure with pins.
- Tuck blooms where twists meet.
- Set with light mist; shake gently.
I whisper instructions with sassy warmth, vivid snapshots, and a steady beat to guide you.
Sleek Center-Part Low Bun
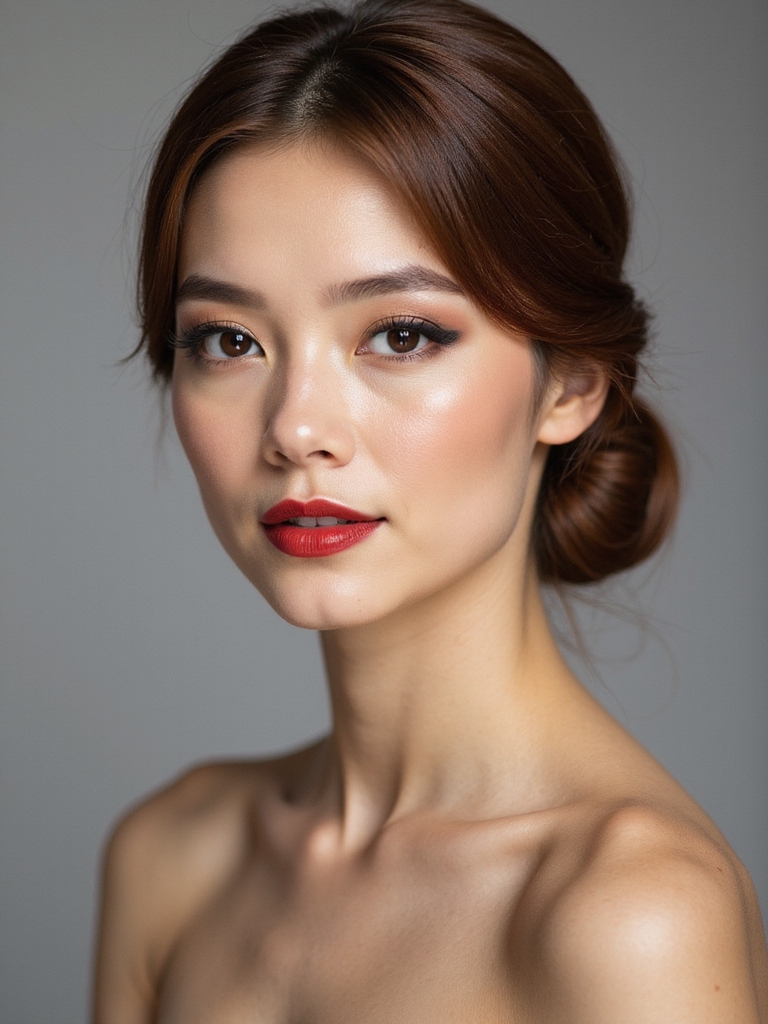
If you loved the soft, floral romance of the half-up twist, brace yourself for polished contrast: I smooth a razor-sharp center part, gather hair low at the nape, and sculpt a bun so sleek it reflects candlelight.
I slick stray strands, secure with pins, and mist for mirror shine — minimal fuss, maximum chic. It’s poised, cool, and utterly bridal-friendly.
Braided Crown for Shorter Hair
I’ll show you how to turn short layers into a regal braided crown, starting with the right prep and texture so pieces hold and shine.
I’ll braid tiny Dutch sections along the hairline, coaxing them into a neat mini crown that feels playful but polished.
Then we’ll secure each bit discreetly and finish with a spritz and a few pin-hidden flourish points so it lasts through vows and cake.
Prep and Texture
Because short hair loves a little rebellion, I start by roughing it up — not with chaos, but with purpose: a light salt spray, a quick blast of heat for grit, and focused teasing at the crown.
I sketch texture like a painter, then follow three tidy steps:
- Mist and scrunch.
- Heat for grip.
- Pin and settle.
Mini Dutch Braid
When I braid a mini Dutch crown into short hair, I treat the strands like a crown of tiny, rebellious ropes—lifting, crossing, and tucking each piece so it reads polished but not precious.
I work in small sections, braid close to the scalp, and coax texture with my fingertips; it hugs the head, frames the face, and sings subtle, confident charm without shouting for attention.
Secure and Finish
Once the mini Dutch crown sits snug against my scalp, I lock it down like tacking a tiny flag to a windy cliff—strategic, neat, and a little defiant.
I finish with gentle pulls and hairspray, then pin discreetly. My method:
- Tuck ends under, secure with bobby pins.
- Mist for hold, not crunch.
- Smooth flyaways with serum—polished, not stiff.
Messy Side Braid That Photographs Well
If you want a braid that looks effortlessly chic in every photo, I’ll show you how a messy side braid catches light, frames the face, and still stays put through hugs, cake, and the dance floor.
I tug sections for soft volume, let tendrils flirt at the temple, and anchor with discreet pins so it moves like silk—romantic, relaxed, utterly camera-ready.
Low Knot With Ribbon or Scarf
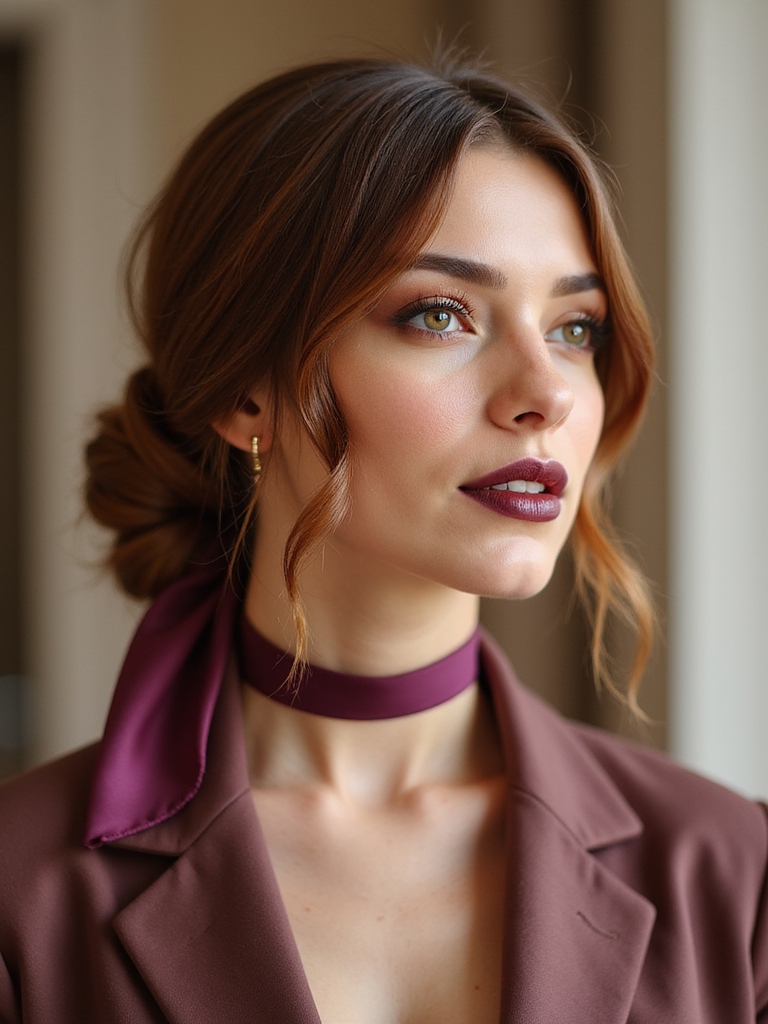
Tucked low at the nape and tied with a ribbon or silk scarf, this knot feels equal parts effortless and deliberately chic — I love how the fabric adds a flirt of color and movement without stealing the show.
- Smooth hair, twist once.
- Coil gently, secure.
- Tie ribbon, let ends dance.
I wink at mirrors, knowing this small flourish finishes the look.
Loose Fishtail Braid for Long Hair
With a few easy swings of my fingers, I coax a messy, romantic fishtail that spills like a waterfall down my back—soft, undone, and totally wearable for a long-haired bridesmaid.
I tug strands loose, tease texture, and wrap a silk ribbon at the end for a sweet, boho finish.
It’s effortless, flattering, and stays charming through toasts, laughter, and slow dances.
Twisted Halo for Medium Length Hair
I’ll show you how to part the hair just right and section it like a pro so the base of our halo sits clean and even.
Then we’ll twist two glossy strands away from the face, wrapping them into that sweet, crown-like shape.
Finally I’ll pin the twists and gently loosen the loops for a soft, effortless halo that stays put all night.
Part Hair and Section
Start by splitting your mane down the middle like you’re drawing a confident line through chaos — I love a clean part because it sets the whole halo’s tone.
Then I section with intent, fingers humming. Follow these steps:
- Clip each side near the ear.
- Free the crown for volume.
- Keep nape pieces tucked tight.
Rhythm, precision, and a wink—ready for twists.
Create Twisted Strands
Now we coil the good stuff — the strands that’ll crown her like a low-key goddess.
I twist small sections away from the face, keeping tension gentle so ribboned ropes form, not limp noodles.
I stack twists along the temple, watching them spiral like caramel ropes, until both sides meet at the back.
The effect: effortless halo, textured, bridal-ready and totally chic.
Pin and Loosen Halo
Once the twists meet at the nape, I tuck and pin them into a loose, low halo—think soft crown, not helmet—and let the pieces breathe so the look stays romantic, not severe.
I tease, tug, and coax texture until it hums. My quick checklist:
- Pin hidden ends beneath twists.
- Pull face-framing strands loose.
- Spritz light hold, not armor.
Polished Blowout for Last-Minute Shine
I grab my round brush and crank up the dryer—this polished blowout‘s my go-to for last-minute shine when a bridesmaid SOS lands in my lap.
I smooth sections, lift roots, and flick ends for that glossy, bouncy finish; heat meets cool air, hair sings, and frizz surrenders.
Quick spritz of serum, a soft mist of hairspray, and she’s camera-ready, chic and effortless.
Knotless Dutch Braid to Keep Hair Secure
Because bridesmaids need hair that stays put through vows, cake, and shenanigans, I reach for a knotless Dutch braid—tight at the roots, soft through the lengths—so every toss of the bouquet looks intentional.
- Prep with light mousse for grip.
- Braid close, pulling sections outward for texture.
- Finish with flexible spray and a playful ribbon.
It’s secure, sleek, and utterly dance-proof.
Romantic Side-Swept Curls Pinned Back
If you loved the sleek security of that knotless Dutch braid, let’s soften things up: I’ll sweep you into romantic side-swept curls pinned back, where old-Hollywood glamour flirts with backyard breeze.
I twist sections, curl away from the face, gather a loose cascade over one shoulder, and discreetly secure ends so movement whispers, not yanks—effortless, feminine, perfectly undone for a summer aisle.
Accessory-Forward Styles: Clips, Combs, and Pins
Play up the drama — I’ll pile on clips, combs, and jeweled pins until your look reads like a love letter to the dress. I tuck, twist, and scatter sparkle where light can flirt.
Try these quick placements for instant glam:
- Clustered side clips
- Pearl comb at nape
- Single statement pin above ear
Each bite-sized accent wakes the whole hairstyle.
You’ll wow the bride (and yourself) with these quick looks — did you know 72% of wedding parties pick DIY styles to save time and money? Picture hands flying like clockwork: a low chignon tucked smooth as satin, a tousled ponytail that catches sunset, a twist pinned with blooms.
You’ll move through mirrors with sass and ease, turning chaos into choreography—fast, fierce, and flawless—because gorgeous doesn’t have to take all day.