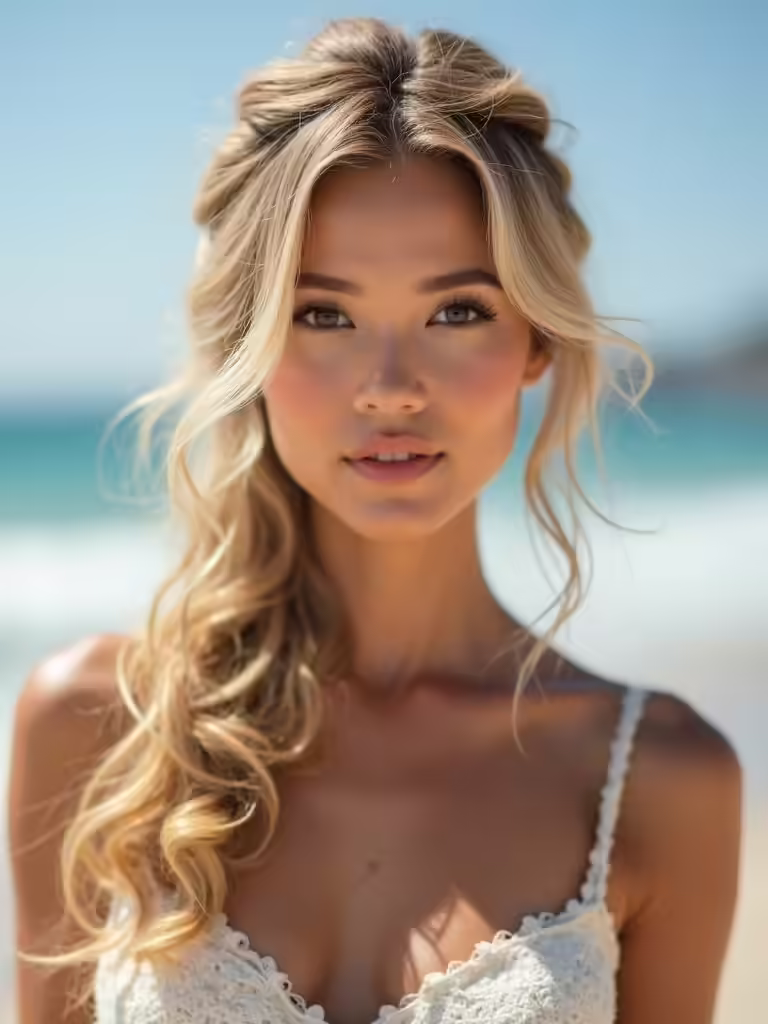
I’ve rounded up nine chic bridesmaid looks you can DIY in 15 minutes, from a classic low chignon and sleek center-part straight hair to a messy low bun with face-framing tendrils and a wrapped-base low ponytail.
I also include quick spiral curls, a twisted half-up with soft waves, a simple Dutch crown, a faux halo braid and a low twisted bun with a floral accent. Stick with me and I’ll show how to get each one fast.
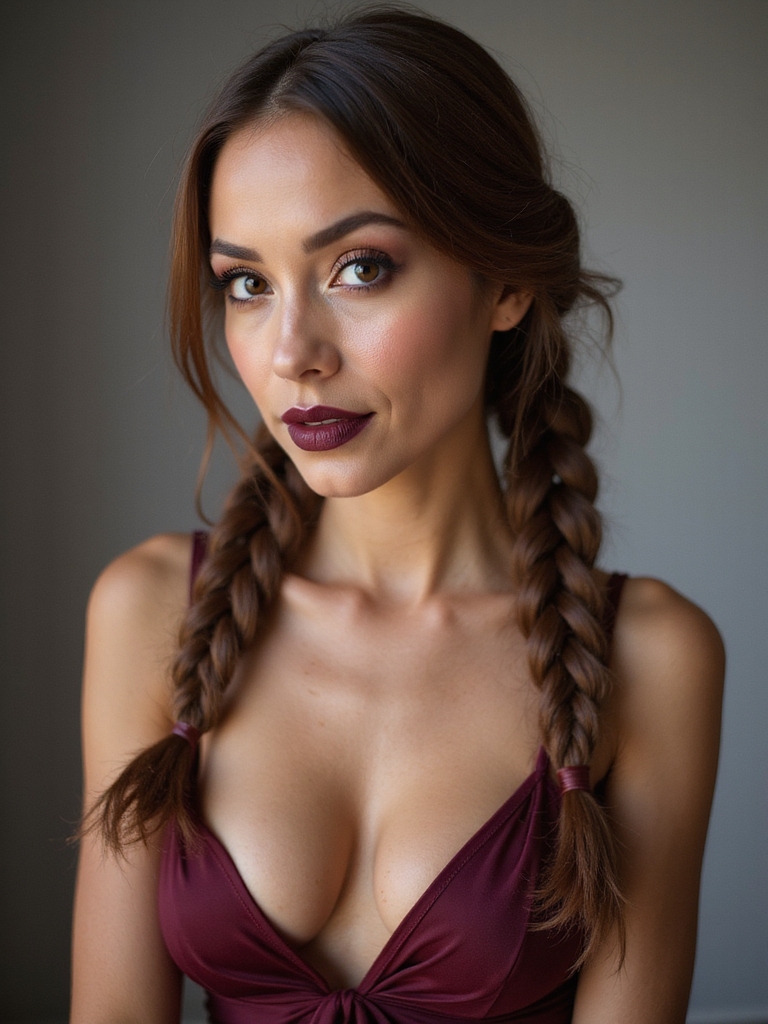
Classic Low Chignon

I love the Classic Low Chignon because it feels effortlessly elegant and works with almost any dress or face shape.
I’ll walk you through a simple routine: smooth hair with light serum, create a low ponytail, twist and coil into a tight bun, secure with pins and a thin elastic, then mist for hold.
It’s polished, modern, and quick for last-minute prep.
The Classic Low Chignon is one of the most enduring timeless low bun styles for wedding elegance and suits many bridal looks.
Messy Low Bun With Face-Framing Tendrils
Though it looks undone, I’ll show you how to make a messy low bun with face-framing tendrils feel intentionally chic and bridal-ready.
I tease roots lightly, gather hair at the nape, twist into a loose bun and pin, then pull a few soft tendrils around the face.
Finish with flexible-hold spray and a pearl pin for polished, effortless romance.
This style is one of the trendy bridesmaid looks for medium length hair that everyone is saving right now.
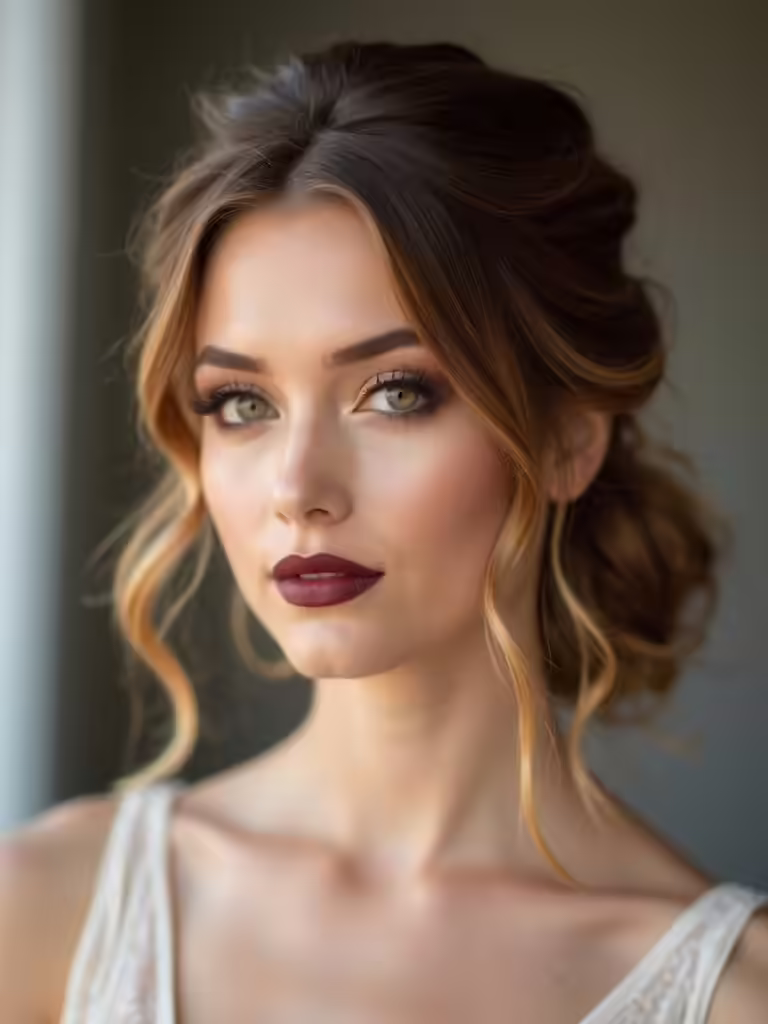
Sleek Low Ponytail With Wrapped Base
Opt for a sleek low ponytail with a wrapped base when you want modern polish with minimal fuss—I’ll show you how to get that smooth, glassy finish and a neat fabric- or strand-wrapped detail that reads high-end and bridal-ready.
I’ll walk you through quick steps to tame flyaways and secure the wrap so it lasts all day.
- Prep
- Smooth
- Wrap
This look transitions effortlessly from ceremony to afterparty with minimal adjustments and timeless appeal, making it a favorite for bridesmaids seeking simple elegance and ceremony-to-afterparty versatility.
Twisted Half-Up With Soft Waves
Try a twisted half-up with soft waves when you want a romantic, modern look that’s both effortless and polished—I’ll show you how to create face-framing twists that feel relaxed yet secure, then blend them into loose, touchable waves that last through toasts and dancing.
I twist sections from each temple, pin them at the crown, mist for hold, and tousle ends for movement.
This style is one of several bridesmaid hairstyles that photograph like a dream, capturing soft texture and movement beautifully.
Simple Dutch Braid Crown
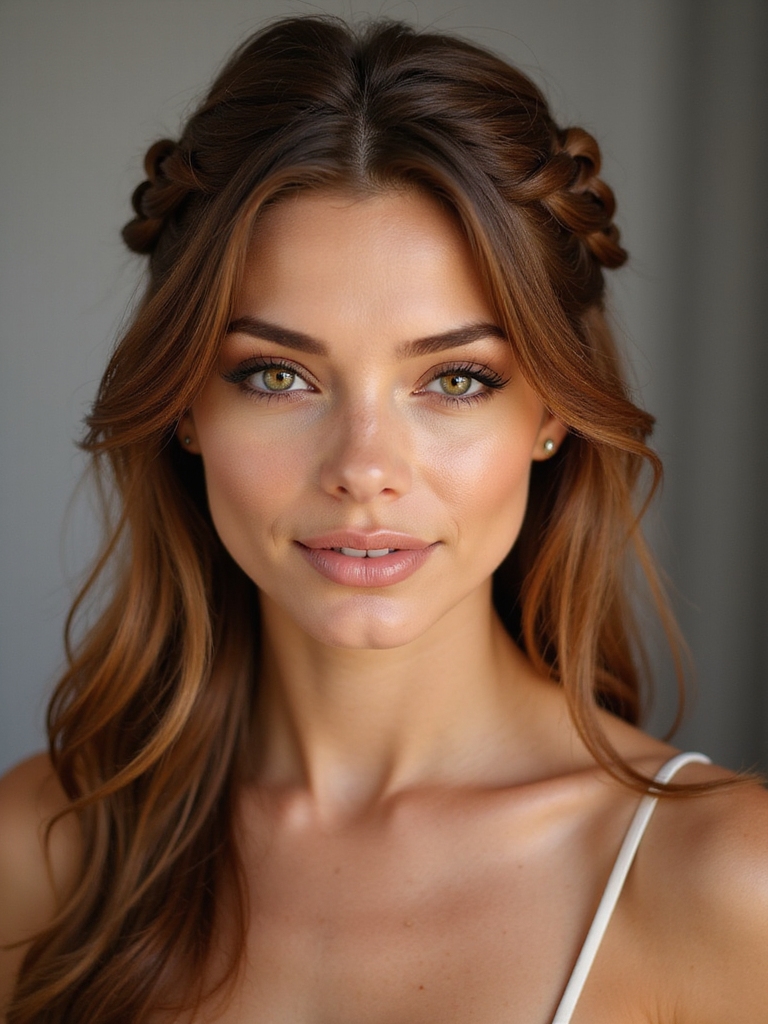
Now I’ll show you how to create a Simple Dutch Braid Crown, starting with smart prep and sectioning so the braid sits neat and secure.
I’ll walk you through the Dutch braiding technique and how to pin each section to form a smooth, flattering halo.
With a few styling tips you’ll have a polished, fashion-forward crown that holds all day.
Effortless Half Up Half Down Braid Hairstyles for Bridesmaids include easy braid-and-pin combos to achieve a secure, elegant look with minimal tools and time, perfect for coordinating wedding parties and matching different hair lengths using a half up half down approach.
Prep and Sectioning
Before I start braiding, I make sure the hair is clean, slightly textured, and tangle-free so the Dutch crown will hold and look polished.
I part hair down the middle, clip sections, and map the crown path so I braid confidently without twists.
- Spritz sea-salt or texturizer.
- Detangle with a wide-tooth comb.
- Clip remaining hair out of the way.
For extra hold and longevity, finish with a light mist of hairspray to set the style and prevent flyaways, which is a common tip in wedding guest hairstyles.
Braiding and Pinning
With the hair prepped and clipped, I start the Dutch crown at one temple and work toward the other, keeping the braid tight and lifted so it reads like a polished halo.
I secure sections with discreet bobby pins, tucking ends under and anchoring at the nape.
A light mist of flexible hold spray smooths flyaways and keeps the crown elegant without stiffness.
For a range of looks, consider choosing from bridesmaid braided hairstyles that span subtle to bold options.
Fishtail Braid Over the Shoulder
Now let’s talk about a chic fishtail braid swept over the shoulder — I’ll show you how smart prep and clean sectioning set the foundation so the braid looks polished all day.
I’ll also cover finishing touches like loosening for volume, hiding the end with a ribbon or pin, and a quick mist of hairspray to lock everything in.
Follow these simple steps and your bridesmaid braid will feel effortless and runway-ready.
Prep and Sectioning
Once I’ve detangled and lightly textured the hair, I section it for the fishtail so the braid sits neatly over one shoulder.
I divide into clean center-to-side parts, clip excess, and keep tension even.
Here’s my quick checklist:
- Deep side part toward chosen shoulder
- Secure opposite-side hair clipped back
- Split into two even panels for smooth weaving
Finishing Touches
I sweep the fishtail over the chosen shoulder and lock in the shape by tightening the weave a hair at a time so the braid looks polished but still soft.
Then I tug individual loops for effortless volume, secure the end with a discreet elastic, and mist lightly with flexible-hold spray.
A few face-framing tendrils and a decorative pin finish the look—stylish, comfy, wedding-ready.
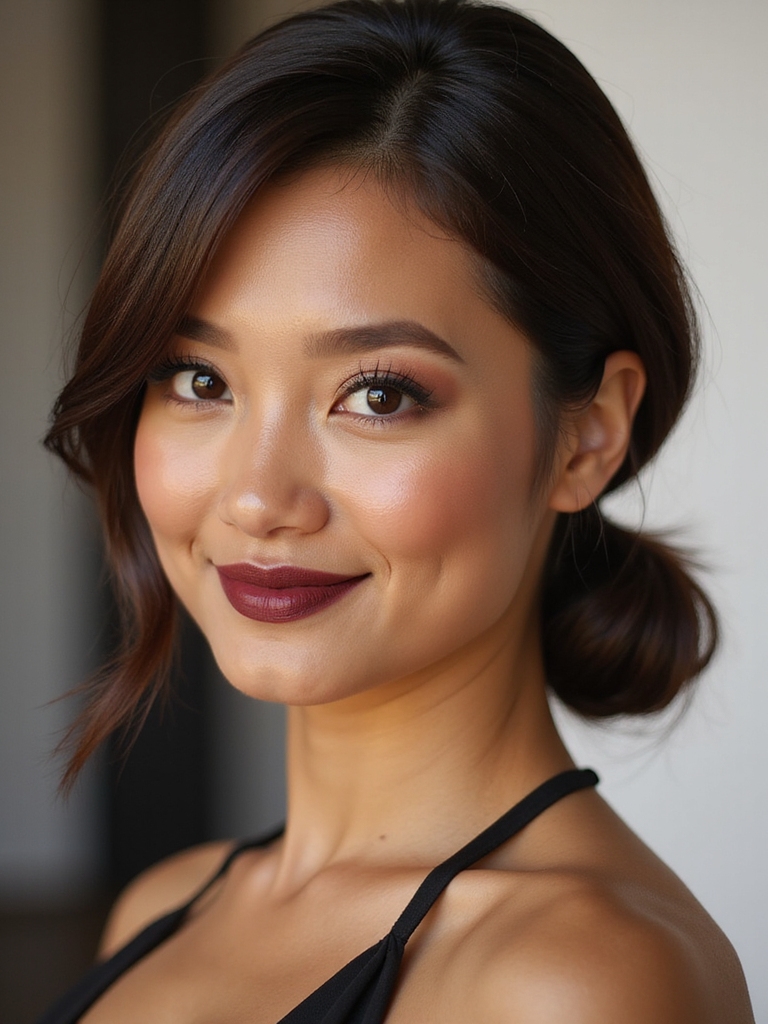
Braided Low Knot
Let’s tuck a braid into an elegant low knot that stays polished all day without feeling stiff—I’ll walk you through a simple version that works on most hair types.
I braid a side section, wrap it into a low chignon, and secure with pins for a sleek, modern look.
Quick adjustments keep it soft and wearable.
- Prep
- Braid
- Pin
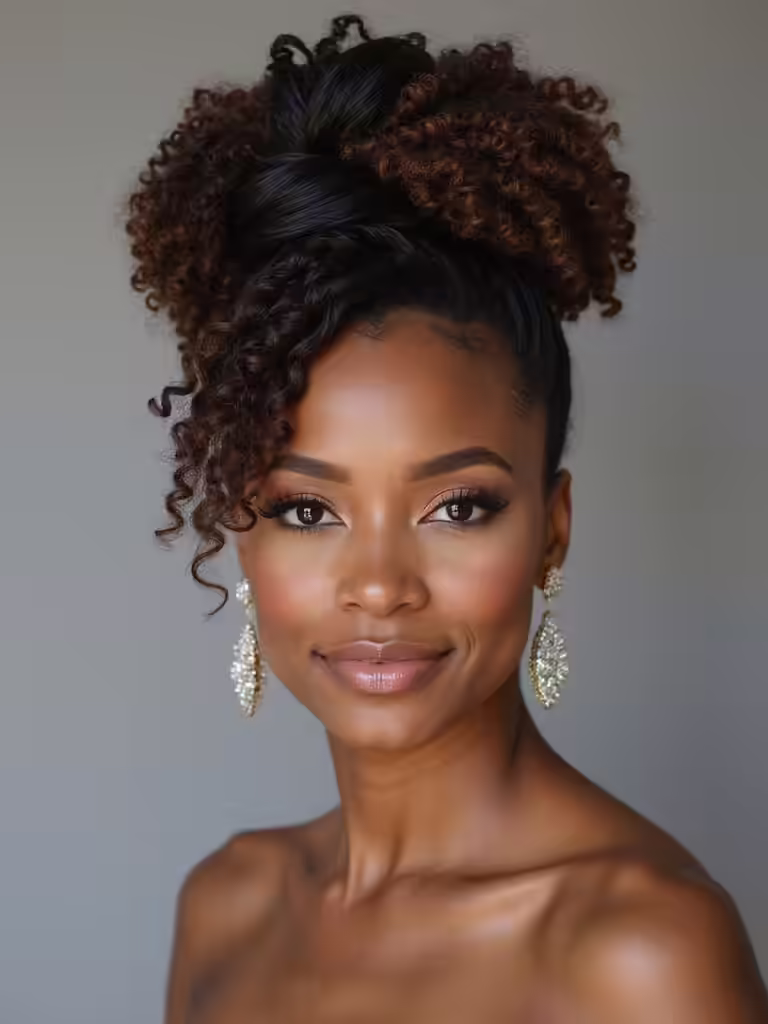
Textured High Ponytail With Volume
I love how a textured high ponytail reads modern and effortless, so I always start by prepping for textured volume—think sea-salt spray, a quick root tease, and loose waves for grip.
Then I gather the hair high, secure it firmly but not painfully, and wrap a small section around the band for a polished look.
Finally, I finish with a strong-hold spray and tiny pins where needed to keep the lift all evening.
Prep for Textured Volume
Start by prepping the hair for texture and lift so the high ponytail stays bold and lasts through the whole celebration.
I rough-dry with a texturizing spray, tease lightly at the crown, and use a lightweight powder for grip.
Quick steps:
- Apply texturizing spray to damp roots.
- Rough-dry while lifting sections.
- Tease crown gently, smoothing the top layer for polish.
Secure and Finish Style
Once the prep’s locked in, I secure the ponytail so the volume reads effortless but stays put all day.
I wrap a small section of hair around the elastic, pin it beneath with bobby pins, and mist with flexible-hold spray.
I smooth flyaways with a tiny dab of serum, tease at the crown subtly, then check balance and comfort — chic, secure, and wedding-ready.
Romantic Side Sweep With Pins
With a few strategic pins and a soft curl, I can turn plain hair into a romantic side sweep that feels effortless and elegant.
I sweep hair to one side, secure with discreet pins, and let face-framing pieces soften the look.
It’s chic, quick, and holds through photos.
- Prep: curl and texturize
- Pin: anchor at nape
- Finish: light-hold spray
Loose Boho Braid With Ribbon
I’m excited to show you how a loose boho braid with a ribbon can feel effortless yet polished, starting with the right prep and where to place the ribbon for maximum impact.
I’ll walk you through simple braiding technique tips so the plait stays airy but won’t fall apart.
Finally, I’ll cover how to secure and finish the look with discreet elastics, a few strategic pins, and soft pulls for that perfectly undone chic.
Prep and Ribbon Placement
Although you could skip fancy prep, I always start by texturizing the hair so the ribbon grabs and the braid looks effortlessly undone.
I prep with sea salt spray, rough-dry for grip, and smooth flyaways.
Then I tuck the ribbon at the nape and thread as I braid for a natural weave.
- Sea salt spray
- Rough-dry for texture
- Tuck ribbon at nape
Braiding Technique Tips
Now that the ribbon’s tucked and the hair has some grit, I start the braid to keep that loose, boho vibe without it falling apart.
I gently pull larger sections, braid loosely, and weave the ribbon through one strand for subtle movement.
I loosen edges with my fingers, tug small face-framing pieces, and check balance so the braid reads effortless and modern from every angle.
Securing and Finishing Touches
Once the braid’s shaped and the ribbon’s woven through, I focus on locking everything in place without killing that airy, undone look.
I use tiny clear elastics, strategic bobby pins, and a light mist of flexible hairspray to keep movement natural and secure the ribbon ends neatly.
- Clear elastics for discreet hold
- Crossed bobby pins for grip
- Flexible spray for movement
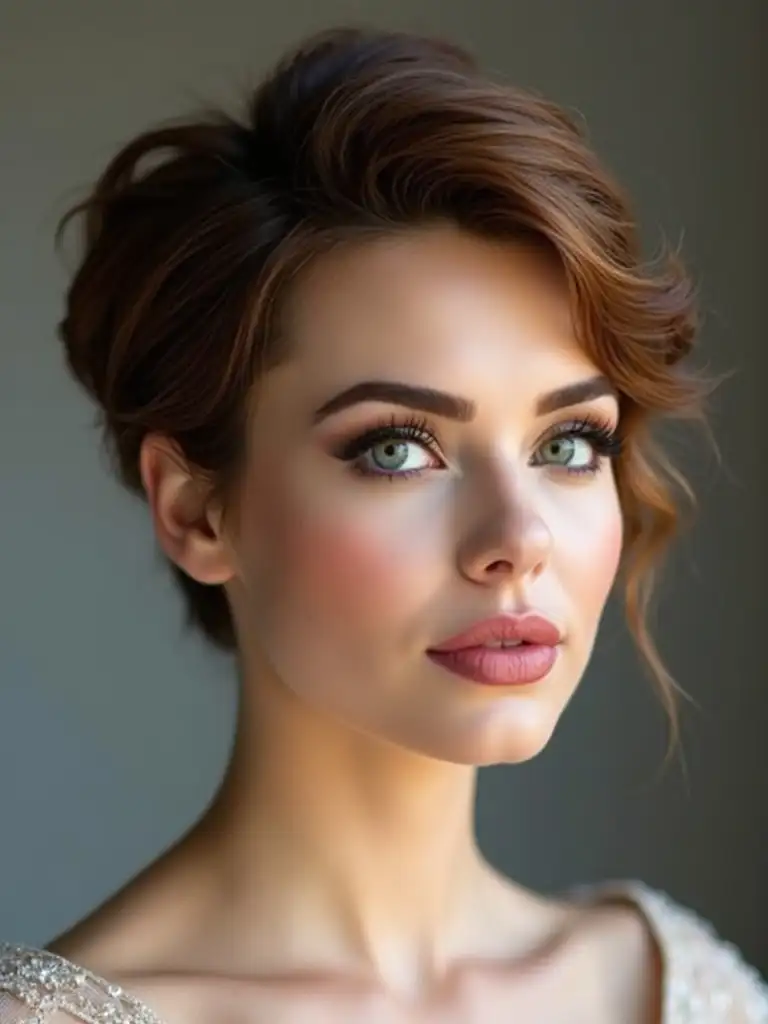
Knotted Half-Up Topknot
Twirling a knotted half-up topknot is my go-to when I want a look that’s polished but playful — it lifts the face, keeps hair off the shoulders, and suits everything from soft boho gowns to modern sheath dresses.
I gather crown sections, twist them into a loose knot, secure with pins, and tug pieces for softness.
It’s quick, romantic, and stays put through toasts and dancing.
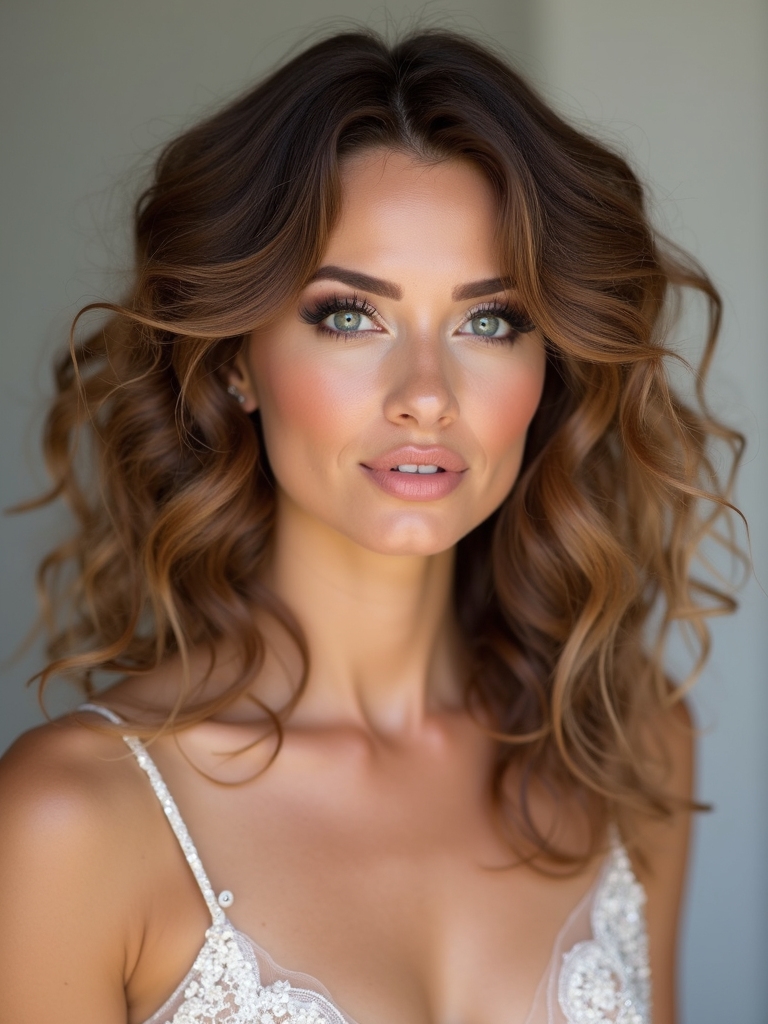
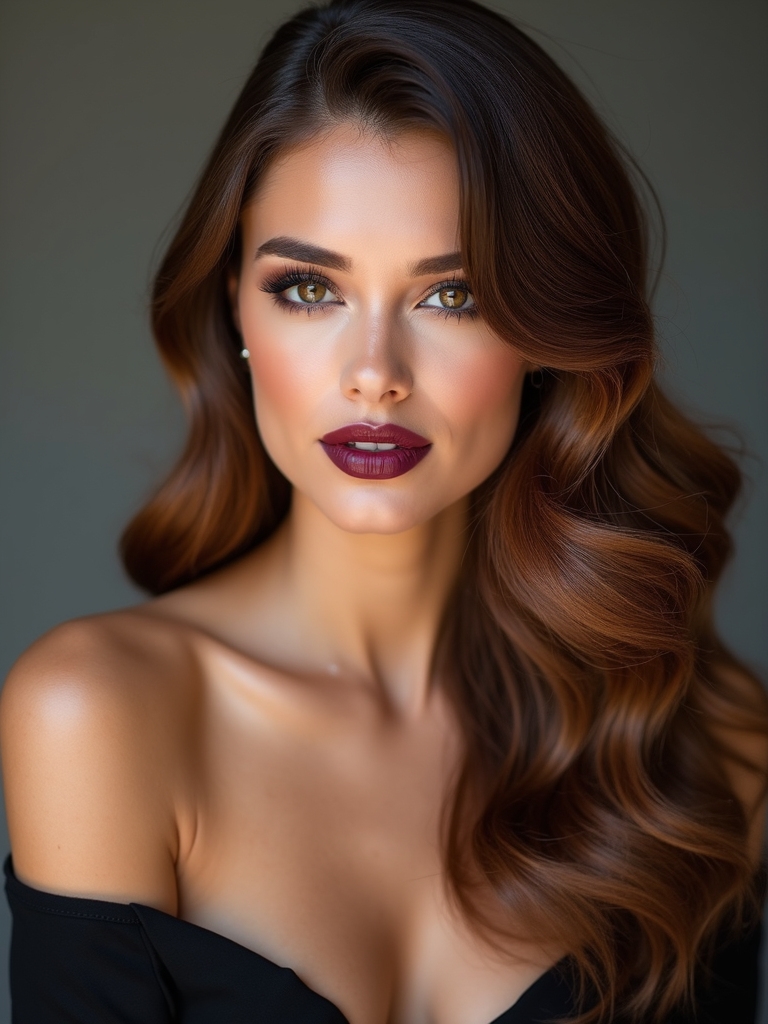
Sleek Center-Part Straight Hair
If you love the clean lift of the knotted half-up but want something sleeker for a modern gown, I reach for a center-part straight style that feels polished without looking stiff.
I prep with heat protectant, smooth with a flat iron, and finish with shine serum for camera-ready hair that stays put.
- Prep: protectant
- Smooth: flat iron
- Finish: serum
Faux Halo Braid
I love how a faux halo braid lifts the face without needing a full crown—it’s elegant, stays comfortable all day, and works with any dress silhouette.
I twist a deep-side section, braid loosely, and pin along the hairline for instant polish. It hides fastener bulk, suits veils or bare shoulders, and refreshes easily between photos—perfect for chic, low-stress bridesmaids.
Quick Spiral Curls
Grab a 1/2-inch barrel curling iron and let me show you how to get quick spiral curls that look polished without hours in the chair.
I work in small sections, wrap away from the face, and finger-comb for movement. Finish with light-hold spray for shine that lasts through photos.
- Section hair
- Curl away from face
- Finger-comb & spray
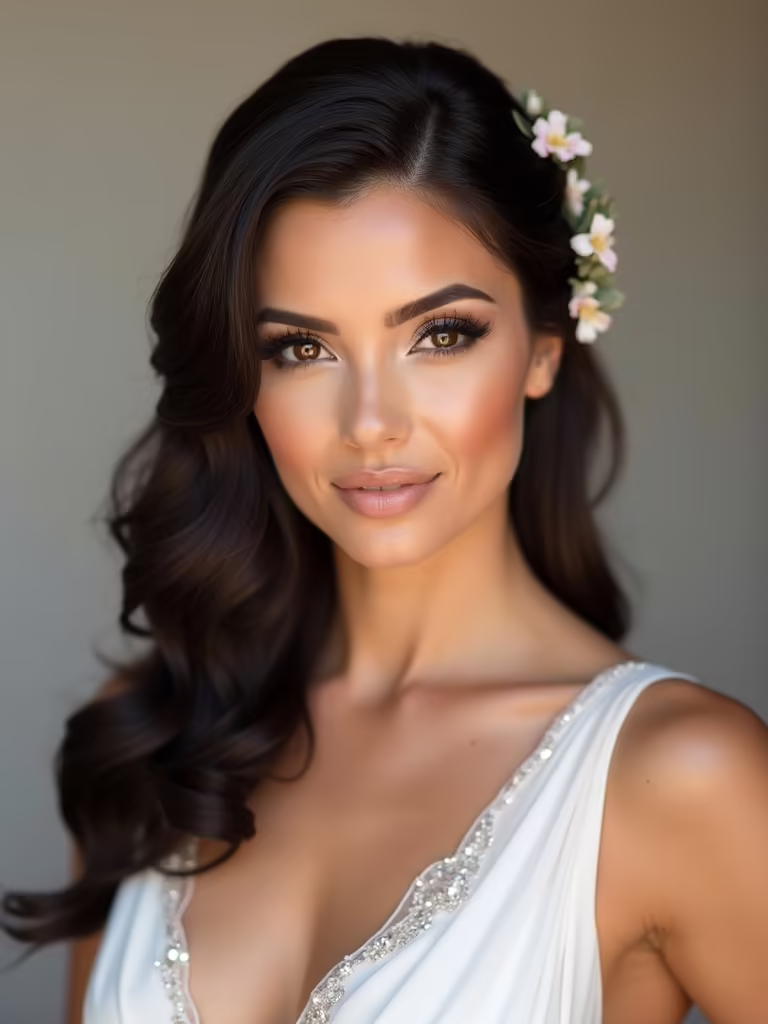
Low Twisted Bun With Floral Accent
After finishing those spiral curls, I like to pull the look into a low twisted bun with a floral accent for a more romantic, wedding-ready finish.
I gather hair at the nape, twist each side toward the center, then wrap into a loose bun, securing with pins.
Tuck small fresh or faux blooms into gaps for instant polish—no florist skills required, just calm hands and a light-hold spray.
You’ve got nine go-to looks that prove gorgeous hair doesn’t have to take hours — think effortless, not elusive. I’ve walked you through classics and playful twists so you can pick a vibe and run with it, the way a ribbon trails behind a bouquet.
Keep a few pins, a travel-size spray and a smile handy, and you’ll style, touch up and shine through the whole day like the pro you are.