I’ve found the half-up half-down style is a powerhouse for medium-length bridesmaid hair—it’s elegant but still feels free. You get a polished look that frames your face beautifully, and it keeps hair off your neck for summer weddings. I’ll break down securing it like a business foundation and pairing it with your face shape. Let me show you how to make your style both stunning and secure all night.
What Makes Half Up Half Down Bridesmaid Hairstyles So Perfect?
When you’re looking for bridesmaid hairstyles that truly work, half up half down is a winner because it strikes the perfect balance.
It’s elegant yet lets your hair move freely. I love how it frames the face for photos while keeping hair off the neck—essential for summer weddings.
It works with nearly any hair texture and adapts beautifully to include accessories like fresh florals or delicate pins.
This style is especially flattering for medium length hair, making it a popular choice among bridesmaids looking for half up half down wedding hair.
Your Wedding Hair Kit: Essential Tools And Products
Assembling your wedding hair kit is like curating a backstage arsenal—you’ll want tools and products that deliver flawless results without fail.
I never risk a style failing on the big day, so I pack these essentials:
- A high-quality, fine-toothed comb for precise sectioning.
- Strong-hold hairspray that locks curls without stiffness.
- Flexible styling paste to tame flyaways invisibly.
- Small, sharp scissors for trimming any stray ribbon ends.
- Extra mini hair elastics—they always snap when you’re rushing.
Including inspiration for half up half down wedding hair styles can help you visualize your perfect look before the big day.
Flattering Half Up Styles For Your Face Shape
I know how important it’s for you to look your best, so let’s match your face shape with the perfect half-up style.
I’ll show you the key pairings and share a few simple styling techniques that work wonders.
These tips guarantee your hairstyle complements your features beautifully.
For inspiration, consider exploring chic half up half down hairstyles that are especially flattering for medium-length hair.
Face Shape And Hairstyle Pairings
To find your most flattering half-up style, let’s first identify your face shape because the right pairing can beautifully frame your features.
Think like an entrepreneur analyzing your assets—I choose styles that create balance.
- Round Face: Add height at the crown to elongate.
- Square Face: Soften angles with cascading side waves.
- Oval Face: You’re lucky—almost any style works!
- Heart Face: Width at the jaw balances a narrow chin.
- Long Face: Keep volume low and sides full to shorten.
For added inspiration, consider exploring half up half down wedding hairstyles to find stunning looks that complement these face shape tips.
Key Styling Techniques
Now that we’ve paired your face shape with its ideal style foundation, let’s build on that by mastering the techniques to create those looks.
I treat styling like a startup: identify the core need (volume, sleekness), allocate resources (products, tools), and execute flawlessly.
For volume, tease roots lightly before pinning.
For sleekness, smooth sections with a boar bristle brush.
Use texture spray on ends for a polished, effortless finish.
Incorporating elegant half up half down wedding hairstyles can add a timeless and sophisticated touch to your overall look.
The Romantic Braided Crown

Let’s get your hair ready for that braided crown look.
I’ll show you how to prep your hair and build the braid step by step.
We’ll finish with my favorite tricks for securing everything so it lasts all night.
This style is one of the most stunning braided half up half down options for weddings that truly turn heads.
Preparing The Hair
A romantic braided crown starts with perfectly prepped hair, so I always begin by washing and conditioning my bridesmaids’ hair the night before to add natural volume. My business thrives on this foundation.
On the day, I guarantee hair is completely dry and tangle-free before any styling.
- Apply a light texturizing spray to damp roots for grip.
- Blow-dry hair using a round brush for maximum body.
- Run a smoothing serum through mid-lengths to ends.
- Lightly backcomb the crown area for hidden volume.
- Mist all over with a flexible hold hairspray as a base.
This technique is one of the most popular half up half down bridal hairstyles to love for weddings.
Creating The Crown Braid
Start weaving the romantic braided crown by dividing dry, prepped hair into two even sections from a center part.
Braid each section into a classic three-strand braid, keeping it snug but not tight for a soft look.
Then, gently pull on the outer edges of each braid to loosen and widen it, creating that fuller, more romantic volume essential for a beautiful, lived-in crown effect.
For an effortless and elegant finish, consider incorporating half up half down braid combos to complement the crown and enhance the overall bridesmaid hairstyle.
Securing The Style
Now I’ll secure the braids into that crown shape. This is where it gets entrepreneurial. You’re locking in your investment in beauty.
- First: Pin each braid’s tail where the other braid begins.
- Second: Hide ends underneath the braid itself.
- Third: Use criss-cross pins for a stronger hold.
- Fourth: Don’t pull too tight; keep it soft.
- Fifth: Double-check the silhouette before adding flowers.
For an extra touch of elegance, consider incorporating half up half down braid styles to enhance the romantic vibe of your wedding look.
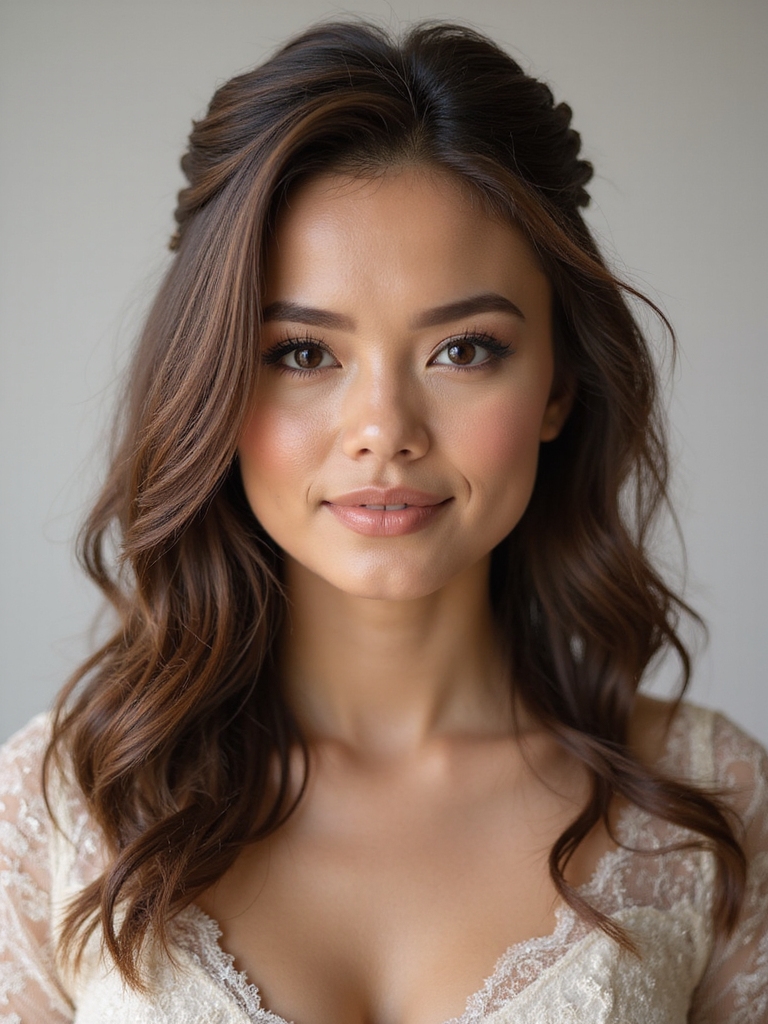
Soft Twists With Face-Framing Tendrils
Since you’re aiming for a look that’s elegant but not fussy, I love soft twists paired with loose, face-framing tendrils for their effortless beauty and versatility.
I start by curling medium-length hair. Then, I gently pull back small side sections and twist them, securing with pins. This creates a soft half-up style.
I leave a few pieces loose to frame the face, enhancing every bridesmaid’s features.
This half up half down style is a timeless choice that combines elegance and practicality for wedding hairstyles.
The Elegant Half Up Low Bun
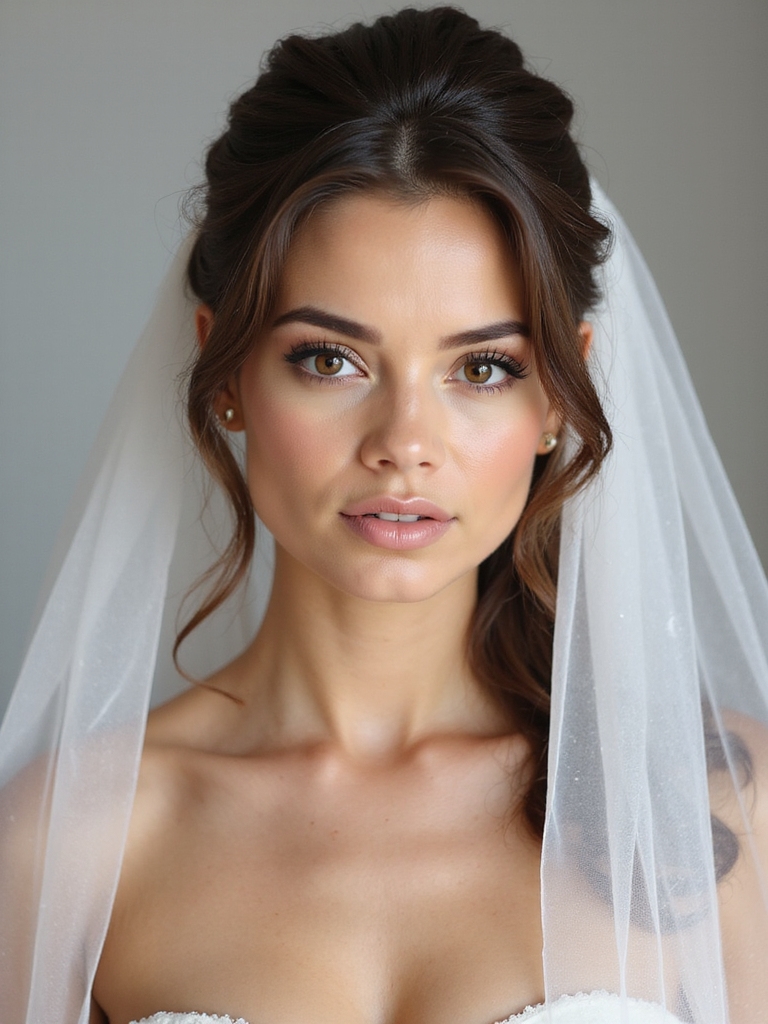
For the bridesmaid wanting timeless polish, I recommend the elegant half-up low bun. It’s sophisticated yet incredibly functional, keeping hair secure all day. This style works beautifully with veils or statement earrings.
I build it for my clients as a polished foundation that never competes with the bride. You’ll look cohesive and feel put-together from ceremony to last dance.
- Secure the crown section first for a clean, lifted base.
- Tease the crown slightly for volume that lasts.
- Twist or braid the tail before forming the low bun for texture.
- Use a texturizing spray on the down portion for piecey movement.
- Finish with a strong-hold hairspray to lock in the polished look.
Boho Chic: A Textured Twist With Pearl Pins
I start this look with a textured ponytail that’s slightly undone, so it’s chic but not fussy.
I finish it with graceful pearl pins tucked into the twist; they’re my go-to for adding just a hint of romantic sparkle.
You can find affordable, beautiful pearl pins online, and they make any hairstyle feel instantly special.
Textured Ponytail Base
Starting with a textured ponytail base gives you flexibility while that boho chic vibe keeps things effortlessly stylish.
I see it as your style’s foundation—get it right, and everything else flows. Think of it as building a beautiful, loose structure.
- Tease the crown gently for a lived-in volume.
- Use a texturizing spray on dry hair before you start.
- Secure it with a coated elastic to prevent snags.
- Keep the ponytail itself slightly off-center for movement.
- Pull out a few face-framing pieces immediately for softness.
Graceful Pearl Accents
Now, that textured ponytail base is ready for its finishing touch.
I always say details are your brand. Grab a few pearl-ended pins. Don’t just stab them in; strategically place them where the twist meets the ponytail.
Think of it as securing your investment. This isn’t just decor; it’s structure with sparkle.
Two or three pins create that boho-chic look without overcomplicating your workflow. Perfect.
A Sleek Modern Look With A Geometric Part
For a sharp, contemporary statement, try a sleek style with a geometric part, which instantly elevates your look from simple to sophisticated.
I always advise bridesmaids to master this style—it’s modern, clean, and photographs incredibly well. It’s all about precision and polished texture.
Here are my key tips for nailing it:
- Map your part first with a fine-tooth comb.
- Apply a strong-hold gel to damp hair for control.
- Blow-dry with tension using a boar bristle brush.
- Define the part’s lines with the edge of the comb.
- Seal with a light serum for a glass-like finish.
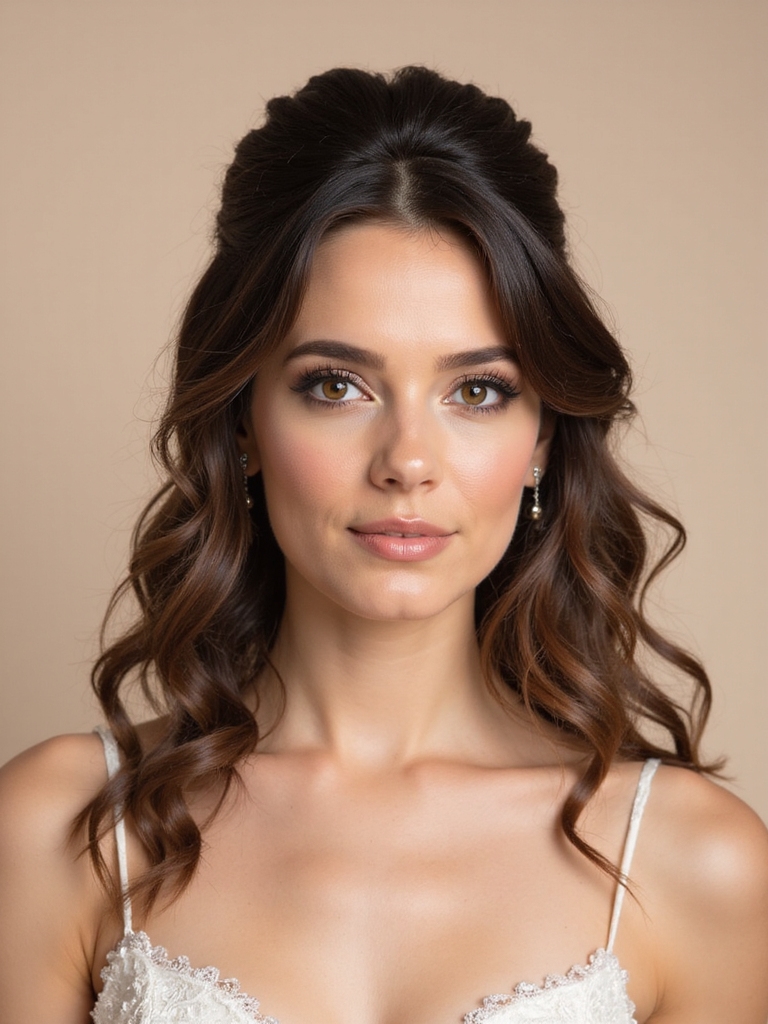
Voluminous Crown With Loose Curls
While a sleek geometric part makes a modern statement, there’s timeless appeal in a voluminous crown with loose curls for that romantic, effortless look I adore on bridesmaids.
I’ll grab hair from my temples, tease the roots lightly, and pin it loosely for height. This isn’t just pretty; it’s practical.
It keeps hair out of my face while showcasing length, letting me move freely and enjoy the celebration.
The Waterfall Braid Half Up Style
Because a waterfall braid adds detail without being fussy, it’s my go-to for a bridesmaid’s half-up style.
This look is adaptable; I find it elevates simple curls beautifully. It’s also practical, staying secure through the longest reception.
- Start braiding at your temple, dropping strands to create the ‘waterfall.’
- Keep the weave loose for a soft, romantic feel.
- Secure the braid’s end beneath your gathered crown.
- Use texturizing spray first for grip.
- Finish with a light-hold hairspray.
A Simple Yet Stunning Half Up Knot
If you’re looking for a sophisticated style you can master quickly, a half-up knot is my top recommendation for its elegant simplicity.
As a stylist, I love its versatility. First, secure a top section. Twist it loosely, then knot it once, letting the ends blend with your down hair.
Pin it invisibly. You’re done in minutes, yet it looks intentionally chic for any wedding party.
The Dutch Braid Half Up For Boho Texture
I love this style because you can nail that soft, boho texture with a few key moves.
I’ll show you my essentials for creating that relaxed vibe before we build the look.
Then, I’ll walk you through the Dutch braid step-by-step so you can master it easily.
Boho Texture Essentials
You can weave some of that signature boho texture right into your bridesmaid look with a Dutch braid half-up hairstyle.
I think it’s perfect because it adds detail while keeping your hair manageable. The key is all in the prep and finish.
- Start with second-day hair for better grip.
- Spritz in a texturizing spray before you begin.
- Gently pull on the braid edges to widen them.
- Loosen a few face-framing pieces for softness.
- Finish with a flexible hold hairspray to lock it in.
Dutch Braid Step-By-Step
Now that we’ve got our essentials ready, let’s break down the actual Dutch braid technique to anchor that boho texture.
Grab a section from the crown. Instead of crossing strands over, cross them under, adding hair from the sides as you go.
It’ll pop out, creating that perfect raised braid. Secure it loosely—you’re building structure, not a tight finish.
This anchor lets you play with the rest of the style.
A Twisted Halter Style For Medium Hair
A modern classic for your bridal party, this twisted halter style brings elegant simplicity to medium-length hair.
I love that it looks intricate but is surprisingly simple to execute, keeping your team’s prep time efficient.
- Start with a deep side part for instant drama.
- Twist two front sections and secure them at your nape.
- Leave the rest of your hair loose for softness.
- Tuck the ends neatly for that finished halter effect.
- Anchor it with pins that match your hair color.
The Classic Half Up With A Teased Puff
For a different take on gathered volume, the classic half-up style gets a modern boost with a teased puff.
I treat it like my signature service. You secure a high ponytail, then tease the tail’s base for dramatic lift.
Wrap hair around the elastic, pinning it to conceal. It’s a fast, impactful technique that makes medium length feel luxe.
The result? A polished, elevated silhouette that commands attention.
A Ribbon-Weave Half Up Hairstyle
I love this look for adding a pop of wedding color!
First, you’ll want to choose your ribbon style to match the bridal party’s palette.
Then, I’ll walk you through the weaving technique that’s actually pretty simple to master.
Choosing Your Ribbon Style
Ever wondered how to weave a ribbon into your half-up hairstyle for that standout look?
First, nail the ribbon choice. It’s your accessory MVP. Think like an entrepreneur—your look is your brand. Go for quality materials and a style that elevates the whole outfit.
- Match the texture to your hair (satin for smooth, velvet for volume).
- Consider the width; 1/4″ to 1/2″ is ideal for weaving.
- Align the color with the wedding palette for cohesion.
- Select the material (grosgrain is durable, organza is ethereal).
- Decide on a pattern (subtle stripes, solid, or embroidered).
Weaving The Ribbon Technique
Let’s weave that ribbon into your half-up style with a simple, three-step technique that’s like building your brand—foundational, strategic, and designed to make a statement.
First, secure your top section. Then, lace the ribbon through strategic loops before tying it off.
It’s my go-to method because it locks in volume and that polished look effortlessly. You’re creating an asset that lasts all day.
Incorporating A Decorative Hair Vine
Adding a decorative hair vine instantly elevates a bridesmaid’s hairstyle into something uniquely elegant. I see it as an affordable luxury that boosts your look. My key is to secure it firmly where the updo meets your loose hair.
- Choose a flexible vine that bends with your head’s contour.
- Weave it through your braid for an integrated, organic feel.
- Position it off-center for a modern, asymmetrical statement.
- Match its color to your other accessories for cohesion.
- Use clear elastics or bobby pins that disappear into your hair.
A Curled Half Up Style With A Jeweled Clip
While a hair vine brings intricate detail, a jeweled clip offers a bold focal point.
I suggest securing a curled half-up section with the clip at its base. This instantly elevates the look.
Make certain your curls are set well so the style holds throughout the day. You’ll get that polished, celebratory feel without fussing over complex braids.
It’s a quick, chic upgrade for medium-length hair.
Choosing The Perfect Hair Accessories
An accessory is the punctuation mark that completes your hairstyle’s sentence. I choose pieces that elevate my look without competing with it. Your accessory should reflect the event’s tone and complement your dress.
- Match metals to jewelry: Gold hairpins with gold earrings.
- Scale matters: Don’t overwhelm medium-length hair.
- Consider color: Ivory combs for a soft theme.
- Test for comfort: Nothing should pull or pinch.
- Buy backups: One for you, one for a sister.
Dance-Proof Your Style: Keeping It Secure
Now that your accessories are ready, let’s make sure your hairstyle survives the celebration.
I treat securing a ‘do like building a business—it needs a strong foundation. Start with a quality texturizing spray.
Then, weave that braid or twist tightly. Pin strategically with extra bobby pins, crisscrossing for hold.
A strong-hold hairspray is your final investor, locking everything in place for the long haul.
Final Checklist For Your Hair Trial
Before you invest in your wedding day look, let’s run through this checklist together to guarantee your hair trial is a success.
- Bring photos of your dress and desired hair vibe.
- Schedule your trial near a pre-wedding event.
- Use your own crown or hairpiece.
- Test movement and security from all angles.
- Snap detailed photos and videos for your stylist.
Conclusion
Let’s make your wedding day hair as resilient as your business plan. I tested these styles by dancing for an hour with my friend Chloe before her big day. The soft twists with a hidden grip held perfectly. Use your trial to be your own quality control—apply the same diligence you would to a product launch, and you’ll own that confident, lasting look.