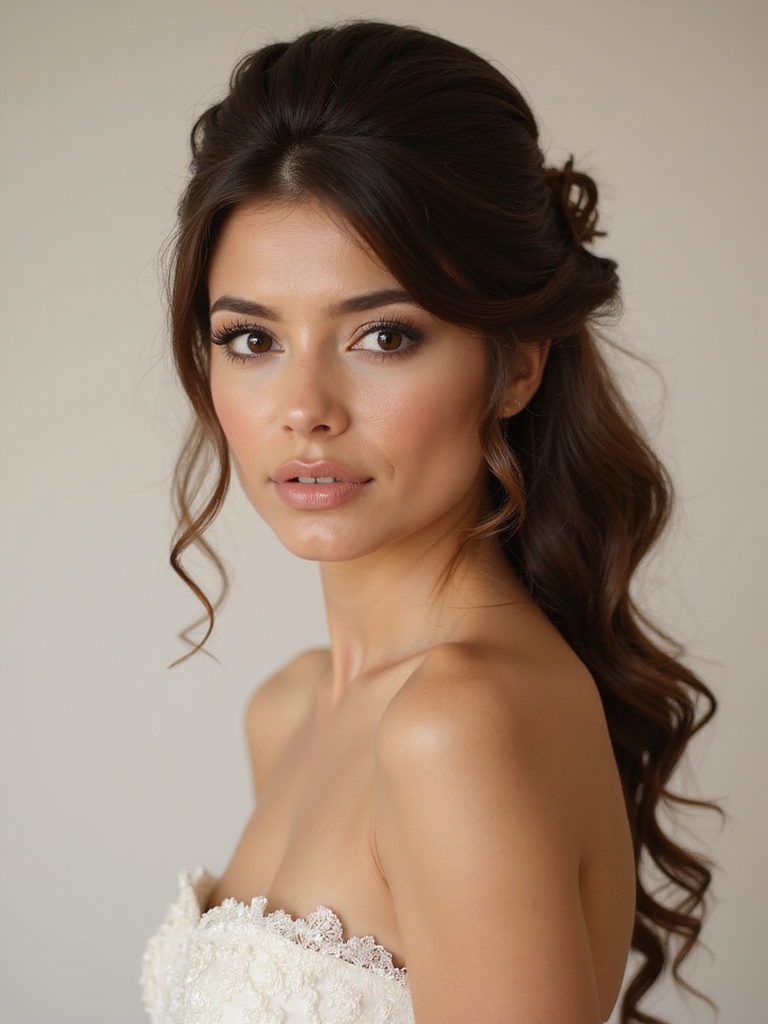
I’m obsessed with half-up, half-down styles for short hair because they’re effortlessly chic. I love how they hold shape, showcase necklines, and work for every texture. I tease the crown on fine hair, use a twist for bobs, or define curls with pretty clips. It’s all about tailored techniques for lightweight, romantic volume that lasts. Let me show you how to adapt this gorgeous look for your own wedding day.
The Short-Hair Advantage for a Half-Up, Half-Down ‘Do
Because shorter hair holds its shape well, you can create a stunning half-up, half-down style without needing a ton of pins or product.
I love that it’s light, stays put all night, and feels effortlessly chic. You get the elegance of an updo with the softness of down hair.
It’s perfect for showing off a beautiful neckline or earrings, too. This style truly makes the most of your length.
Plus, charming half-up hairstyles for short curly hair add a unique, romantic touch that’s ideal for weddings.
How to Adapt the Style for Your Hair Type
Now, let’s tailor that gorgeous half-up, half-down style to your specific hair texture.
If your hair’s fine, I recommend teasing the crown for a lift before pinning.
For thick curls, gather just the top sections; you’ll keep volume without bulk.
On straight hair, I use a light texturizing spray to give the pins something to grip.
It’s all about working with what you’ve got beautifully.
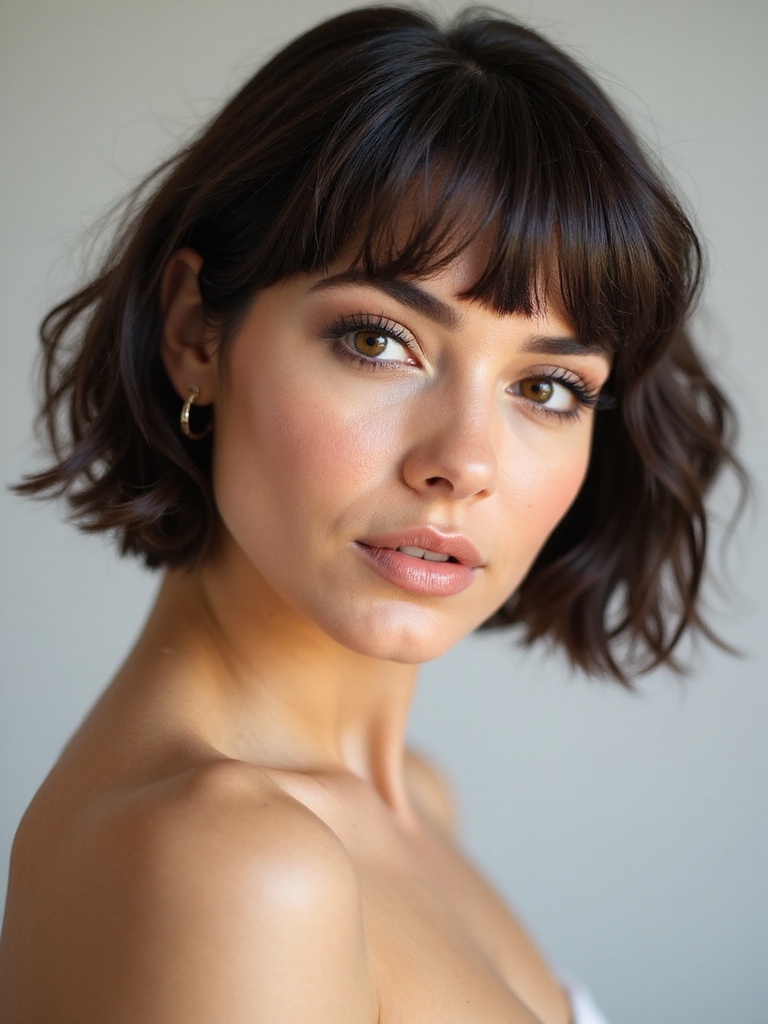
Adding bangs can soften the look and beautifully frame your face in this hairstyle.
For Pixie Cuts: Creating Volume and Grip
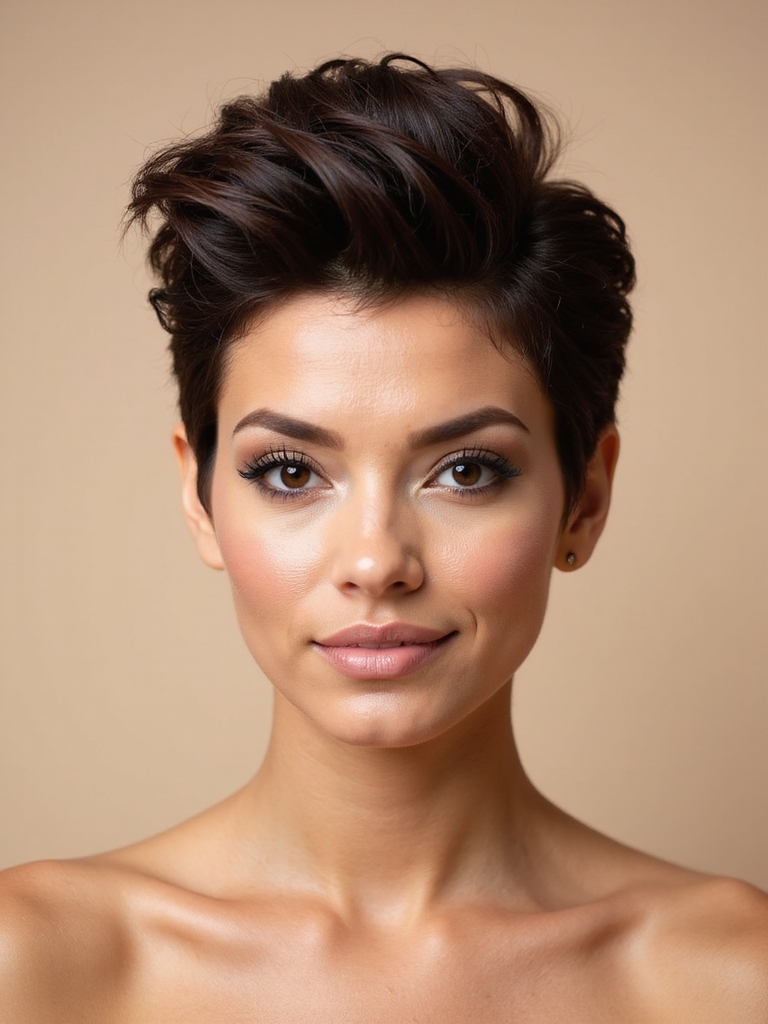
If you’re rocking a pixie cut, I know a big wedding day can make you wonder about getting enough volume and hold—but trust me, a few simple tricks can make all the difference.
Start with a volume-boosting mousse on damp roots before blow-drying.
I’ll lightly backcomb the crown for hidden lift, then mist everything with a strong-hold texturizing spray for all-day grip that still feels soft.
Pixie wedding hairstyles are known for their ability to steal the spotlight with the right styling techniques.
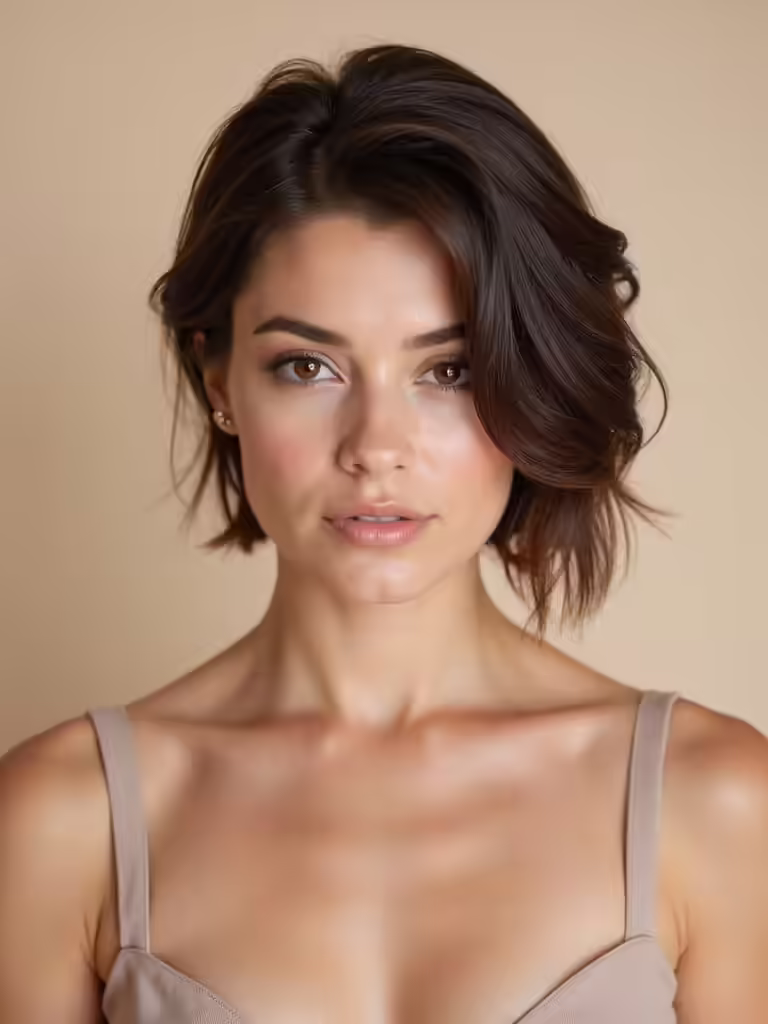
For Bobs: Tousled Texture and a Twisted Crown
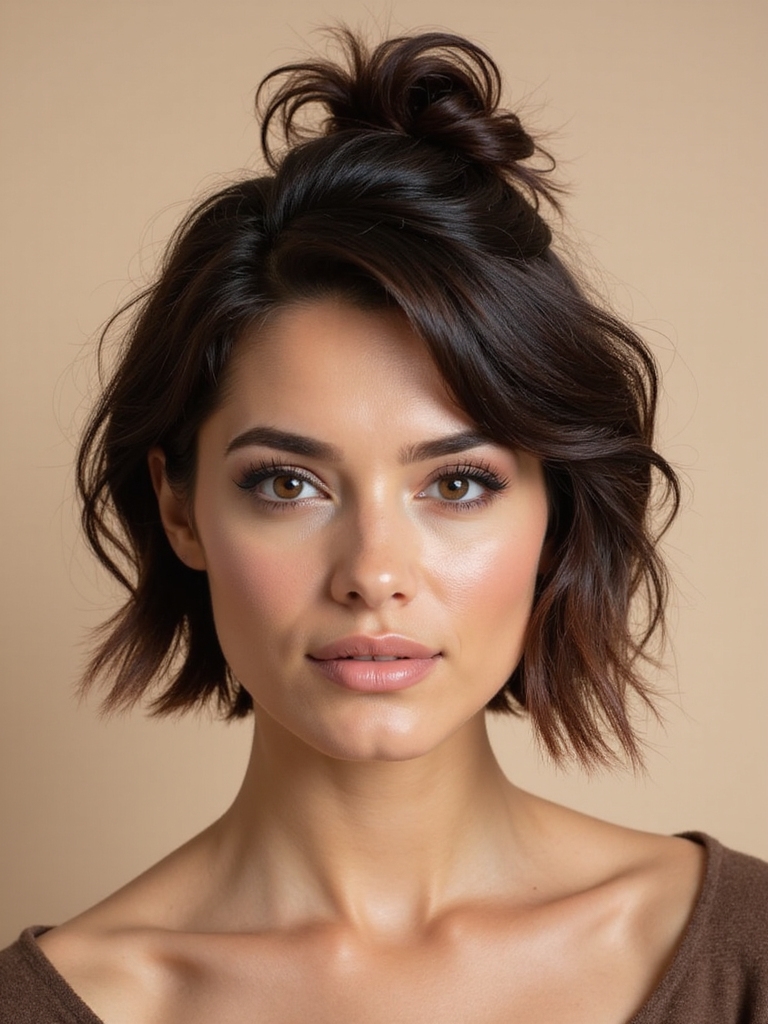
I always start by teasing the crown for a little height, which makes all the difference. Then, I focus on creating a soft, twisted detail along one side to frame your face. You’ll secure it with a few hidden bobby pins, and I promise it stays put all night. This technique works beautifully with shoulder-length hair, allowing for an elegant half-up style that complements the natural texture.
Teasing For Height
While a bob is inherently chic and sleek, you might want to create more volume for your big day.
I tease at the roots for hidden lift that lasts. I’ve found light-hold spray works best, letting you shape without stiffness. My process creates a perfect foundation.
- Gentle backcombing at the crown
- A light mist of texturizing spray
- Smoothing the top layer over teased sections
- Building that soft, bouncy base
This technique is perfect for achieving an effortless wedding hairstyle for short hair needing zero extensions.
Twist Detail Placement
Now let’s add some visual interest to that volume with a twist.
I love taking a section from the crown area, giving it a little extra tousle with my fingers first. Then, I just twist it back gently.
I keep it soft and a bit imperfect—it shouldn’t look rigid. This little detail creates a beautiful focal point and frames your face perfectly for a half-up style.
This technique works especially well with shoulder length looks, enhancing the natural texture and movement of the hair.
Securing With Bobby Pins
Three small bobby pins are my secret to keeping a twisted crown detail in place on shorter lengths. I slide them in where the twist meets my head, crisscrossing for a grip that lasts all day.
It’s all about anchoring without flattening that lovely, tousled texture.
- Crossing two pins into an ‘X’ within the twist.
- Feeling the gentle pull as they grip the roots.
- Tucking the third pin underneath for hidden support.
- Lightly tousling the ends to restore volume.
For added elegance, consider incorporating delicate floral accents to enhance the romantic feel of this half up half down wedding hairstyle.
For Curly Hair: Crystal-Studded Clips and Defined Curls
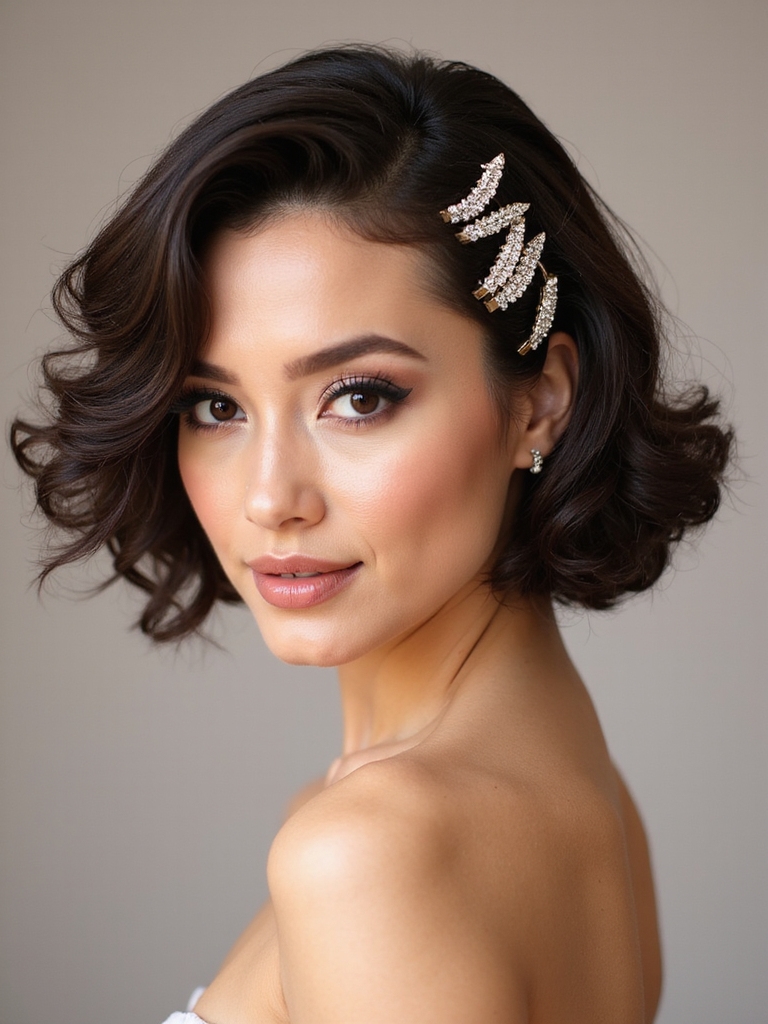
Even though I often worry about my curls looking messy, I’ve found that wedding hairstyles for short curly hair can be stunningly elegant with a little extra definition and sparkle.
I use a strong curl cream on damp hair for hold and let it air dry.
Then, I gently gather a small section back and secure it with a few crystal-studded clips.
The defined texture and added sparkle are perfect.
Incorporating half up half down styles enhances the natural beauty of curly hair while keeping it chic and manageable.
The Modern Mohawk-Inspired Bridal Look
While defined curls with clips have their place, some brides want a look with more edge. I adore this modern, mohawk-inspired style for its chic boldness. It’s perfect if your personality leans a little alternative.
Here’s how I picture it:
- A sleek, braided or twisted central ridge from forehead to crown.
- Soft, textured waves falling loosely at the sides.
- Delicate pins with pearls or geometric metal for adornment.
- That stunning, confident profile it creates in photos.
This style perfectly complements the trend of sleek straight bridal hairstyles that prove sleek is always stunning.
Vintage Glamour With Pin-Curl Volume
I’m still amazed by how pin-curls transform my short hair into gorgeous vintage waves.
Let’s start by sectioning your damp hair properly and setting the pin-curls to build that glamorous volume.
Once your hair is set, I’ve found that a simple, elegant accessory like a pearl comb elevates the look perfectly for your wedding day.
For brides embracing their natural texture, incorporating bridal curly hairstyles can add a unique and stunning touch to the overall style.
Sectioning And Setting
To build the height and classic shape of vintage glamour, you’ll start by sectioning your hair into manageable panels.
I use a tail comb to create precise partings that guide my pin-curls, ensuring even volume. Think of it like creating a map for the perfect wave.
- A clean middle part dividing the crown.
- Two horizontal panels above each ear.
- A lower section at your nape.
- The top crown panel for maximum lift.
Accessorizing With Elegance
Choosing the right accessory can transform a classic pin-curl wave from simply pretty to truly timeless.
I love nestling a delicate pearl-encrusted comb into the side of my updo. It catches the light beautifully without overwhelming my short hair.
For a bolder look, I’ll add a single, sparkling hairpin right where my waves are fullest.
Chic Finger Waves and a Sleek Low Bun
Finger waves bring a stunning vintage vibe to short hair. I love pairing them with a sleek, low bun for my wedding day; it’s effortlessly chic and stays secure.
Use a strong-hold gel to sculpt each wave, then gather the back into a neat bun.
- Glossy, defined S-curves framing the face.
- A tight, polished bun nestled at the nape.
- Shiny hair sprayed to perfection.
- Delicate pearl pins adding subtle sparkle.
Romantic Volume With Braided Accents
Since I wanted that classic bridal feeling but with more texture, I embraced soft layers and a few hidden braids to get romantic volume without weighing down my short style.
My stylist teased the crown gently and wove small braids along my part to anchor the lift.
The final look felt secure, soft, and full of movement—perfect for dancing the night away with that effortless, romantic feel I loved.
Wispy Bangs and a Delicate Floral Pin
Some days you need your hairstyle to feel more like an accessory than a task, which is exactly why I loved adding wispy bangs and a delicate floral pin to my short wedding look.
- The feathery bangs framing your face with soft movement.
- A single, pearl-adorned floral pin tucked just behind your ear.
- The effortless texture of your half-up hair catching the light.
- How the whole look feels gentle, personal, and completely you.
A Sleek Asymmetrical Style for Bold Brides
I love an asymmetrical cut because it makes a strong, modern statement that’s still totally bridal.
You’ll want to use a strong-hold gel on damp hair, smoothing one side completely flat while letting the other build a bit of volume.
A single, dramatic hairpin on the shorter side is all you’ll need to feel perfectly polished.
The Asymmetrical Vision
Choosing an asymmetrical hairstyle lets you showcase a bold, modern aesthetic on your wedding day.
I love how it frames your face uniquely. Imagine a style where one side is dramatically different, creating a striking visual.
Consider these elements:
- A deep side part creating immediate drama.
- A sculpted, slicked-back section on one side.
- Soft, textured waves falling freely on the other.
- A single, stunning accessory placed for emphasis.
Achieving That Sleek Look
If you’re drawn to that dramatic asymmetrical silhouette, creating a clean, sharp version makes a powerful statement.
I’d recommend starting with damp, well-conditioned hair and a strong-hold smoothing product. Blow-dry small sections with a round brush, directing everything to one side for that defined line.
I always finish with a flat iron on a low heat for maximum polish and a final mist of light-hold hairspray.
Perfect Accessory Pairings
The real magic for a bold asymmetrical cut comes from the perfect accessory. I love using pieces that complement, not compete with, that sharp line. They add a touch of bridal sparkle right where it counts.
Think about these:
- A single, stunning statement earring on the shorter side.
- Delicate hairpins scattered along the sleek, longer portion.
- A delicate chain headpiece tracing the asymmetrical part.
- A tiny floral clip nestled at the pinned-back section.
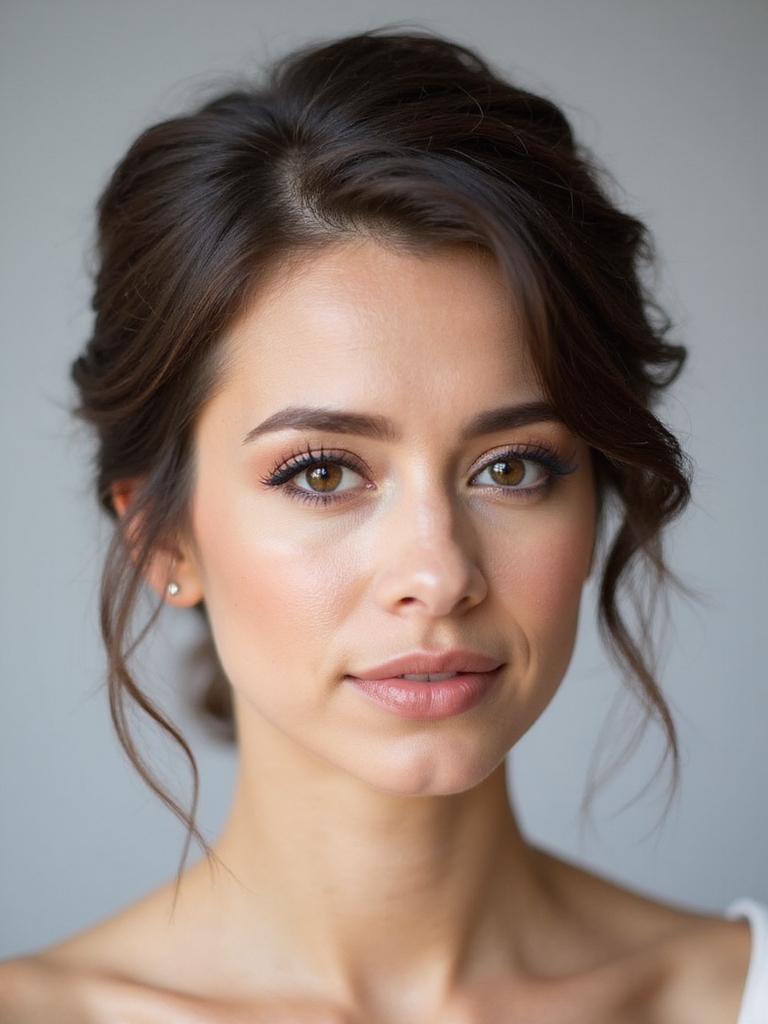
The Effortless “Undone” Bun With Face-Framing Layers
When I wanted a wedding look that felt romantic and relaxed, I created an effortless “undone” bun to complement my face-framing layers.
I gently twisted my top layers back and secured them loosely, letting a few strands escape. This style highlights my layers beautifully, softening my features.
It’s wonderfully simple to do and holds up all day, letting me focus on celebrating without fussing with my hair.
Incorporating a Veil or Headpiece With Short Hair
I’ve found that selecting the right veil can feel overwhelming with shorter styles, but a simple fingertip length often works beautifully.
You’ll want to secure your veil properly, which might mean anchoring it right at the base of a chic bun or twist.
Don’t forget that pairing your veil with smaller hair accessories, like delicate pins or a sparkling comb, can complete the look perfectly.
Selecting The Right Veil
Wondering how a veil or headpiece might work with your shorter locks? I focused on proportion and placement. The right choice felt like an accent, not an overwhelm.
- A delicate birdcage veil grazing my cheekbones.
- A simple, shoulder-length veil attached to a sparkly comb.
- A dainty floral hairpin nestled into my waves.
- A sleek headband adding a touch of vintage glamour.
Securing Your Veil Properly
Because your veil will frame your face rather than cascade down your back, securing it properly becomes essential for both comfort and style.
I always use a strong, discreet hair comb. Position it where your updo is most secure, angling the teeth downward into your style.
Don’t just clip it on top; weave it through firmly. This anchors the veil against any breeze, so you can celebrate without a single adjustment.
Pairing With Hair Accessories
When pairing your veil or headpiece with short hair, achieving a seamless look comes down to balancing proportion and placement.
- Sliding a delicate comb veil into my textured waves at the crown.
- Nestling a small, sparkling headband just behind my fringe.
- Pinpointing a single, stunning hairpin where my half-up section meets my down.
- Letting a birdcage veil’s edge softly brush my cheekbone.
Choosing Hairpins, Clips, and Combs for Short Lengths
Since my own short hair requires more creative styling, I’ve found that delicate pins, small combs, and textured clips are my most reliable tools for creating a secure, polished look.
Always choose pieces with a good grip. Opt for crystal or pearl details that catch the light.
I steer clear of anything too large or heavy, as it’ll just slip right out of my fine strands.
Expert Tricks for Making Your Style Last
To keep my wedding hairstyle looking flawless from the ceremony to the dance floor, I rely on a combination of clever products and techniques. I start with a strong-hold texture spray at the roots for lift that lasts.
Then, I use these tricks:
- A tiny dot of hair wax on my finger to smooth any flyaways instantly.
- Bobby pins crossed in an ‘X’ for an unshakeable hold.
- A travel-sized hairspray in my clutch for strategic touch-ups.
- Soft fabric hair ties to preserve the shape during quick outfit changes.
Conclusion
I saw it myself with my client, Maya. Her chic bob looked stunning, but it fell flat by the ceremony. My trick? We pinned a small section at her crown first for grip, *then* built the style. It held her delicate veil and those soft waves perfectly all night. That tiny, hidden anchor makes all the difference, letting you relax and truly enjoy your day.