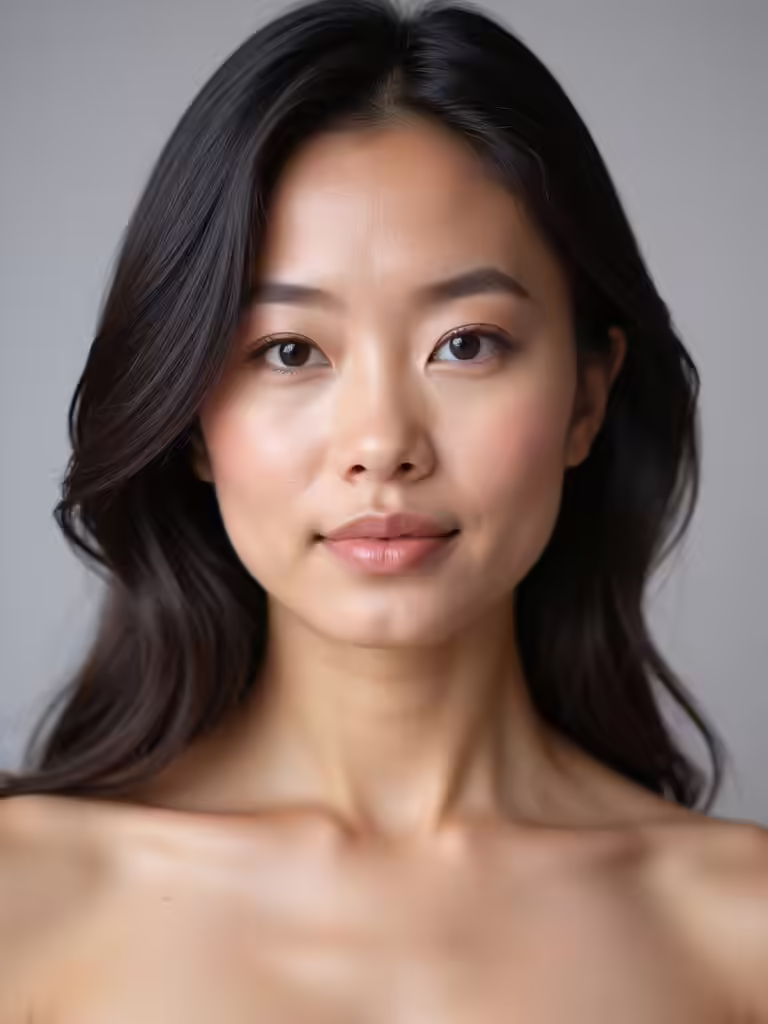
I love a half-up, half-down wedding braid; it’s the perfect balance of elegance and romance. You can find your ideal style, from a simple crown braid to a boho fishtail woven with flowers. These looks frame your face beautifully while keeping your hair secure all day. I’ve got the key tips to make your chosen braid last. Your dream hairstyle is just ahead.
Classic Half-Up Braid: Simple and Balanced Elegance
One simple braid can create that classic, balanced wedding day look you’re dreaming of.
I find a half-up style offers elegance without sacrificing comfort or movement. You can weave a single braid along your crown, securing the rest of your hair softly below.
It frames your face beautifully and keeps things tidy. This approach is effortlessly chic, letting your natural beauty shine while feeling completely secure.
For those seeking inspiration, exploring half up half down wedding hair braids looks is definitely worth the hype.
Romantic Fishtail Braid for a Boho-Chic Bride
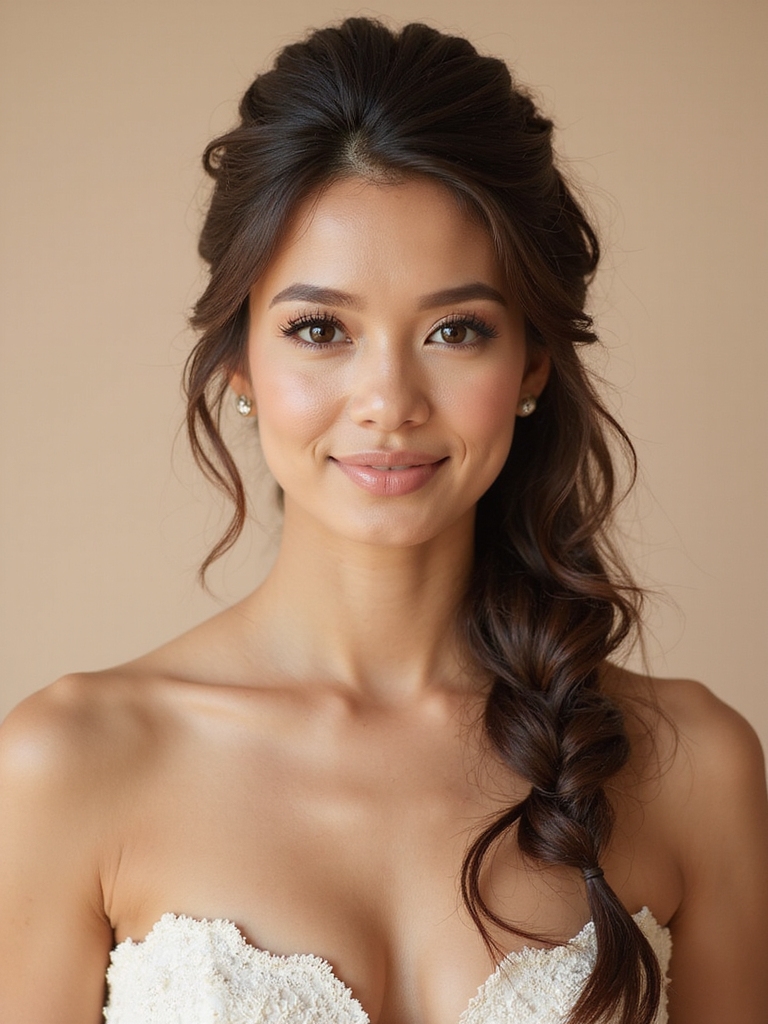
I love how a romantic fishtail braid captures that effortless boho-chic vibe.
Let’s walk through the simple braiding process and I’ll share my best tips for preparing your hair so it holds beautifully.
We can then add those perfect boho details, like delicate flowers or a sparkling hairpin, to make it uniquely yours.
This style is one of the most stunning braided half up half down wedding hairstyles that truly turn heads on your special day.
Step-by-Step Braiding Process
To weave this romantic fishtail braid, I start with hair that’s brushed smooth and slightly dampened at the roots for better hold.
I divide it into two sections. Taking a small piece from the outer edge of the right section, I cross it over to join the left.
I repeat this from the left side to the right, continuing down, pulling gently to loosen it for that soft, boho texture.
This technique is perfect for creating half up half down braid combos that effortlessly enhance bridesmaids’ looks.
Hair Preparation and Styling Tips
Now that you’ve seen the braiding technique, let’s make sure your hair is ready.
Start with slightly dirty, textured hair for better grip. I always apply a volumizing mousse to damp roots before blow-drying for lift.
Gently curl all of your hair with a one-inch iron to create soft, romantic waves; this adds volume and makes the fishtail appear fuller and more effortless for your special day.
For a truly free-spirited look, consider incorporating boho half up half down wedding hairstyles to enhance the natural, relaxed vibe of your bridal style.
Accessorizing With Boho Details
A few carefully chosen accessories can transform your romantic fishtail braid into a true boho-chic masterpiece.
I suggest weaving delicate ribbons or fresh florals directly into the plait. A simple, elegant hairpin tucked near your crown adds a touch of sparkle without overwhelming the look. Incorporating boho bridal hairstyles enhances the free-spirited vibe that defines this style perfectly.
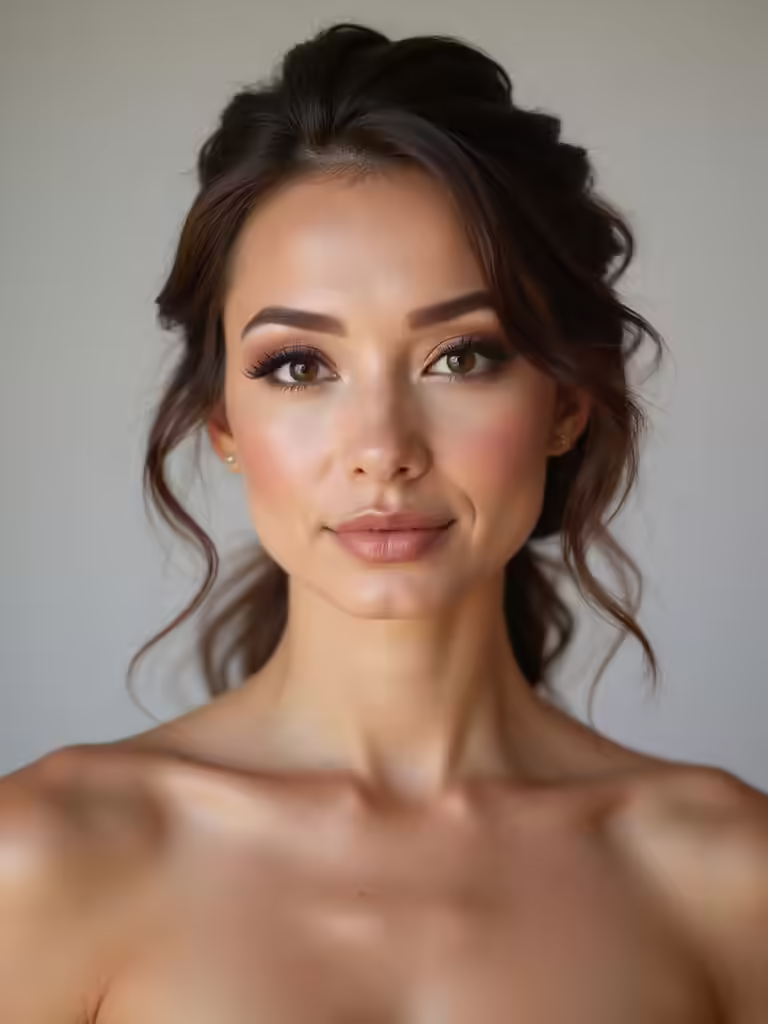
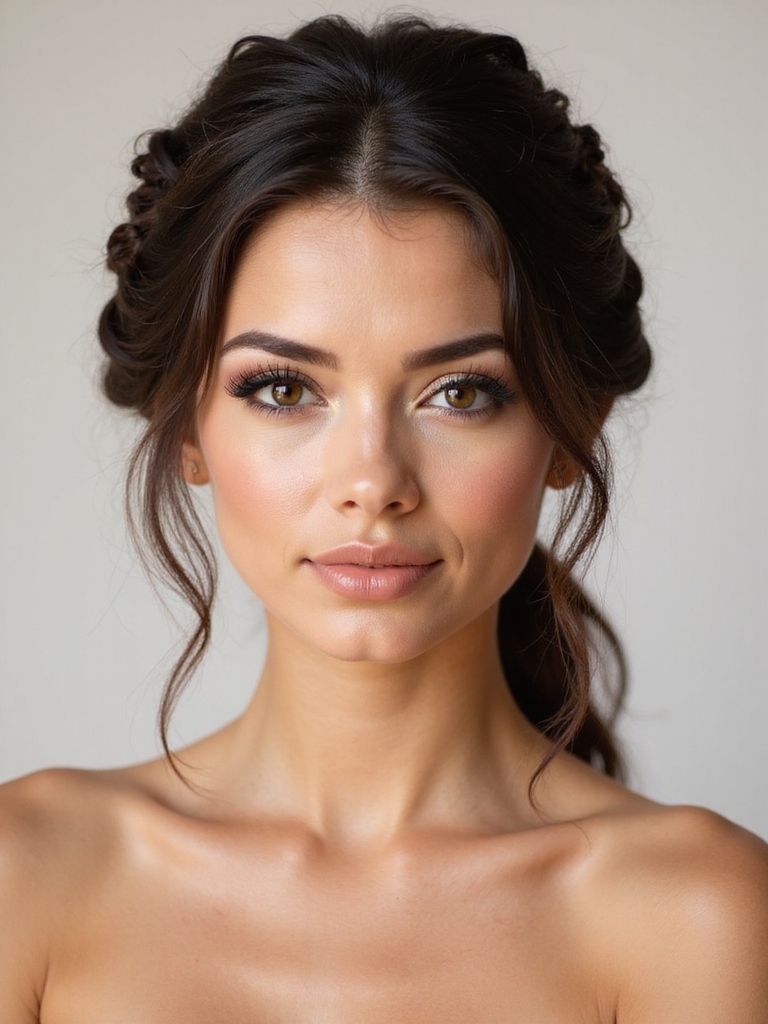
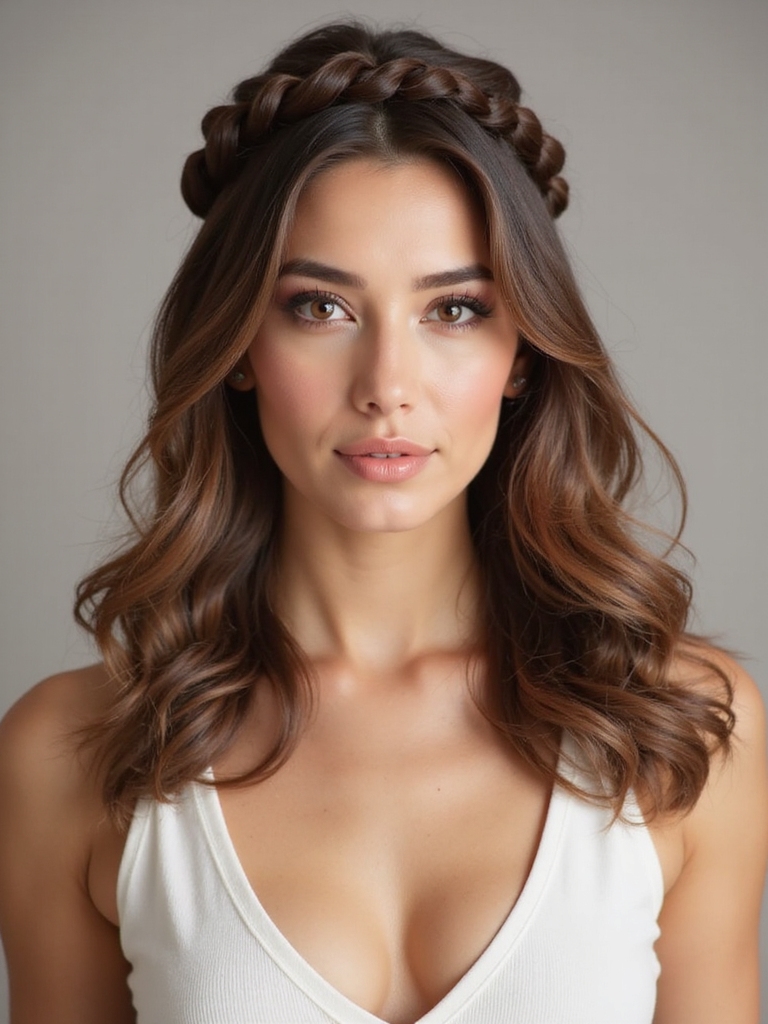
Regal Crown Braid: A Face-Framing Masterpiece
How can you add a touch of royalty to your wedding look? I choose a regal crown braid for a face-framing masterpiece.
This style wraps elegantly around your head, creating an instant halo effect. It’s perfect for showcasing your features and adding a timeless, elegant vibe. I find it works beautifully with both classic veils and statement earrings, letting you feel like the true centerpiece of your day.
- It keeps hair securely off your face all day.
- The style complements almost any bridal gown silhouette.
- You can integrate small flowers or pearls for a personal touch.
For an effortlessly beautiful finish, consider incorporating bridal braided hairstyles that highlight timeless elegance.
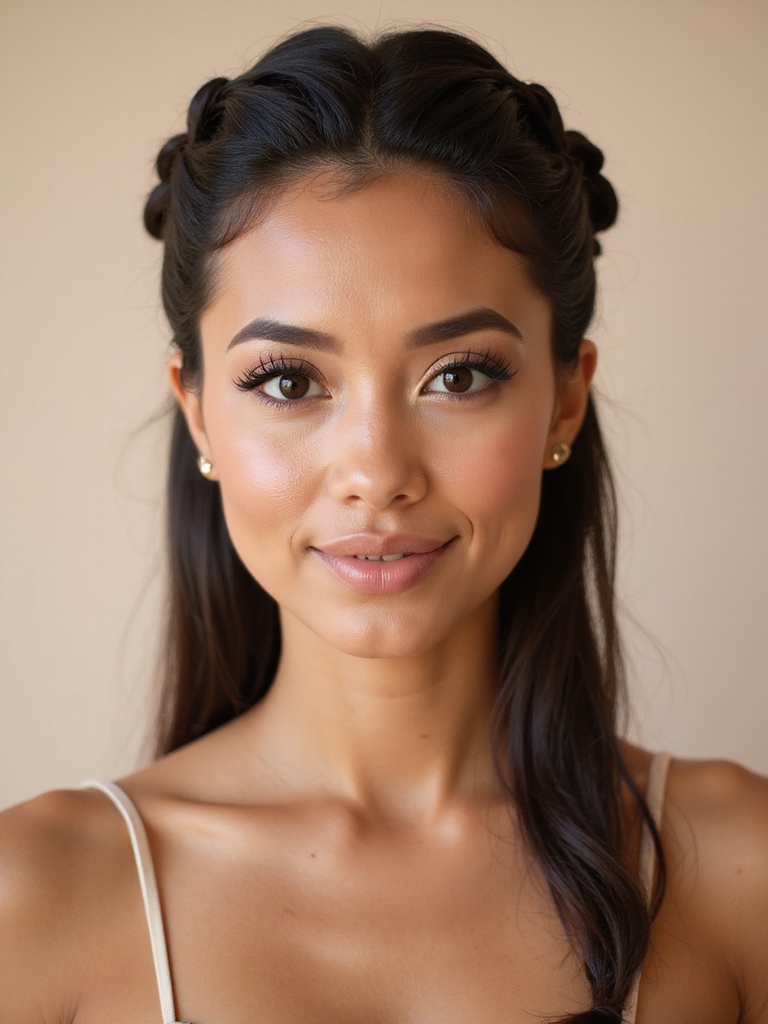
Twisted Headband Braid: A Sleek Modern Look
Let’s get this modern twist started.
I’ll show you exactly where to place the braid and share my favorite tricks to make it look effortlessly chic.
You’ll find these tips are super practical for your big day.
Half up half down braid styles are perfect for adding a romantic yet polished touch to your wedding look, blending elegance and ease into your hairstyle braid ideas.
Twisted Braid Placement Guide
While you might want a braid that looks intricate, creating the twisted headband placement is surprisingly straightforward when you know the right path.
I start by parting my hair deeply to one side. The braid begins just above the ear on the fuller side, then travels across the crown to the opposite ear, tucking neatly behind it.
- Follow Your Hairline: Use it as a natural guide for the braid’s curve.
- Secure as You Go: Use small, clear elastics at the start and end points to anchor it.
- Keep it Relaxed: Gently pull on the braid’s edges for a softer, more romantic volume.
This style is a perfect example of elegant half up half down wedding hair that balances sophistication with a modern twist.
Styling Tips And Tricks
Once you’ve mastered the braid’s placement, I find that the real magic is in the final styling touches.
Gently pull at the braid’s edges to create a fuller, softer look. Secure any flyaways with a light mist of hairspray.
For extra polish, I smooth the front sections with a fine-tooth comb before pinning them. This adds that sleek, modern finish you’re aiming for.
To elevate your style further, consider incorporating elements from half up half down wedding hairstyles to inspire a truly captivating look.
Boho Lace Braid With Soft Waves
Start with a romantic and effortless look like the boho lace braid with soft waves.
I weave a delicate, single braid into my half-up section, letting the rest of my hair cascade in loose waves. It’s perfectly whimsical for a garden or beach wedding.
- Creates a focal point without feeling overly structured.
- Pairs beautifully with floral crowns or delicate hair pins.
- Works with most hair lengths and adds texture effortlessly.
This style draws inspiration from Bohemian braided bridesmaid hairstyles, adding a free-spirited yet elegant vibe to your wedding look.
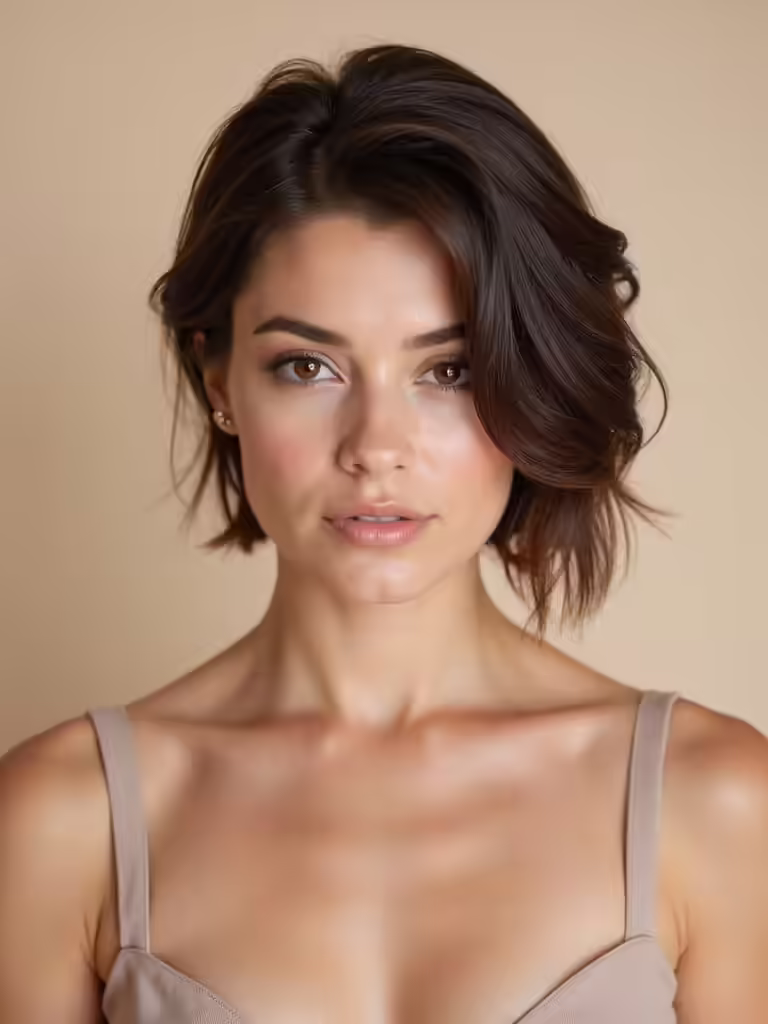
Voluminous Rope Braid for Fine Hair
I know fine hair can make a voluminous braid feel impossible, but I’ve got the secrets to make it last all day.
Let’s start by gathering the right tools and products to build a strong foundation.
Then, I’ll show you how to perfect the rope technique for a look that’s both elegant and full.
Achieving Lasting Volume
Because fine hair can sometimes struggle to hold a braid’s volume, I’ll show you how a rope braid creates lasting fullness through its twisting technique.
The simple act of twisting two sections before crossing them locks in texture beautifully, giving you that plump, romantic look all day.
Remember these quick tips:
- Twist each section tightly before you begin crossing them.
- Cross the sections over, don’t just twist them together.
- Secure the end firmly with a clear elastic.
Essential Tools And Products
While I’ve your twisting technique down, let’s make sure your toolkit is ready.
You’ll need a strong-hold texturizing spray for instant grit and volume. I always use clear, strong elastics to secure sections invisibly.
A fine-tooth teasing comb creates that essential base lift. Finish with a lightweight hairspray; it locks your braid without stiffness.
These few tools make building this voluminous braid so much easier.
Perfecting The Rope Technique
Mastering the voluminous rope braid begins with the perfect twist, a technique that transforms fine hair with instant body and texture.
I start with two hair sections, twisting each one tightly clockwise before twisting them together counter-clockwise. This counter-motion locks everything in place for lasting volume.
- Twist each section first before combining them.
- Pull gently on the plait’s edges to add fullness.
- Secure with a clear elastic and tug at the crown for lift.
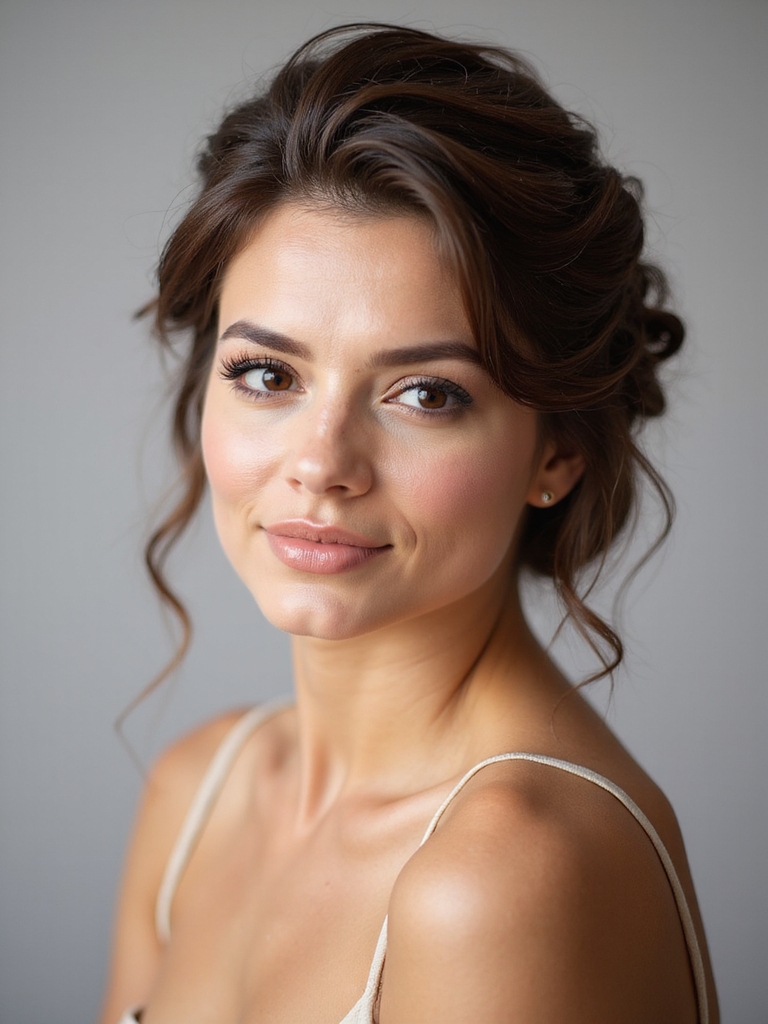
Hybrid Style: Braided Bun With Cascading Curls
If you want your updo to have both structured elegance and a touch of effortless romance, a braided bun with cascading curls is your perfect hybrid.
I create the bun from a braid I wrap at my crown; it anchors my look beautifully.
Then, I leave the rest of my hair down in soft, flowing curls. This gives me the security of an updo with the freedom of movement I love.
Side-Swept Braid for Dramatic Glamour
I’m all about that dramatic volume at the crown of your head for this look.
We’ll start by sweeping the braid across your shoulder to create that eye-catching effect.
Finally, I add a few glamorous touches like pearl pins to make it truly special.
Centering Dramatic Volume
To truly capture that show-stopping bridal glamour, let’s focus on a style that pulls the eye—starting with a deep side part and sweeping the hair across your head before working it into a braid. The magic is in the volume you create right at the crown.
- Prep is key: I always work volumizing mousse into damp roots before blow-drying for a lasting lift.
- Tease gently: Backcombing a small section at the crown builds a hidden foundation.
- Smooth it over: Carefully layer the top hair over the teased base for seamless, dramatic height.
Creating the Swept Effect
With that incredible volume at your crown, let’s channel it into the beautiful, sweeping motion of the side-swept braid.
I begin braiding just above my ear, pulling hair from the opposite side as I work. This creates a gorgeous diagonal flow.
I keep the braid tight to my head for a sleek look, then loosen select strands to blend it softly with my down hair.
Finishing With Glamorous Touches
Now that your braid sweeps elegantly across, let’s add the final details that make it truly dramatic.
I’ll secure any loose ends with hidden pins. A touch of shine spray adds glamour. For the ultimate finish, I’m selecting a statement hairpin or floral accent to nestle where the braid begins, creating a focal point that captivates.
- Secure Silently: Use bobby pins that match your hair color.
- Boost Shine: Apply a light-hold gloss spray.
- Anchor Drama: Place a decorative pin at the braid’s origin.
Braided Ponytail: Effortless and Secure
Since you’re looking for a wedding hairstyle that’s both beautiful and built to last, a braided ponytail is a fantastic choice.
I love that it’s elegant yet feels secure and off your neck. You can place it low for romance or high for drama.
Weave in some delicate florals or pearls to elevate it. It’s wonderfully practical for dancing the night away without a single worry.
Artful Multi-Braid Weave
For a style that showcases intricate detail, an artful multi-braid weave creates stunning texture.
I adore how interwoven braids add dimension and hold perfectly all day. It’s a practical choice for thick hair.
- Start with multiple small braids near the crown for your foundation.
- Gently pull on the braid edges to soften them for a romantic look.
- Weave and pin the braids together into your chosen half-up shape.
Pearl-Adorned Braid for Classic Glamour
While seeking a timelessly elegant look, I love how a pearl-adorned braid adds instant classic glamour.
I simply weave a delicate string of pearls into my braid’s weave for that bridal sparkle. It’s surprisingly secure and elevates any simple style.
This detail pairs beautifully with a silk gown, letting the pearls be the star. You’ll feel like vintage royalty without any fuss.
Grecian Goddess Braid With Flowing Tendrils
Channel your inner divinity with a Grecian goddess braid; it’s the perfect choice when you want a style that’s both romantic and effortlessly ethereal.
I love how it combines structured elegance with soft, flowing freedom.
- Start with a deep side braid from your crown, weaving it loosely across your head.
- Let the rest of your hair cascade freely in gentle waves or curls.
- Secure it all with hidden pins for a look that feels magical yet secure.
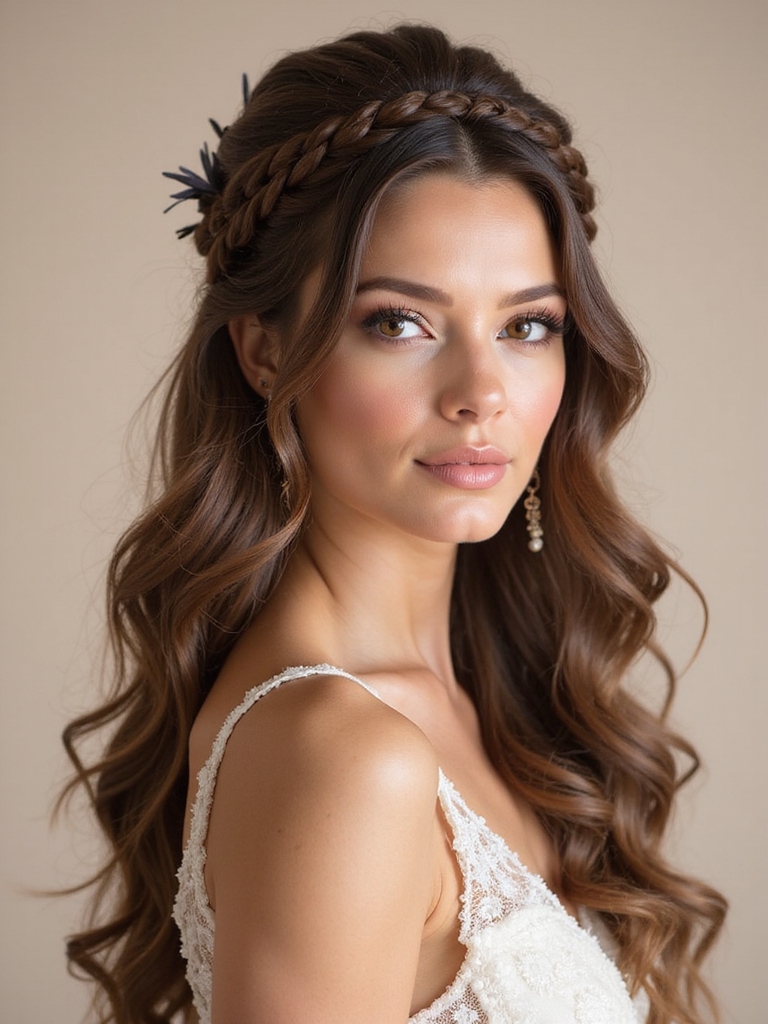
Ethereal Braided Halo Crown
If you dream of feeling like a woodland fairy, the ethereal braided halo crown can make that happen—it’s a whimsical style that circles your head like a delicate crown.
I create it by braiding two sections from my temples, then pinning them to meet at the back. It keeps hair off my face beautifully and feels wonderfully secure for a long day, adding pure romance to my look.
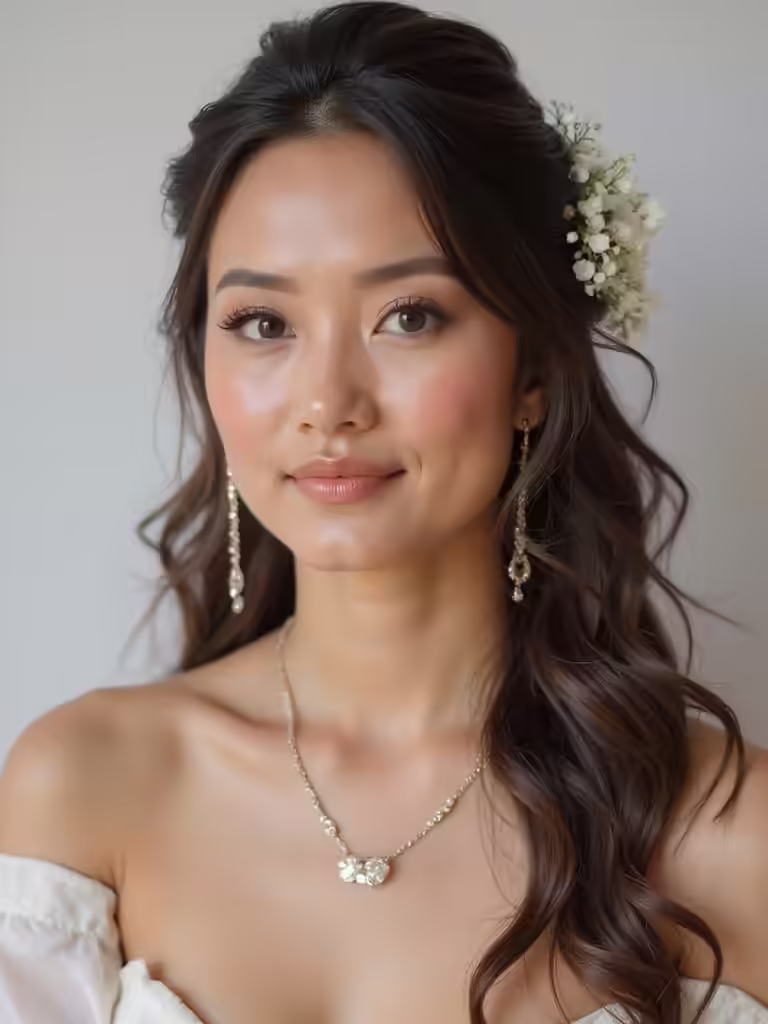
Braid With Floral Accents: a Garden Fantasy
A garden fantasy awaits with a braid that incorporates fresh blooms or delicate silk flowers. I love weaving these accents right into the plaits for a seamless, magical look. It’s a stunning way to personalize your wedding style.
- Anchor small blooms along your braid’s path for a scattered, natural effect.
- Tuck in larger statement flowers where the braid begins or ends.
- Match your florals to your bouquet for a cohesive, polished vibe.
How to Choose and Style Your Wedding Braid to Last
While your wedding day is a marathon, not a sprint, your chosen braid needs to look just as fresh for your last dance as it did walking down the aisle.
I recommend a firm base. Start with clean, product-free hair, then apply a texturizing spray for grip.
Work with your stylist to secure every section with pins and a strong-hold hairspray. Trust me, a well-built braid won’t budge.
Conclusion
So pick the braid that feels like you, then practice it a few times. Your perfect style should feel as secure as your love, lasting beautifully from your vows to your last dance. Remember, the right prep and products make all the difference. Now go own your day with that gorgeous, confident look you’ve chosen.