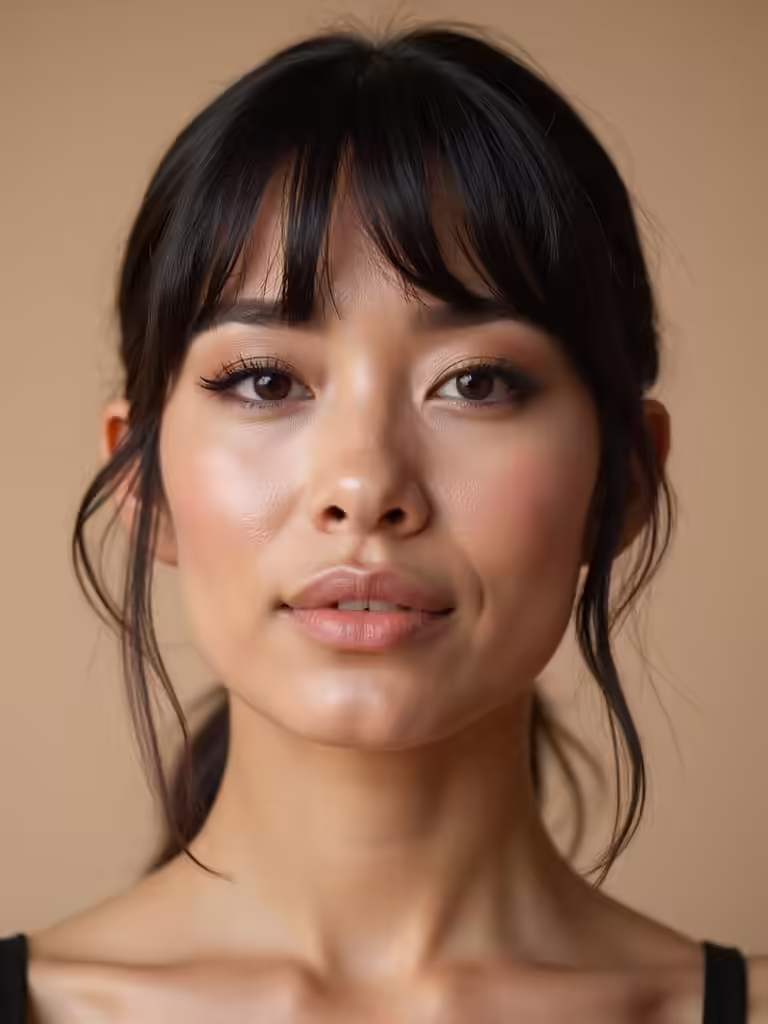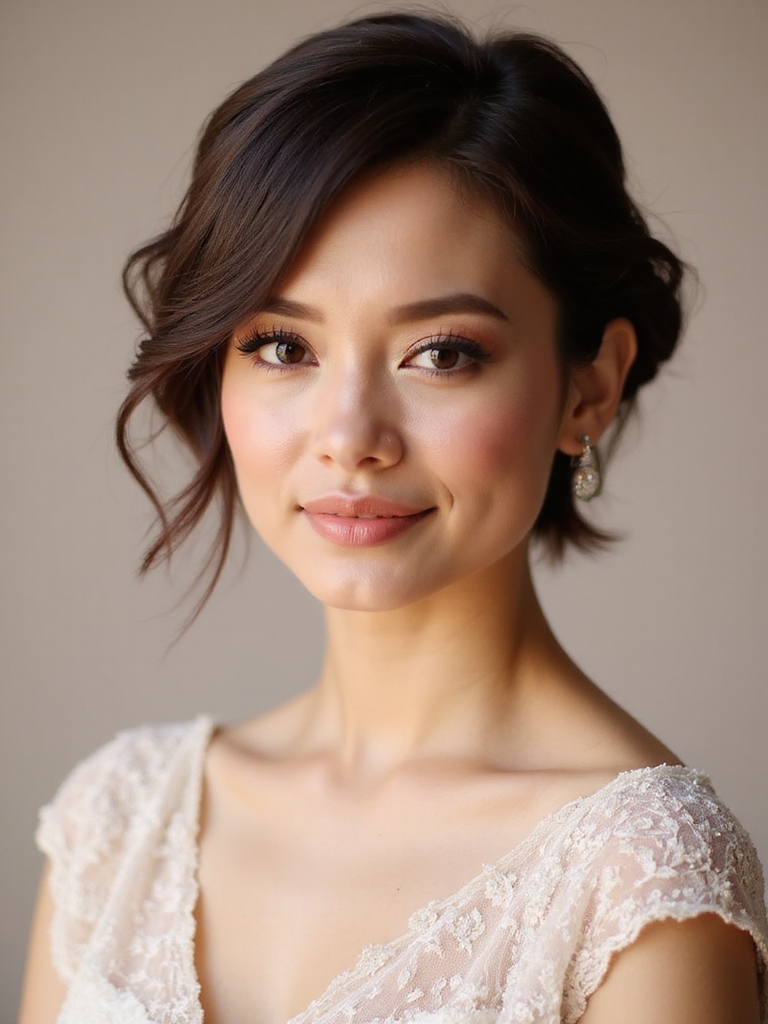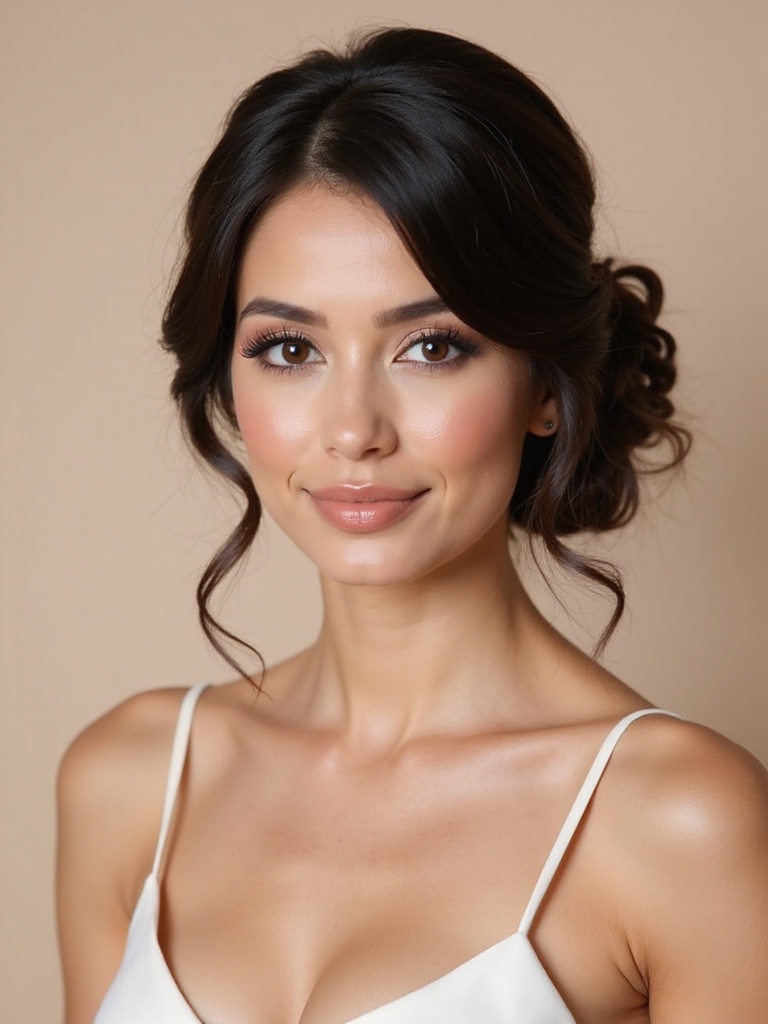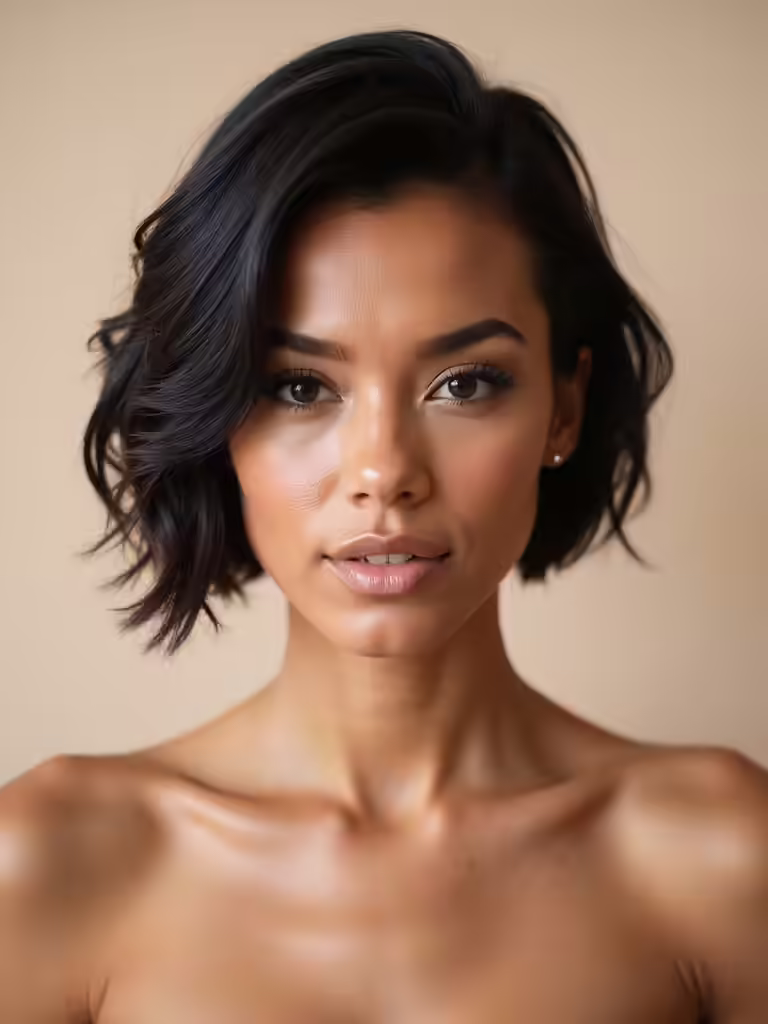
I’ve found that timeless updo styles for wedding guests blend elegance with durability. My favorites include a twisted rope braid for softness or a modern sleek low bun that stays polished all night. A classic ballerina bun offers regal volume, while a boho tousled updo with a hair vine feels effortlessly romantic. Choosing the right one can elevate your entire look, and I’ve got more details to help you decide.
Effortless Twisted Rope Braid Updo
If you’re after a wedding look that’s elegant yet feels totally doable, let’s start with the twisted rope braid updo.
I find it’s perfect because it works with my hair texture and holds securely all day.
The technique is simple: twist two sections of hair around each other, then pin the rope into a soft bun at your nape.
It creates beautiful texture without needing perfect precision. Plus, this style is reminiscent of bridal buns that steal the spotlight, making it a chic choice for any wedding.
Modern Sleek Low Bun
For a modern look that’s polished and sophisticated, I love a sleek low bun. It’s incredibly versatile for weddings. Start by brushing your hair into a low, tight ponytail. Twist it neatly, then wrap it around the base. Secure everything with pins, and finish with a strong-hold spray. This style keeps hair perfectly off your face and neck, looking elegant from the ceremony straight through to the dance floor. Additionally, this updo is great for surviving all-night dancing, ensuring you stay stylish and comfortable throughout the celebration.
Classic Voluminous Ballerina Bun
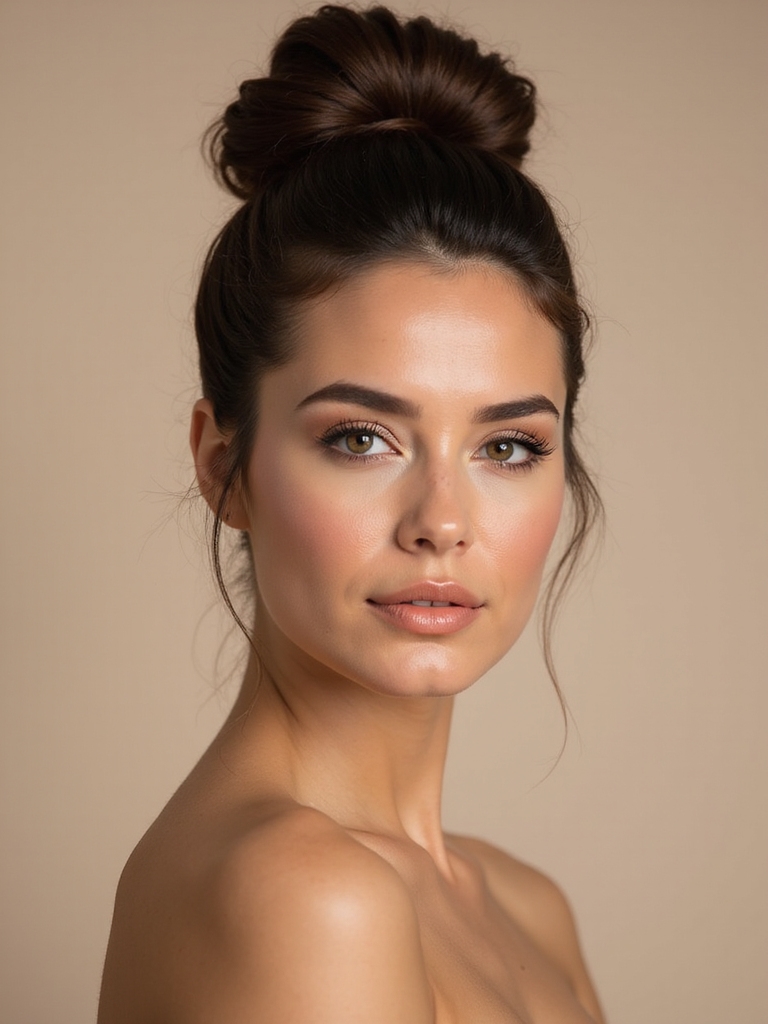
I always start my classic ballerina bun with a solid base sectioning technique to guarantee the style has beautiful volume and holds all day. A well-executed bun can help ensure your look stays flawless from ceremony to last dance. I’ll show you how to elegantly finish the look with hairpins for that polished, timeless appearance. Getting these two steps right is the secret to a truly elegant wedding updo.
Perfect Base Sectioning Technique
Since you want that beautiful, voluminous ballerina bun, you’ll need to start with a clean, precise base, which means getting your sectioning exactly right.
First, create a clean horizontal part from ear to ear, separating the crown. Then, tightly secure the lower section into a ponytail where your bun’s center will be.
This foundation keeps everything anchored and creates the lift you need for that perfect, polished volume. Additionally, using timeless wedding updos can provide inspiration for your overall look and ensure it complements your attire beautifully.
Elegant Finishing With Hairpins
Three hairpin techniques are essential for transforming your gathered ponytail into a structured, voluminous bun.
First, I insert pins horizontally to anchor the base.
Next, I weave pins vertically through the loop to catch every strand, preventing gaps.
Finally, I pin the twisted tail end flush against the bun’s underside, hiding it completely.
This creates a smooth, polished finish that holds securely all day. Additionally, bridesmaid bun styles can offer a variety of looks, ensuring every wedding guest finds the perfect updo.
Romantic Messy Textured Updo
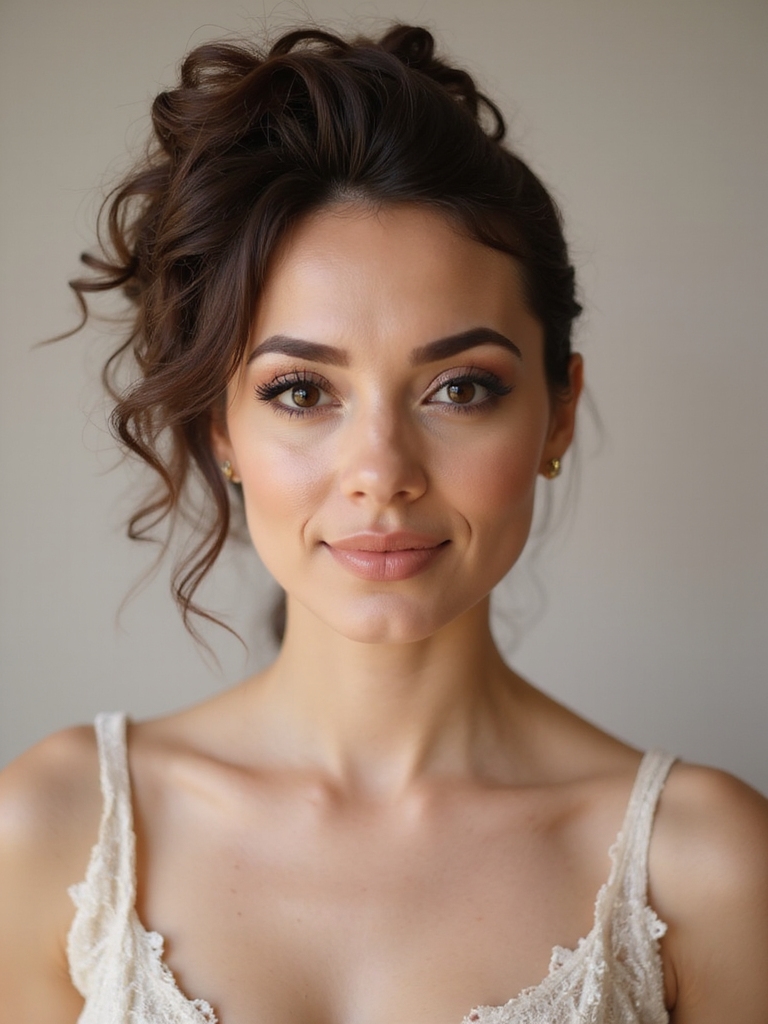
I love how this romantic, textured updo achieves that effortlessly chic look I’m always after. I find starting with well-prepped hair texture is the most essential step for getting those soft, touchable waves. Then, I can tailor my finishing touches to make the style truly perfect for my wedding day. Adding messy bridal hairstyles can enhance the overall appeal and keep the look fresh and modern.
The Effortless Creation Process
Creating this romantic, textured updo is easier than you might think; just start with day-old hair for the best natural grip. I loosely twist sections back, pinning them asymmetrically. I always pull out a few face-framing pieces and gently tug at the updo’s edges for that perfectly imperfect volume. The final touch is a light mist of flexible hold hairspray to lock in the effortless shape. This style beautifully embodies the effortless messy bridal hairstyles that modern brides adore.
Perfect Hair Texture Prep
A flawless romantic messy textured updo actually begins one day before styling.
I don’t wash my hair that morning; I wash it the night before. This gives my natural oils time to distribute, creating the perfect slightly-gritty texture that holds pins and twists beautifully.
If my hair’s too clean, I’ll dry shampoo at the roots before I start for essential grip and volume. Additionally, effortless wedding guest hairstyles can be achieved with just a few simple techniques for a polished look.
Tailored Finishing Touches
Since your base texture is ready, let’s lock in that effortless look.
I gently twist sections, pinning loosely for soft volume. Remember, perfection isn’t the goal.
My finishing touches are:
- Pull out a few face-framing pieces.
- Loosen the crown for height.
- Secure with pins that match your hair color.
- Mist with a flexible-hold spray.
This creates that romantic, lived-in texture that lasts all day. Incorporating updo hairstyles can elevate your overall appearance while ensuring you look stunning in every photo.
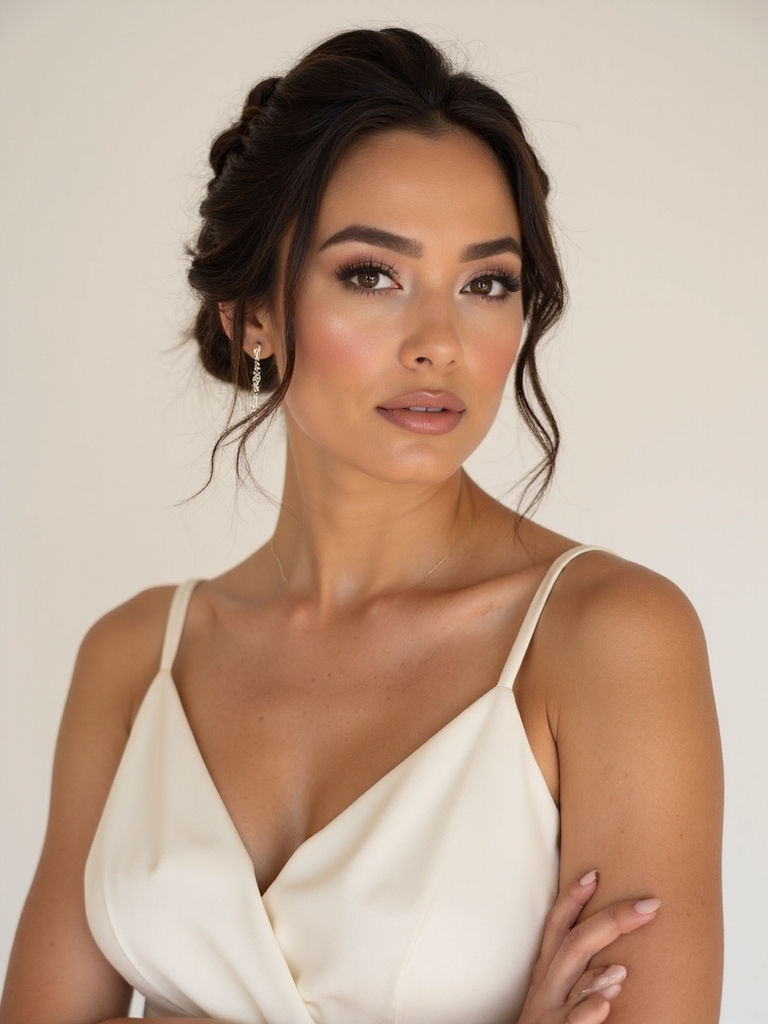
Regal Braided Crown Updo
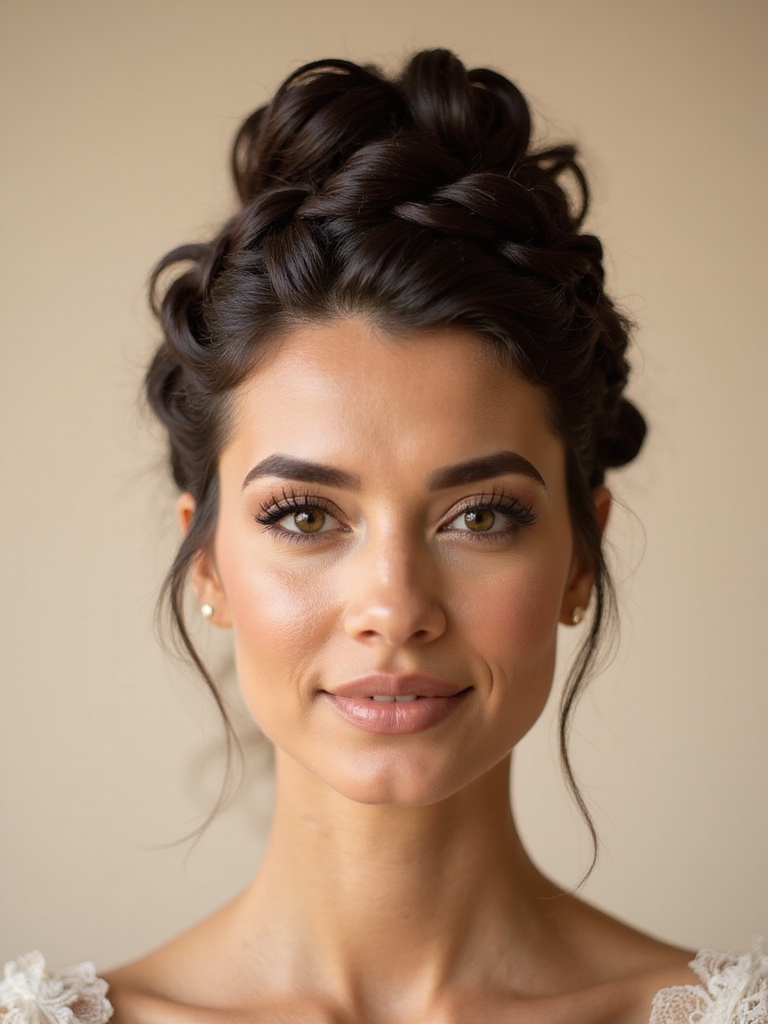
While you’re looking for a wedding hairstyle with a truly majestic feel, a regal braided crown updo might be your perfect match.
I think it’s wonderfully practical for a long day, securing your hair beautifully while making a statement. You can weave a simple braid around your head and secure it into a low bun for a classic, elegant look that feels special yet effortless. Additionally, this style embodies effortless beauty, making it a favorite choice for brides and guests alike.
Timeless French Twist
If you want a wedding hairstyle that defines classic elegance, you can’t go wrong with a timeless French twist.
I love its clean, sculpted look for formal events. To master it, remember these key steps:
- Start with sleek, brushed-back hair.
- Twist the length tightly upward.
- Secure it firmly at your nape.
- Tuck and pin the end neatly underneath.
It’s surprisingly simple and lasts all night.
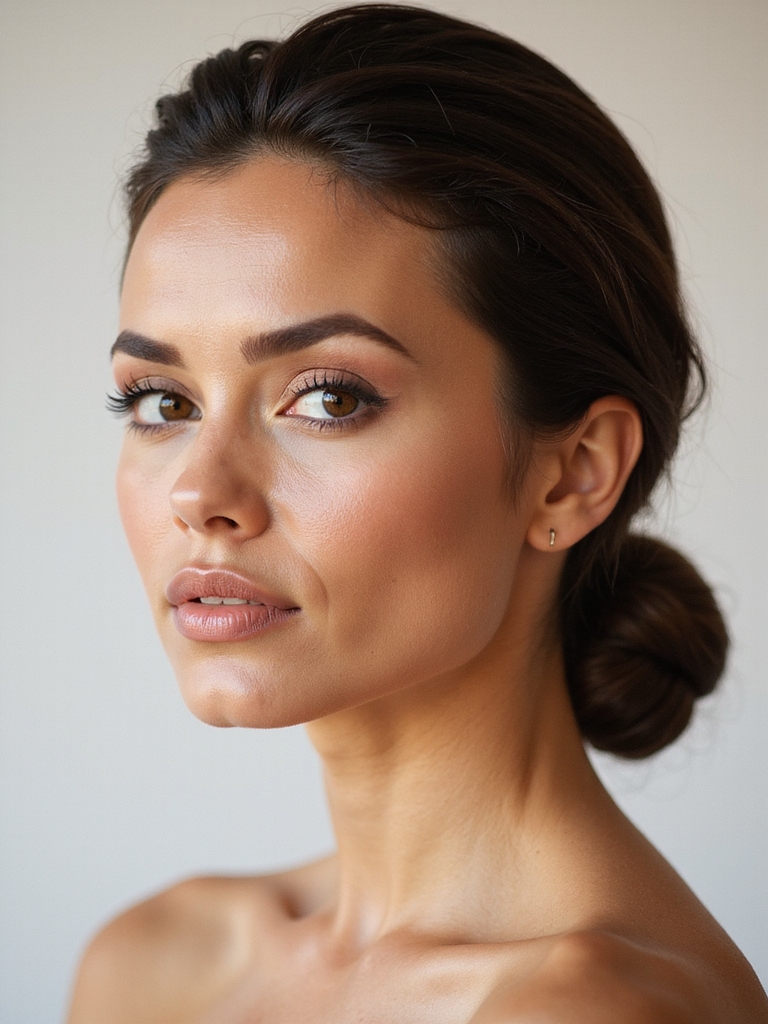
Quick Polished Chignon
I love a quick polished chignon because it’s perfect when you’re short on time.
Let’s start by gathering a few key tools that make styling much simpler.
I’ll also share the best occasions to wear this updo, so you can pick it with confidence.
The Tools You Need
First, let’s gather what you’ll need to create a quick, polished chignon.
I always start with the right tools—it makes everything faster! You’ll achieve that sleek, elegant look effortlessly with just a few key items.
- A teasing brush for volume.
- Strong-hold hairspray.
- Clear elastics that match your hair.
- U-shaped pins or bobby pins for security.
Trust me, this simple kit is all you need.
Best Occasions To Wear
Because it’s so versatile, I love this quick polished chignon for more than just weddings.
I’ll wear it to a garden party, the opera, or a nice dinner. It’s my go-to for any formal event like galas or holiday parties.
I’ve even styled it for important work presentations when I need to look extra polished.
It instantly elevates a simple outfit, making you feel pulled-together in minutes.
Vintage Gibson Tuck Updo
You’ll find the Gibson tuck is a surprisingly achievable vintage style, creating an elegant, rolled effect that frames your face beautifully.
I love that you can master it with just a comb and pins. Here’s my simple method:
- Pull hair into a low, loose ponytail.
- Tuck the ends under and up into the base.
- Pin the roll securely in place.
- Gently pull the sides for soft volume.
Intricate Fishtail Braid Updo
If you’re looking for something with more detail than the Gibson tuck, an intricate fishtail braid updo offers a beautifully textured alternative.
I find it’s perfect for showcasing your styling skills while keeping hair firmly secured. Start by creating a classic fishtail braid, then wrap and pin it into a low bun.
This creates a romantic, detailed look that holds up beautifully throughout a long celebration.
Playful Bubble Ponytail Updo
A playful bubble ponytail updo delivers a fun and modern twist on a classic wedding hairstyle.
I love how it’s both polished and whimsical. For the best result, I follow these steps:
- Secure a high, sleek ponytail.
- Add clear elastic bands down the length.
- Gently pull each section to create ‘bubbles’.
- Tuck the tail under for a seamless finish.
This look works perfectly with statement earrings.
Soft Low Knot With Tendrils
While the bubble ponytail brings playful energy, a soft low knot with tendrils offers an elegantly relaxed alternative for a wedding day.
I love its romantic, undone feel. To create it, gather your hair low and twist it into a loose bun, securing it with pins.
Gently pull out a few face-framing pieces for those soft tendrils. This style feels secure all day but beautifully effortless.
Detailed Braided Low Bun
Add more intricate texture to your low bun by weaving in a braid for a truly timeless wedding look.
I love that it feels elevated yet secure. Start by creating a clean braid along your hairline. You’ll pin it around your base ponytail before wrapping everything into the classic bun.
- Create a side braid
- Gather into a low ponytail
- Wrap braid around the base
- Pin and secure the final bun
Half-Up, Half-Down Twist Updo
Let’s start building this half-up style with a classic twisted foundation.
I’ll show you how to incorporate face-framing tendrils for a soft look.
Then, I’ll explain the best ways to secure everything with hidden supports so it lasts.
The Classic Twisted Foundation
When I’m aiming for a look that’s both elegant and a bit softer than a full updo, I’ll often start with this half-up, half-down twisted style.
It’s my favorite foundation because it’s secure yet relaxed.
I always follow these key steps:
- Section the crown hair.
- Create two loose, symmetrical twists.
- Cross and pin them at the back.
- Lightly pull for volume.
This creates the perfect base.
Incorporating Face-Framing Tendrils
For a style that feels both polished and romantic, I’ll take the half-up twisted foundation and incorporate soft, face-framing tendrils.
I leave out a few wispy pieces around my hairline before securing the updo.
Then, I gently curl them away from my face with a small iron.
This softens the look beautifully and adds a flattering, feminine touch that works for any face shape.
Securing With Hidden Supports
While I want my half-up, half-down twist updo to feel effortless, I’ll make sure it lasts all day by securing it with hidden supports.
My strategy involves anchoring the foundation before adding decorative pins. I keep my key tools handy and use them in this order:
- Anchor the twist with a clear elastic.
- Insert two strong, hidden bobby pins.
- Add texture with a lightweight pomade.
- Finish with decorative pins for style.
Glamorous Side-Swept Updo
Though it demands a bit more practice, a glamorous side-swept updo can instantly elevate your bridal look.
I prefer to start with deep, voluminous waves for grip, then sweep everything to one side. Secure it loosely with pins first, creating a soft, romantic shape before locking it in.
This style beautifully frames your face and shows off your earrings and neckline for a truly elegant effect.
Feminine Bow Bun Updo
If you’re looking to add a touch of whimsical romance, a feminine bow bun updo is a stunning choice. I adore its playful elegance.
It works best with medium to long, slightly textured hair for a soft effect. Create a ponytail, split it in two, and loop each section outward. Secure with pins to form the bow’s loops and tails.
- Prep hair with texturizing spray.
- Leave out face-framing tendrils.
- Use clear elastics for an invisible base.
- Hide ends neatly for a polished finish.
Secure Braided Ponytail Updo
Since you want an updo that stays put from ceremony to reception, a secure braided ponytail updo is my go-to recommendation for lasting elegance.
I start with a low ponytail, braid it, then wrap and pin it into a chic coil. All that woven texture locks everything in place.
You’ll find it’s surprisingly comfortable and won’t droop, letting you dance all night worry-free.
Boho Tousled Updo With a Hair Vine
I love how this look starts with an elegant, effortless preparation, where I’m more gentle than precise.
Then, I weave a romantic hair vine through the style to anchor its shape with floral magic.
Finally, I enhance everything by pulling out soft, wispy pieces to perfect that styling with messy texture.
Elegant Effortless Preparation
Let’s create a boho tousled updo that looks effortlessly elegant and is perfect for wedding preparation.
I start by ensuring my hair has some natural texture; second-day hair works best. My key is building a beautiful foundation before securing it.
I follow this simple routine:
- Apply a volumizing mousse to damp hair.
- Rough-dry it using a diffuser.
- Create a loose, low ponytail.
- Twist and pin it into a soft bun, leaving face-framing pieces.
Romantic Hair Vine Placement
To complete this boho tousled look with a touch of romance, I’m ready to weave in a hair vine.
I’ll gently wrap it along the base of the updo’s crown, letting delicate floral ends peek through.
I avoid pulling it tight—this should look effortless.
I’ll tuck and secure the vine’s ends under a few pinned sections so it blends naturally, framing my face beautifully.
Styling With Messy Texture
Every good boho tousled updo needs a bit of messy texture. I achieve it with these simple steps before securing my hair vine:
- Apply a texturizing spray to dry hair.
- Braid sections loosely overnight for waves.
- Gently backcomb roots for volume.
- Pin the updo loosely, leaving ends free.
Finally, I weave the vine through, letting it catch on those perfectly imperfect pieces.
Low Bun With a Colorful Scarf
One timeless technique you can try is wrapping a colorful scarf around a low bun for a sophisticated yet playful look.
I start with a simple low bun and then choose a vibrant scarf that complements my outfit. I wrap it around the bun’s base, letting the ends flow freely or tucking them in.
This adds a pop of color and instantly elevates my entire wedding guest style.
Polished Sleek High Bun
While a low bun offers a relaxed vibe, a polished sleek high bun brings an elegant formality perfect for weddings.
I love how it frames the face and feels secure all day. Achieving that glass-like shine is key.
- Start with ultra-smooth, damp hair.
- Apply a strong-hold gel.
- Pull hair tightly into a high ponytail.
- Twist and wrap it into a bun, securing firmly. Finish with a shine spray.
Braided Updo for Short Hair
Although short hair might seem limiting, a braided updo can provide elegant volume and intricate detail that’s perfect for a wedding.
I find a small, twisted crown braid works beautifully. Use texturizing spray first for grip, then secure the braid with pins.
Tuck any ends underneath for a clean finish. A few face-framing pieces soften the look, creating a style that’s both refined and perfectly suited for your length.
Conclusion
I know planning your outfit feels huge, but your hairstyle is that small, perfect detail. It’s the quiet statement against the day’s loud joy. Whether you choose a regal braided crown or a messy, textured twist, this little lift completes your look. So pick your updo, secure it well, and go celebrate.