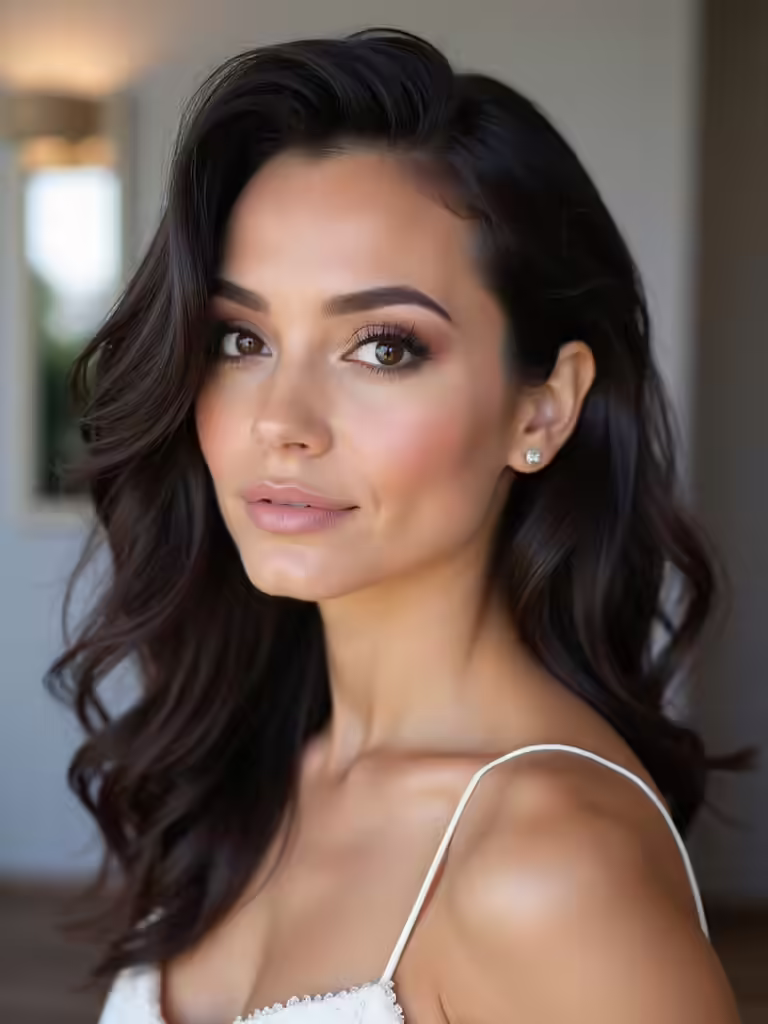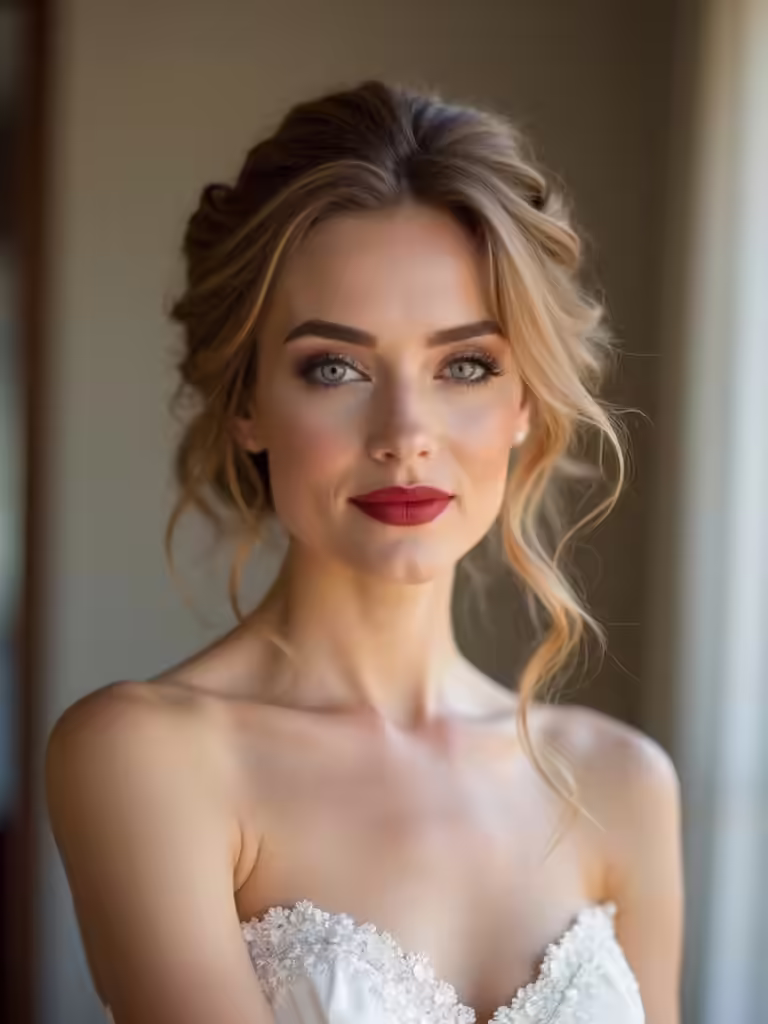
I’ve got a handful of foolproof wedding hair ideas you can do yourself without breaking a sweat: think a loose low bun with face-framing tendrils, a soft half-up twist that holds veils, an effortless messy chignon, a sleek low pony with a wrapped hair detail, or a boho braided crown dotted with tiny blooms.
I’ll show simple prep, quick pinning tricks, and product tips so your style lasts through vows and dancing—keep going and I’ll walk you through each look.
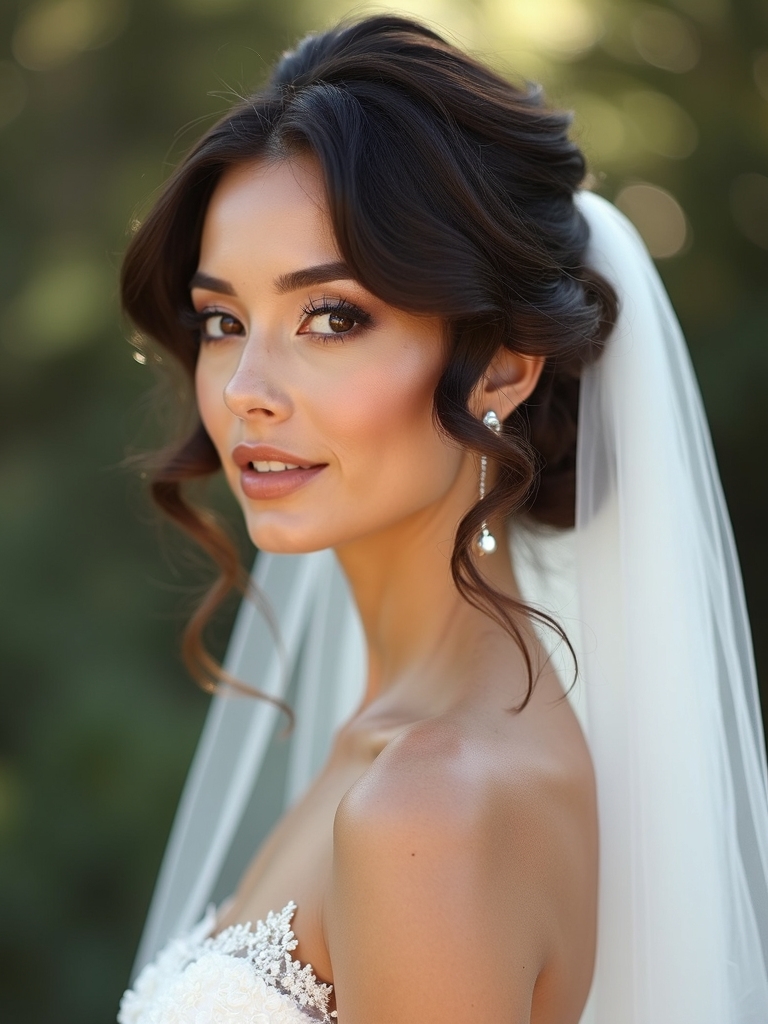
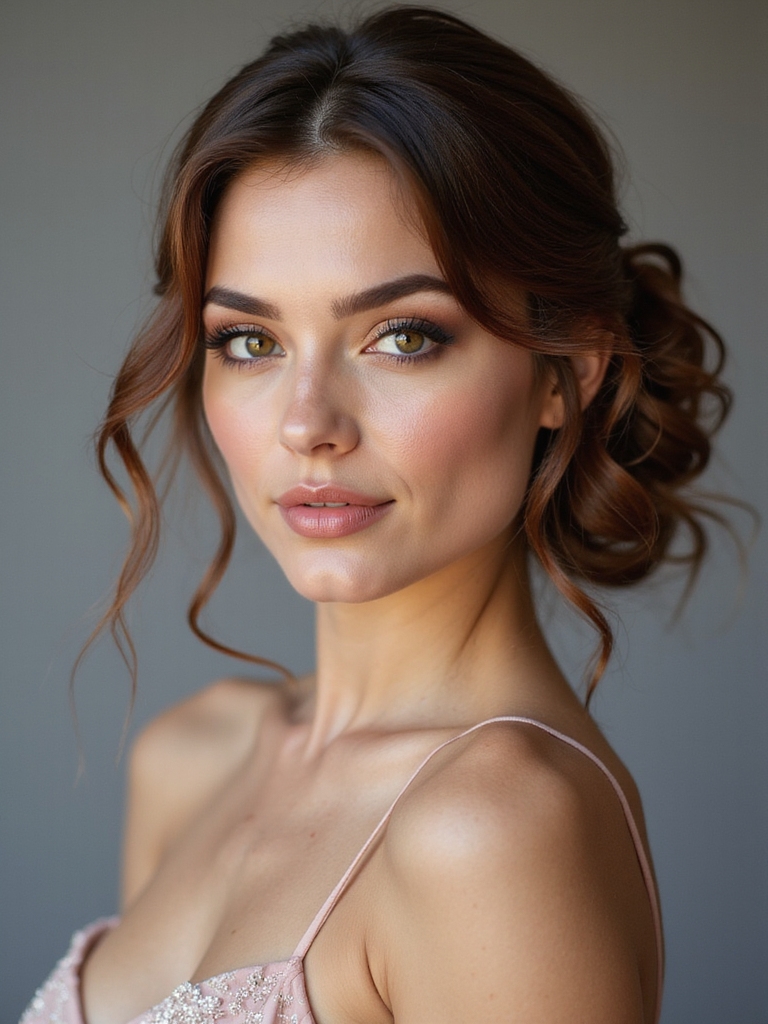
Bridal Low Bun Made in Minutes
When I’m racing the clock on a wedding morning, I reach for the low bun because it looks effortlessly elegant and comes together fast.
I tease roots, gather hair at nape, twist into a loose coil and pin strategically, letting a few face-framing strands breathe.
A spritz of flexible-hold spray tames flyaways without stiffness, and a simple comb or jeweled pin finishes the polished, timeless look.
Low buns are a go-to for wedding elegance because they create a timeless silhouette that complements veils and hair accessories.
Soft Romantic Half-Up Twist
If you love the ease of a low bun but want something airier for the ceremony or photos, I reach for a soft romantic half-up twist that feels both polished and carefree.
I twist small sections from each temple, secure them gently at the crown, and tug for softness. It frames the face, holds veils or flowers beautifully, and stays comfortable throughout vows and dancing.
Many wedding dreamers keep saving and obsessing over half-up styles as a go-to look that balances formality and ease.
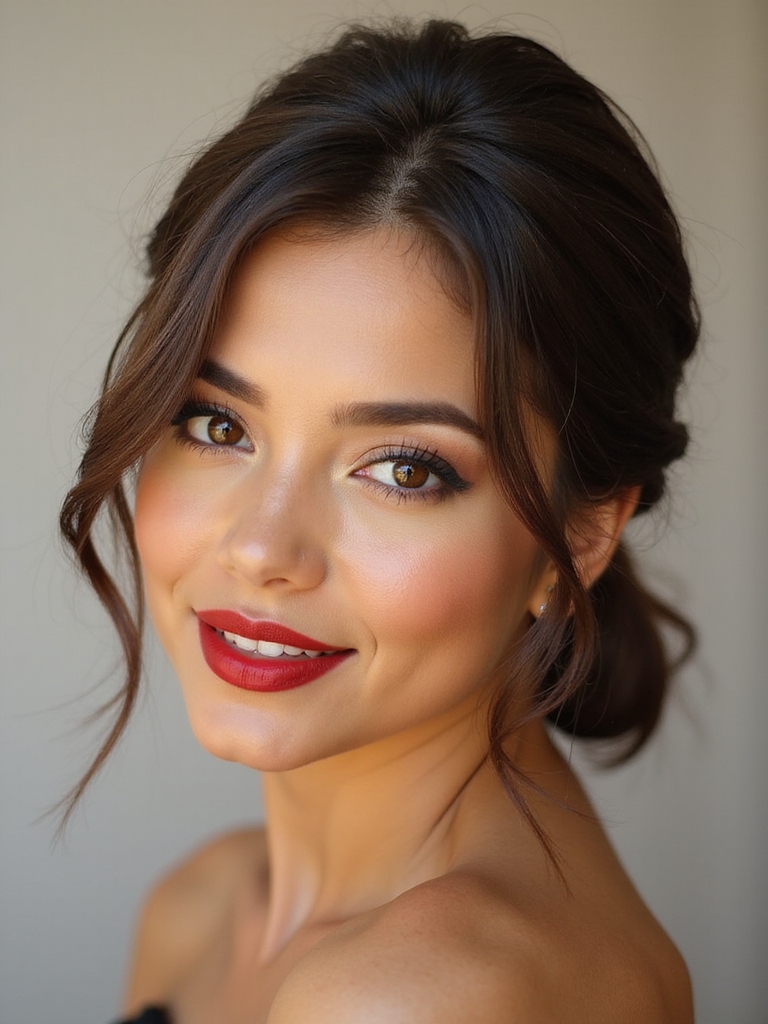
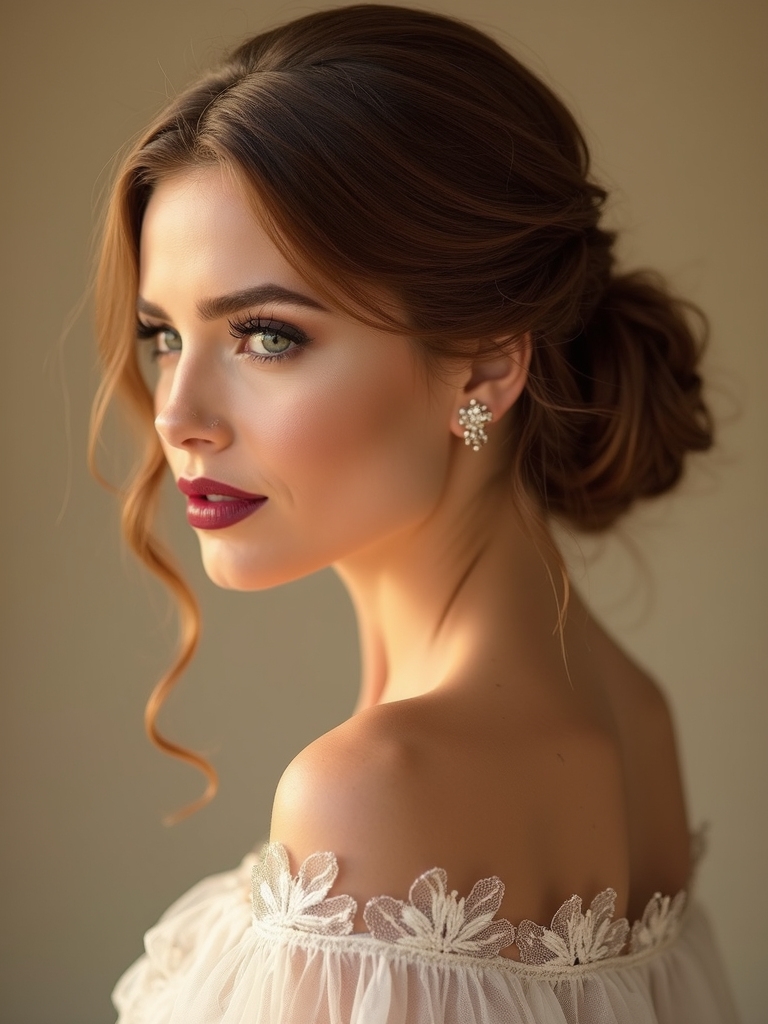
Effortless Messy Chignon
Because I love styles that look undone but stay put, I reach for the effortless messy chignon when I want bridal elegance without fuss.
I tease slightly, twist hair into a loose knot at the nape, and pin with discreet bobby pins, letting tendrils frame my face.
A spritz of flexible hold keeps texture alive while feeling soft and natural all day.
I also recommend exploring elegant updos known to survive all-night dancing for extra staying power.
Sleek Low Ponytail With Wrapped Hair
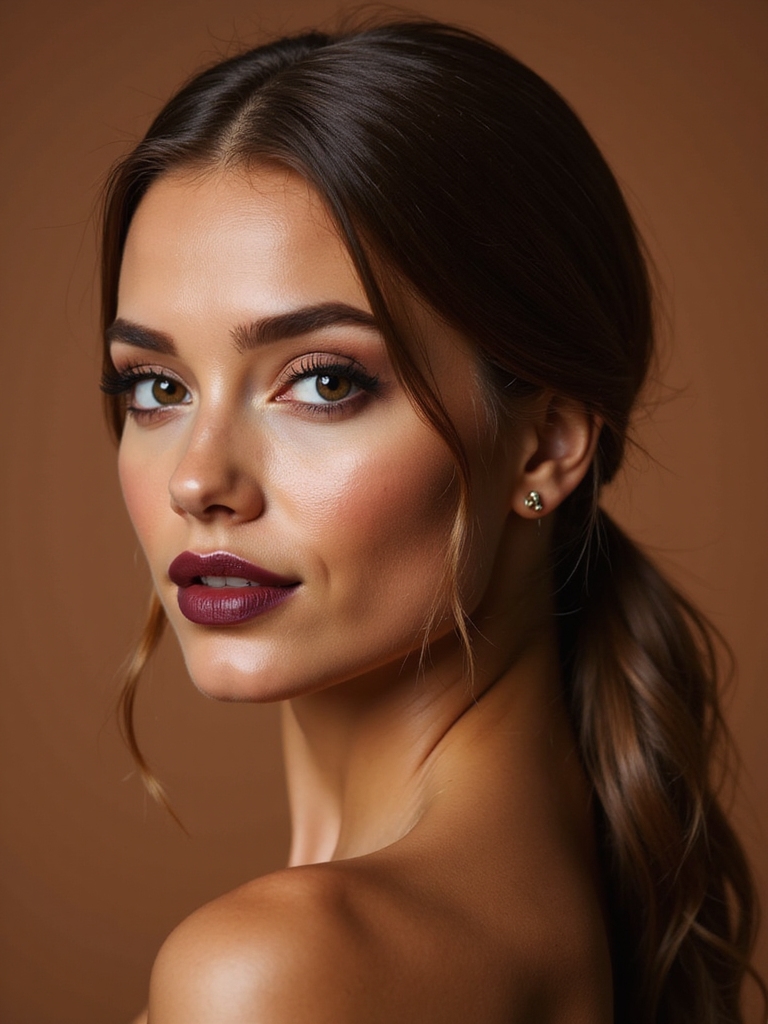
I pull my hair smooth and low, enjoying how a sleek low ponytail feels both polished and effortlessly modern for a wedding day.
I wrap a small strand around the elastic, tucking the end neatly underneath for a seamless finish.
A light mist of shine spray keeps flyaways at bay, and pearl pins add a gentle, classic sparkle without fuss.
This look is inspired by sleek ponytail styles that are chic and unforgettable.
Boho Braided Crown
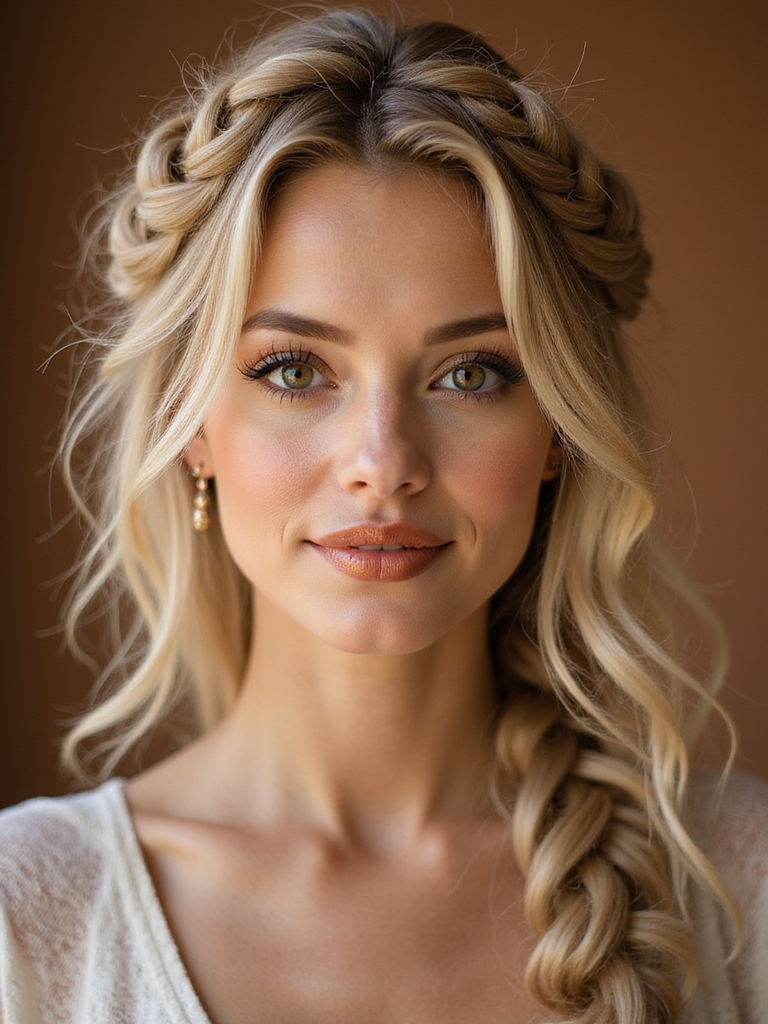
I love weaving a Boho braided crown when I want a romantic, carefree look that still feels put-together for a wedding.
I braid two loose Dutch plaits from each temple, gently pancake them for volume, then wrap and pin across the crown.
Soft tendrils frame my face, and tiny flowers tucked into the braid add whimsical charm—effortless, secure, and photo-ready.
This style is one of many braided hairstyles that can tell a wedding-day love story.
Vintage-Inspired Finger Wave Look
I’m excited to show you how a few simple tools and the right prep can turn your hair into those glossy, vintage finger waves that catch every light.
First we’ll talk about the must-have products, combs, and clips to set you up, then I’ll walk you through the step-by-step technique for sculpting and pinning each curve so they hold all day.
With a little practice you’ll have a timeless, gallery-ready look that feels effortless and utterly romantic.
Old Hollywood glamour often includes polished bun styles that complement finger waves, offering a cohesive, elegant finish with classic shaping.
Prep and Tools
If you want that glossy, vintage finger wave to hold through vows and dancing, start by priming the canvas—my hands always begin with freshly washed, towel-dried hair so products sit right where they should.
I reach for a lightweight mousse, a fine-tooth comb, sturdy clips, and a metal tail comb for precise ridges.
A small setting lotion and a silk scarf finish the tidy prep.
Beginners will find these simple techniques build confidence quickly, especially when practicing easy wedding hairstyles that focus on classic, manageable looks.
Setting the Waves
Usually I start by sectioning hair into neat horizontal rows, then work one row at a time so the waves stay crisp and even.
I mold each S-curve with a comb and gel, pinning until set; heat seals the shape for long wear. Try these steps:
- Dampen and apply gel
- Create guide finger waves
- Pin waveform sections
- Blast with low heat and let cool
Textured Loose Waves for Any Length
I always reach for textured loose waves when a bride—or even I—want a look that’s soft, romantic, and wearable no matter the length.
I tease roots gently, curl mid-lengths in alternating directions, then tousle with fingers and a salt spray for grit.
It frames faces, hides imperfections, and transforms straight hair into effortless movement that lasts through vows and photos.
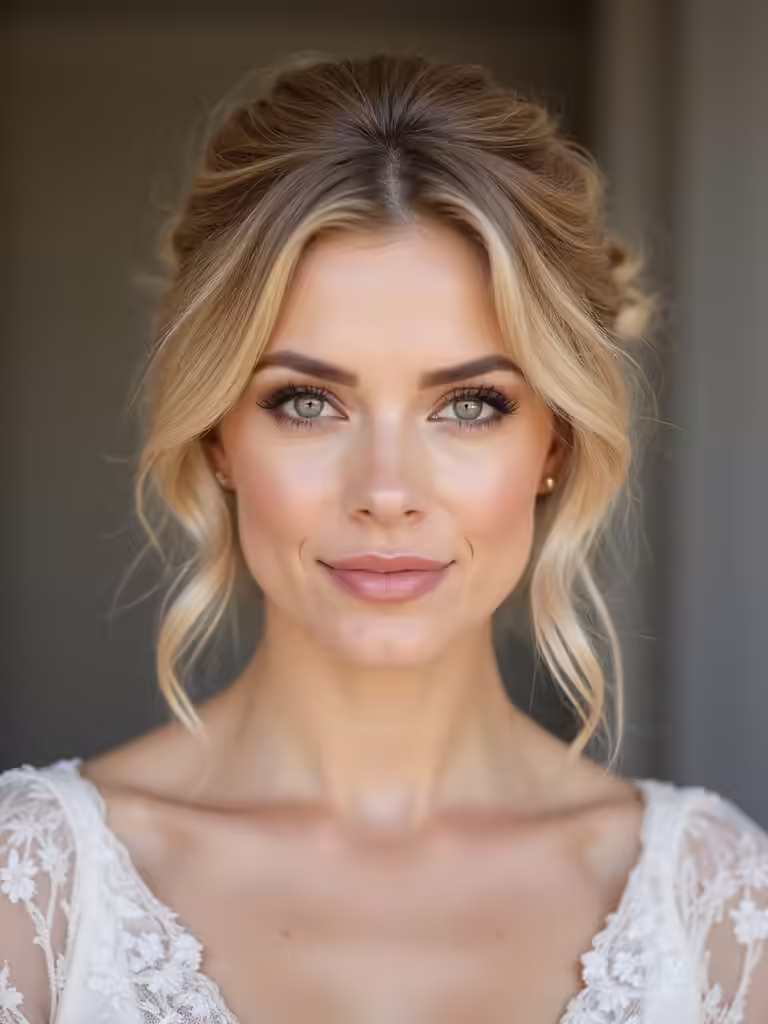
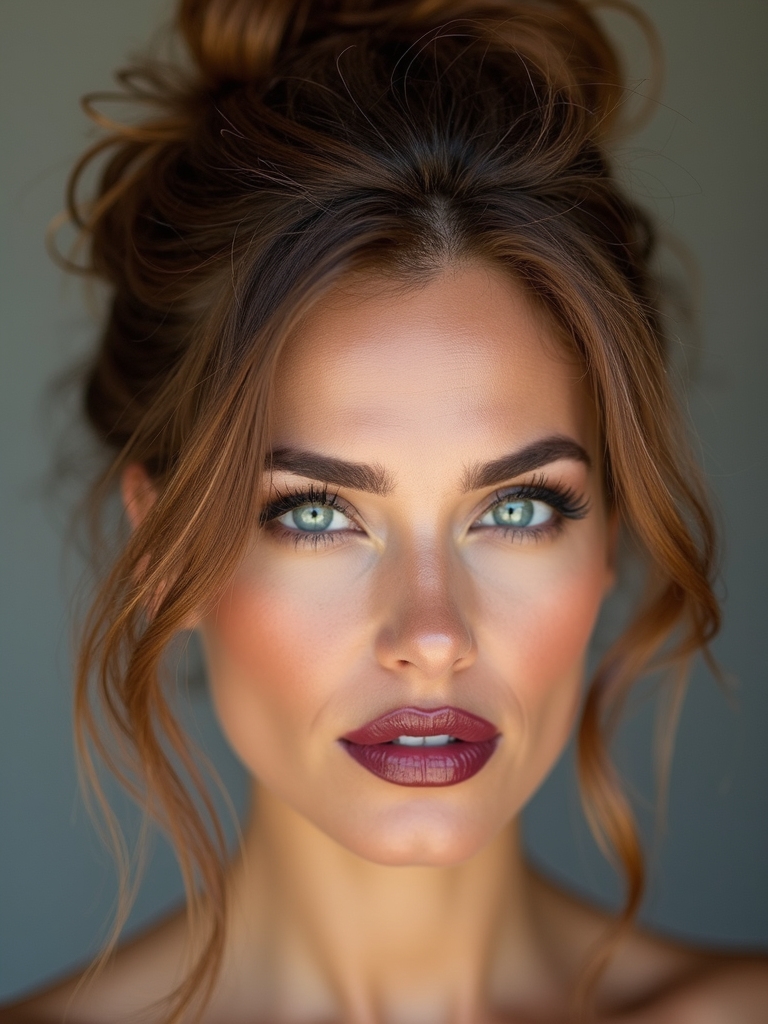
Simple Top Knot With Volume
Loose waves are lovely for photos, but when a bride wants something chic, fuss-free, and a little daring, I reach for a simple top knot with volume.
I tease the crown, smooth sides, and twist hair into a soft, airy bun that reads elegant from every angle.
Quick, bold, forgiving—perfect for veils or statement earrings.
- Tease crown
- Smooth sides
- Twist loosely
- Pin securely
Side-Swept Curls Pinned Back
I love how side-swept curls feel romantic and effortless when the prep and texture are spot on—think light mousse for grip and a few soft waves to catch the light.
When I pin them back, I focus on a clean technique: twist small sections, secure with hidden pins crossing like an X, and anchor the shape at the nape so it lasts all night.
I’ll show you simple tricks for hold and placement so your hair stays pretty without stiffness.
Prep and Texture
Because the look depends on soft movement more than tight structure, I start by prepping your hair to hold curl and feel touchable.
I work in lightweight mousse, rough-dry for grip, and add a texturizing spray for airy separation.
Then I finger-comb to keep pieces alive and smooth the top.
- Mousse
- Rough-dry
- Texturizer
- Finger-comb
Pinning Technique and Hold
When you sweep your curls to one side and start pinning, think of guiding petals into place so the movement stays soft but secure.
I tuck sections behind the ear, crossing pins in an X for grip, hiding ends beneath curls.
A light mist of flexible spray keeps bounce without stiffness; add decorative pins where needed to finish, balanced and effortless.
Quick Knotted Updo With Accessories
Let’s knot this up fast and make it look effortlessly romantic: I’ll walk you through a quick knotted updo that’s sturdy enough for a full day of vows and photos, yet soft enough to tuck in a few sparkling accessories.
I shape loose loops, secure with hidden pins, and finish with blooms or pearls for a glowing, comfortable look.
- Prep texture
- Twist and knot
- Pin discreetly
- Add accessories
Fishtail Braid With Soft Pull-Through
I’ll start by prepping the hair with a light texturizing spray and clean sections so the fishtail lays smooth and holds.
Then I’ll weave a classic fishtail down to the nape, keeping the tension even before I begin the soft pull-through that bloats the braid into romantic, pillowy loops.
Follow my step-by-step pull-and-tease rhythm and you’ll have a breathable, bridal-ready braid that looks intricate but stays comfy all night.
Prep and Sectioning
Before I braid, I always prep the hair so the fishtail and soft pull-through hold all day: I shampoo the night before if hair’s fine, or refresh second-day texture with a light dry shampoo and a spritz of texturizing spray, then detangle with a wide-tooth comb.
I section thoughtfully, creating tidy parts and secure clips to shape volume and balance.
- Crown section
- Side panels
- Nape base
- Loose face pieces
Soft Pull-Through Steps
I start the soft pull-through by creating a loose, low ponytail at the nape and splitting it into two; this gives me the airy base I want for a fishtail that looks effortless but stays put.
I weave small sections, secure each with clear elastics, then gently tug outer loops to bloom the braid.
Finish with mist and pins, keeping it soft and romantic.
Elegant Low Twist With Ribbon
Imagine gently gathering hair at the nape and twisting it into a low, romantic knot, then weaving a ribbon through for that perfect bridal finish.
I tuck stray pieces, secure with pins, and let the ribbon trail softly. It feels effortless, elegant, and intimate—perfect for a DIY wedding look.
- Prep with light texturizer
- Twist and pin low
- Weave ribbon gently
- Finish with mist
Braided Bun for Thick Hair
I’ll start by prepping and detangling your thick hair so the braid sits smooth and doesn’t snag.
Then I’ll weave a sturdy French braid down the back to give structure and volume for the bun.
Finally I’ll twist the braid into a secure pin-up bun, tucking and anchoring pieces with strong pins so it lasts all night.
Prep and Detangle
Start by soaking your thick hair in kindness: I always begin with a generous spritz of pre-styling detangler and a few minutes of gentle finger-combing to loosen knots without breaking strands.
- Section hair into manageable panels.
- Use a wide-tooth comb from ends to roots.
- Apply a lightweight cream to tame frizz.
- Clip each section loosely while you prep the next.
French Braid Base
A strong French braid gives a braided bun its backbone, so I work deliberately to build tension and keep everything smooth as I go.
I gather thick sections, cross them tight and neat, and coax stray hairs into the weave.
The braid should sit low and centered for balance. I love how the texture reads like rope, ready to shape into a graceful bun.
Secure and Pin Bun
Now that the French braid is sitting low and neat, I coil it into a bun and focus on locking every loop for thick hair that loves to slip. I tuck ends, anchor with strong pins, and mist for hold—sturdy, elegant, effortless.
- Crisscross pins for grip
- Use greedy-holding pins
- Hide ends in braid folds
- Finish with flexible hairspray
Polished Pony With Bouffant Detail
When I want a look that’s simultaneously elegant and effortless, I reach for a polished pony with a bouffant—it’s the kind of style that lifts the face and keeps the veil or earrings front and center.
I tease a small crown section, smooth over with a paddle brush, and secure a low ponytail. A glossy finish and hidden elastic create a clean, chic silhouette that lasts.
Easy Slicked-Back Wet Look
If you love the lifted polish of the bouffant pony but want something sleeker for a modern ceremony, I’ll often switch to a slicked-back wet look that feels simultaneously bold and effortless.
I smooth product through hair, sculpt a glossy silhouette, and pin or tie low for comfort.
Try these quick steps:
- Apply gel
- Comb back
- Pin or tie low
- Add shine spray
I hope these fuss-free styles spark your bridal confidence — after all, 72% of brides say they’d choose comfort over complexity on their big day. Picture a soft low bun or a braided crown that looks dreamy in photos yet lets you laugh, dance and breathe.
Try one in the mirror with your veil or ribbon, tweak till it feels right, and walk down the aisle knowing your hair served the moment, not stole it.