I love side styles that frame your best angle while staying effortless and photo-ready; try soft side-swept waves, a low side bun with face-framing tendrils, or a sleek deep part tucked behind the ear for a polished look.
For romance add a braided accent with small flowers, or build volume with a wrapped-base side ponytail. Keep products light, pins discreet, and tendrils loose for movement — I’ll share exact steps and product picks if you want more.
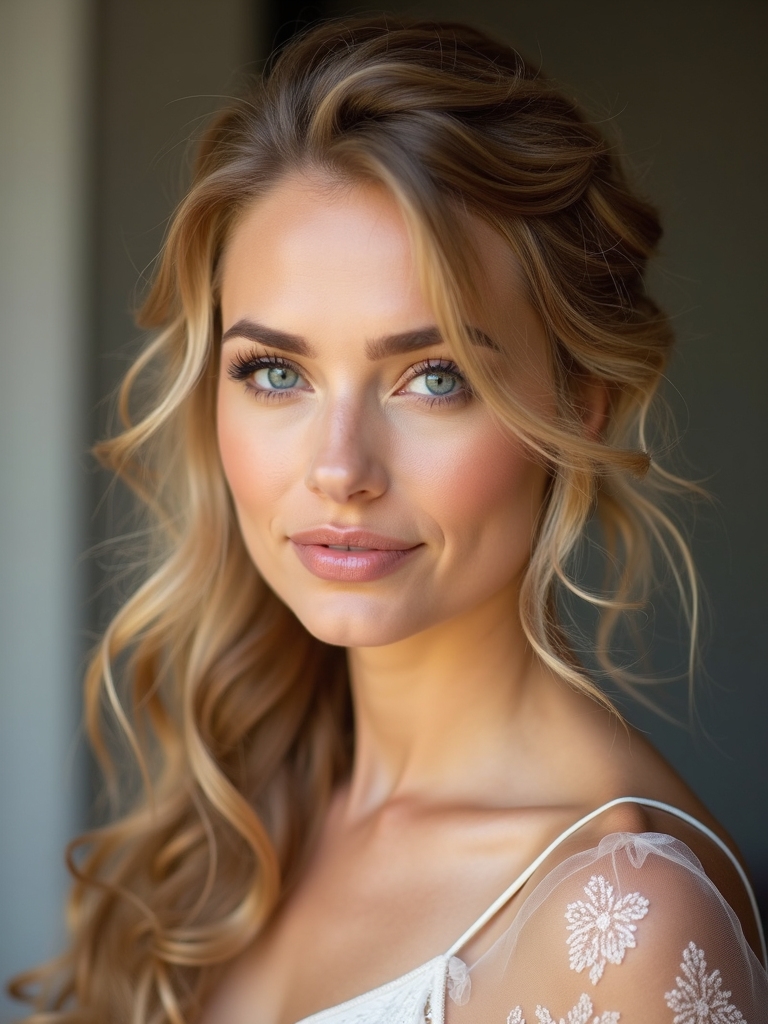
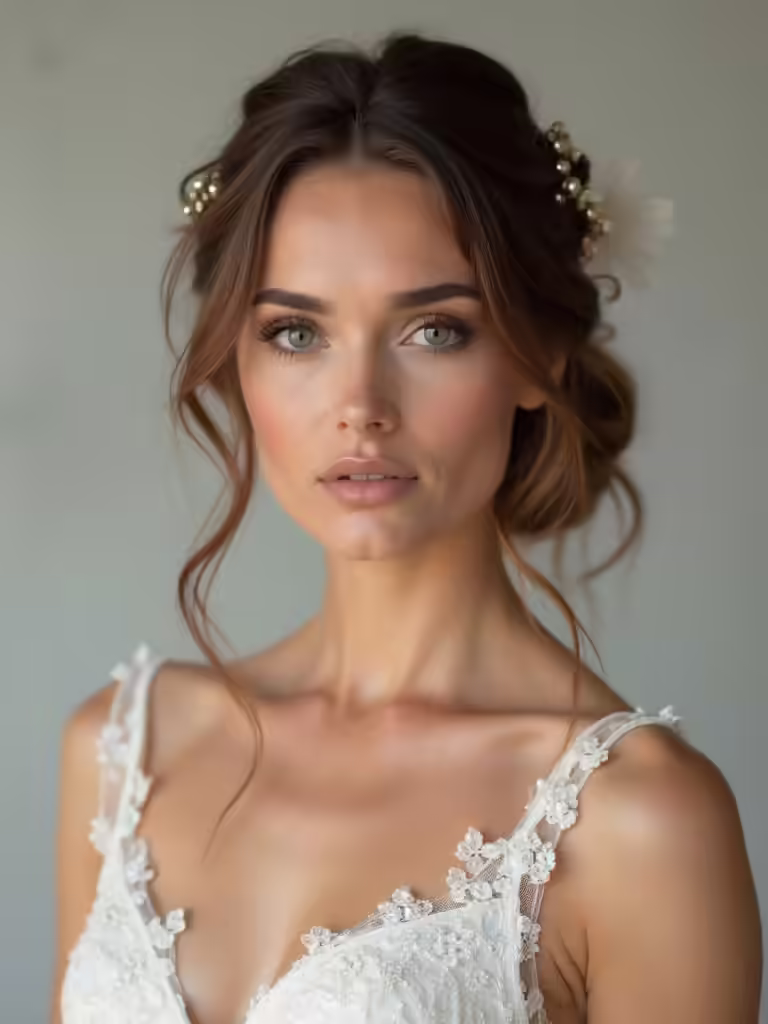
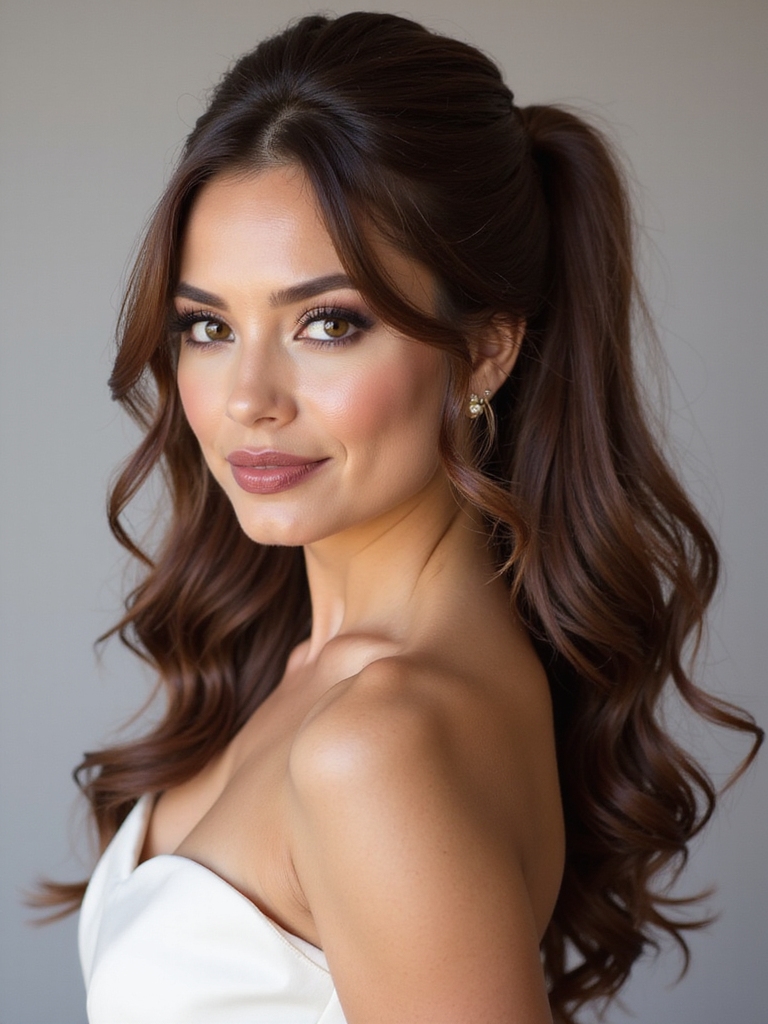
Soft Side-Swept Waves for Romantic Photos
I often reach for soft side-swept waves when I want bridesmaids to look effortlessly romantic in photos; they frame the face, catch light beautifully, and stay flattering from every angle.
I recommend using a large-barrel wand, brushing gently to loosen curls, and securing one side with discreet pins. Finish with lightweight hairspray for movement and longevity without stiffness.
Bridesmaid hairstyles down can be achieved quickly with the right tools and technique, especially when focusing on loose waves that look like magic.
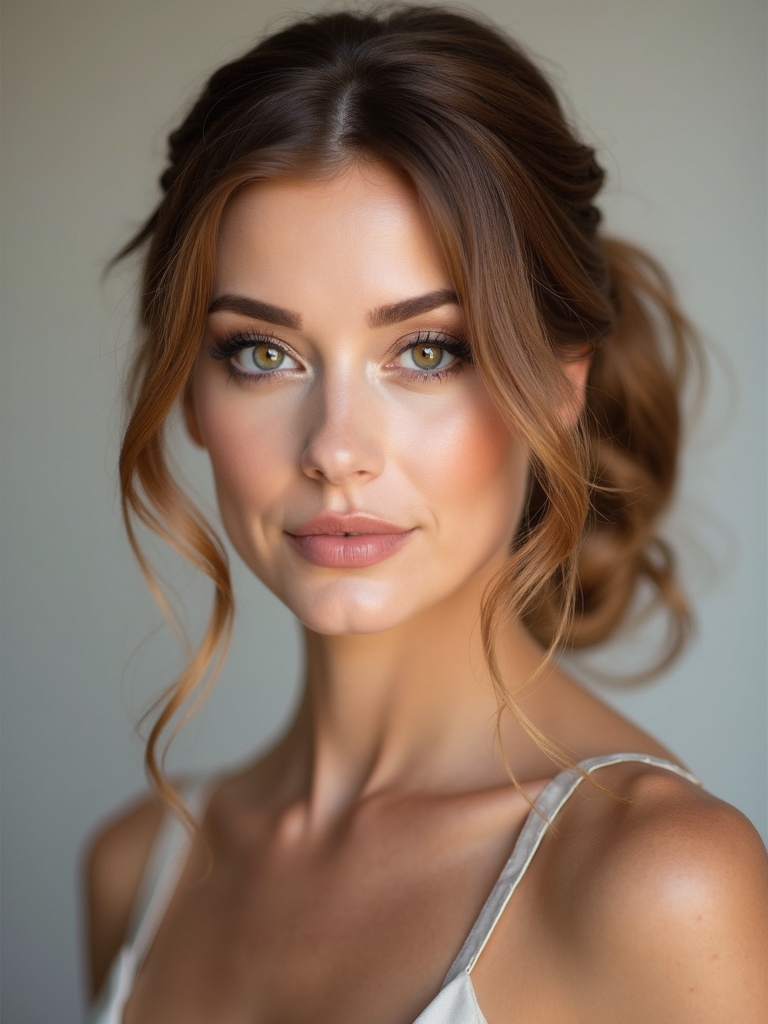
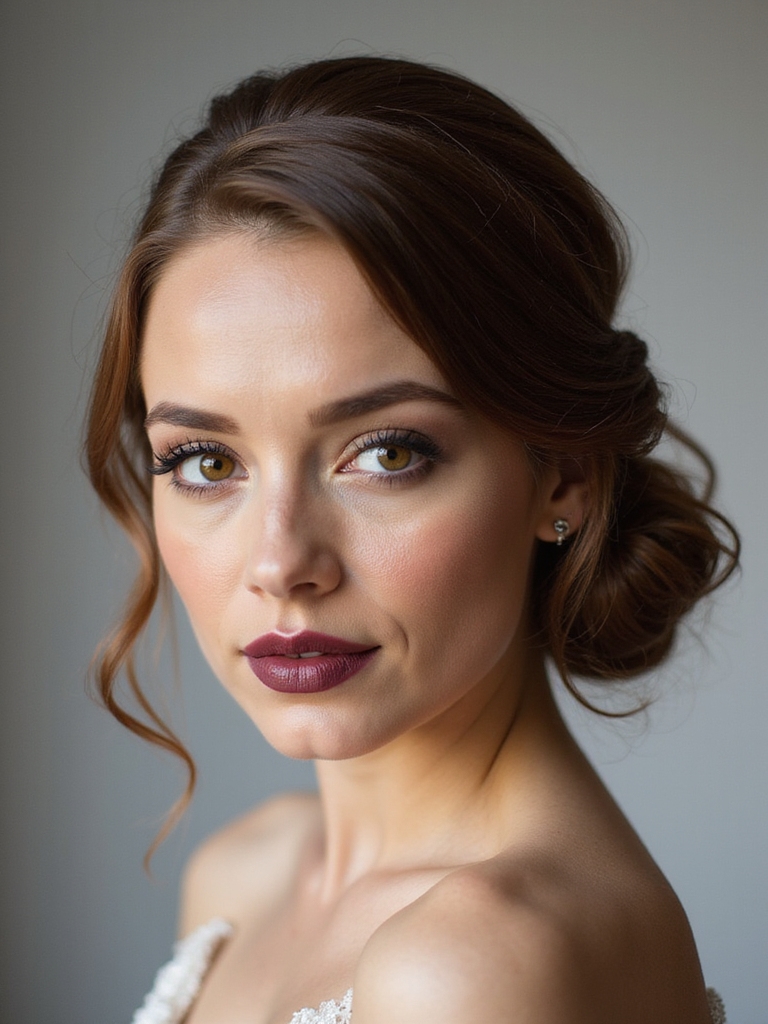
Low Side Bun With Face-Framing Tendrils
Picture a low side bun that feels both polished and effortlessly undone — it’s my go-to when I want bridesmaids to look elegant without fuss.
I tuck hair low at the nape, secure loosely, then pull two face-framing tendrils free.
Use light hairspray and a curling iron for soft bends.
It flatters profiles, stays comfortable, and adapts to veils or simple pins.
This style pairs beautifully with elegant low buns to maintain a cohesive bridal party look.
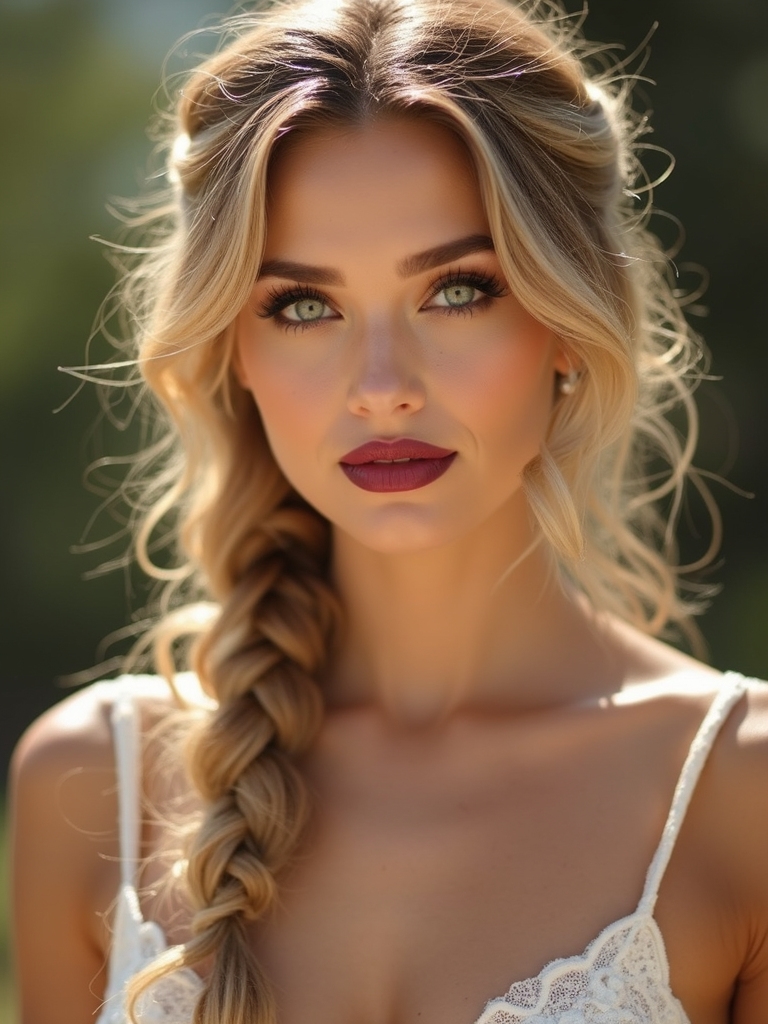
Side French Braid Crowned With Fresh Flowers
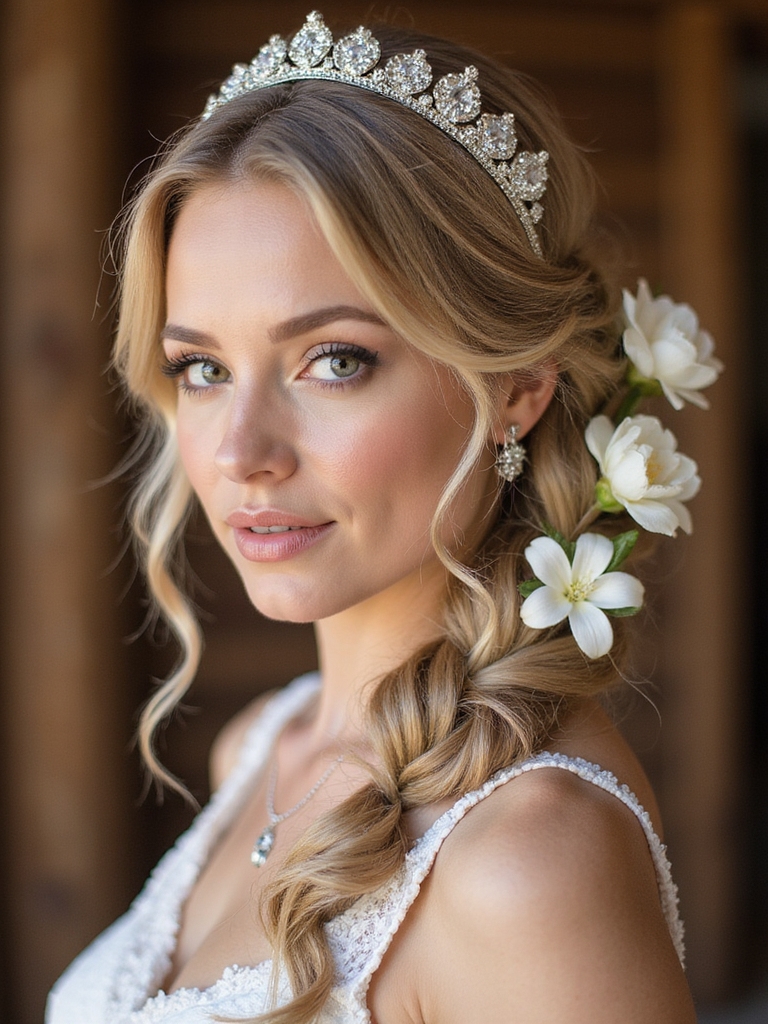
When you want a look that feels romantic yet pulled together, I braid a French strand along one side and tuck it across the crown, then nestle a few fresh blooms into the weave for instant charm.
- Choose small sturdy flowers
- Prep stems with floral wire
- Braid loosely for texture
- Secure with discreet pins
- Finish with light hairspray
Adding a braided detail can range from subtle to bold depending on placement and thickness, so consider a bridesmaid braided hairstyle that complements the overall look.
Sleek Deep Side Part With Tucked Behind Ear
I love how a precise deep side part instantly frames the face, so I’ll show you how to place it for your best profile.
Then I’ll explain the clean ear-tuck finish that keeps hair sleek and secure without bulky pins. With a few simple tips on angle and tension, you’ll get a polished, modern look that lasts through the day.
Chic bridesmaid looks often rely on a sleek side part to balance facial features and complement dresses.
Parting Placement Precision
Since a sleek deep side part instantly frames the face, I’ll show you how to make that clean line and tuck sit perfectly all day.
I’ll guide your placement with small adjustments and tidy technique:
- Find your natural cowlick and part slightly off it
- Use a fine-tooth comb for a crisp line
- Anchor with light styling cream
- Clip briefly while cooling
- Smooth stray hairs gently
A sleek ponytail is a timeless bridal choice that creates a chic, polished silhouette perfect for modern weddings.
Ear-Tuck Styling Finish
While you’re keeping that deep side part sharp, I’ll show you how to tuck the hair behind the ear so it looks effortless and stays put all evening.
I smooth the front section with a light serum, secure behind the ear with a discreet bobby pin crossing hair and scalp, then mist a flexible-hold spray.
The result’s polished, comfortable, and easy to touch up.
Medium-length cuts offer the most versatility for bridesmaid styles, allowing effortless transitions between updos and loose looks for versatile cuts.
Voluminous Side Ponytail With Wrapped Base
For a voluminous side ponytail with a wrapped base, I’ll walk you through the prep, quick styling steps, and simple tricks to keep it holding all night.
Start with textured blow-dry and a bit of root lift so the pony has natural volume, then we’ll gather the hair to the side, tease the crown lightly, and smooth the top before securing and wrapping a strand around the base.
I’ll also show how to use pins and a few spritzes of flexible-hold spray so it stays elegant without feeling stiff.
Elevated ponytail styles can be surprisingly polished and modern when executed with the right technique, especially techniques that emphasize clean structure and volume.
How to Prep
Before I start styling, I always make sure the hair is clean-but-not-squeaky, because a little natural grip helps the ponytail hold its volume.
I prep with simple, reliable steps:
- Towel-dry then blow slightly damp
- Apply lightweight mousse at roots
- Rough-dry for texture
- Brush gently for smoothness
- Section hair for easy gathering
These small moves keep the look effortless and lasting.
Styling and Hold
Starting with a deep side part, I gather the hair to one side at your nape, smoothing only where needed so the volume stays airy and not flat; this gives me a solid base to build that luxe, voluminous ponytail and keeps the wrapped section looking neat.
I secure with a strong elastic, wrap a hair strand around, pin discreetly, and mist for flexible hold.
Loose Side Twist With Delicate Hairpins
With a few gentle twists and a patient hand, I love turning plain hair into a loose side twist that feels effortless yet refined. I tuck and pin, then soften pieces for balance.
- Start with textured, dry hair.
- Twist loosely toward one shoulder.
- Secure with hidden pins.
- Pull face-framing strands gently.
- Add delicate pins to catch light and hold shape.
Asymmetrical Chignon Pinned to One Side
I’ll walk you through prepping and sectioning the hair so the asymmetric chignon sits neatly to one side.
Then we’ll twist and pin each section to build a secure, sculpted bun that still feels soft.
Finally, I’ll show the finishing touches—smoothing flyaways and adding pins or a small floral accent—to keep it elegant all day.
Preparation and Sections
Before I pick up any pins or spray, I section the hair cleanly so the asymmetrical chignon sits exactly where I want it; this gives the finished look balance and keeps stray pieces from sabotaging the side sweep.
- Create a deep side part
- Clip top crown away
- Separate nape into a low panel
- Smooth with light product
- Check angle in mirror
Twisting and Pinning
I start the twist by taking the larger front section from the deep part and gently turning it toward the nape, keeping tension even so the curve sits smoothly against the head.
I guide the remaining hair into a low, off-center coil, secure discreetly with pins angled toward the scalp, and tuck ends for a neat asymmetric chignon that flatters one side without fuss.
Finishing Touches
Now that I’ve coaxed the twist into a neat low coil, it’s time to refine the chignon so it reads deliberately placed rather than fussy.
I tuck, pin, and soften edges with care, aiming for balance on the side that flatters your face.
- Secure with long pins crisscrossed
- Hide ends under the coil
- Loosen a few tendrils
- Mist with flexible spray
- Add a single accessory
Boho Side Fishtail Braid With Ribbon
Tucking a soft ribbon into a loose side fishtail braid gives a boho bridesmaid look that’s effortlessly chic and easy to recreate.
I start with textured waves, split hair to one side, and fishtail braid loosely, pulling gentle pieces free for softness.
Weave the ribbon through the braid, secure with a clear elastic, and tug for volume—simple, romantic, and lasting through the celebration.
Glamorous Old Hollywood Side Roll
Think of the Glamorous Old Hollywood Side Roll as a sleek, timeless statement that flatters every face and photographs beautifully; I like to start by creating a deep side part and smoothing the hair with a light-hold cream to control frizz without weighing it down.
- Sweep hair to the heavy side
- Curl and set for structure
- Roll into a soft S-shape
- Secure with discreet pins
- Finish with light sheen and hairspray
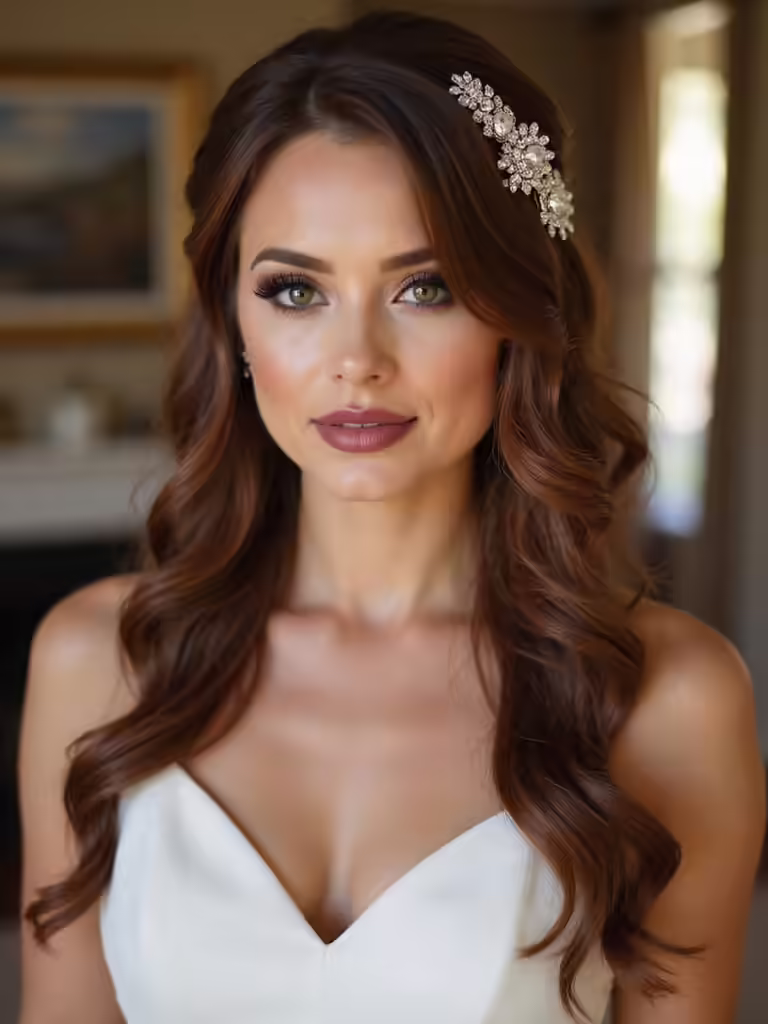
Textured Side Lob With Subtle Wave
If you loved the polished drama of the Old Hollywood roll, you’ll appreciate how a textured side lob with a subtle wave brings that same elegance into a more relaxed, modern frame.
I suggest brushing damp hair, adding sea-spray for grip, and finger-curling sections with a large barrel. Sweep to one side, pin discreetly behind the ear, and let softness frame your face.
Side Dutch Braid Merging Into a Bun
When I want a bridesmaid look that’s both romantic and secure, I start a Dutch braid at the hairline on one side and carry it diagonally toward the nape, adding pieces as I go so the braid sits raised and sculpted against the head.
- Tight at start
- Loosen for softness
- Secure with pins
- Tuck into low bun
- Finish with hairspray
Half-Up Side Sweep With Cascading Curls
I love how a half-up side sweep lets you tuck just the right curls to flatter the face, so I’ll show you where to place those face-framing pieces for balance.
I’ll also walk you through a simple, secure half-up technique—pinning through the crown and crossing bobby pins—so the style stays put without stiffness.
With a few targeted tools and a light-hold spray you’ll have cascading curls that feel effortless and last all night.
Face-Framing Curl Placement
Because a well-placed curl can change the whole mood of a side-swept half-up, I focus first on where the face-framing pieces will sit and how they’ll blend with the cascading curls.
- Start near the temple for soft shadowing
- Angle curls away from the face for lift
- Keep strands thin for realism
- Mirror curl direction on both sides subtly
- Finish with light hold for movement
Secure Half-Up Technique
With the face-framing curls set, I’ll secure the half-up sweep so the cascading curls can fall without slipping or heaviness.
I twist both sides gently, pinning at the crown with U-pins angled inward for grip. I mist lightly and hide pins beneath a small floral accent if desired.
Check movement—shake head; nothing shifts. Simple, secure, and endlessly flattering.
Side-Swept Pixie With Polished Finish
Often I reach for a side-swept pixie when a bridesmaid wants modern polish without fuss. I smooth, angle, and set to flatter the face, keeping things effortless and refined.
- Comb hair to a deep side part
- Define fringe with light pomade
- Tuck one ear for asymmetry
- Use shine spray sparingly
- Secure with discreet pins for all-day hold
Messy Side Knot With Braided Accents
I like to start the messy side knot by loosening texture through the lengths so the braid and knot sit soft and lived-in; this gives a relaxed, romantic vibe that still reads polished in photos.
I braid a small section near the temple, tuck it into a low side knot, and secure with pins.
Finish with light misting and gentle pulls for balance.
Side-Swept Updo Adorned With a Statement Comb
Start by sweeping the hair to one side and anchoring the volume at the nape so the updo feels secure but not stiff; I like to leave a few face-framing tendrils to soften the line and echo the comb’s placement.
- Gather texture with light products
- Twist and pin loosely
- Place comb where it balances profile
- Secure with discreet pins
- Finish with flexible hold for movement
I hope these side-swept ideas spark your next bridesmaid look — they’re flattering, photo-ready, and surprisingly fuss-free. Fun fact: 82% of photographers say side angles consistently catch better light, so choosing a side-focused style boosts your best shots.
Try a soft wave or low bun for balance, tuck a strand to frame your face, and secure pieces with discreet pins. Keep it simple, comfortable, and polished — you’ll feel gorgeous all day.