I’ve got a handful of fuss-free bridesmaid looks you can do in minutes: a sleek low bun with serum for glossy photos, a textured low pony with a tucked twist, a braided halo for boho charm, a messy side chignon pulled soft, half-up twists over loose waves, a secure top knot, a mini crown braid for short hair, a wet‑look slick back, and quick curl‑and‑pin ups.
I’ll walk you through simple prep, pin tricks, and finish tips so you’ll feel confident on cue.
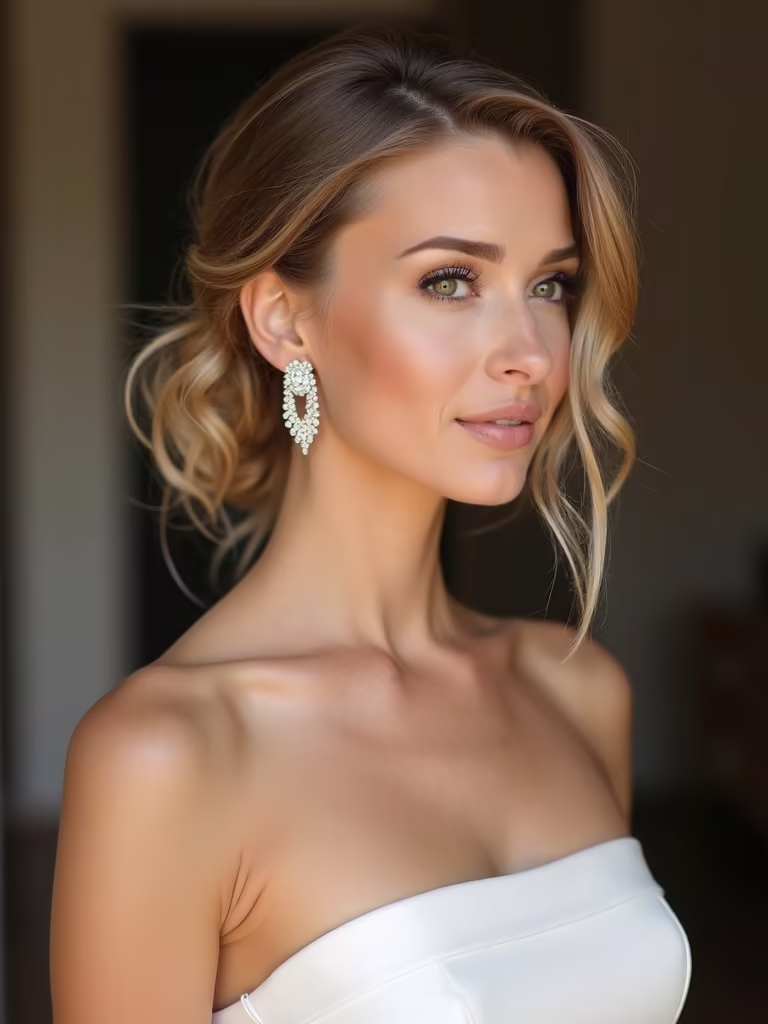
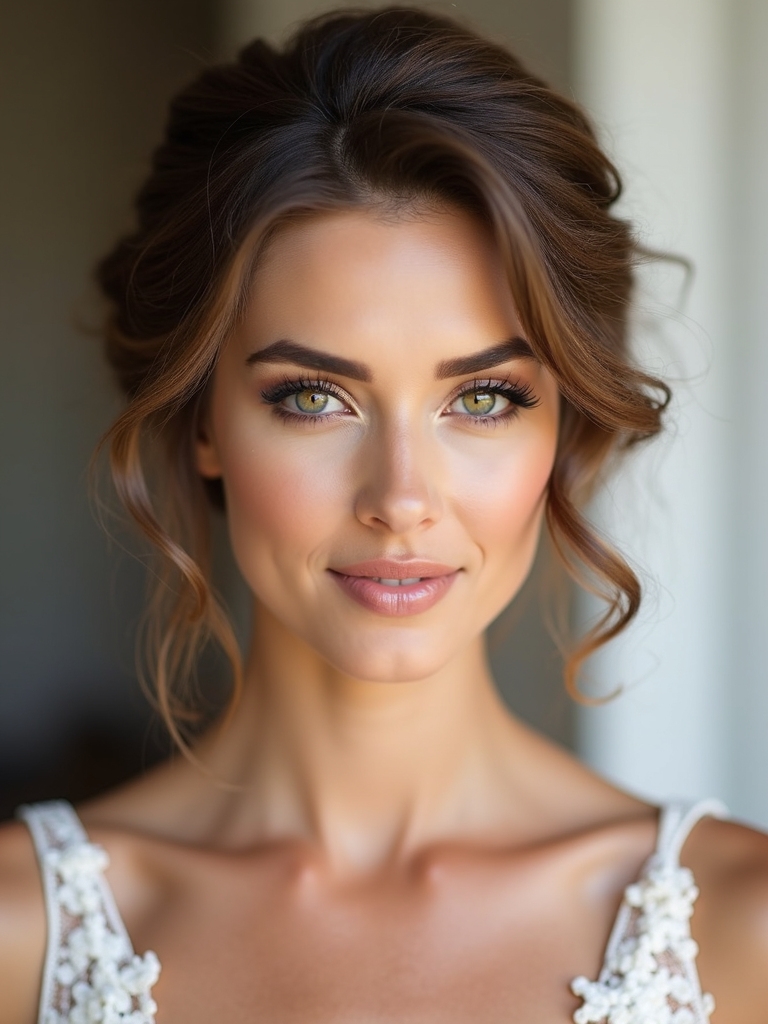
Sleek Low Bun for Polished Photos
If you’re racing the clock and want photos that look effortlessly chic, I reach for a sleek low bun every time—it’s fast, forgiving, and flatters every face shape.
I smooth hair with a lightweight serum, gather at the nape, twist and coil into a tidy knot, then secure with pins and a thin elastic.
Tuck stray pieces or leave a soft tendril for warmth.
For bridesmaids seeking timeless simplicity, the low bun is a go-to for quiet elegance and works well with coordinated looks.
Textured Low Ponytail With Twist
I love a textured low ponytail with a twist because a little prep—sea salt spray and a quick rough-dry—gives hair that lived-in grip and soft movement.
Place the twist just above the nape and anchor it with a discreet pin so it frames the face without feeling stiff.
For last-minute polish, mist with flexible hold spray, hide the elastic with a wrapped strand, and smooth any flyaways with a dab of balm.
Stylists often recommend simple ponytail variations like these as some of their favorite bridesmaid ponytail looks because they’re quick, flattering, and adaptable.
Prep and Texture
When the clock’s ticking, I reach for a dry-texturizing spray and a wide-tooth comb to build the grip and body that make a low ponytail look effortless, not limp.
I mist mid-lengths, scrunch gently, then rough-dry a few seconds for movement. I tease the crown lightly, smooth the surface with fingers, and secure low—texture holds shape without stiffness.
Bridesmaids often prefer styles like a simple ponytail for ease and consistency, especially when coordinating a group effortless ponytail on short notice.
Twist Placement Tips
Because placement makes the twist feel intentional instead of tossed-on, I usually position it just off-center at the nape so it follows the natural fall of hair and flatters the jawline.
I guide you with little cues:
- Twist nudged toward cheekbone.
- Low knot resting against collar.
- Soft tuck hiding elastic.
- Slight lift above nape for movement.
Medium-length styles often work best for this look because they allow a textured low ponytail to be shaped and secured without excess bulk.
Fast Finishing Touches
Let’s tie everything together with a quick textured low ponytail that keeps the twist looking deliberate, not just tossed on — I’ll show you how to add those little finishes that last through to the last dance.
I brush through texture, secure the twist low, wrap a hairpiece strand to hide elastic, mist with flexible spray, tug soft face-framing pieces, and pin a stray for polished movement. Adding a quick texturizing spray can help give grip and hold so the style stays fresh all evening.
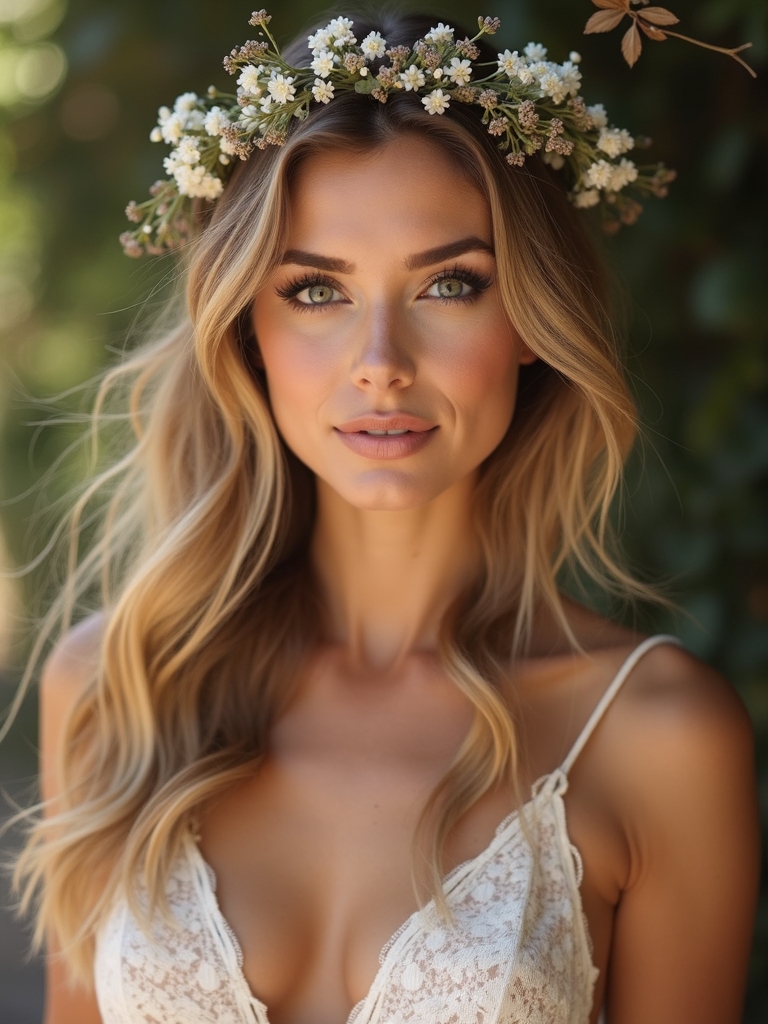
Braided Halo for Boho Vibes
With a few quick braids and a touch of texture spray, I can turn tired hair into a braided halo that reads effortlessly boho and photogenic.
I braid along the hairline, pin, and tug gently for softness. Add tiny blooms or loose tendrils for movement.
- Sun-kissed flyaways
- Soft woven crown
- Loose face-framing strands
- Petite floral accents
Whimsical braided bridesmaid hairstyles often pair braids with subtle adornments to enhance the braided halo look without overpowering it.
Messy Side Chignon in Five Minutes
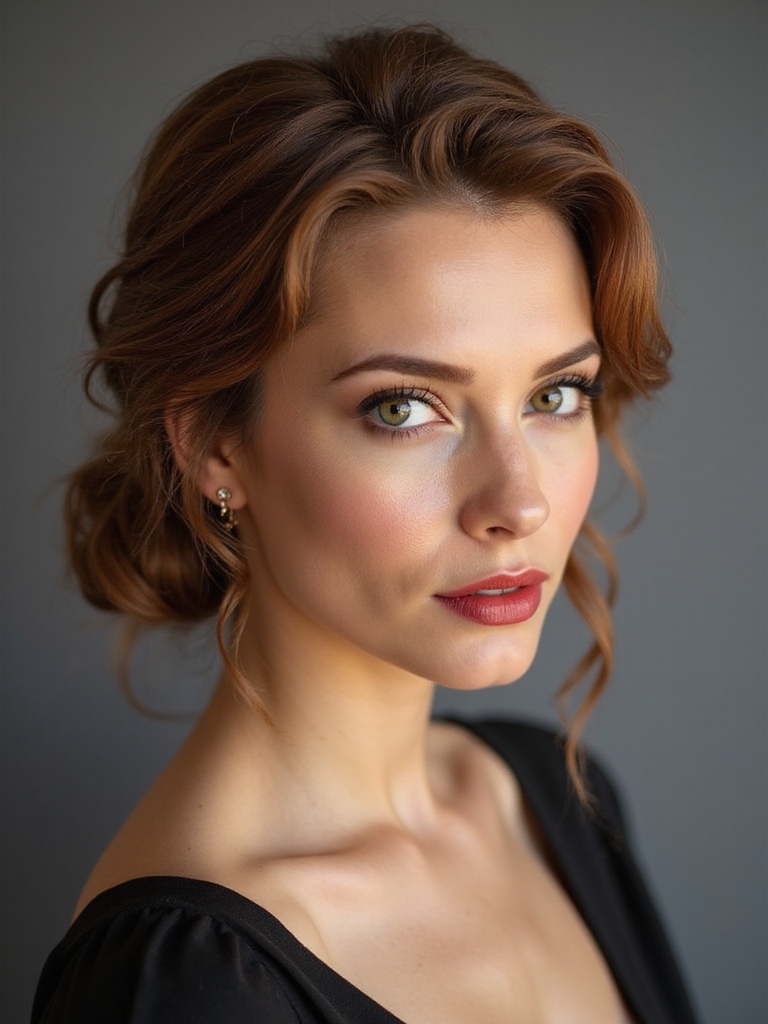
I twist my hair into a loose side chignon in about five minutes, pinning as I go and pulling a few pieces free to keep it relaxed and modern.
I sweep hair low at the nape, coil loosely, secure with bobby pins, then tug gently for volume.
Spritz light-hold spray, tuck stray tendrils around the face, and add a decorative pin for instant polish.
Photographers love updos that balance structure with softness, and a loose chignon creates that effortless updo look without fuss.
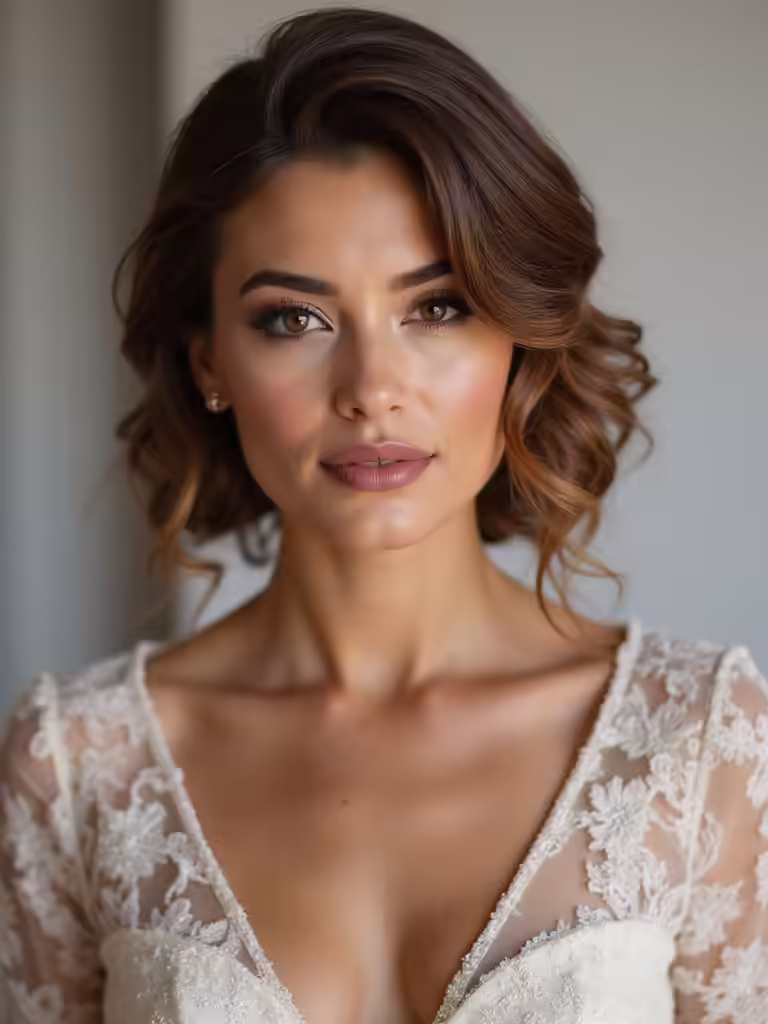
Half-Up Twist With Soft Waves
If you want an easy look that feels romantic without fuss, I pull the top sections back in gentle twists and let the rest fall into soft, brushed-out waves.
I tease roots lightly, secure twists with pins, and mist for hold. Picture textures and movement:
- Fingers weaving glossy ribbons
- Warm, loose S-shaped waves
- Tiny pearl pins catching light
- Soft face-framing tendrils
Classic French Twist Made Quick
I’ll show you how to turn clean, lightly textured hair into a quick French twist by starting with smart prep and neat sectioning so nothing slips.
Then I’ll walk you through the twist technique—how to roll, tuck, and smooth so the shape is sleek but forgiving.
Finally I’ll cover the best pins, hairspray, and finishing touches to lock it in all night without looking stiff.
Prep and Sectioning
Although we’re on a tight timeline, I still take a few deliberate steps to set the French twist up for success: start with hair that’s roughly day-two (clean but not slippery), mist the roots with a texturizing spray, and finger-comb to distribute product without flattening volume.
- Section crown to nape.
- Clip side panels.
- Tease mid-lengths gently.
- Smooth a top layer for shine.
Twist Technique Steps
Once the sections are clipped, I start the twist by gathering the crown and back panels into a low, firm ponytail (not too tight — you want a little give for shaping).
Then I turn the tail inward and upward, rolling it against the nape to create a neat, vertical roll; this keeps the shape compact and makes pin placement faster. I smooth stray hairs with fingers, tucking ends neatly.
Secure and Finish
After I’ve rolled the ponytail into a neat vertical coil at the nape, I anchor the twist by driving long pins through the seam where the roll meets the head — think of sewing the roll to your scalp so it can’t slip — then I add shorter pins horizontally across any soft spots to lock the shape.
- Cool, smooth sides
- Tucked, gleaming coil
- Hidden pin lattice
- Light mist hold
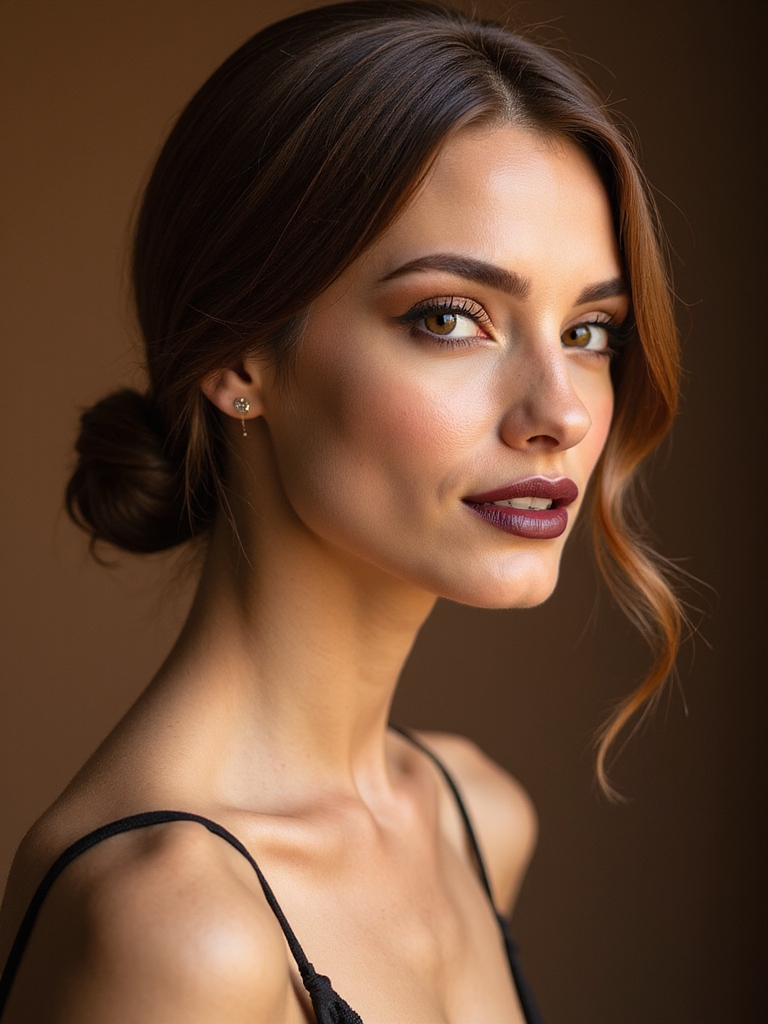
Low Knot With Face-Framing Tendrils
On a rushed wedding morning I reach for the low knot with face-framing tendrils because it looks effortlessly polished without demanding a lot of time or tools.
I twist hair into a loose bun at the nape, tug soft pieces around the face, and secure with bobby pins.
A quick texturizing spray and gentle curl with fingers keeps tendrils soft and romantic.
Simple Dutch Braid That Holds
I’ll walk you through a simple Dutch braid that actually holds, starting with how I prep and section the hair so strands stay neat under pressure.
I’ll show the easy underhand weaving technique that gives the braid texture and grip, plus my tip for keeping tension even as you go.
Finally I’ll cover the best ways to secure the end and finish with pins and hairspray so it lasts through photos and dancing.
Prep and Sectioning
If we want a Dutch braid that actually lasts through hugs, dancing, and last-minute touchups, start by prepping the hair so it’s clean but not slippery—slightly dirty hair grips better—then mist with a light texturizing spray and work a dime-sized amount of smoothing cream through the ends to prevent flyaways.
I section for control, visualizing shape as I go:
- Triangular crown section
- Even side panels
- Nape tidy clip
- Loose face-framing strands
Dutch Braid Technique
Now that the sections are clipped and the hair’s got grip, I start the Dutch braid by taking a triangular slice at the crown and splitting it into three equal strands—think of holding a tiny pyramid that will grow as you add hair.
I weave under, adding thin, even pieces from each side, keeping tension steady so the braid sits neat and close to the scalp, creating a tidy, textured runway.
Securing and Finish
Once the braid reaches the nape and I’ve tucked in the last strands, I secure it so it will survive hugs, dancing, and a windy exit:
I loop a small clear elastic twice for a snug hold, then smooth the tail with a dab of lightweight cream to tame flyaways without weighing it down.
- tucked ends
- clear elastic
- cream-smooth tail
- gentle mist finish
Sleek Straight Hair With Decorative Pin
Though the ceremony’s timer might be ticking, I find sleek straight hair with a decorative pin feels effortlessly polished and surprisingly quick to pull together.
I smooth sections with a lightweight serum, clip hair behind one ear, then place a sparkly pin where it catches light.
It frames the face, stays neat through hugs, and reads elegant in photos—minimal fuss, maximum impact.
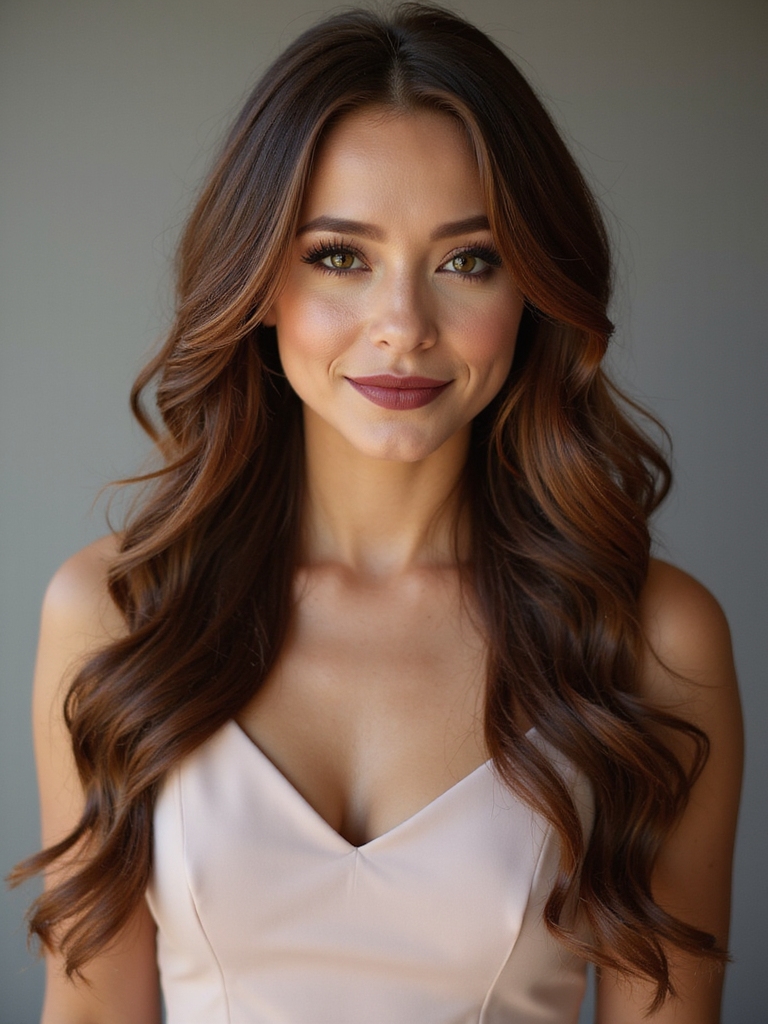
Loose Beach Waves Without Heat
If you want that relaxed, sun-kissed look without hauling out a curling iron, loose beach waves without heat are a lifesaver — and they pair beautifully with the sleek pinned style when you need a softer option.
I twist damp hair into loose buns overnight, then shake out natural waves. Try these visuals:
- Wind-tossed strands
- Soft, undone loops
- Salt-spray texture
- Gentle face-framing pieces
Romantic Low Pony With Ribbon
I love how a romantic low pony with a ribbon can turn simple hair into something instantly wedding-ready.
I gather hair at the nape, leave face-framing tendrils, and secure with an elastic. Tie a silk ribbon around the elastic, letting tails float. For texture, tug gently at the crown and mist with hairspray. It’s elegant, fast, and photogenic.
Top Knot That Stays Put
When I need a top knot that won’t wobble through speeches and dancing, I start by roughing the roots and using a little texturizing spray so every bobby pin has something to bite into.
I’ll twist the hair into a tight coil, anchor it with a strong elastic, then crisscross pins and finish with a firm-hold hairspray, tapping them in so they sit flush against the scalp.
These quick prep and finishing moves keep the knot neat and comfortable all night.
Prep for Strong Grip
Start by roughing up the hair with a texturizing spray and a quick blast of heat so I can work with grip, not slip; think sandy texture rather than slick shine.
I gather, twist, and anchor the knot, feeling it take hold. Visualize:
- Dry, gritty strands
- Teased tiny crown
- Tight, tidy pony
- Wrapped, cushioned knot
These details keep it steady.
Secure Finishing Techniques
Now that the knot’s got grip and sits where you want it, I’ll lock it down so it won’t budge through hugs, dancing, or a breeze.
I weave a few bobby pins in an X beneath the knot, tuck ends neatly, and mist with flexible-hold spray. For extra security, loop a thin elastic around the base once, then smooth flyaways with pomade for a polished, lasting top knot.
Mini Braided Crown for Short Hair
I love how a mini braided crown can instantly lift short hair into something wedding-ready without the fuss of extensions or hours in the chair.
I braid two thin sections from each temple, pin them across the crown, and tug gently for softness. Practical tip: use texturizing spray and hidden bobby pins for grip.
- Tiny, neat braids
- Soft pulled loops
- Sparkle pins
- Textured base
Wet-Look Slick Back for Modern Appeal
After the soft, romantic feel of a mini braided crown, I like to switch gears to something sharper and more modern: the wet-look slick back.
I tell you to dampen hair, apply a glossing gel from roots to mid-lengths, then comb sleekly with a fine-tooth comb. Pin at the nape if needed. It stays chic, fuss-free, and perfect for bold bridesmaid looks.
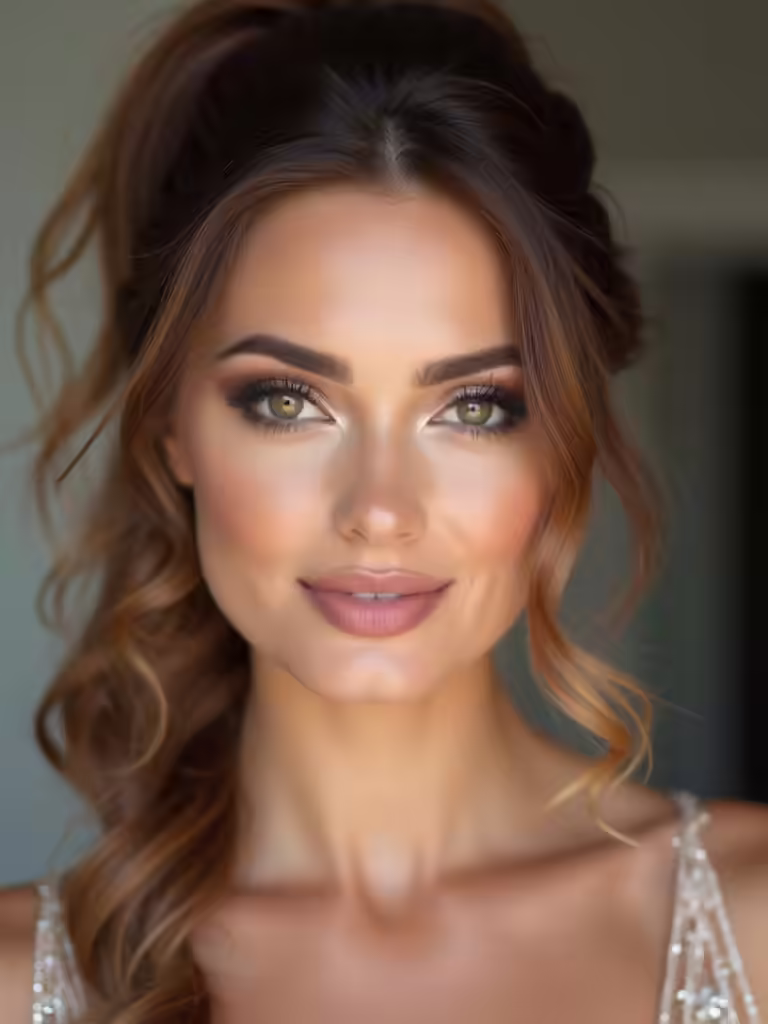
Effortless Curl-and-Pin Updo
Though it looks like you spent hours, I’ll show you a curl-and-pin updo that comes together in 15 minutes: curl sections loosely, tease the roots for lift, then twist and pin pieces into a soft, sculpted chignon, letting a few face-framing tendrils fall free for movement.
I walk you through quick steps, tools, and finishing tips:
- Warm, bouncy curls
- Softly teased crown
- Twisted pinned loops
- Wispy, loose tendrils
You’ve got a toolkit of quick, camera-ready looks that’ll carry you from rehearsal dinner to last-dance sparkle, and honestly, they’re easier than tying your shoes.
Pick one that fits your dress and hair length, stash bobby pins and a travel hairspray like a lifeboat, and practice once in the mirror. With a calm breath and a few confident twists, you’ll look like you stepped out of a bridal magazine—effortless and glowing.