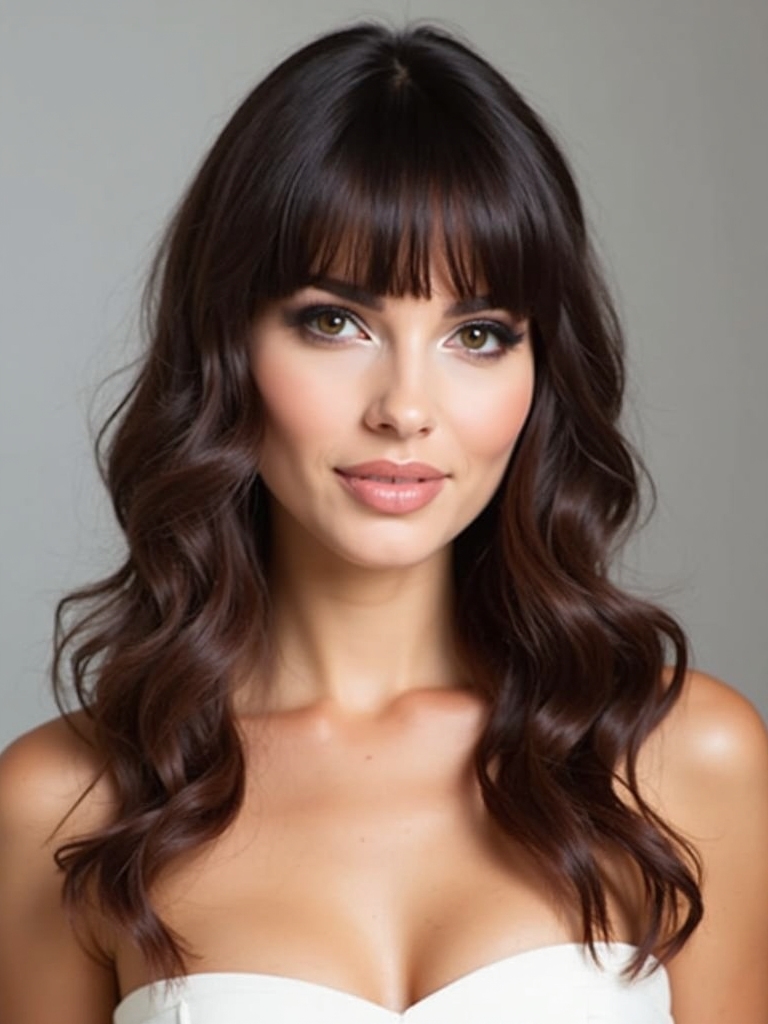
I’ve curated bridal curly looks that make every product count: think defined ringlets pinned into a soft low chignon, a boho half‑up crown of loose curls, a glossy high ponytail, or a vintage finger‑defined bob that sparkles under lights.
I’ll show you prep routines, lightweight creams and anti‑frizz serums, pinning tricks to keep movement, and veil and floral integration tips so your coils hold, shine, and dance—stay with me and I’ll share the how‑to steps.
Timeless Romantic Updo for Defined Ringlets
When I picture a timeless romantic updo for defined ringlets, I see soft, glossy curls pinned loosely at the nape so tendrils can escape and frame the face like a watercolor’s gentle wash;
I’ll walk you through how to build that look so your natural texture stays front and center without feeling stiff or overworked.
Start by defining each ringlet, misting with lightweight serum, twisting clusters into a low chignon, and securing with pins so movement remains.
Curly wedding hairstyles are made to steal the show, showcasing defined ringlets in ways that feel both natural and elegant.
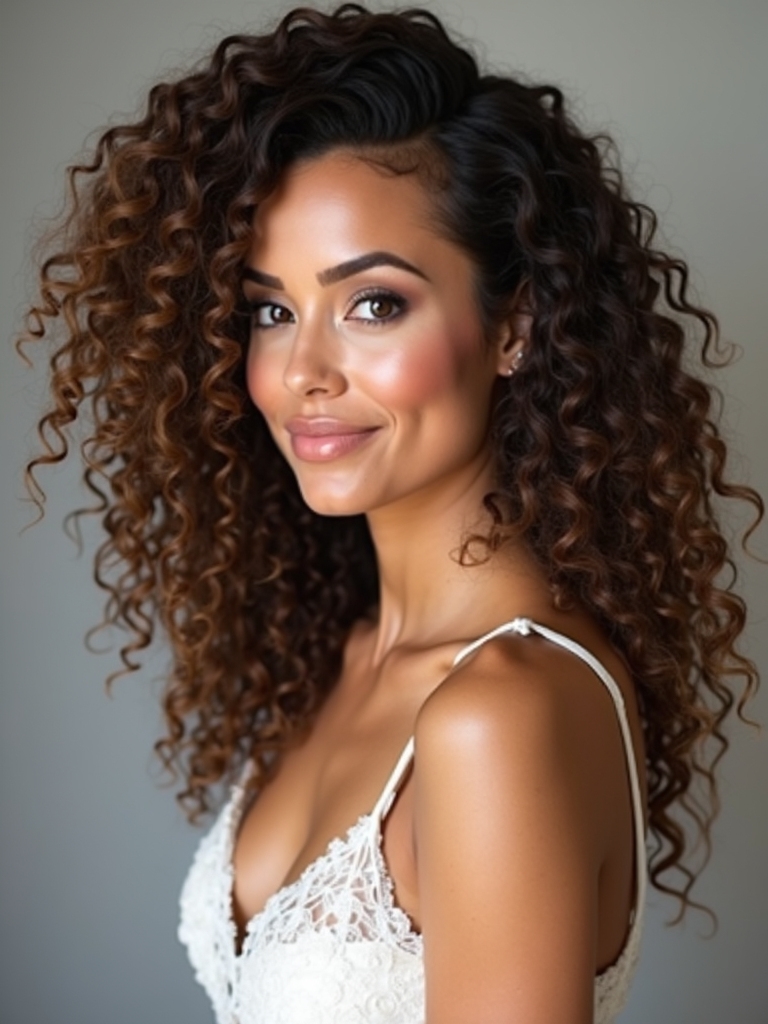
Boho Half-Up Crown of Loose Curls

I love how a boho half-up crown turns loose curls into something effortlessly romantic, but getting that soft, airy shape starts with the right prep and products—think lightweight curl cream for definition and a flexible-hold spray for movement.
I’ll walk you through a simple step-by-step: sectioning the crown, gently backcombing the roots for lift, twisting and pinning small pieces into a loose halo, and leaving face-framing tendrils to soften the look.
With a few targeted tips on product amounts and pin placement, you’ll have a crown that stays dreamy all day without feeling stiff.
Your stylist will be excited to recreate this look after seeing how romantic curly techniques highlight natural texture.
Prep and Product Choices
Because this style needs to feel effortless, I start by treating my curls like they’re already invited to the party: hydrated, defined, and light enough to float into a loose crown.
I use a lightweight leave-in, a touch of curl cream for definition, and an anti-frizz oil sparingly on ends.
A flexible-hold mousse boosts texture without stiffness, keeping movement natural.
Embracing your curls means celebrating natural texture with styles that highlight their shape and bounce.
Step-By-Step Styling Tips
After my products have settled, I start by sectioning the top crown with my fingers—think soft, fingertip-guided parting rather than harsh lines—so I can build the boho half-up without disrupting the natural curl pattern.
I twist small front sections, pin them loosely toward center, tease gently for lift, and tuck remaining curls into a loose halo, finishing with a light mist to set and add shine.
Curly hairstyles often let texture steal the show by celebrating natural volume and pattern.
Vintage Finger-Defined Curly Bob
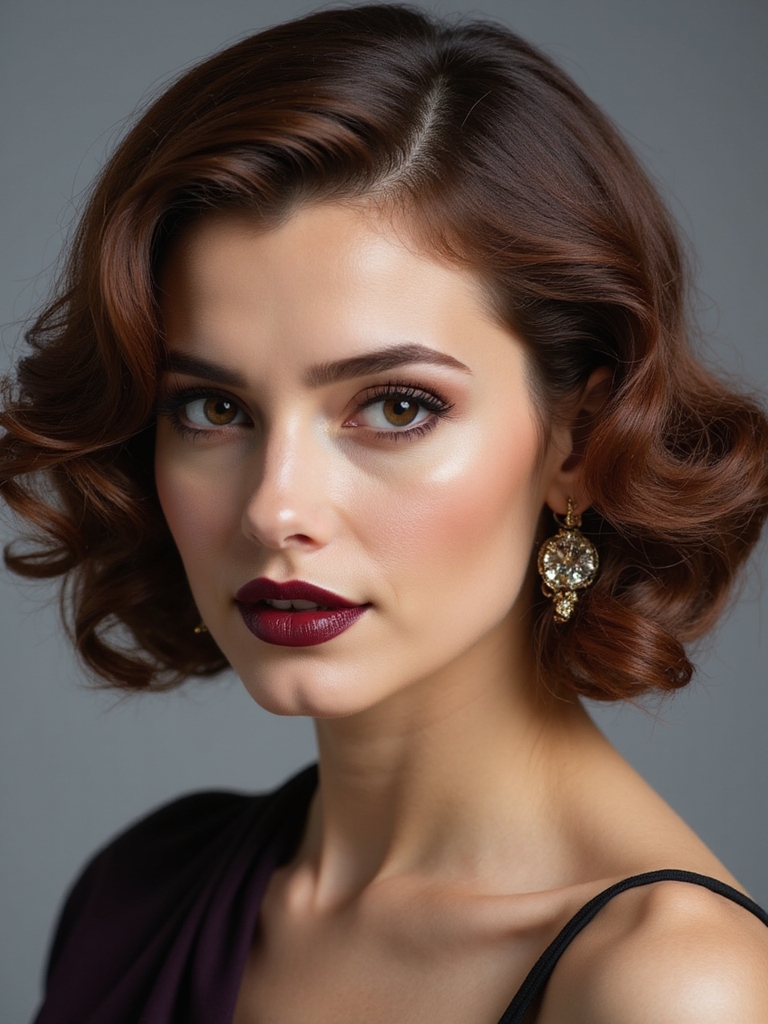
Imagine slipping into a time-warped salon where every curl is sculpted like a little vintage jewel—I’ll show you how to get that finger-defined curly bob that reads classic and feels modern.
I coax each ringlet with cream and a light gel, define with finger coils, then set with clips for a soft S-shape.
Finish with a satin scarf while it cools for lasting shine.
This look is perfect for brides who want curls that bounce beautifully with every step.
High-Volume Curly Ponytail With Gloss
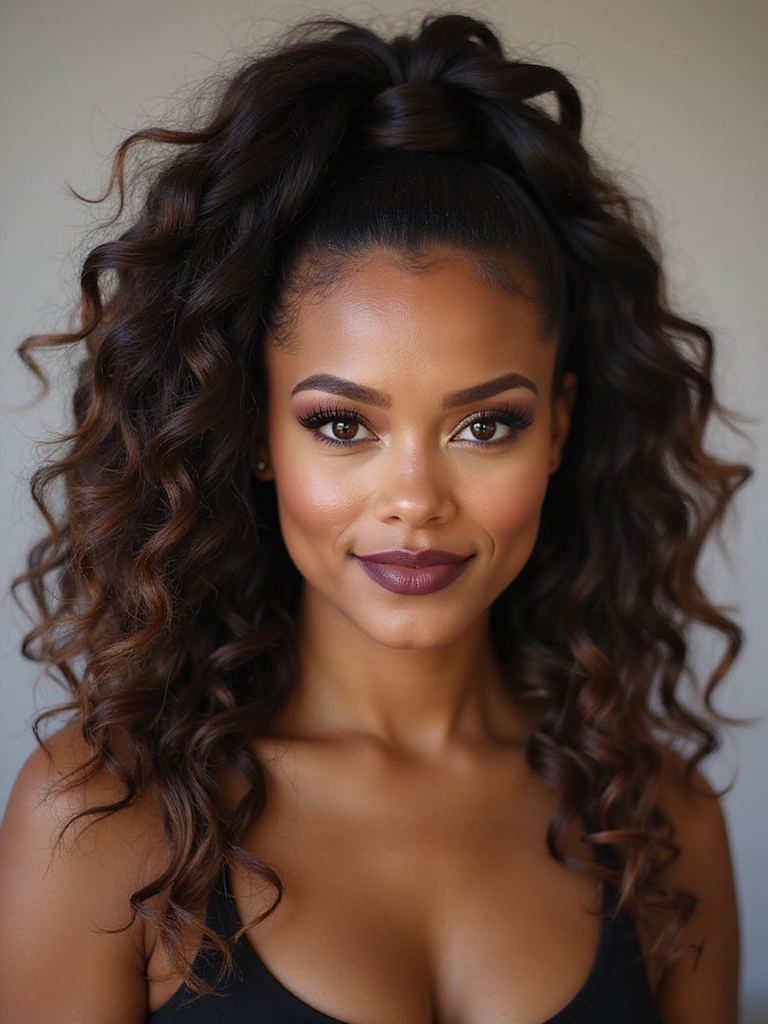
I pull my curls up high and let them spill into a glossy, gravity-defying ponytail that reads celebratory and elegant at once; I’ll walk you through how to build volume at the crown, define the spiral cascade, and lock in a wet-look sheen without weighing hair down.
Tease gently, secure with a soft elastic, sculpt individual spirals with cream, and mist for lasting shine.
A pulled-back ponytail can be adapted into many variations, including embellished and low-slung styles that echo popular ponytail wedding hairstyles.
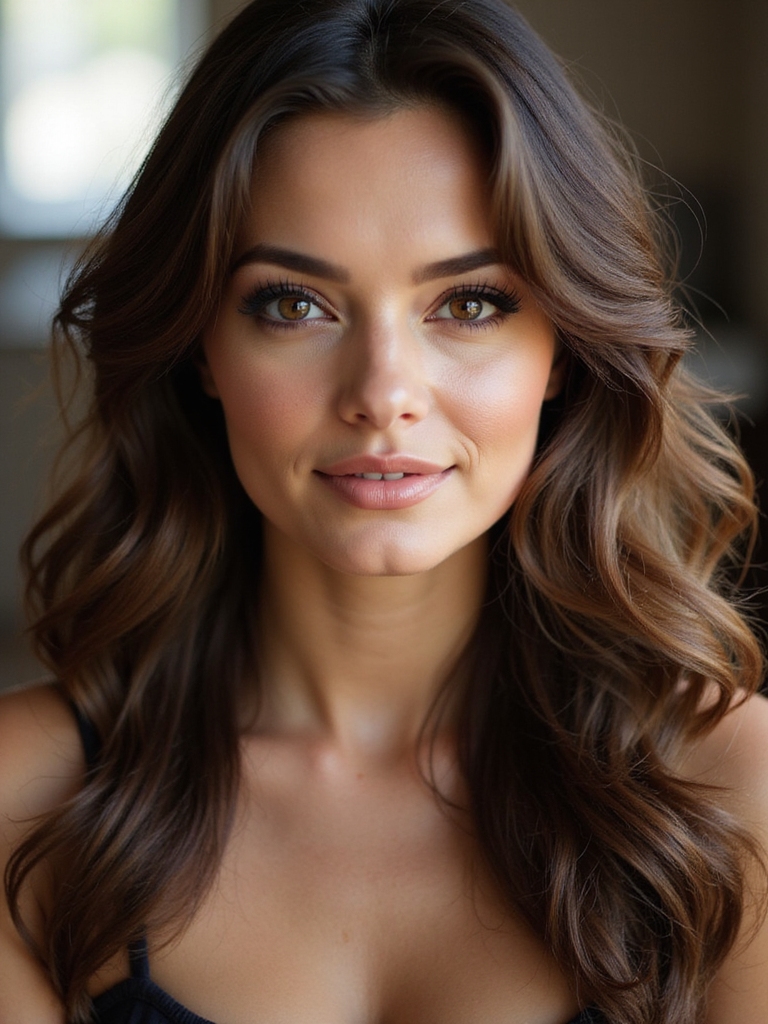
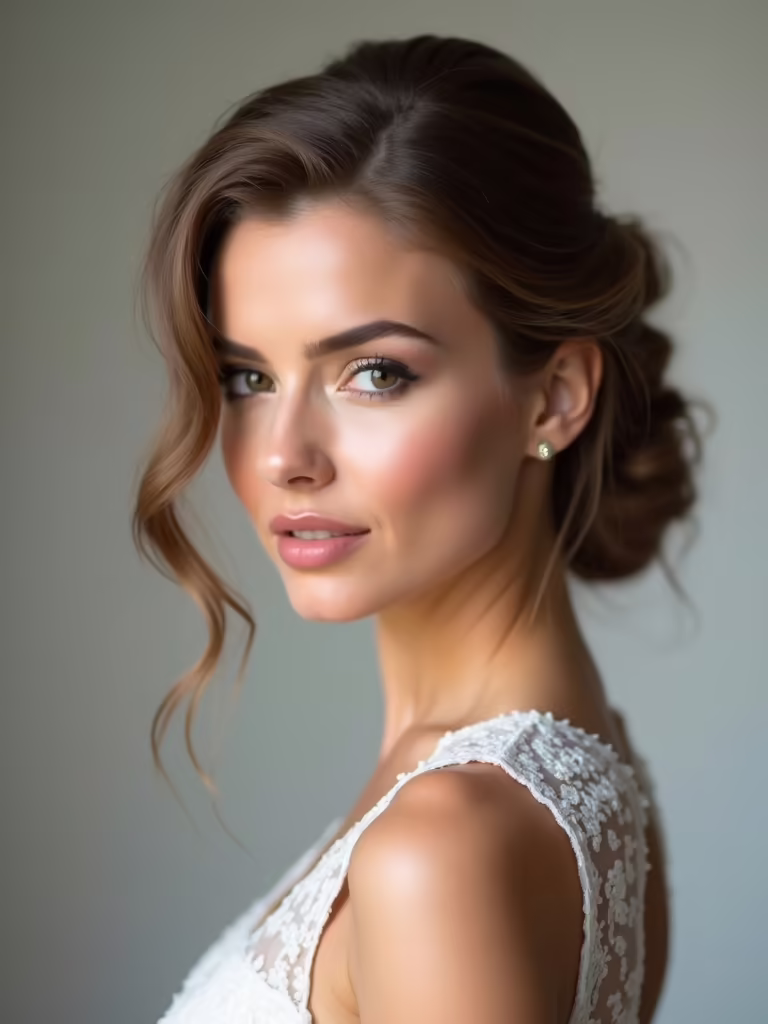
Soft Face-Framing Tendrils and Low Chignon
I love pairing a low chignon with soft tendrils because the contrast feels romantic and effortless on curly hair.
I’ll show you how to secure the chignon so it lasts through vows and dancing, using hidden pins and textured knotting for reliable hold.
Then we’ll shape the face-framing tendrils—twisting and misting them for springy definition that flatters your features without weighing them down.
Embracing natural texture can make your bridal look feel more personal and true to yourself, celebrating your most authentic self with natural hairstyles.
Securing the Low Chignon
I’ll start by anchoring the chignon where it naturally wants to sit—just at the nape—so your soft face-framing tendrils can fall exactly where they flatter you most.
I twist sections loosely, pinning with bobby pins that cross for grip, misting with flexible-hold spray.
I secure stubborn pieces with discreet pins and test movement, ensuring the chignon feels light, stable, and bridal-ready.
Shaping Face-Framing Tendrils
Now that the chignon‘s anchored, it’s time to shape the face-framing tendrils so they sit like soft brushstrokes around your features.
I gently coax tiny curls free, teasing and defining with a bit of cream, then pin or tuck ends into the low chignon for security. Keep strands loose near the temples for movement; mist lightly to set without stiffness.
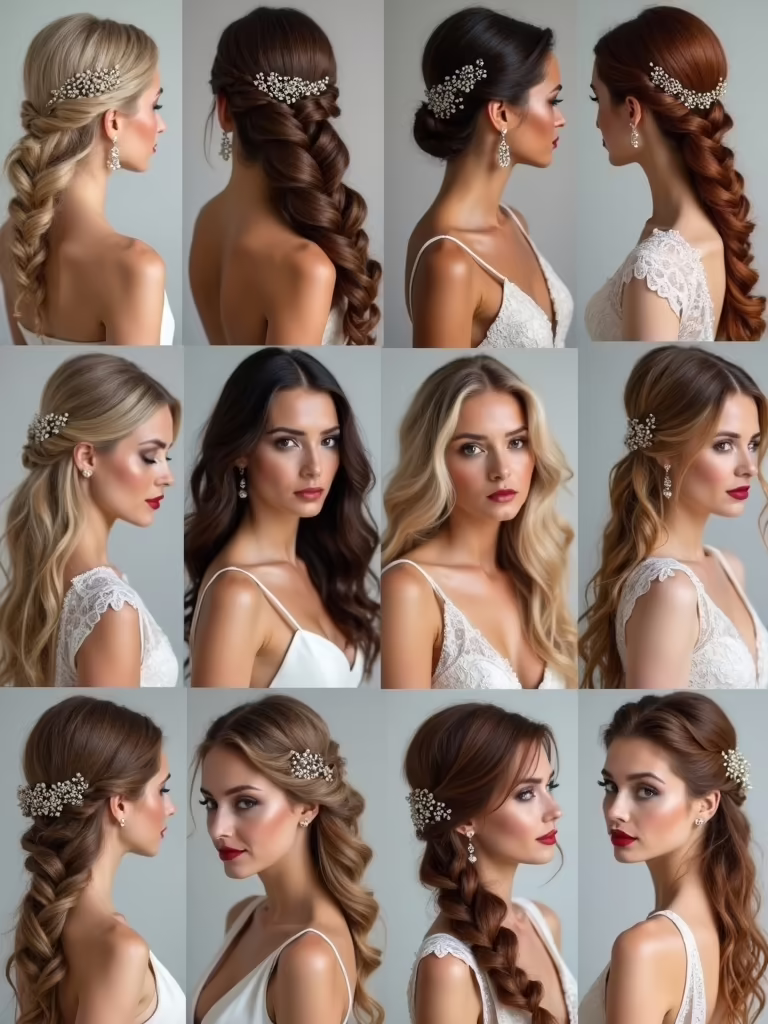
Braided Halo Blended With Natural Texture
When you want a look that feels both romantic and true to your curls, I love blending a braided halo with your natural texture — it frames the face like a soft crown while letting coils and waves breathe beneath.
I’ll weave a loose, slightly undone braid across the hairline, pinning gently; then enhance texture with a curl cream and light mist to keep bounce without stiffness.
Sleek Sides With Full Curly Back
I love the contrast of smooth, gelled sides that frame the face while the crown bursts into defined, bouncy curls.
I’ll walk you through products and techniques to lock that sleek finish without flattening your texture, then show how to coax a flawless curly crown that holds all night.
Finally, I’ll share long-lasting hold tips—from layering gels to strategic pins—so your look survives vows, dancing, and photos.
Smooth, Gelled Sides
With a brush and a little gel, I create sleek sides that contrast beautifully with a full, bouncy curly back, giving your wedding look modern polish without dulling your natural texture.
I smooth the sides toward the nape, sealing flyaways for a glossy finish, then secure with discreet pins.
The result feels fresh, romantic, and stays in place from vows to last dance.
Defined Curly Crown
You can keep those sleek, gelled sides but give the whole look a crown that truly pops: I shape a defined curly crown by lifting and arranging the top curls to form a rounded, voluminous halo that contrasts with the tamed sides.
I coax each coil into place with a wide-tooth pick, teasing gently at the roots, then finger-separate for airy definition and balanced shape.
Long-Lasting Hold Tips
Although sleek sides and a full curly back look effortless, they need a game plan to last through vows, dancing, and hugs; I start by locking in the silhouette with a layered approach—light gel to smooth the sides, a flexible hold mousse through the crown, and targeted root-lifting where volume matters most.
- Micro-bobby pins for discreet anchor
- Diffuse on low heat to set
- Humidity-resistant spray finished light
- Refresh with a curl cream touch-up
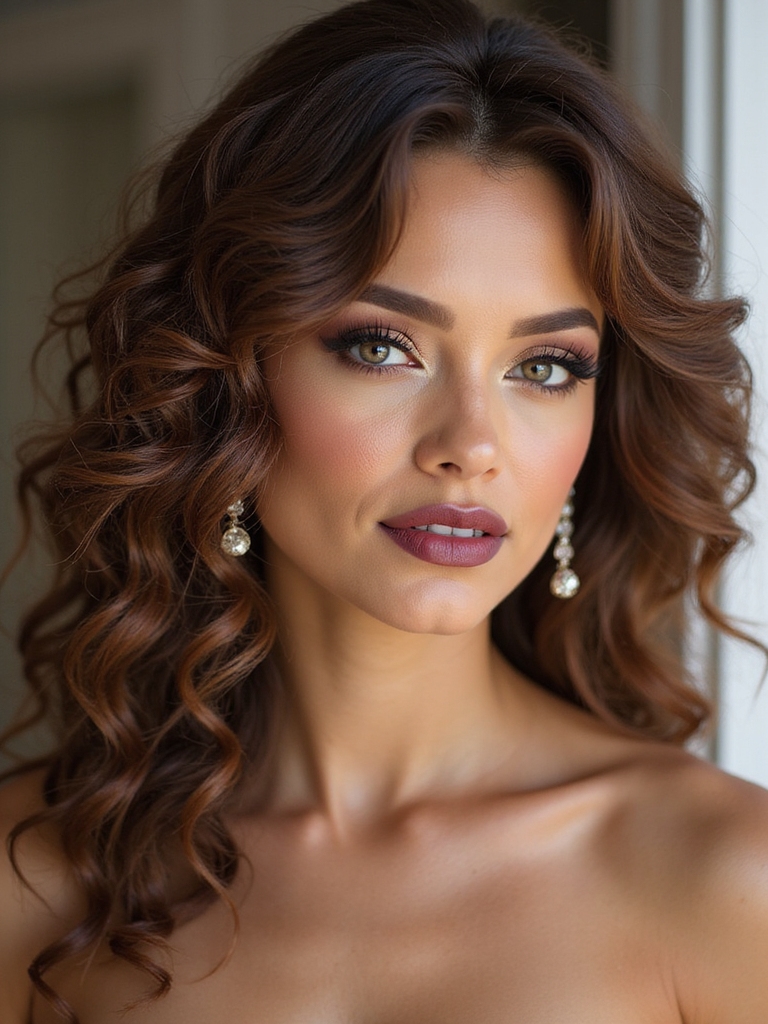
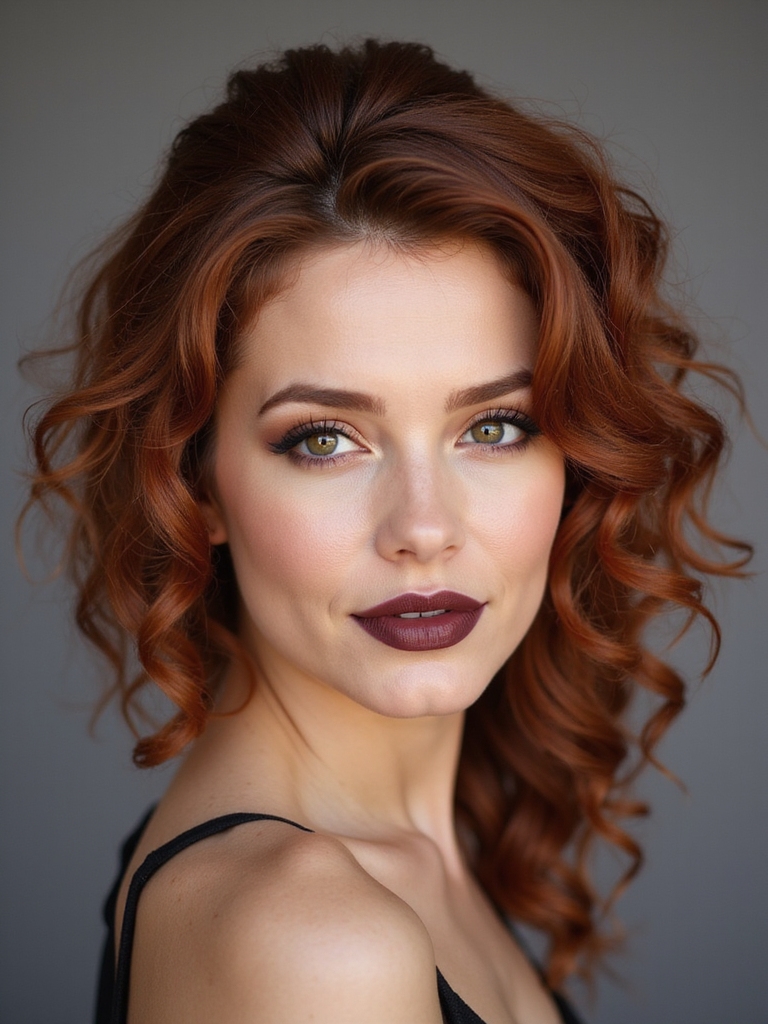
Statement Side-Swept Curls Pinned With Accessories
I love how statement side-swept curls instantly turn a simple look into something cinematic.
I gather glossy curls to one shoulder, secure with discreet pins, then add a jeweled comb or pearl clips for sparkle.
Keep volume at the roots, mist with flexible-hold spray, and tuck stray tendrils for balance.
It’s romantic, controlled, and photograph-ready without feeling stiff.
Textured Low Bun With Airy Frizz Control
When I build a textured low bun for curly hair, I start by choosing lightweight creams and a gentle gel so your curls stay defined without looking stiff.
I’ll show you simple curl-definition moves — scrunching and finger-twisting — that create bounce and separation before I loosely coil the hair into a soft, secure knot.
Finally, I’ll explain how to pin discreetly and mist with an airy frizz-control spray so your style holds through vows and photos while keeping movement and softness.
Prep and Product Selection
Start by getting personal with your hair: I examine its curl pattern, porosity, and where frizz usually shows up so the products I pick actually work with—not against—my texture.
I prep with gentle cleansing, light conditioning, and targeted products to shape a soft low bun without stiff cast.
- Sulfate-free cleanser
- Lightweight conditioner
- Anti-frizz serum
- Flexible hold cream
Curl Definition Techniques
Having prepped and chosen products that play nicely with your curl pattern, I move into shaping definition so the low bun reads textured rather than flat.
I coax individual ringlets with a dampened finger-twist, enhancing loops with a light cream for separation.
I tease root lift for airy movement, pinning defined strands into a soft, sculpted bun that keeps bounce and romance alive.
Secure yet Soft Finishing
I finish by gently anchoring those crafted coils so the bun feels secure without losing its soft, romantic edge.
I tease tiny face-framing tendrils, mist with flexible spray, and tuck stray pieces for airy texture. For a lasting, breathable hold try:
- Soft-gel for roots
- Pin strategically at base
- Lightweight hairspray
- Touch-up oil for sheen
Polished Curly Top Knot With Tamed Flyaways
Pull your curls into a high, polished top knot and watch the whole look shift from casual to bridal-chic in an instant.
I smooth edges with a lightweight gel, coaxing flyaways toward the crown with a soft brush and bobby pins.
A dab of serum on finger-tips tames frizz without flattening curl texture, leaving a luminous, elegant silhouette that holds through vows and photos.
Wet-Look Defined Curls for a Modern Edge
If you liked the polished top knot, try leaning into a wetter, more modern finish that celebrates each curl’s shape instead of hiding it.
I coax shine and hold with gel, scrunching gently to define spirals and avoid crunch.
Finish with a mist to soften edges and keep movement natural.
- Apply gel to soaking curls
- Scrunch root to tip
- Diffuse on low
- Seal with mist
Romantic Waterfall Braid Into Cascading Curls
Imagine weaving a delicate trail of hair that spills like a small waterfall down the side of your head—I love how the waterfall braid frames the face while leaving the rest of your curls free to tumble.
I recommend gently pulling pieces loose for softness, securing discreetly with pins, and finishing with a lightweight mist to define coils without stiffness for a romantic, effortless bridal look.
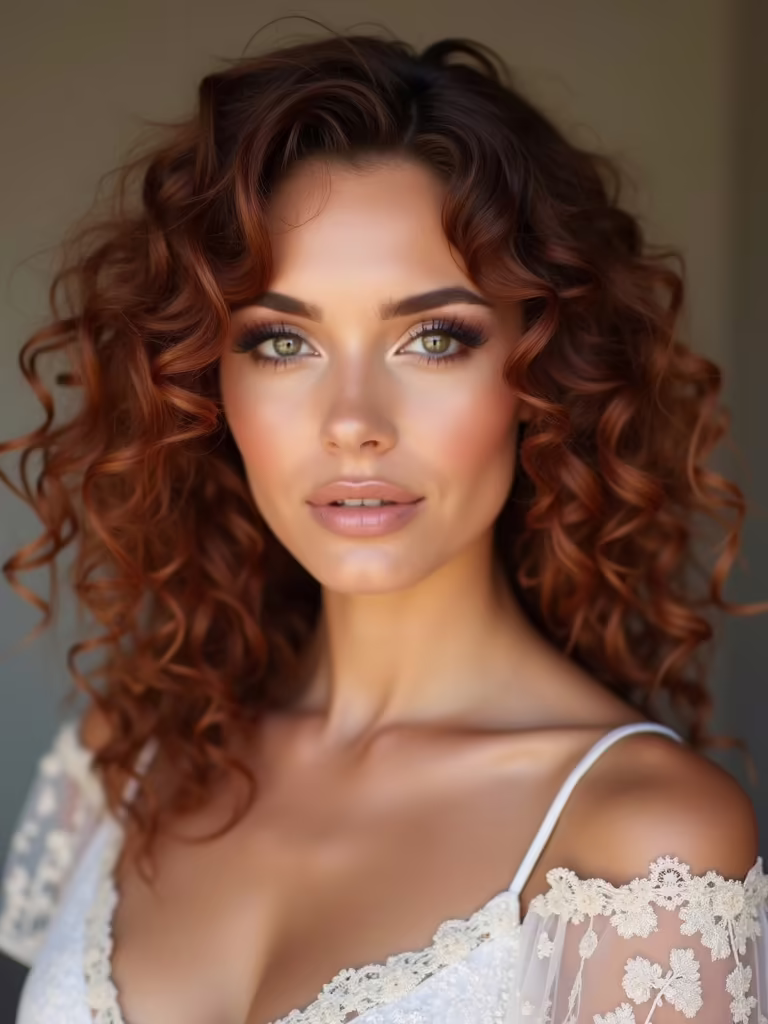
Floral-Embellished Loose Curly Cascade
After the waterfall braid, I often like to let curls take center stage with a floral-embellished loose cascade that feels both effortless and intentional.
I tuck small blooms through defined ringlets, mist lightly for hold, and tease the roots for soft lift so flowers sit naturally.
My quick checklist:
- Choose moisture-friendly flowers.
- Secure with pins near curl base.
- Use lightweight spray.
- Refresh curls gently.
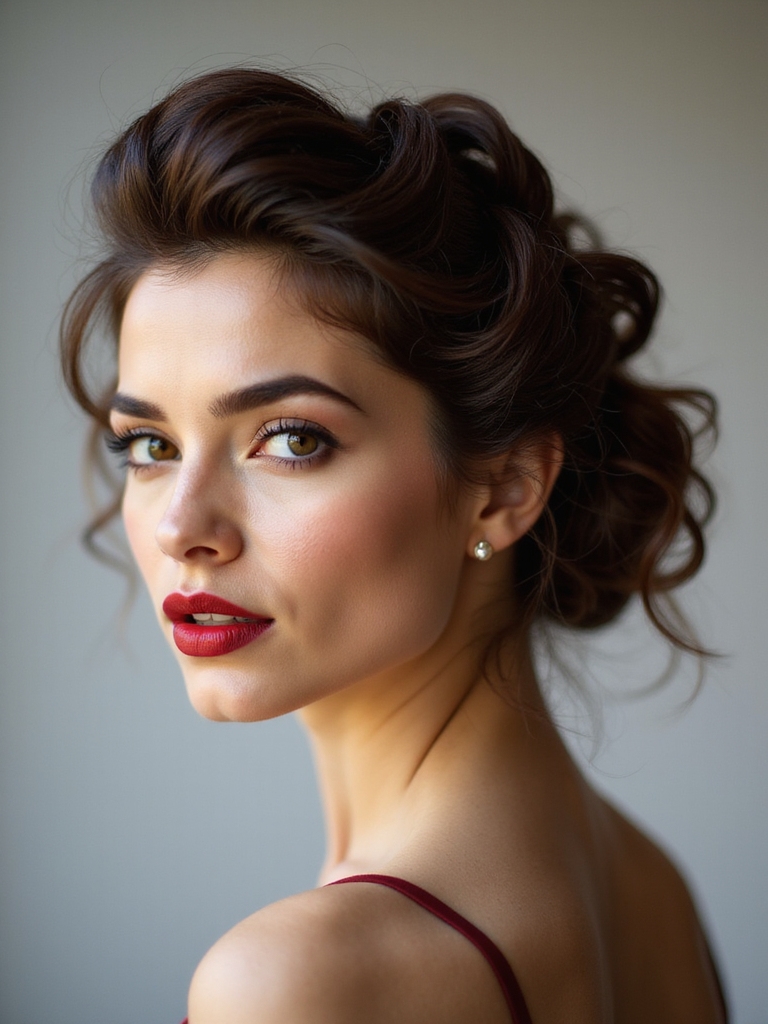
Asymmetrical Curly Updo With Sculpted Volume
I love creating an asymmetrical curly updo with sculpted volume because it lets me play with shape and balance while keeping your curls looking lush and intentional.
I’ll lift one side, define coils with cream, and pin sections into a cascading swoop.
We’ll set strategically with hairspray, tease the crown slightly, and leave a few tendrils for softness and movement.
Long Layered Curls With Bridal Veil Integration
When you want your long layered curls to look effortlessly romantic beneath a veil, I’ll shape each layer so the movement reads naturally from crown to ends and the veil sits without flattening your volume.
I’ll secure discreet pins, tease gently at roots, and mist lightly for hold — then let soft ringlets peek beneath tulle.
- Layer balance
- Pin placement
- Veil attachment
- Product choice
I hope these curly wedding styles sparked your imagination — after all, 64% of brides say photos of their hair are among the top three things they obsess over when planning, so you’ll want looks that feel unforgettable.
Trust your curls: pick one showstopping element (volume, flowers, or a braid) and let the rest breathe. With a few right products and a calm touch, your ringlets will tell your love story in glossy, romantic detail.