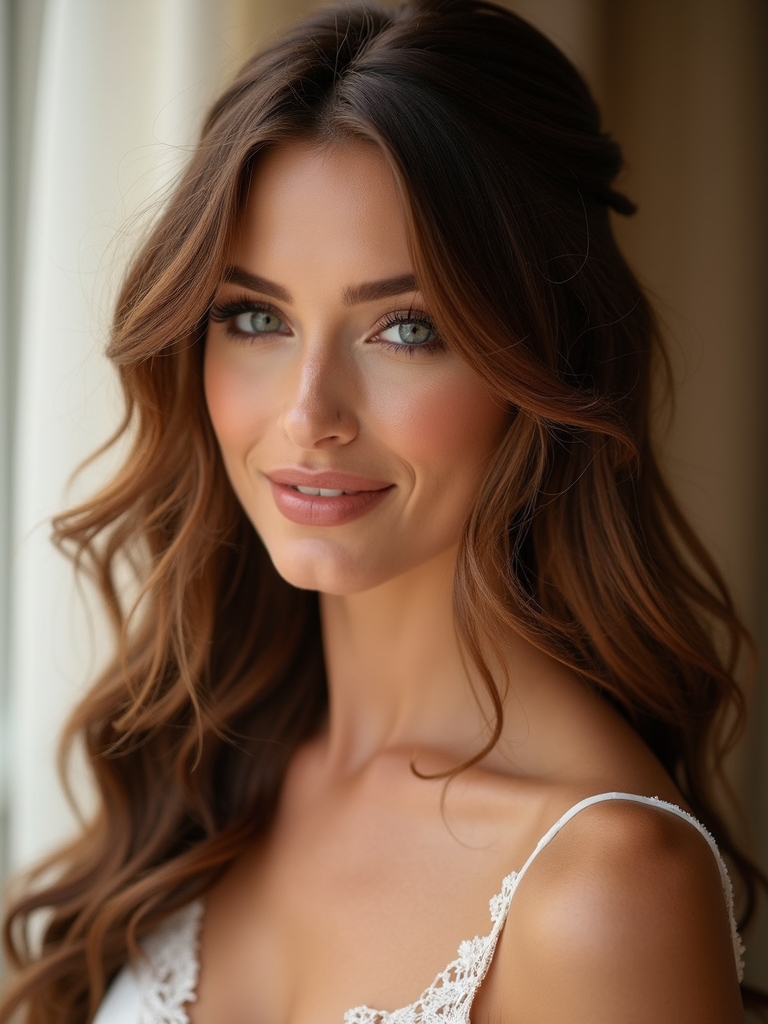
I love pairing British-inspired fascinators with bridal hair because they add instant, photogenic elegance without feeling fussy. I picture your gown, venue, and hair—low chignons get sculpted pieces, loose waves suit airy feathers, and pixies take a small, sculpted accent.
I balance color, texture and placement so the headpiece lifts your face and moves with you. Try a trial to test comfort and stability, and I’ll show how each choice changes the whole look.
Choosing the Right Fascinator for Your Wedding Style
When I help brides choose a fascinator, I start by picturing the whole scene—the gown’s silhouette, the venue’s mood, and the hairstyle you’ll wear—because a fascinator should feel like the final brushstroke, not an afterthought.
I ask about fabric and color, then suggest scale and placement that balance your dress and face, imagining light catching feathers or satin without overpowering you.
Photographers often prefer fascinators that complement the day’s hairstyles your photographer will love to create cohesive, photogenic portraits.
Pairing Fascinators With Different Veil Types
I love showing brides how a bold fascinator can spark against a short veil, like a bright bloom atop a clean neckline.
For long veils I usually recommend a lower placement so the headpiece and cascading fabric breathe together rather than compete.
Tell me your veil length and I’ll suggest placements and styles that keep everything balanced and beautiful.
Enchanted wedding hairstyles often use veils to create fairytale magic that complements structured headpieces.
Short Veils, Bold Fascinators
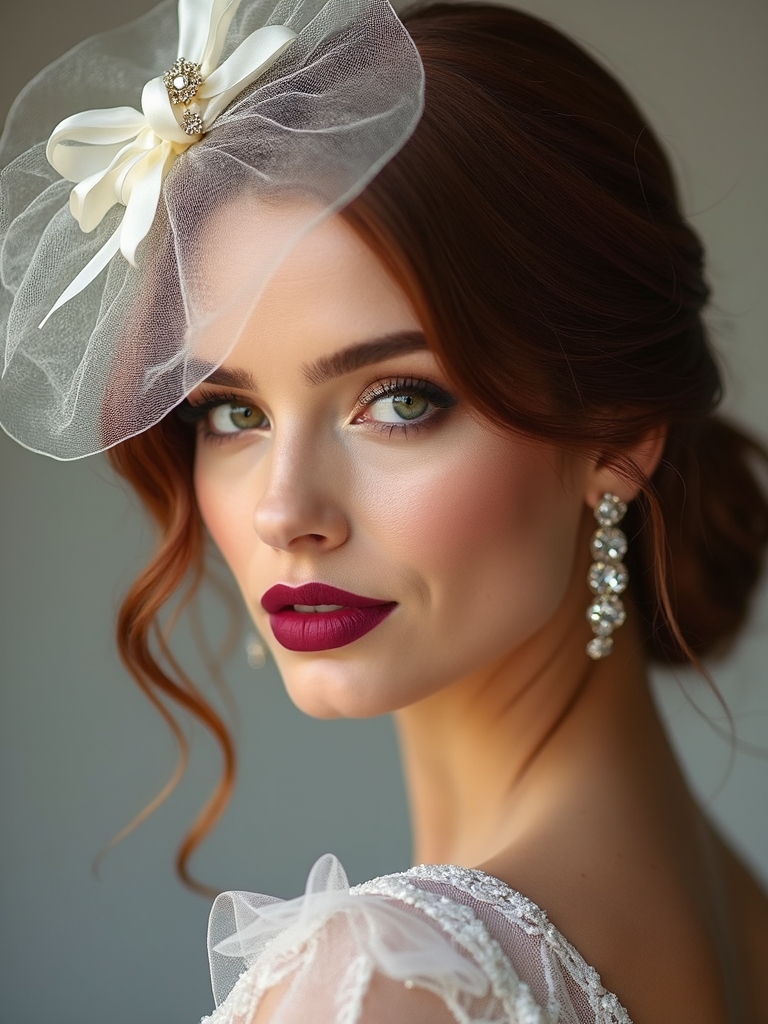
Pair a bold fascinator with a short veil and you’ll create a chic, modern silhouette that still feels bridal. I love how the veil’s soft whisper contrasts the fascinator’s confident flourish, framing my face without hiding it.
Choose delicate tulle or birdcage mesh to keep things light; let a floral or feathered fascinator punctuate your look, playful yet refined.
Many brides also favor sleek pony hairstyles to balance the headpiece and veil, keeping the overall look polished and comfortable.
Long Veils, Low Placement
You’ve seen how a short veil and a bold fascinator make a crisp, modern statement; now I’m reaching for the opposite mood.
I love placing a delicate fascinator low at the nape, letting a long, flowing veil spill like silk. It softens profiles, elongates the silhouette, and feels quietly regal—perfect for sweeping aisle moments and timeless, romantic portraits.
Inspired by timeless low bun styles, this pairing highlights low bun elegance for a refined bridal look.
Fascinator Placement: Front, Side, or Back
I’ll walk you through how placement changes everything—front pieces need careful balance so they frame your face without overpowering it.
A side-angled fascinator can add playful movement and sculpt your profile, while a back-anchored piece offers secure support and a touch of classic elegance.
Sleek ponytails can pair beautifully with fascinators to create a modern, chic silhouette, especially when the fascinator complements the ponytail’s clean lines sleek ponytail.
Front Placement Balance
When I place a fascinator at the front, it frames my face like the opening brushstroke of a portrait, drawing attention to my eyes and cheekbones while setting the tone for the whole look.
I balance scale and placement to avoid overpowering features, choosing lightweight pieces and gentle curves that echo my haircut, creating harmony between ornament and face for a refined, confident presence.
Photographers especially adore side hairstyles for weddings because they create flattering angles and movement that translate beautifully on camera.
Side Placement Angle
At a slight tilt over my temple, a fascinator becomes a wink rather than a statement, angling the eye along the curve of my cheek and lending movement to an otherwise still profile.
I tuck it near my ear to frame one side, letting feathers or netting flutter with my smile; it whispers asymmetry, draws attention without shouting, and balances hair swept gently to the opposite side.
Effortless updos can make the whole look seem intentionally luxe with minimal fuss, especially when paired with wedding updos.
Back Placement Anchoring
Sliding the fascinator from my temple to the nape changes the mood entirely — what was flirtatious becomes quietly anchored.
I love how the back placement feels like a secret punctuation, lifting a low chignon with gentle structure and old‑world poise.
It steadies movement and lets veils or trains shine without competing, a small sovereign touch at the heart of my silhouette.
- steadies loose tendrils
- complements low buns
- pairs with veils
- balances long necklines
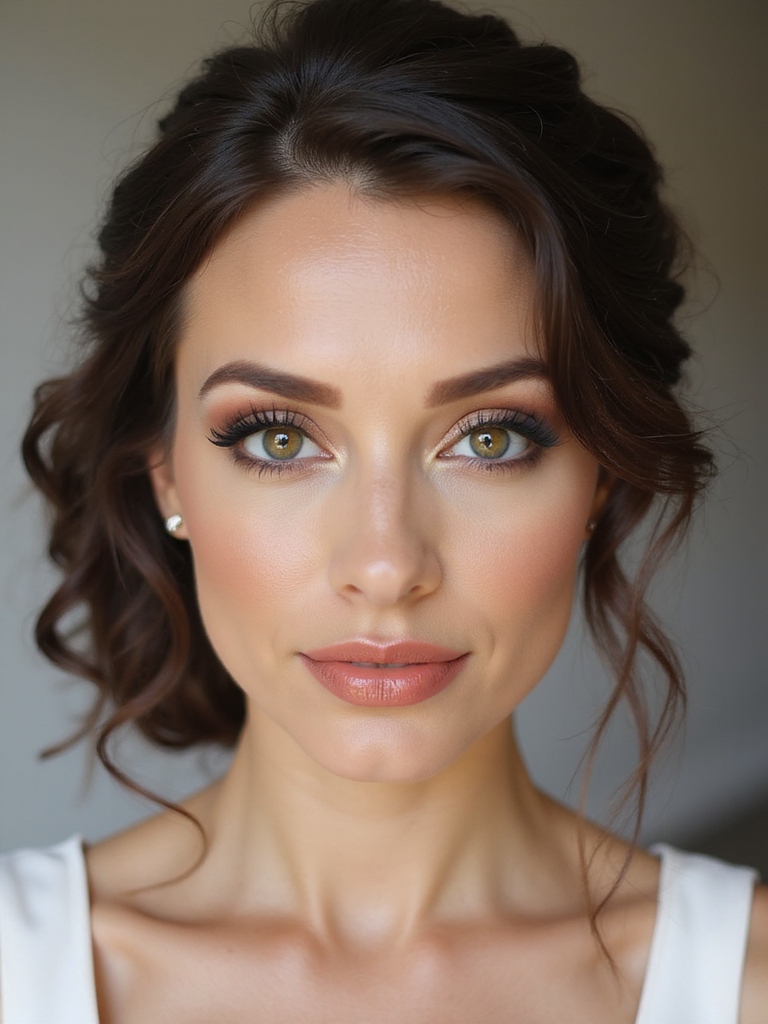
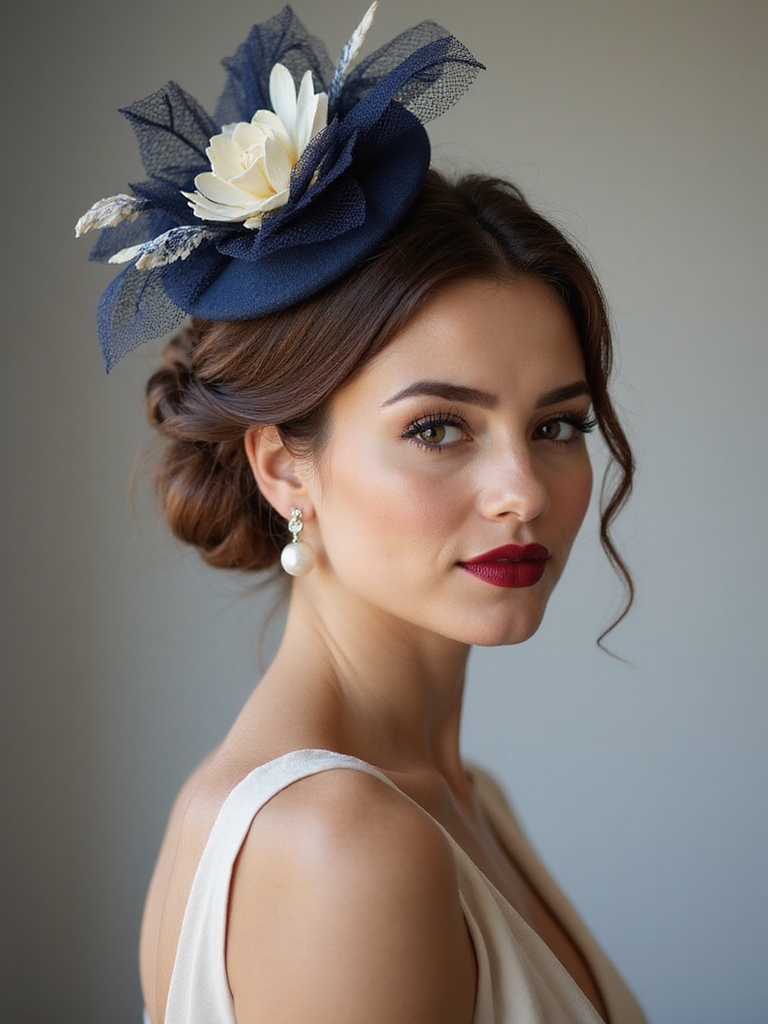
Low Chignons and Elegant Fascinators
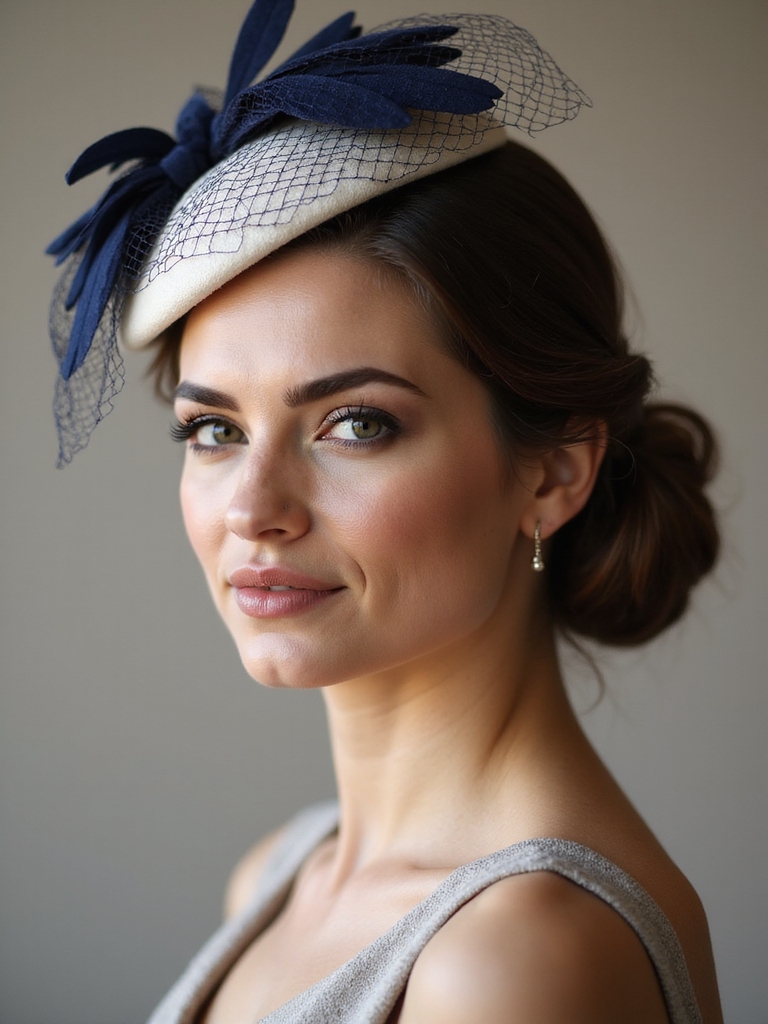
If I want to keep my look quietly refined, I turn to a low chignon paired with an elegant fascinator—the smooth curve of the bun grounds the style while the fascinator lifts the eye with a touch of whimsy.
I imagine satin coils at the nape, a feathered or beaded piece angled just so, and feel polished yet playful, suited to classic venues and intimate vows.
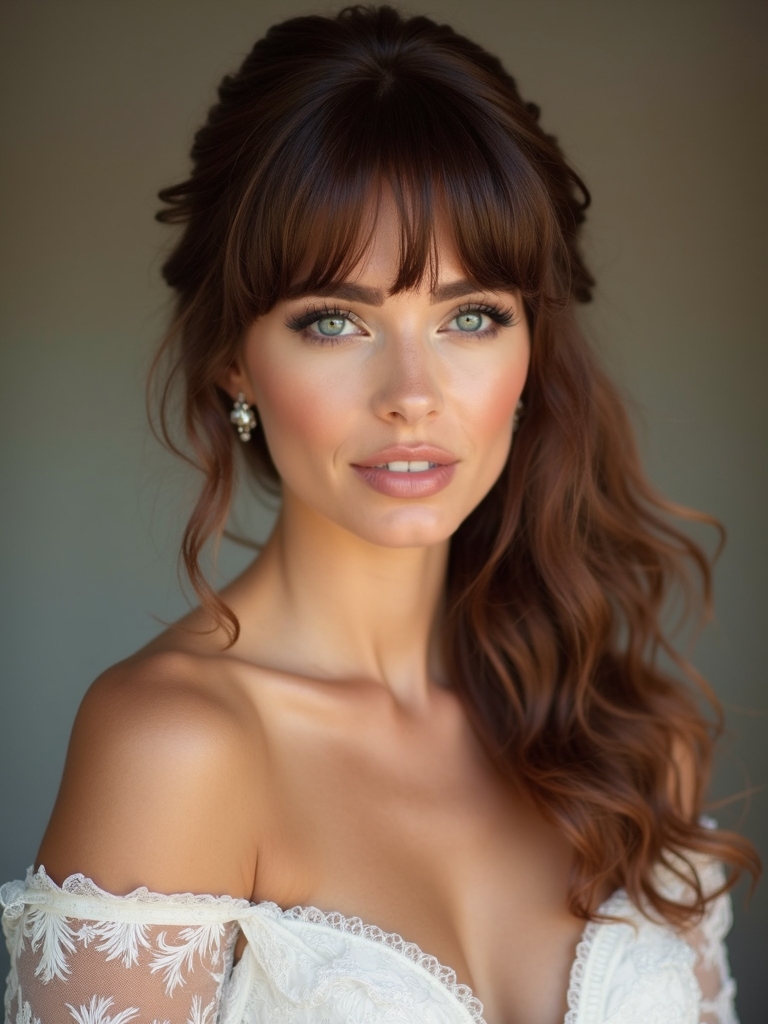
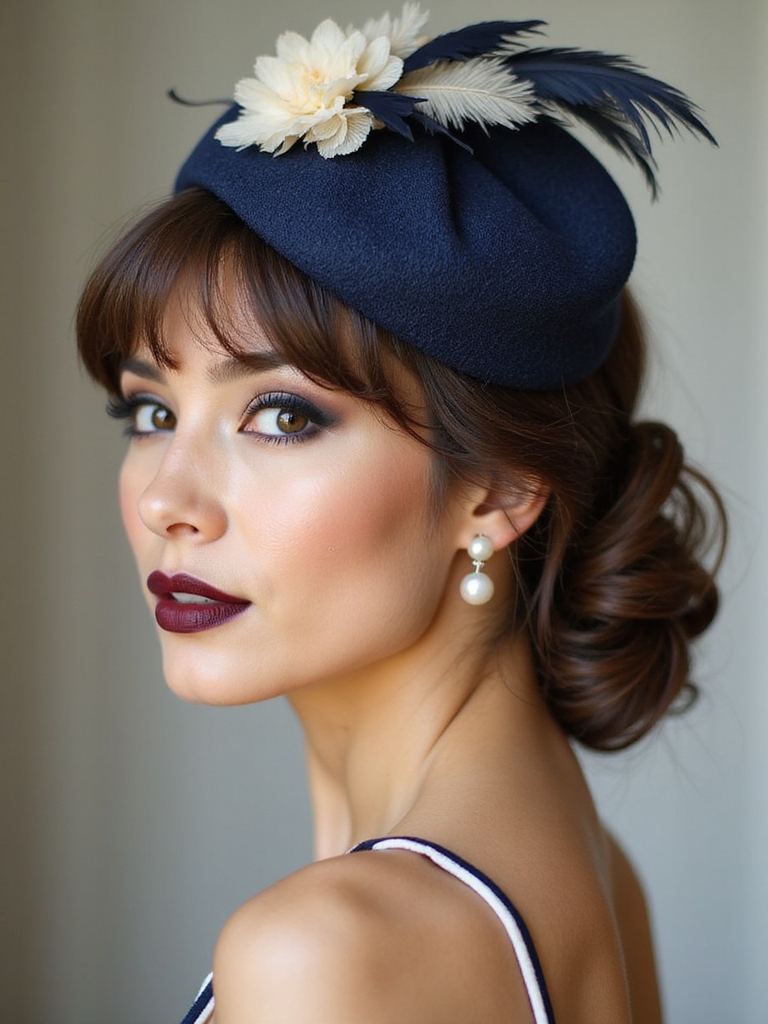
Loose Waves and Romantic Fascinators
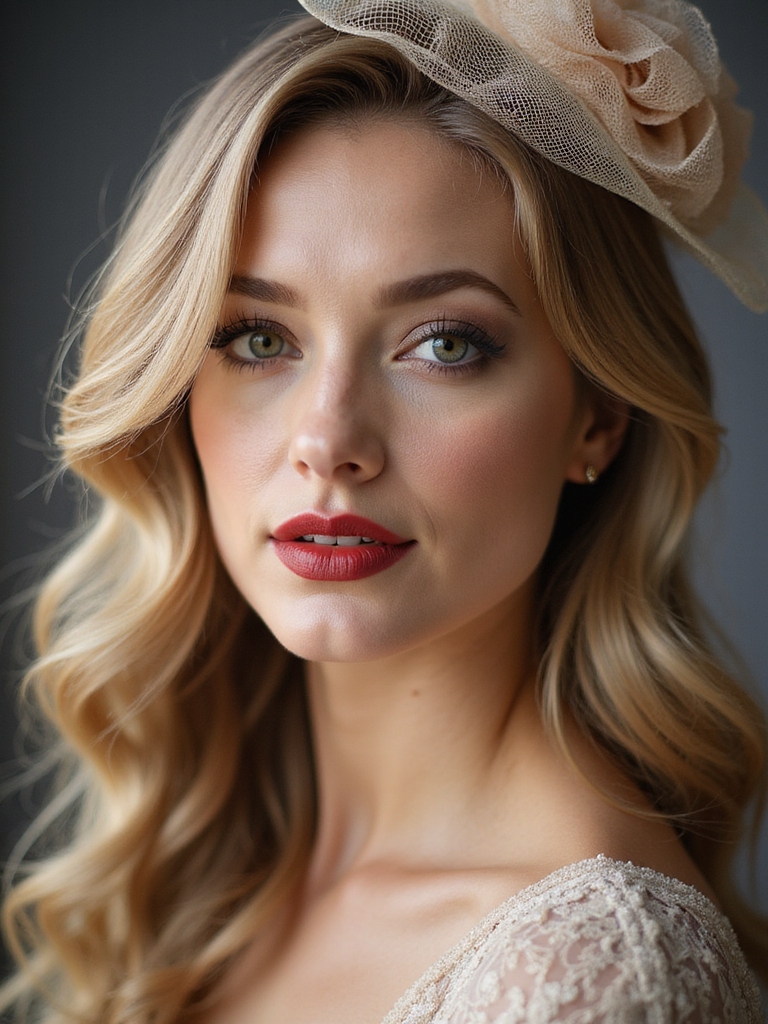
I love how a low chignon feels polished, but sometimes I want something softer—loose waves and a romantic fascinator offer that gentle, unbuttoned elegance.
I picture sunlit tresses, a delicate veil of netting, and a feathered bloom tucked above the ear, swaying as you smile.
- Soft, brushed waves
- Petite, airy fascinators
- Side placement for balance
- Light hold, natural movement
Vintage-Inspired Finger Waves With Mini Fascinators
I love placing classic finger waves so the ripples frame the face like satin ribbons, and a tiny fascinator perched just above the brow adds the perfect vintage punctuation.
I’ll walk you through secure attachment tricks—combs, discreet pins, and balancing for comfort—so your mini fascinator won’t budge through vows and dances.
Then we’ll finish with targeted sprays and setting touches that keep the sculpted waves glossy and strong without stiffness.
Classic Finger Wave Placement
While arranging the little comb into my hair, I picture the soft S-shaped ripples of finger waves framing your face and the tiny fascinator perched just above one brow, like a pearl on a velvet ribbon.
I guide waves to balance forehead and cheek, creating a vintage silhouette that feels modern and poised.
- Anchor waves toward the temple
- Emphasize one-sided symmetry
- Keep waves glossy, soft
- Position fascinator for contrast
Mini Fascinator Attachment Tips
Let’s pin this piece into place with care: I tuck the mini fascinator so it complements the S-shaped waves, not competes with them, aiming for a harmony that reads vintage and effortless.
I anchor with discreet grips beneath a wave, angle the piece toward the face, and soften edges with a fingertip. Small moves keep it secure, balanced, and gracefully poised for photos.
Finishing Sprays and Hold
Usually I finish with a light, deliberate mist that locks the S-shaped waves without turning them crunchy, because a soft sheen keeps the vintage silhouette alive and photographable.
I tip the head, spray from a distance, and press gently with gloved fingers so the mini fascinator sits seamlessly. Try these finishing touches:
- Flexible-hold spray for movement
- Shine mist for luster
- Brush-through for softness
- Secure with micro-pins
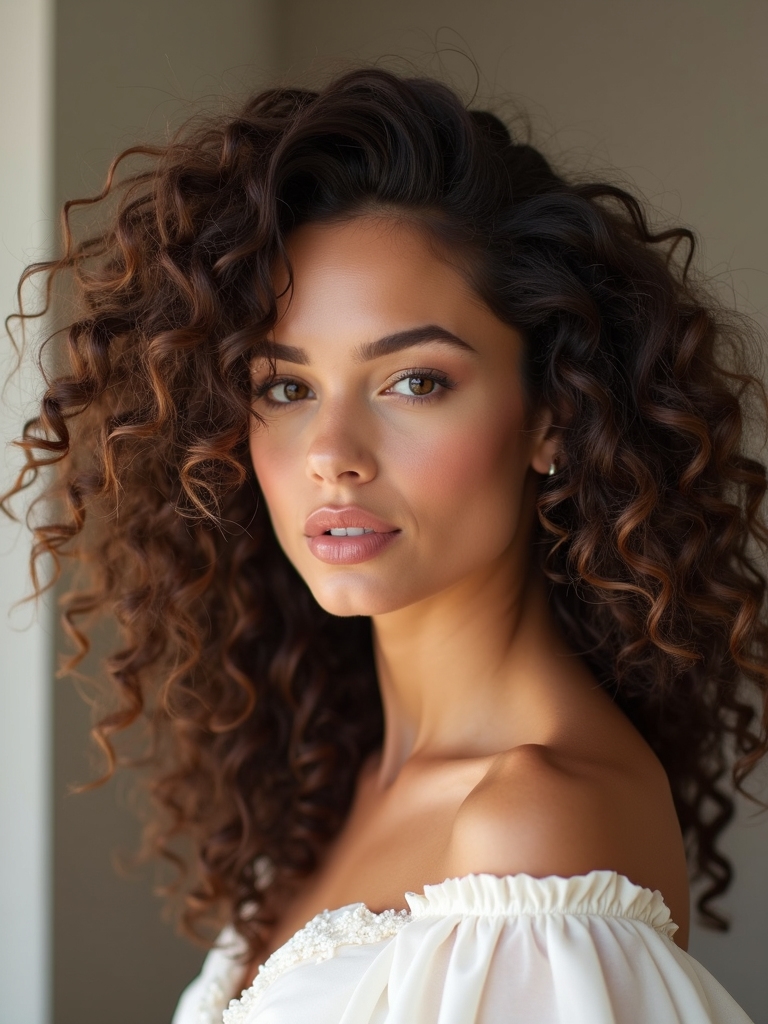
Braided Styles That Complement Fascinators
If you want a look that’s both romantic and neat, I reach for braids that frame the face and anchor a fascinator without stealing the show.
I’ll braid softly along the hairline into a low side plait or halo braid, tucking ends beneath the headpiece.
The texture balances millinery structure, keeps flyaways at bay, and feels effortlessly polished for photos and vows.
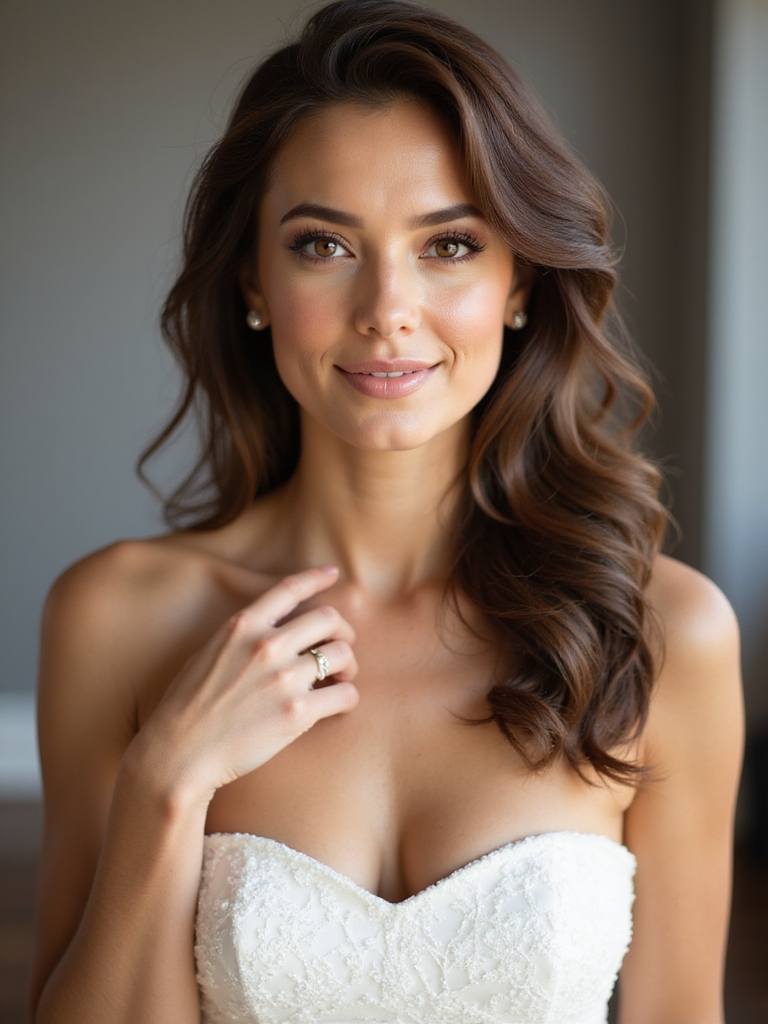
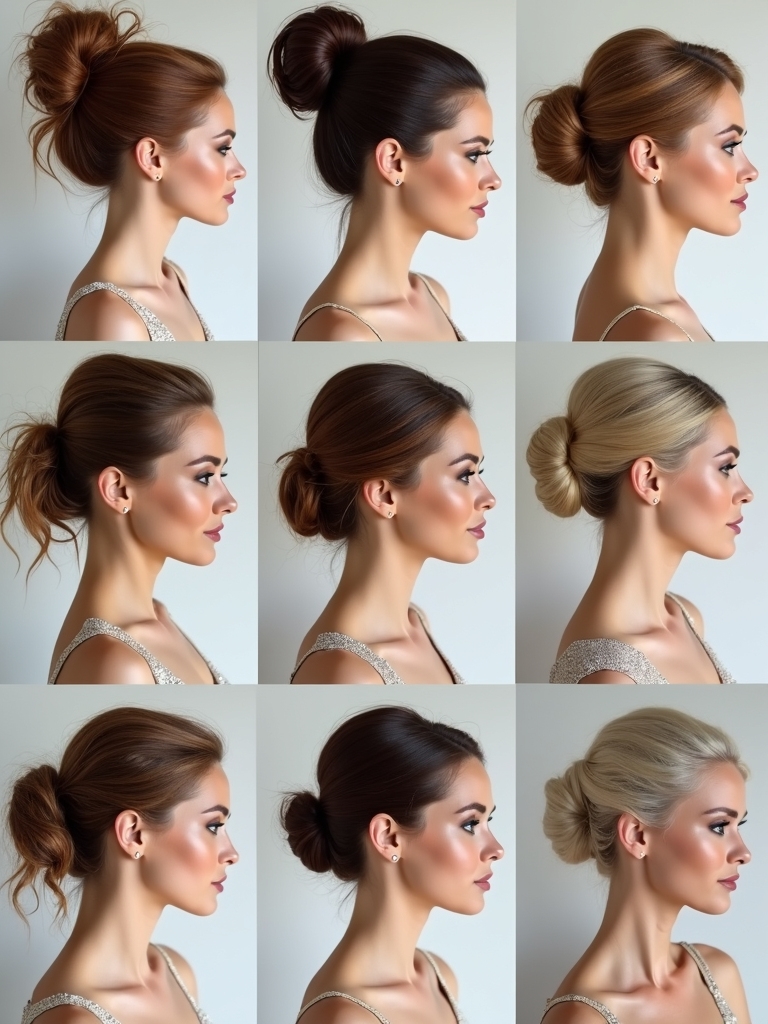
Updos for Formal Ceremonies With Statement Fascinators
Braids work beautifully for softer affairs, but when the ceremony calls for formality and a statement fascinator, I reach for structured updos that hold shape and polish the whole look.
I choose styles that frame the face, balance ornament weight, and photograph cleanly—sleek chignons, low buns, sculpted rolls—so the fascinator feels intentional, not tacked on.
- Sleek chignon
- Low twisted bun
- Sculpted side roll
- Polished French twist
Short Hair Solutions: Wearing a Fascinator With Pixie and Bob Cuts
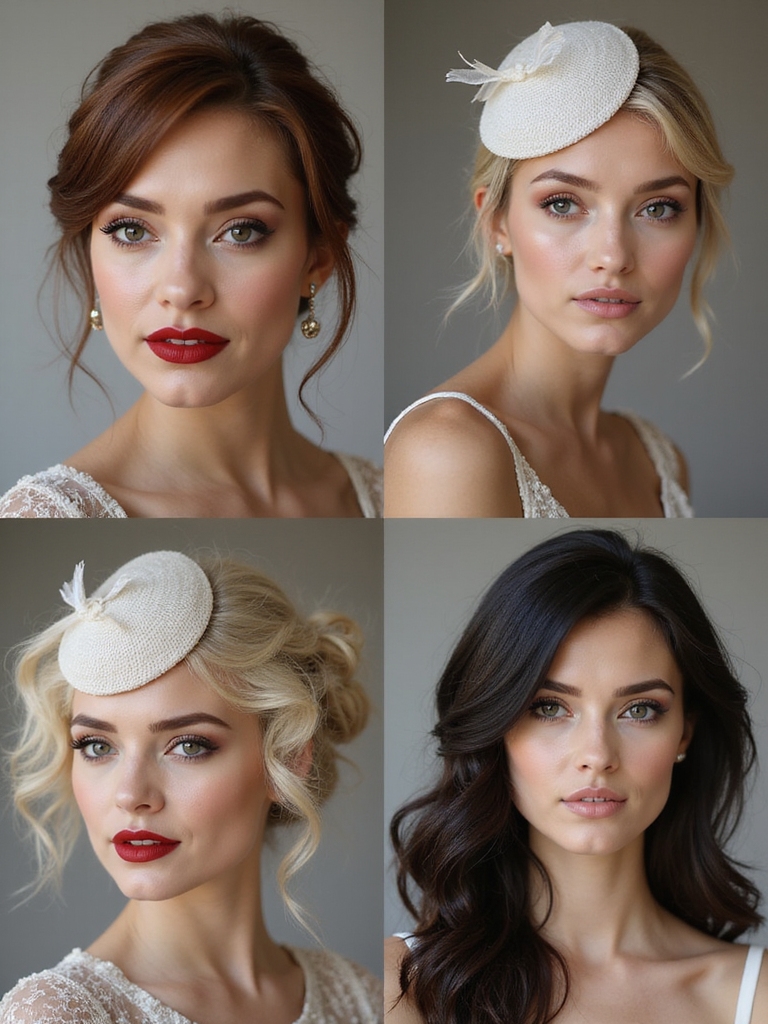
When I work with pixies and bobs, I think regarding balance and texture: a small, well-placed fascinator can lift the whole look without overwhelming short hair.
I guide you toward pieces that echo your cut—soft feathers for movement, sculpted shapes to add height, a touch of color to frame the face.
The result feels fresh, polished, and effortlessly chic.
Securing Your Fascinator: Pins, Combs, and Headbands
When I’m choosing how to anchor a fascinator, I picture the balance between subtle pins and the steadiness of a headband.
I’ll talk about which pins suit fine or thick hair and when a comb gives a cleaner, more secure hold versus the comfort and drama a headband provides.
Let’s match the right fastening to your style so it feels effortless all day.
Choosing the Right Pins
I’ll start by saying that the way you secure a fascinator can make or break the whole look—too loose and it slips, too heavy and it pulls at your scalp—so picking the right pins matters more than you might think.
I test lengths and finishes, trusting pins that grip without snagging hair, invisible support that preserves the silhouette.
- U-shaped hairpins for gentle hold
- Long millinery pins for structure
- Grip-coated pins to prevent slip
- Short pins for delicate pieces
Combs Versus Headbands
Pins give you subtle, nearly invisible support, but sometimes you want something that feels more anchored or offers a different silhouette—so let’s compare combs and headbands and how they change both fit and finish.
I prefer combs for sleek, tucked looks that hug hair like a secret; headbands give bold frames, effortless comfort, and a playful tilt that shifts style instantly.
Matching Fascinator Colors and Textures to Your Dress
Although a fascinator can be a bold statement on its own, I always start by looking at the dress’s color and fabric so the headpiece feels like it belongs, not like an afterthought.
I choose tones that echo or gently contrast and match textures—lace with lace, silk with silk—to create a seamless, intentional look.
- Echo dominant dress hues
- Contrast with a soft accent shade
- Match texture weight (light vs. structured)
- Repeat a small motif for cohesion
Balancing Accessories: Jewelry, Bouquets, and Fascinators
When I balance a fascinator with jewelry and a bouquet, I treat your headpiece as the conversation starter rather than the whole conversation: necklaces, earrings, and blooms should respond to it, not compete.
I choose one focal motif—pearl, petal, or sparkle—then echo its scale and tone in softer accents. The result feels intentional, light, and harmoniously British.
Comfort Tips for Wearing a Fascinator All Day
With a little planning, I make sure my fascinator feels like a natural extension of the outfit—not a guest that overstays its welcome—so I can enjoy the day without fidgeting.
I choose light materials, secure placement, and brief touch-ups. Comfort keeps me radiant.
- Pin at the firmest point
- Choose breathable bases
- Use cushioned clips
- Pack a mini comb and hairspray
Styling Fascinators for Outdoor and Destination Weddings
On sun-dappled lawns or windswept clifftops, I pick fascinators that feel at home outdoors—lightweight shapes that won’t battle breezes or weigh down an all-day adventure.
I favor muted palettes that echo surrounding greens and sea, secure yet unobtrusive placements, and fabrics that flutter gently.
For destination vows, I choose pieces that travel well, resist creasing, and still read elegant against natural backdrops.
Hair Trials: Testing Fascinator Placement and Stability
I always run a proper hair trial so the fascinator feels like part of me rather than an afterthought.
I watch how it moves with a breeze, test pins against my style, and adjust angle until it flatters my face. Trials calm nerves and guarantee comfort for vows and dancing.
- try different angles
- simulate walking and wind
- secure with varied pins
- photograph from all sides
As you plan, picture perfect pieces placing personality at play: I’ll help you pick a poised piece that pairs perfectly with your veil, bouquet, and blissful vibe. Whether perched front, sidelong, or subtly swept back, a fascinator finishes your look with flattering finesse.
I’ll guide you through trials for comfortable, secure styling—especially for sunlit outdoor or seaside soirees—so you can float through your day feeling free, fabulous, and utterly finished.