I know how stressful wedding photos can feel, so I’ll keep your curls defined and frizz-free with a simple plan: cleanse and deep-condition, detangle gently, apply a lightweight leave-in and a low-hold cream, then use a hydrating, alcohol-free gel on small sections.
Diffuse low and slow or air-dry, scrunch out the crunch, and finish with a light anti-humidity spray and serum for shine. Stick with my step-by-step tips and you’ll get camera-ready curls that last.
Prep: Cleansing and Deep Conditioning for Smooth Curls
Start by treating your curls like the delicate, beautiful fabric they are: I always begin with a gentle cleanse to remove product buildup and overnight oils without stripping natural moisture.
Then I deep condition, focusing on ends and knot-prone areas, detangling with my fingers.
That restores elasticity, defines coils, and creates a smooth base for styling so my engagement look lasts without collapsing or frizzing.
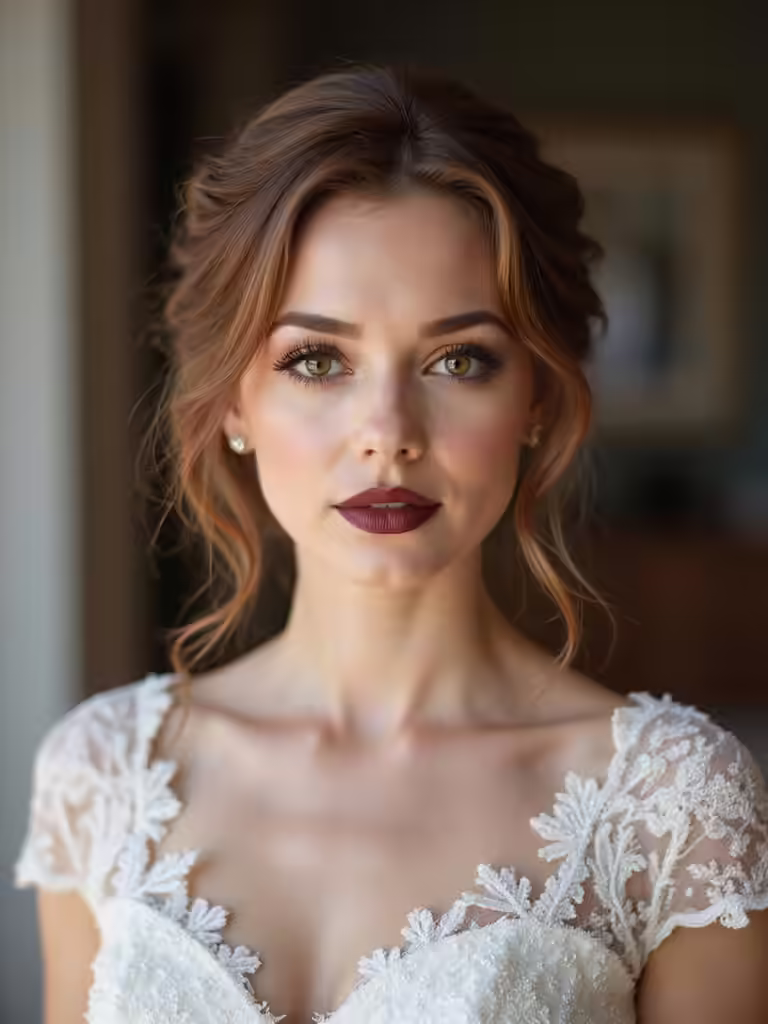
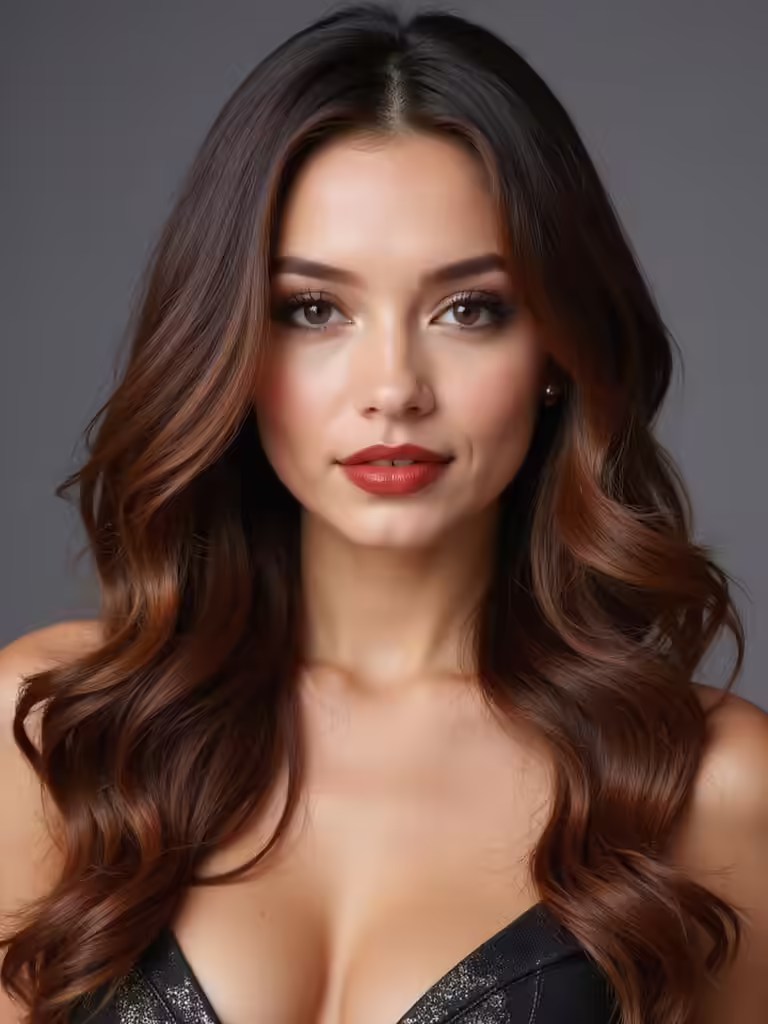
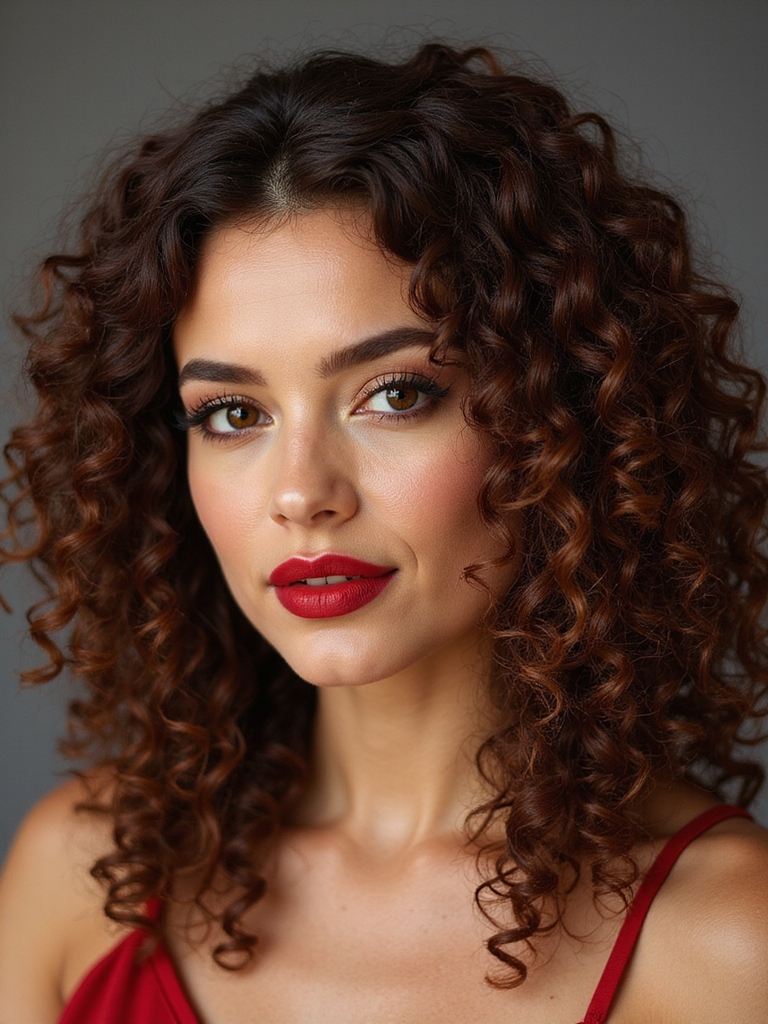
Curly Bride Hairstyles Celebrating Every Curl embracing every curl helps inspire styling choices for engagement looks.
Lightweight Leave-In and Creams to Control Frizz
I like to reach for a lightweight leave-in so my curls stay defined without feeling weighed down.
I apply it to damp hair, working from roots to ends, then layer a small amount of styling cream where I want extra hold and frizz control.
This combo gives me soft, controlled curls that last through photos and hugs.
Curly styles often benefit from products designed for textured hair to enhance natural shape and reduce frizz.
Choose Lightweight Formulas
A few lightweight products can make the biggest difference on your engagement day—I’ve learned that less often means more with curly hair.
I choose silicone-free, low-hold creams and watery leave-ins that define without weighing curls down.
They reduce frizz, keep bounce, and layer well under styling products. Trust lightweight formulas to enhance texture, not mask it, so your curls shine naturally.
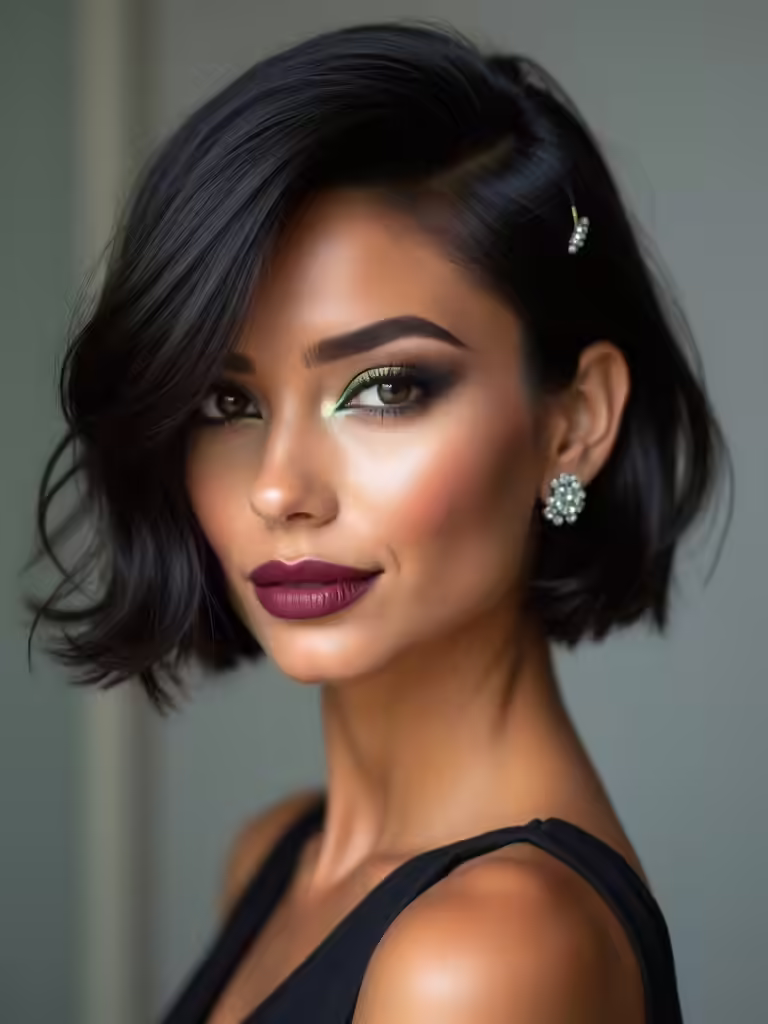
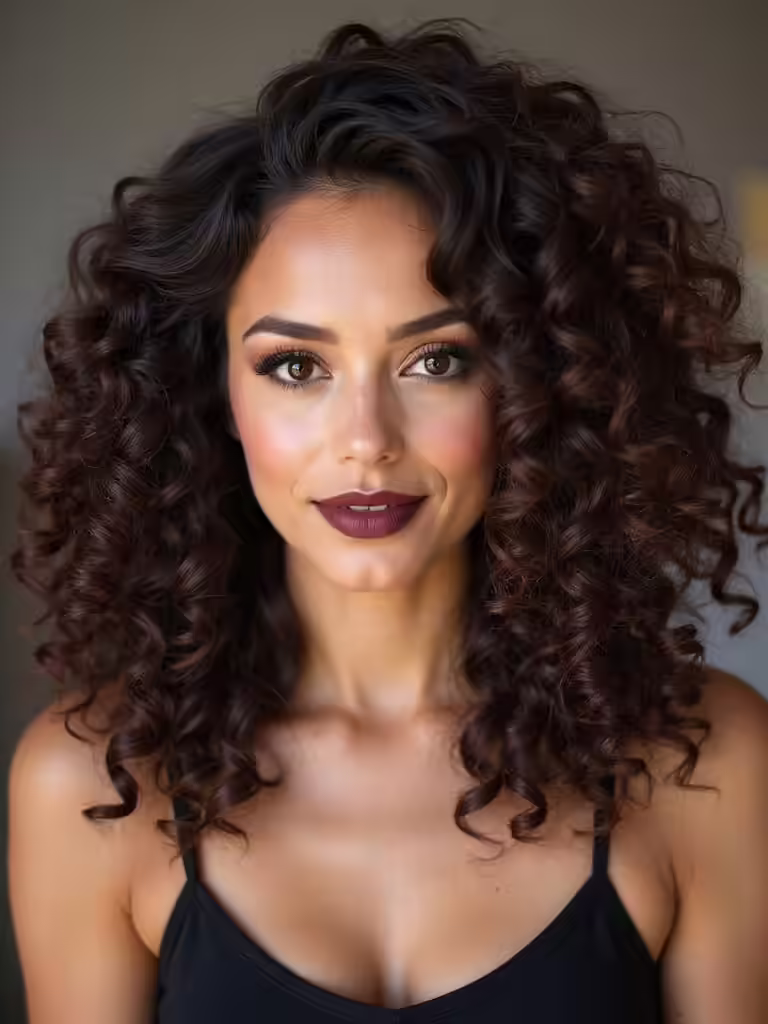
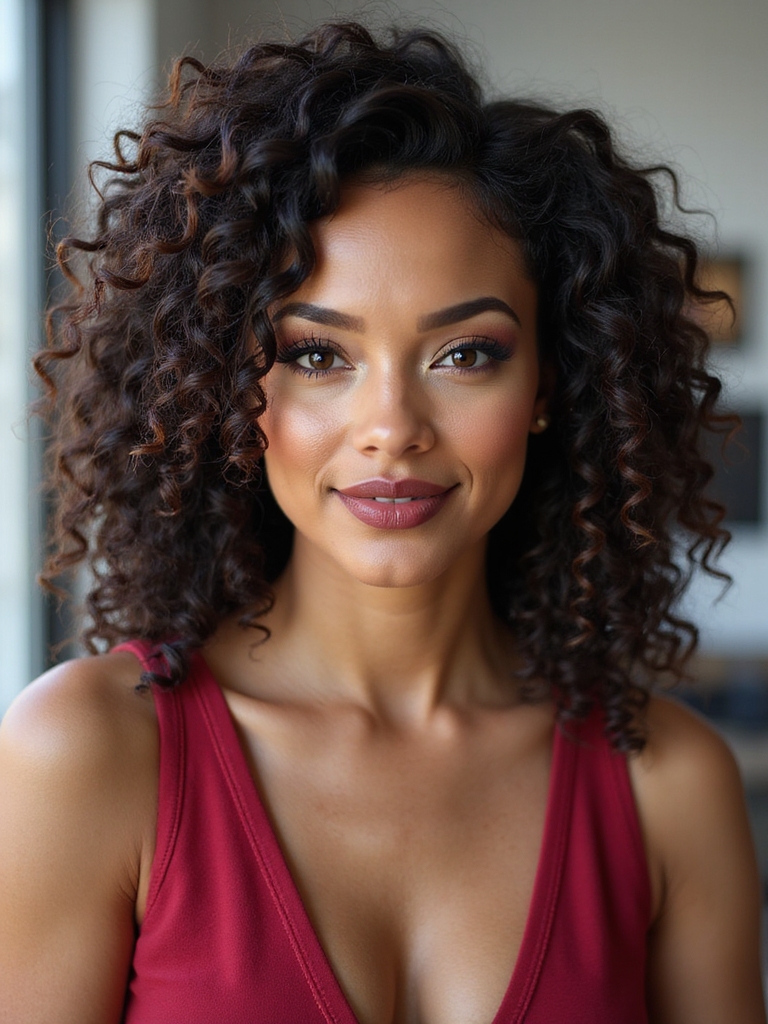
Front look open hair engagement hairstyles can inspire finishing touches that complement your curls.
Apply to Damp Curls
Since lightweight products work best, I apply them to damp curls so they absorb evenly and lock in shape without weighing hair down.
I use a small amount of leave-in and a cream focused on frizz control, raking gently from roots to ends.
This routine keeps my engagement hairstyle defined, touchable, and resilient through humidity and happy moments.
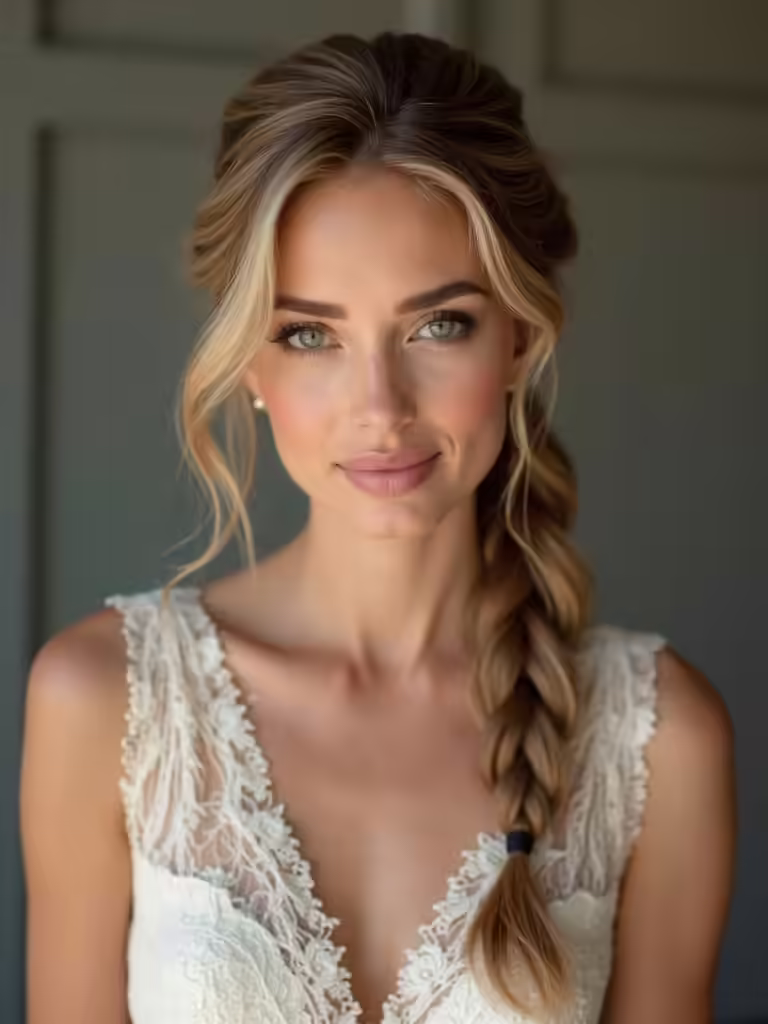
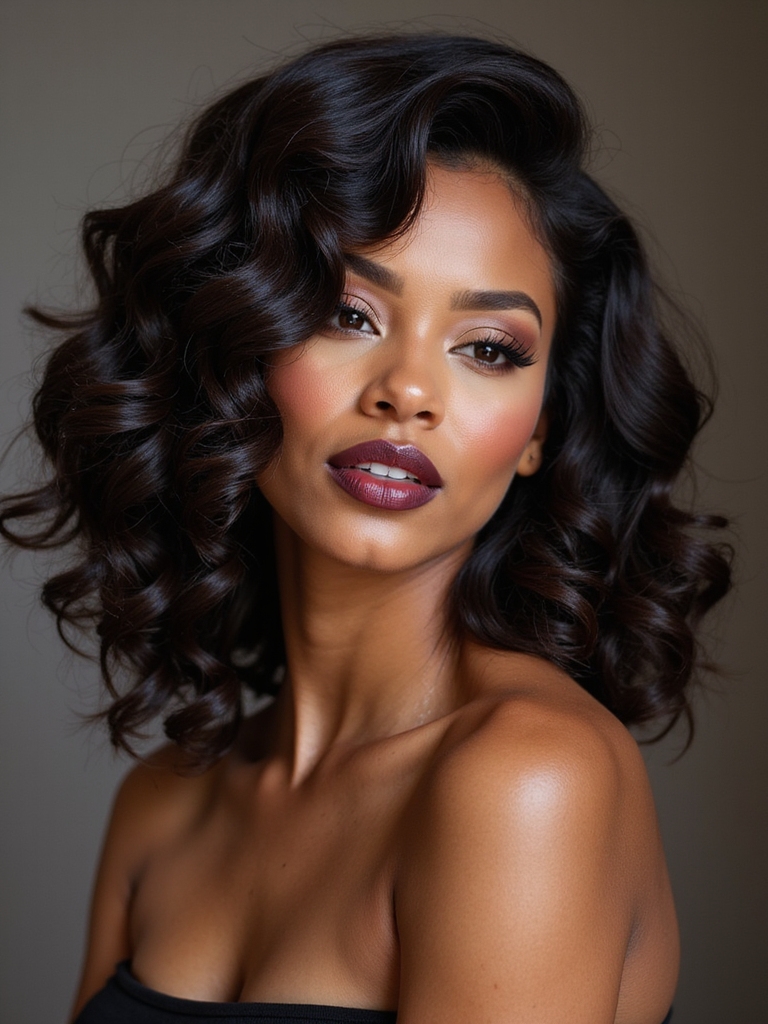
Dreamy Bridal Curls for the Modern Bride offers inspiration for styling and finishing touches, especially when aiming for bridal curly hairstyles that stay frizz-free.
Layer With Styling Cream
Start by smoothing a lightweight leave-in through your damp curls, then follow with a touch of styling cream to seal in definition and fight frizz.
I love how this combo adds hold without weight; I rake products through sections, scrunch to encourage shape, and diffuse or air-dry gently.
You’ll get controlled, bouncy curls that last through photos and hugs—confidence in every coil.
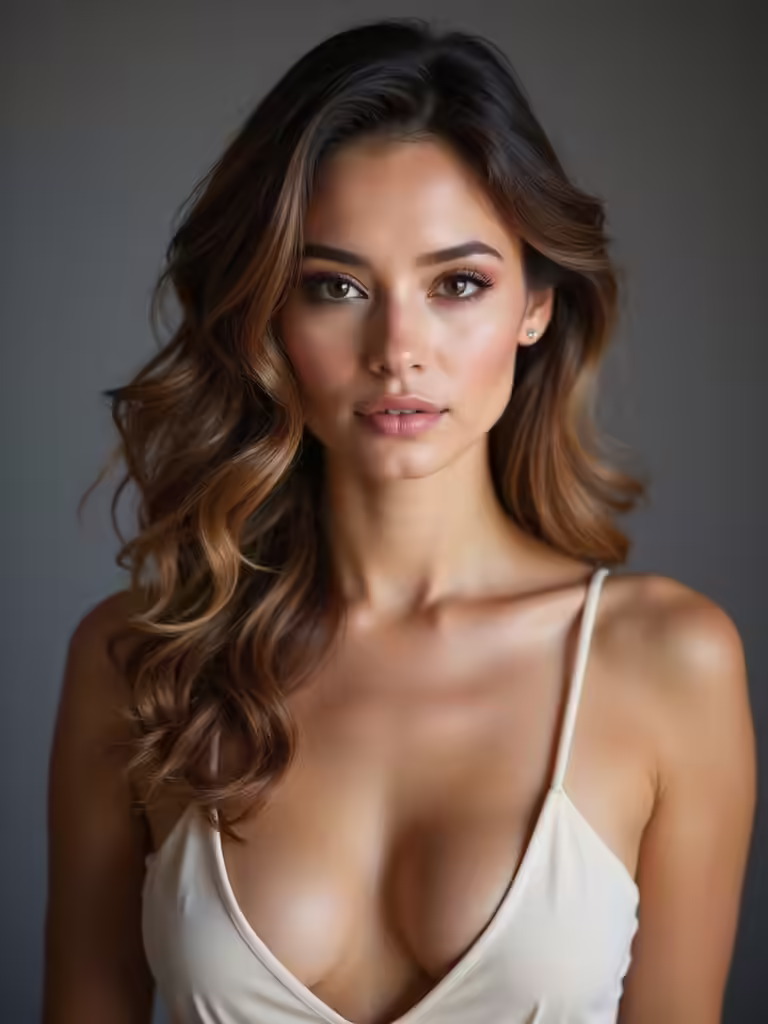
Add a finishing spray to lock in the style for all-day wear and to keep effortless curly hairstyles looking polished.
Gel and Styling Techniques for Defined Ringlets
I’ll walk you through picking a gel that matches your curl type and hold needs so your ringlets stay defined without crunchy buildup.
I’ll show a simple sectioning method for even application and how to scrunch product in to encourage natural coils.
Finally, I’ll explain drying tips—plop, diffuser, and air-dry tricks—to keep frizz down and ringlets intact.
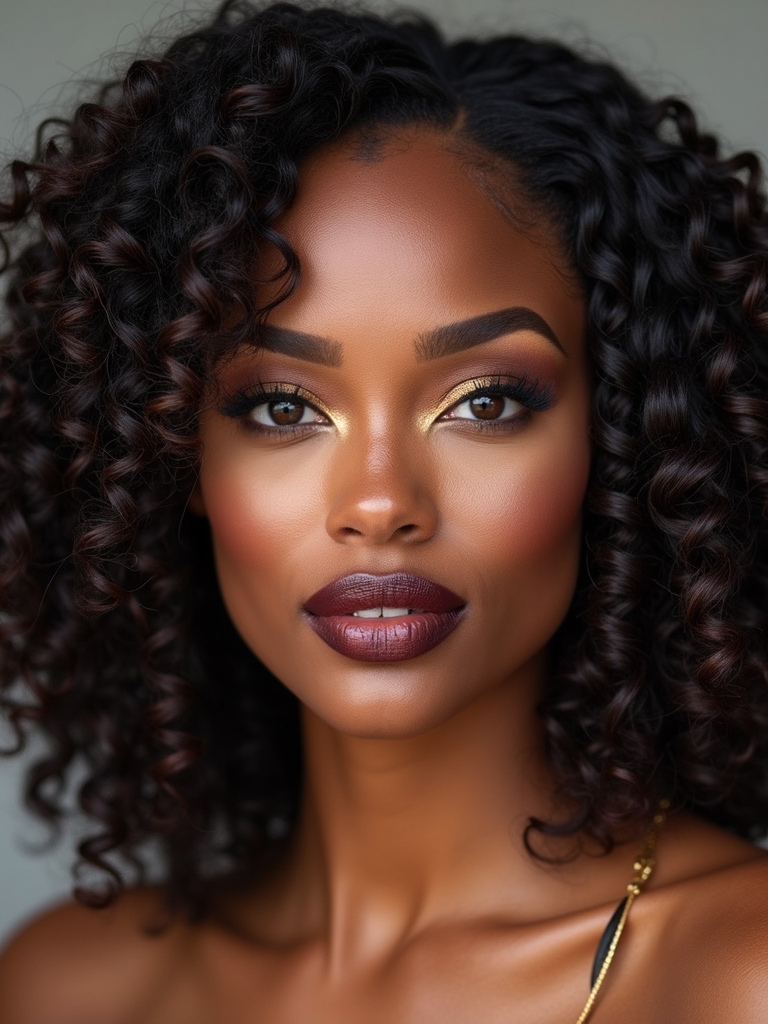
Curly bridal styles often emphasize letting natural texture shine, especially when you use techniques that preserve defined ringlets and minimize manipulation.
Choosing the Right Gel
When I’m picking a gel for defined ringlets, I focus on hold level, ingredients, finish so my curls look springy without feeling crunchy.
I want hydration, definition, and a soft hold that lasts through smiles and hugs.
- Lightweight gel for bouncy, touchable curls.
- Humectants and oils for shine and moisture.
- Alcohol-free for gentle, frizz-free wear.
Bridal looks often celebrate natural curls, so I choose products and techniques that enhance my texture without masking it.
Application Sectioning Method
Now that I’ve picked a gel that gives me soft, defined ringlets, I section my hair to make sure every curl gets the product and attention it needs.
I part into manageable panels, clip them, then work smaller subsections. I rake gel through, twirl each ringlet around my finger, and smooth edges.
This method feels intentional, keeps definition consistent, and boosts my confidence.
Drying Without Frizz
Usually I let my curls dry in ways that preserve the gel’s hold and keep frizz at bay, because the drying stage makes or breaks my definition.
I dry deliberately, hands-off when set, encouraging clumped ringlets.
- Diffuse low and slow to set gel.
- Plop briefly, then air-dry for shine.
- Scrunch out crunch gently for soft, defined curls.
Diffusing and Air-Dry Methods That Minimize Puff
Mastering my diffuser and air-dry routine made the biggest difference in keeping my curls defined without the dreaded puff; I’ll walk you through the simple steps and small adjustments that keep volume controlled while preserving bounce and shine.
I scrunch with a microfiber towel, diffuse on low heat while cupping curls, and finish by gently separating only when fully dry — controlled volume, no frizz.
Sleek Low Bun With Defined Curly Tendrils
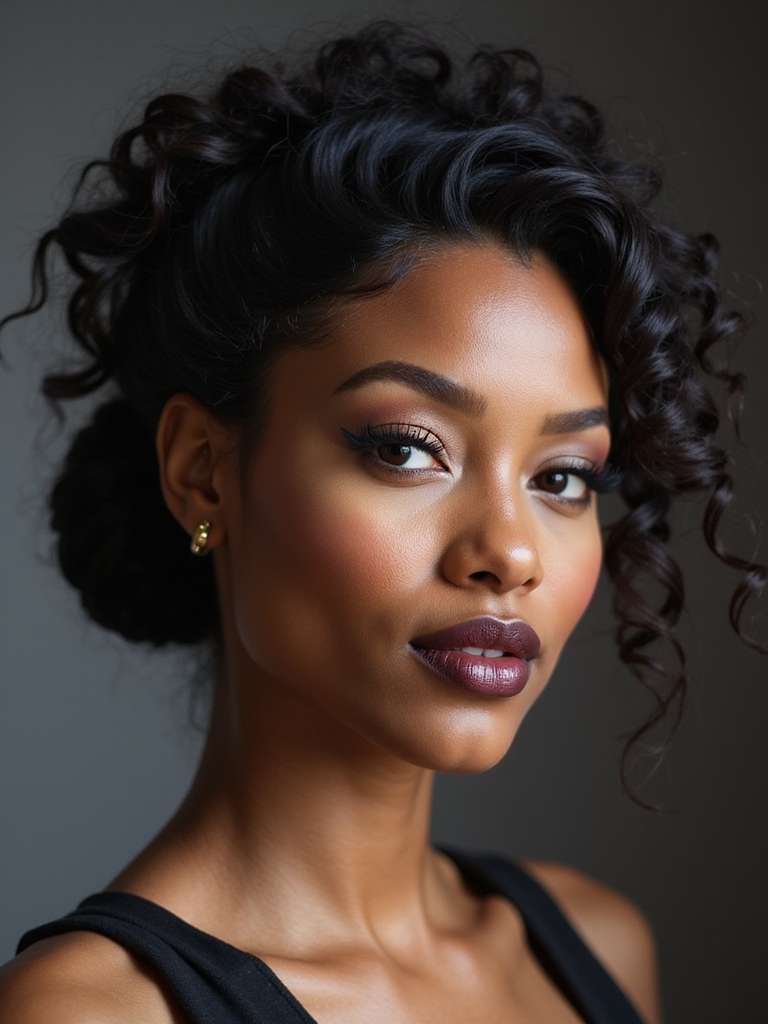
I love how a sleek low bun can feel both polished and totally true to curly texture—I’ll show you how to smooth the crown while keeping a few defined tendrils to frame your face so the look stays elegant, not stiff.
- Use a lightweight gel for hold.
- Define tendrils with a curl cream.
- Secure bun low and soft for balance.
Romantic Half-Up Twist With Frizz-Free Finish
When I style a romantic half-up twist, I always start by prepping my curls with rich moisturizing products so they stay defined and soft.
I twist small, smooth sections and secure them close to the crown to create that elegant lift without frizz.
With the right products and tight, tidy twists, you get a polished look that still feels effortless.
Prep With Moisturizing Products
Start by giving your curls a drink of hydration—I’ll show you how to prep them so the Romantic Half-Up Twist stays soft and frizz-free all day.
I use targeted moisturizers, lightweight creams, and sealing oils to define and protect curls without weighing them down.
- Leave-in conditioner for slip and softness
- Curl cream for definition
- Light oil to lock moisture
Secure Smooth Twisted Sections
Although twists can feel tricky, I’ll walk you through smoothing and securing each section so your half-up style looks polished and lasts all day.
I gently detangle, apply a lightweight gel to each section, twist firmly but not tight, and pin with discreet U-pins.
I smooth flyaways with a bit of oil on fingertips, checking balance and comfort so you feel confident and frizz-free.
Protective Braided Crown That Stays Polished
For a ceremony where I want my curls protected but still looking refined, I turn to a braided crown that stays polished all day; it keeps my hair off my face, shows off my natural texture, and feels secure through hugs and dancing.
- I prep with leave-in and light gel.
- I braid gently to avoid tension.
- I finish with flexible pins and a sheen spray.
Voluminous Side-Swept Curls Without Frizz
I always love sweeping my curls to one side for a look that’s both dramatic and effortless. I boost volume at the roots, define each curl with a lightweight cream, and gently clip the opposite side for hold without flattening.
I smooth edges with a soft brush and finish with a humidity-resistant spray. It feels polished, romantic, and completely me.
High Puff Ponytail With Smooth Edges
I usually pull my curls into a high puff ponytail when I want a bold, easy look that still feels polished—lifting the roots gives instant oomph while leaving the curl pattern intact.
I smooth my edges for a refined finish that still feels like me.
- Quick prep with gel and a soft brush.
- Secure with a silk scrunchie.
- Tease lightly for volume.
Textured Updo With Encapsulated Curls
I’ll start by making sure your curls are well-moisturized so the encapsulation holds without crunch or frizz. Then I’ll walk you through the encapsulation steps—smoothing product onto each strand and defining coils before sealing them gently.
Finally, I’ll show how to gather and pin those encapsulated curls into a secure, textured updo that lasts through the celebration.
Prep With Moisture
Starting with rich moisture sets the whole look up for success, and I’ll walk you through how to hydrate your curls without weighing them down.
I use lightweight leave-in, seal with a natural oil, and diffuse gently so texture stays defined.
Simple steps keep frizz away and boost hold.
- Leave-in conditioner
- Light oil seal
- Gentle diffusion
Encapsulation Technique Steps
Once you’ve prepped your curls, I’ll walk you through the encapsulation technique step by step so each coil sits perfectly within the updo; think of it as tucking and securing defined curl clumps into a sculpted shape that lasts.
I gently gather a clump, smooth edges with a bit of cream, tuck it into place, and pin near the base.
Repeat, honoring natural pattern and balance.
Secure Textured Updo
With a steady hand and an eye for balance, I’ll build a secure textured updo that showcases those encapsulated curls without flattening their shape.
I’ll focus on lift, hold, and softness so your engagement look feels effortless and lasts.
- Pin strategically for volume and security.
- Tuck ends to protect curl definition.
- Finish with light mist and touchable hold.
Soft Halo Braid Around Natural Curls
Framing your crown with a soft halo braid around your natural curls creates an instantly romantic, effortless look I love recommending for engagement photos; it lifts the face while keeping your texture front and center.
I braid gently, leaving tendrils to soften the hairline, and secure with hidden pins so your curls stay defined and frizz-free, letting your natural shape glow without stiffness.
Accessorizing Curly Styles Without Adding Frizz
If you loved the soft halo braid, you’ll want your accessories to enhance those curls—not fight them—so I pick pieces that sit gently and move with the hair.
Not heavy or rough. I choose smooth finishes, lightweight clips, and secure placements to prevent snagging or pressure that sparks frizz.
- Satin-lined clips
- Lightweight combs
- Flexible wire crowns
Touch-Up Strategies for Long Shoot Days
I usually plan my touch-ups before the call time so I’m not scrambling mid-shoot; simple, quick moves keep curls looking fresh without interrupting the flow.
I carry a small kit: a spray bottle with diluted conditioner, a wide-tooth comb, mini clip, and a few bobby pins.
I revive curls by misting, finger-twisting, and clipping roots for lift—fast, confident, and calm.
Humidity-Proof Final Sprays and Oils
When humidity tries to flatten your curls, I reach for a reliable final spray and a lightweight oil to lock shape and shine without weighing the hair down.
- Anti-humidity spray: mist evenly for a flexible barrier.
- Lightweight argan oil: a few palms to tame frizz and boost gloss.
- Silicone-free serum: seals cuticles without stiffness.
These simple tools keep your engagement look confident and camera-ready.
Quick Refresh Techniques Between Photos
After locking in shape and shine with a humidity-proof spray and a touch of oil, I keep a tiny kit on hand so I can quickly refresh between shots.
I spritz water or a lightweight refresh mist, scrunch to revive curls, tame flyaways with a dab of oil on fingertips, and reshape edges with a soft brush. It’s fast, confident, and keeps photos flawless.
You’ve got this — with the right prep, products, and a few styling tricks you can keep your curls camera-ready all day. I’m cheering you on to embrace your texture, pin back a few tendrils, and let those ringlets sing without frizz running the show.
Mix patience with smart touch-ups, and you’ll be back to smiling in no time, rain or shine, because your curls were made to dazzle.