I’ve picked up bridal updos that make my job easier and keep you stunning all day: think a classic low chignon, sleek wrapped low bun, messy textured bun for grip and movement, romantic braided crown, and a low side chignon with a deep part for face-framing drama.
Each style balances hold, accessory placement, and quick touch-ups so you’ll dance and hug without worry — scroll on to find the right vibe and maintenance tips.
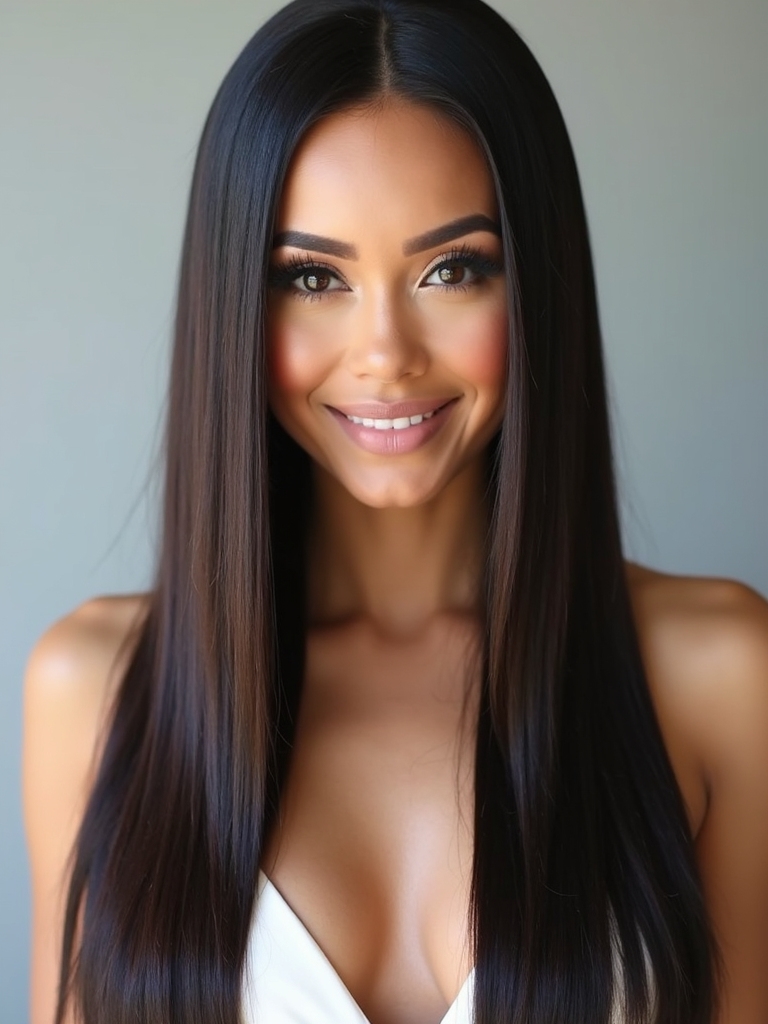
Classic Low Chignon
When I think of the classic low chignon, I picture a polished knot at the nape that feels effortlessly elegant and somehow very personal.
I tell clients it flatters necklines, secures veils, and photographs cleanly. I focus on smoothness, subtle volume above the ears, and hidden pins so the silhouette reads timeless.
It’s controlled, refined, and reliably flattering for most face shapes. Additionally, this style is one of the timeless bun hairstyles that brides continue to choose for their wedding day.
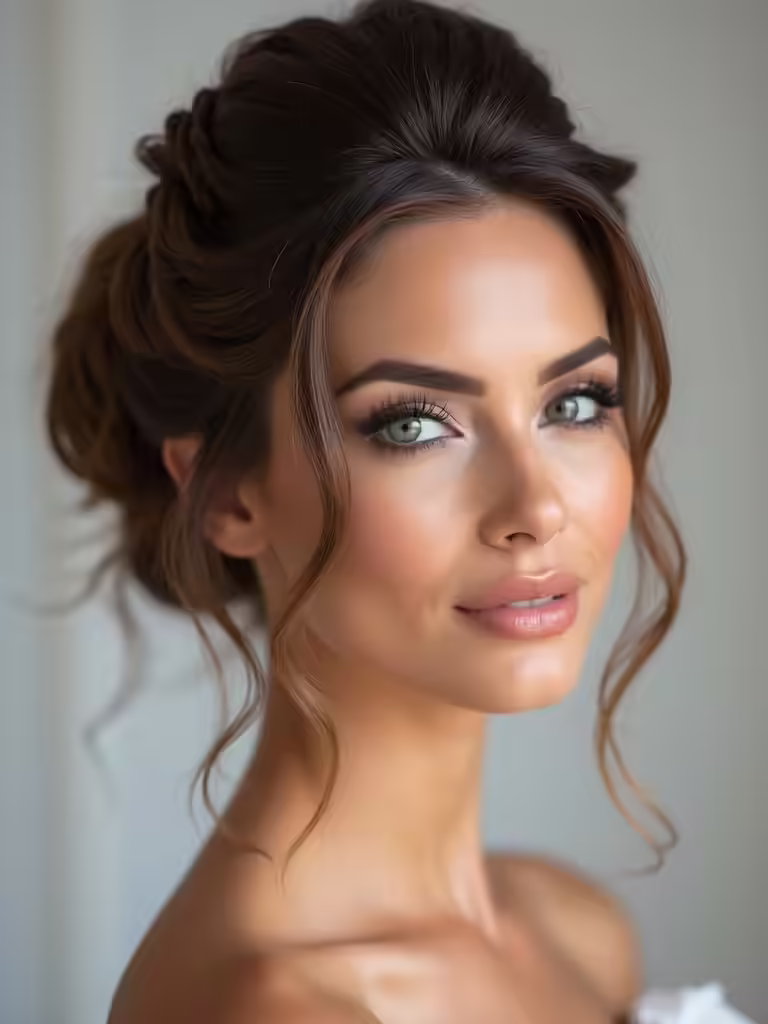
Messy Textured Bun
For a messy textured bun that lasts from ceremony to last dance, I always start by roughing in grip with a salt spray and a touch of mousse so the hair actually holds the shape without feeling crunchy.
When I’m pinning, I work in small sections and anchor with U-pins, then tease a few face-framing pieces for that undone look.
Many brides opt for bridal bun hairstyles that are both chic and effortless, adding to the overall elegance of their wedding day.
To finish, I mist strategically with a flexible-hold spray and tuck any flyaways with a little pomade so the style reads effortless but stays put.
Prep for Lasting Texture
Because textured buns hold best when the foundation’s right, I always start by rough-drying hair with my fingers to build natural grit and volume.
Then I apply a lightweight salt spray at mid-lengths, focusing on where the bun will sit, and tease gently at the crown.
Small, strategic knots and pin placements later rely on that tactile, slightly gritty base for lasting shape.
Additionally, using secure bridal buns will ensure your hairstyle remains intact throughout the celebration, especially during the first dance.
Fixing and Finishing Tips
Now that you’ve built that gritty, voluminous base, I’ll show you how to lock the shape and keep the messy charm intact through a whole day (and night).
I twist sections loosely, pin with crisscrossed bobby pins, mist with flexible-hold spray, then tug gentle face-framing strands for softness.
To enhance the elegance of your updo, consider incorporating elegant bridesmaid hairstyles that complement the overall wedding theme.
Finish with a lightweight shine serum on ends and a final burst of hairspray.
Sleek Wrapped Low Bun
For a sleek wrapped low bun I always start by smoothing hair with a lightweight serum and cream so every strand lies flat and glossy.
Then I tuck and wrap sections neatly around a low knot, keeping the lines clean and the wrap tight to the head.
I finish by anchoring everything with low pins slipped in close to the scalp so the style stays elegant and secure all day.
This style is perfect for brides looking to achieve a classic bridal look that never goes out of style.
Prep With Smooth Products
If I want a sleek wrapped low bun to look polished all day, I start by smoothing and hydrating the hair so every strand lies where I place it.
I use a lightweight leave-in, a touch of frizz-control serum at the ends, and a smoothing cream through the midshaft.
Heat protectant is nonnegotiable before any flat-ironing to lock in shine and manageability.
Additionally, a sleek wrapped low bun is a classic choice for brides looking to achieve timeless elegance while ensuring their hairstyle stays in place throughout the day.
Tuck and Wrap Technique
When I build a sleek wrapped low bun, I start by sectioning the hair into a low ponytail at the nape and smoothing each piece so the wrap sits cleanly; this simple structure keeps the look polished and prevents bumpy layers from showing.
I then tuck lengths under, wrapping them snugly around the base, coaxing a seamless crescent shape, and smoothing edges for that refined, wearable finish.
This style is perfect for brides who desire a timeless bridal look that combines elegance with ease of maintenance.
Secure With Low Pins
Although the tuck and wrap look delicate, I secure that sleek low bun with a few well-placed low pins so it lasts through photos and dancing; I slide each pin parallel to the scalp, catching the hidden hair inside the crescent and anchoring it to the base.
I tuck stray ends, test movement, add subtle hairspray, and check from every angle so it feels seamless and secure.
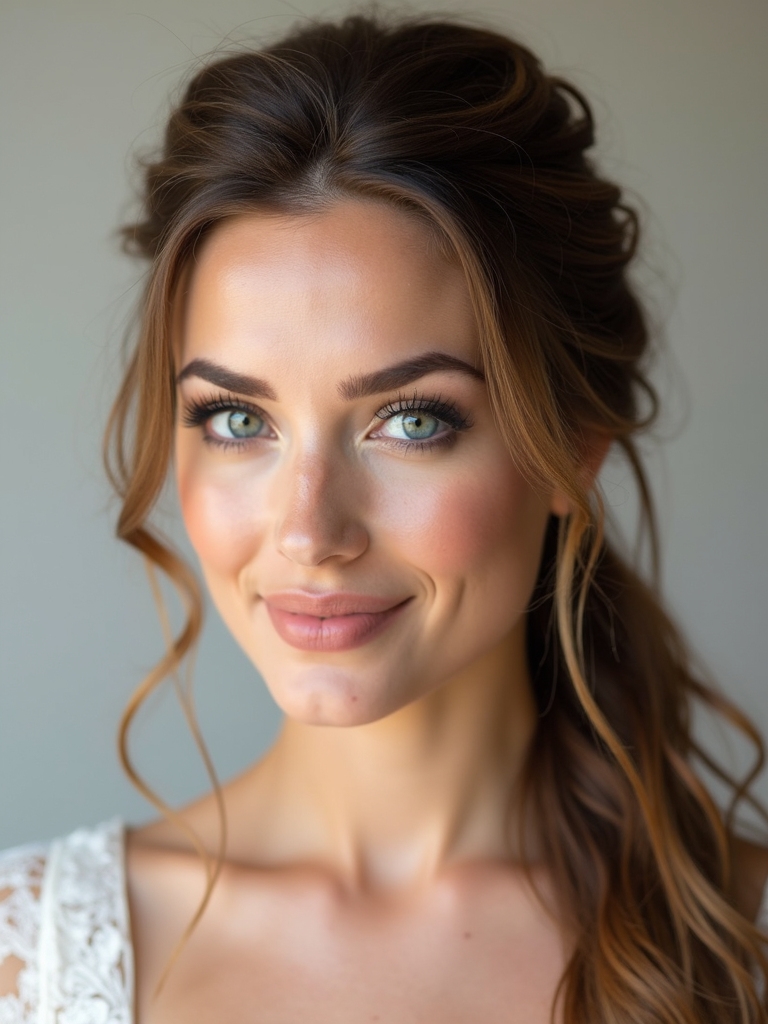
Romantic Braided Crown Updo
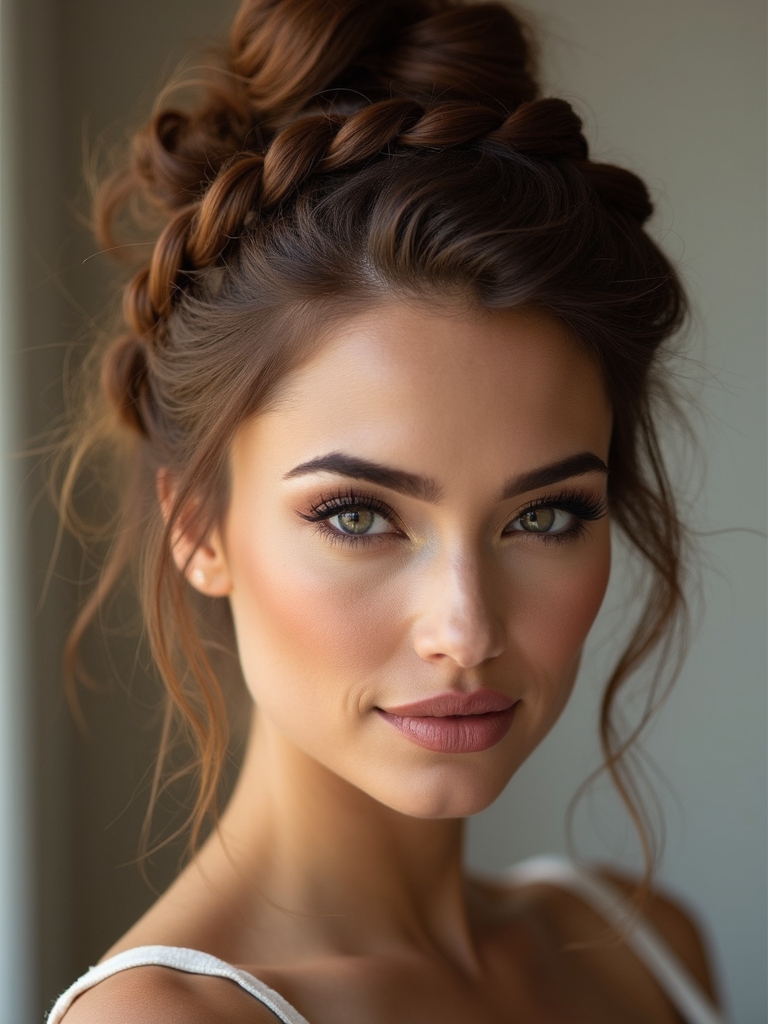
Because I love hairstyles that feel both timeless and intimate, the romantic braided crown updo is one of my go-to looks for brides who want soft elegance without fuss.
I braid along the hairline, loosening strands for texture, then pin the braid into a gentle halo.
It secures well for dancing, complements veils or florals, and softens facial features with effortless, classic charm.
Twisted Low Knot With Face-Framing Tendrils
If you want a look that’s quietly modern but still soft, I love crafting a twisted low knot with face-framing tendrils because it balances structure and movement perfectly.
I twist sections into a neat low knot, loosen a few delicate tendrils to soften the face, and secure discreet pins so the style endures.
It reads effortless yet intentional for photos and vows.
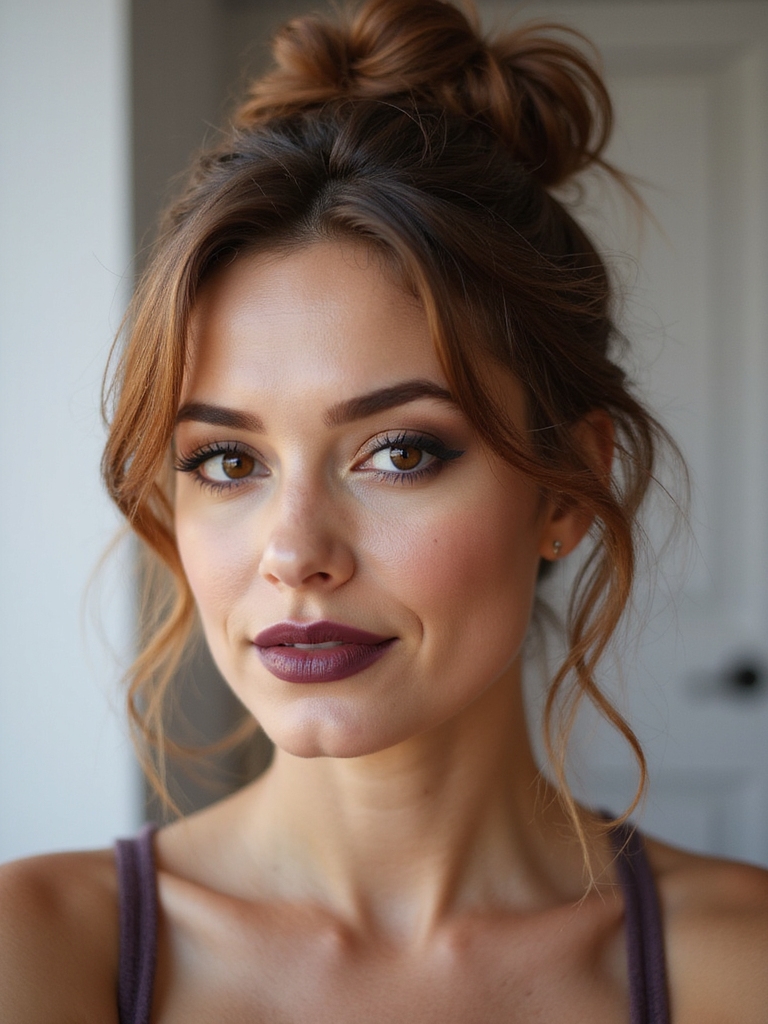
Voluminous High Bun
While the twisted low knot sits low and soft, I often reach for a voluminous high bun when a bride wants drama without stiffness.
I tease sections for lift, smooth edges, and pin strategically so it feels airy, not tight.
Picture textures and movement:
- a slightly messy crown for romantic height
- soft tendrils haloing the face
- shimmering pins catching light
Vintage Finger Wave Updo
I love how a vintage finger wave updo feels both timeless and intentional, so I always start by carefully prepping and sectioning the hair to get crisp S-shaped waves.
While I’ll walk you through specific pinning technique tips—where to anchor each wave and how to hide pins for a seamless look—the secret is small, firm bobby pins placed perpendicular to the wave.
For finishing and hold I use a layered approach: light-setting lotion through the wave, firm-hold spray after shaping, and a final mist plus strategic clips while it sets.
Prep and Sectioning
Because vintage finger waves depend on precise curves, I start by prepping hair so every section will lay and hold exactly where I want.
I cleanse, apply lightweight gel, and detangle for smooth shaping.
Then I section with intent, mapping waves and balance:
- narrow curved sections near the face
- broader arches at the crown
- clean center or side part guides
Pinning Technique Tips
Once the waves are set, I grab my pins with purpose and place each one so it locks the curve without flattening the shine.
I tuck pins at alternating angles, feeling for tension and balance, anchoring the wave’s apex and tail.
I use fine pins near the hairline, stronger ones hidden inside the roll, checking symmetry by touch and a quick mirror glance.
Finishing and Hold
After the pins are nestled and the silhouette feels balanced, I turn my attention to finishing and hold — the moment that makes the vintage finger wave updo last through vows, photos, and the party.
I mist flexible hairspray, smooth stray waves, and secure embellishments. I picture the look staying pristine:
- glossy waves catching candlelight
- secure combs during laughter and dancing
- soft tendrils framing your smile
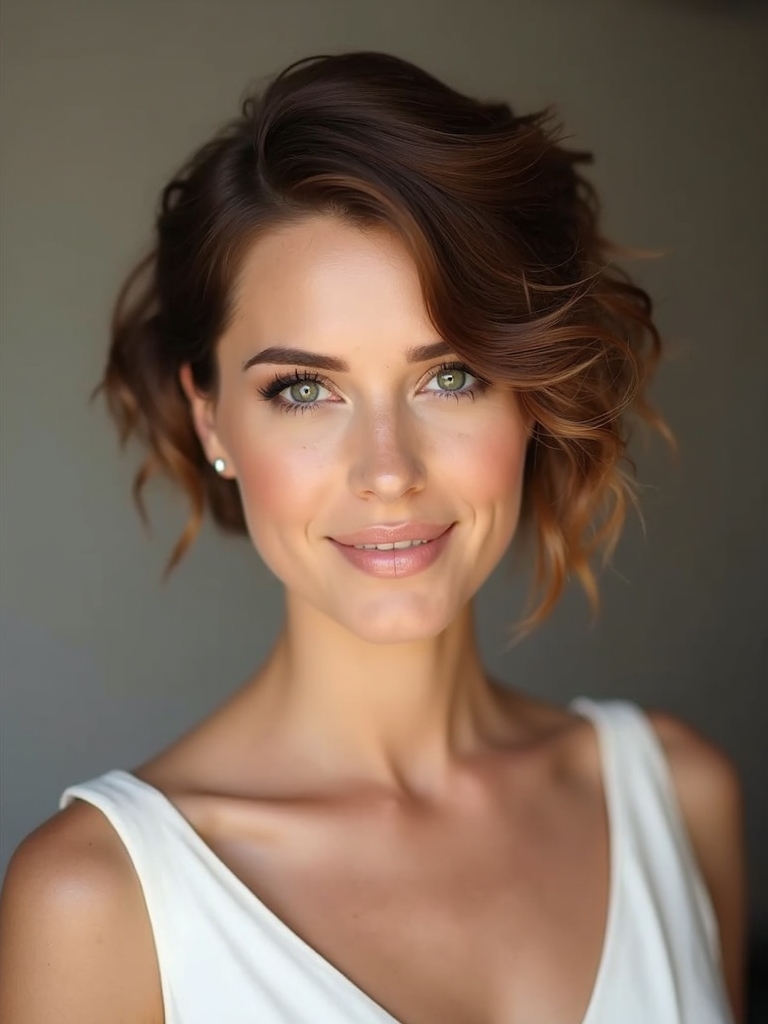
Soft Half-Up Twist With Loose Bun
If you want a bridal look that’s relaxed yet intentionally polished, I love the soft half-up twist with a loose bun — it feels effortless but stays put through hugs and dancing.
I twist small sections from each temple, pinning them into a low, airy bun, leaving face-framing tendrils.
It photographs beautifully, works with veils or combs, and feels comfortable all day.
Boho Braided Low Bun
I love starting a boho braided low bun by padding hair with texture spray and a little tousled root volume so the braids sit soft and lived-in.
I’ll show you a couple of braiding techniques — loose three-strands, a relaxed fishtail, or a chunky Dutch — that translate best into that effortless, romantic shape.
Then it’s all about strategic pinning and a few flexible bobby pins plus a light mist to hold the finish without stiffening the movement.
Prep and Texture
One key step I never skip when prepping a boho braided low bun is building texture from the roots to the ends so the braid sings and the bun sits without slipping.
I rough-dry, mist, and tease gently, then shape.
Imagine:
- sun-kissed, slightly gritty strands
- soft volume at the crown
- defined, touchable ends ready to weave and pin
Braiding Techniques
Because the braid is the backbone of a boho low bun, I start by choosing a braid that will read soft and lived-in rather than tight and formal.
I favor loose three-strands, a messy fishtail, or a relaxed Dutch to add texture and movement.
I pull strands gently for imperfection, weave in face-framing tendrils, and keep the overall shape organic and romantic.
Pinning and Finish
Now that the braid’s got that lived-in texture, it’s time to secure it into the low bun without losing the soft, undone feel.
I tuck ends, pin strategically, and let tendrils whisper loose. Imagine this:
- a messy loop anchored with discreet pins
- face-framing wisps catching light
- a few petals or pins scattered for balance
I finish with flexible spray for motion.
Top Knot With Accessory Placement
When I place a top knot on a bride, I treat it like the final brushstroke on a painting — it has to balance the whole look and feel effortless while holding its ground all day.
I choose accessory size and placement to complement face shape, veil position, and dress neckline, securing pieces discreetly so sparkle sits natural, not tacked on, with comfort and photos in mind.
Sleek Ponytail-to-Bun Hybrid
If I want a look that’s modern, polished, and surprisingly forgiving, I turn a sleek ponytail into a low bun — it keeps hair off the face, flatters the jawline, and holds up through hugs and dancing.
I smooth flyaways, secure a neat pony, then twist into a taut bun.
Picture:
- glossy, rope‑like pony
- clean nape silhouette
- soft, secured shine
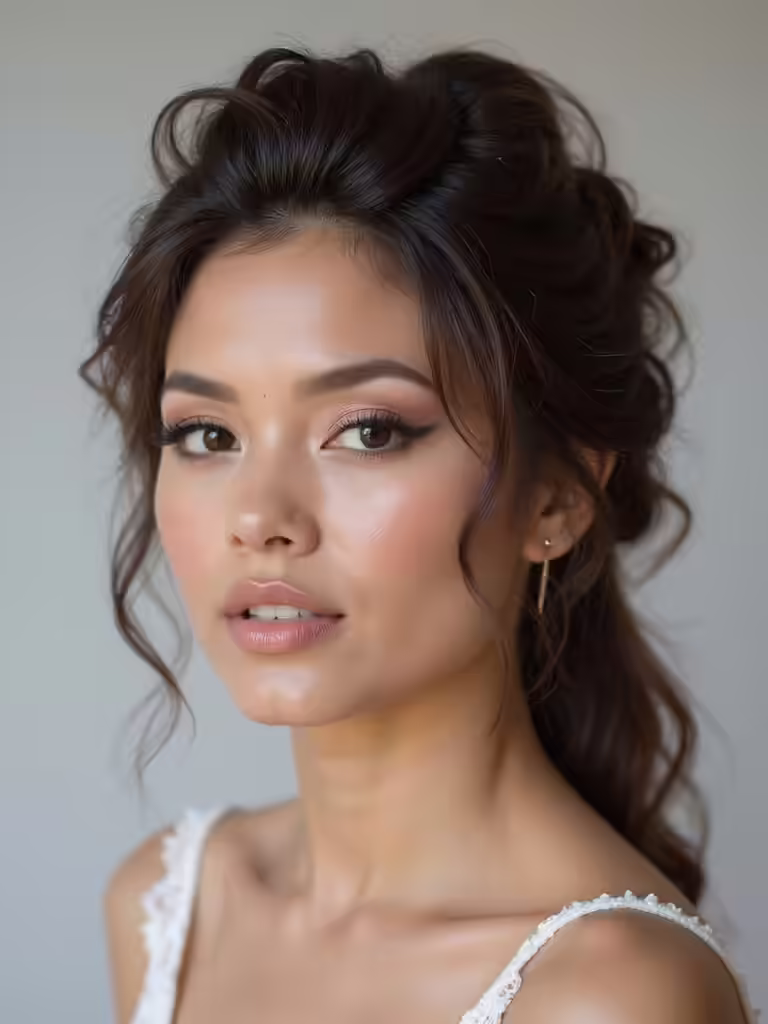
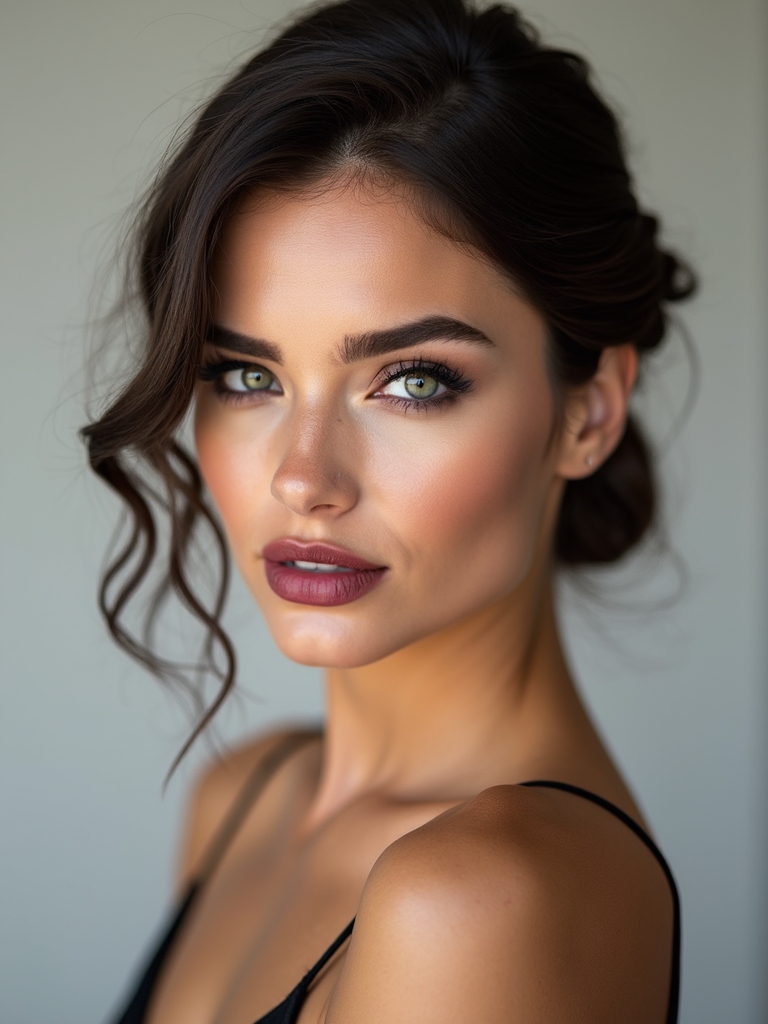
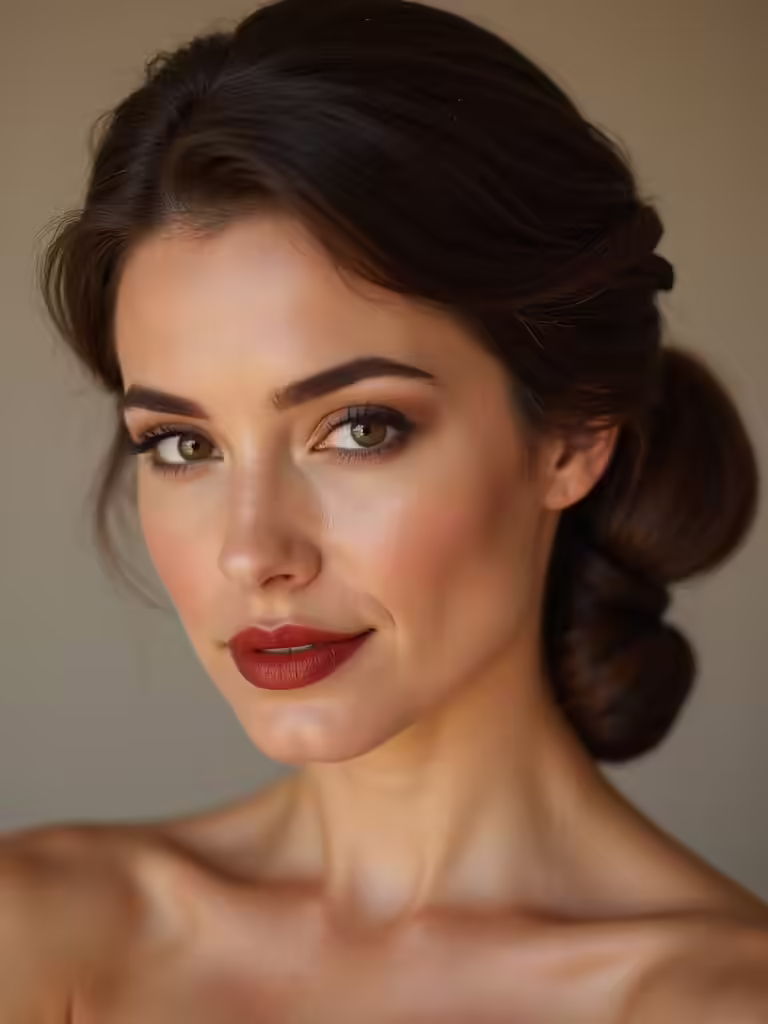
Low Side Chignon With Deep Side Part
Because a deep side part instantly frames the face, I anchor the look with a low side chignon to balance softness and structure.
I sweep hair over the brow, secure a loose, textured knot at the nape, and let a few face-framing tendrils breathe.
It’s elegant without feeling precious, stays put through vows and dancing, and flatters every profile with subtle, romantic polish.
Knotted Halo Updo
One of my favorite bridal looks is the knotted halo updo because it feels timeless and a little unexpected at once.
I picture a soft crown of knots, face-framing tendrils, and secure pins that let you dance. It reads romantic and modern.
- delicate braided knotting
- wisps around the temples
- pearl pins or tiny flowers nestled in the halo
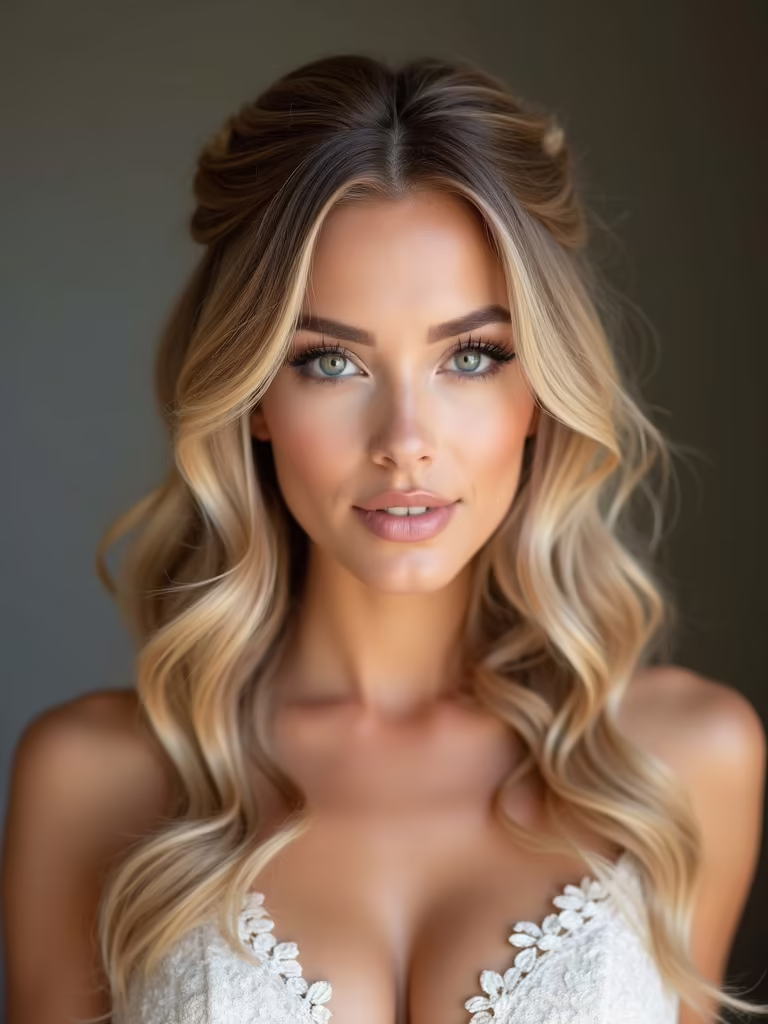
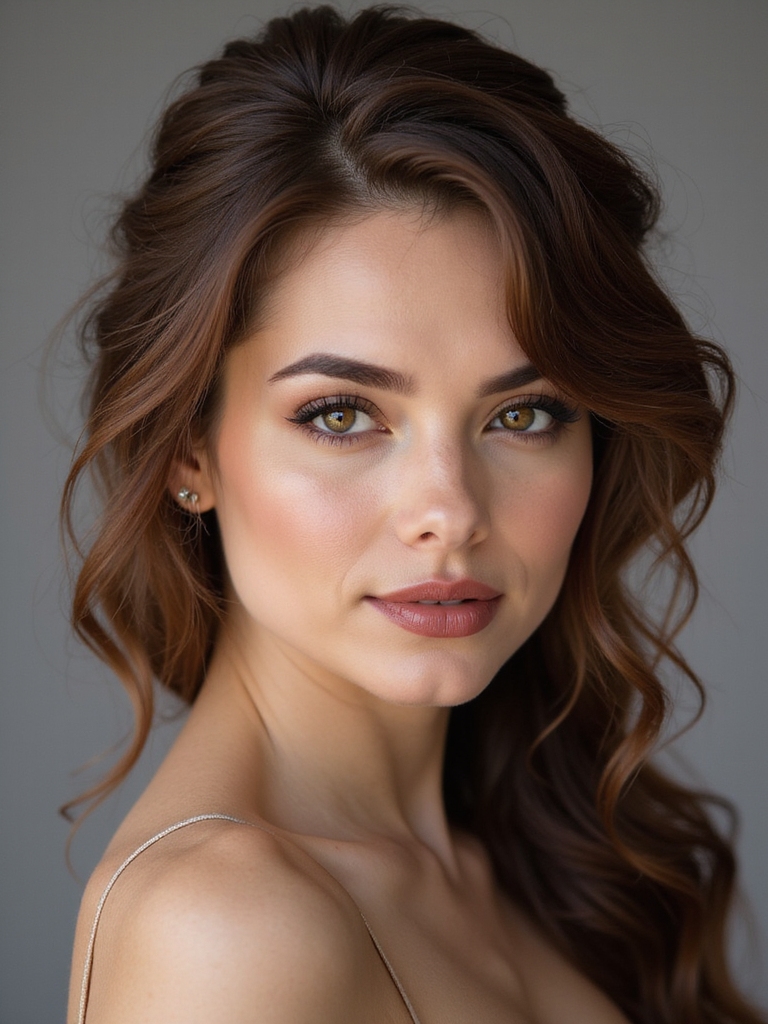
Curled Low Bun With Veil-Friendly Base
I love how the knotted halo reads modern-romantic, and for brides who want something equally soft but more veil-ready, I recommend a curled low bun with a veil-friendly base.
I’ll pin a secure, flat anchor at the nape, curl sections loosely, then tuck them into a textured bun. It keeps the veil sitting flat, looks effortless, and photographs beautifully.
Modern Sculpted Updo
When you want structure with a soft edge, I go for a modern sculpted updo that balances architecture and ease.
I’ll mold smooth swoops, pin with intent, and leave a whisper of movement so it photographs beautifully.
Imagine these details:
- Clean, curved sections that catch light
- A low, sculpted knot with hidden pins
- A single soft tendril by the temple
Funny thing — I picked the Low Side Chignon for my cousin’s elopement and watched her breathe easier the minute it was pinned, so I can’t help but suggest one of these styles when you’re choosing.
Each updo here is thoughtful, flattering, and surprisingly practical, and you’ll thank yourself for prioritizing comfort as much as beauty.
Trust your stylist, bring inspiration photos, and pick the look that feels like you — you’ll glow all night.