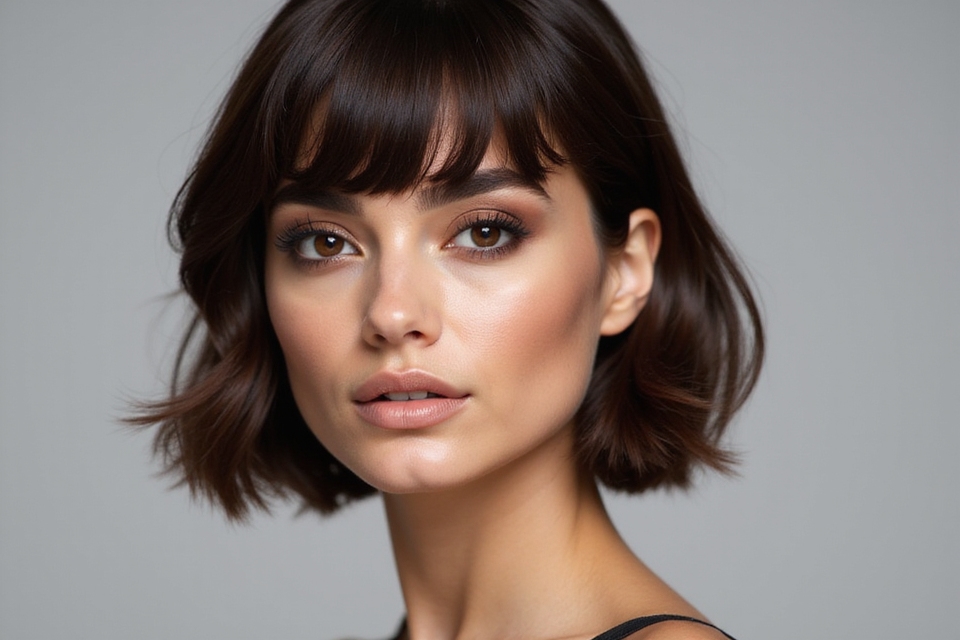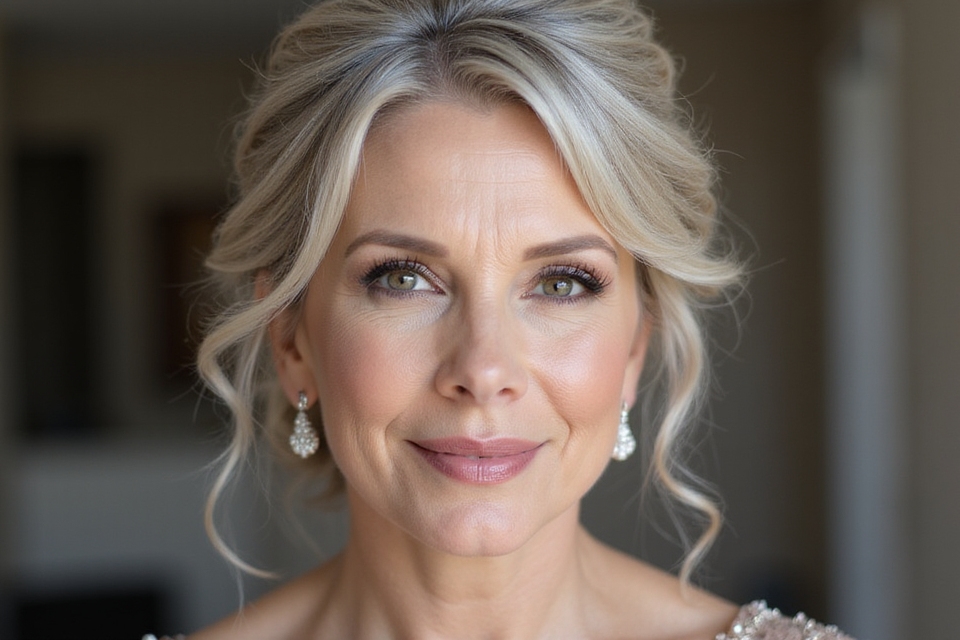
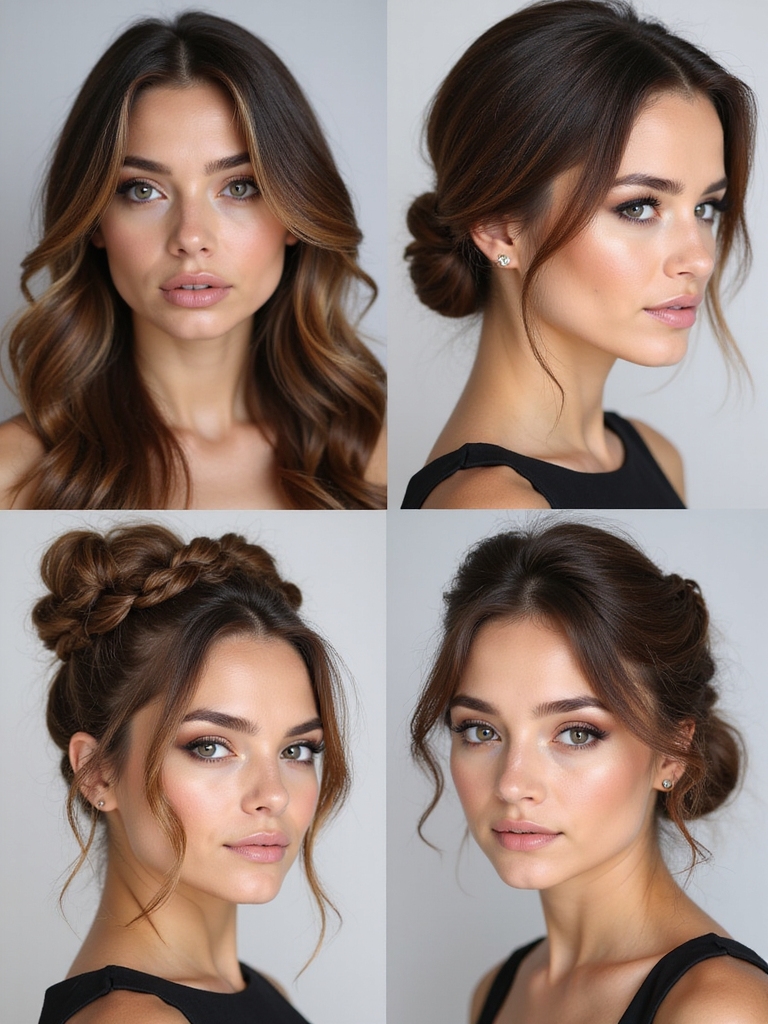
I’ve always been fascinated by hairstyles that can effortlessly shift from casual to elegant, like soft waves, sleek buns, and easy braids. They not only enhance natural beauty but also offer versatility for any occasion.
If you’ve ever wondered how to master these looks to suit your mood, I’ve got some insights to share—ones that’ll keep you saying, “I love my hair!” Curious about how you can mix these styles seamlessly?
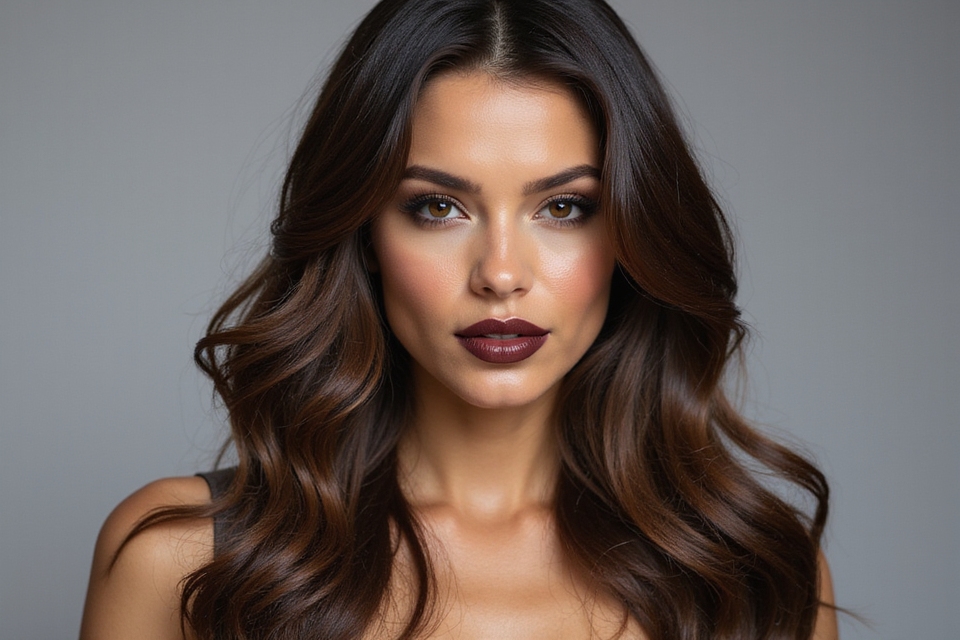
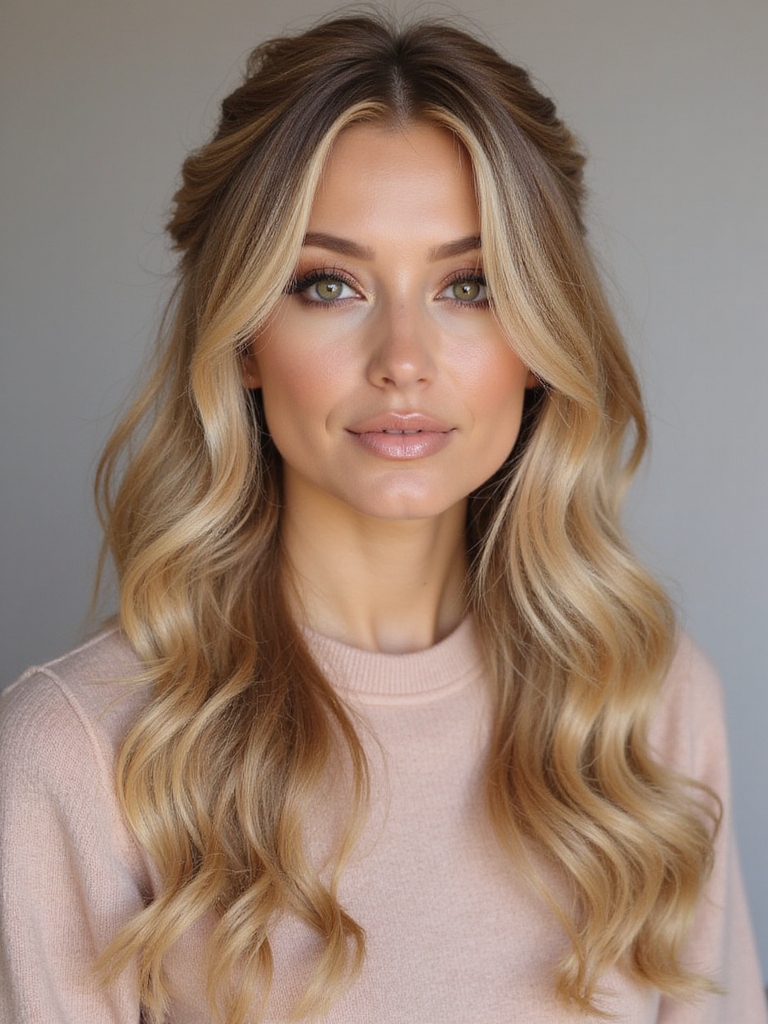
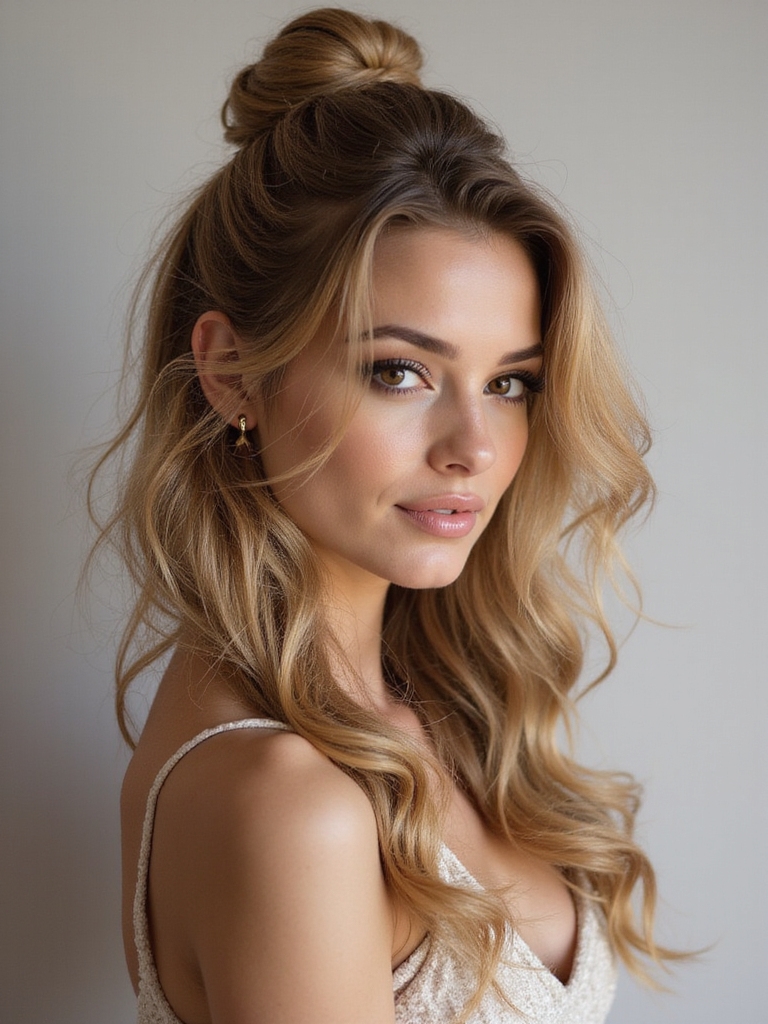
Effortless Soft Waves: A Step-by-Step Guide
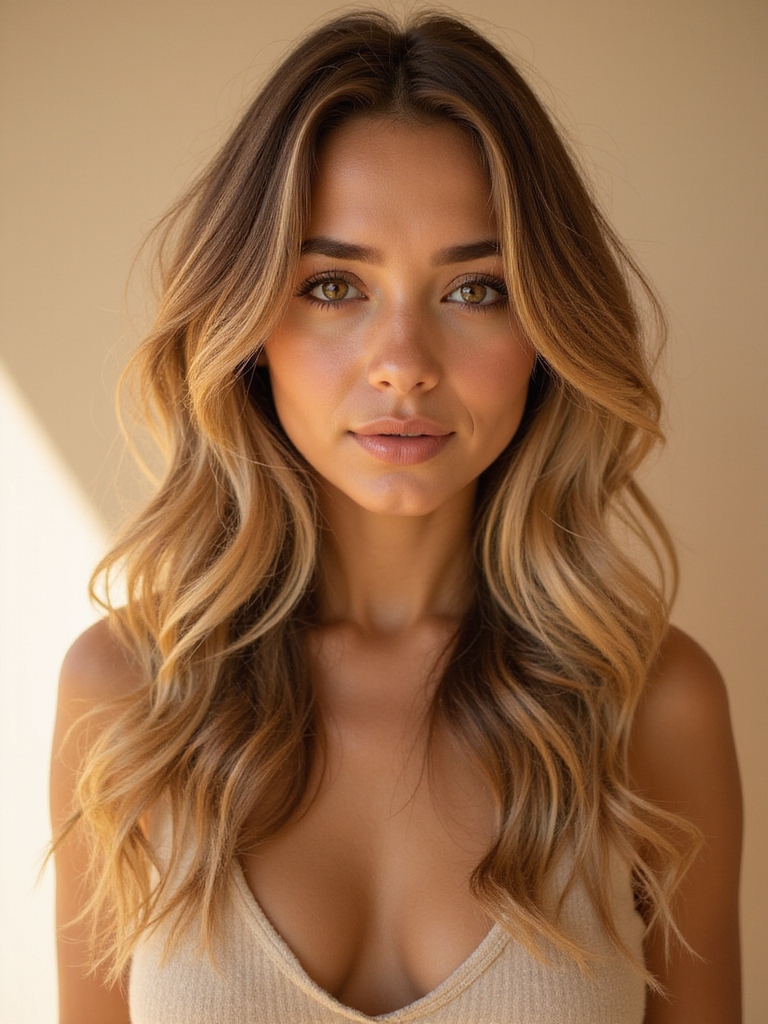
There’s something magical about the effortless charm of soft waves that makes them a go-to hairstyle for so many of us.
Believe me, I’ve spent countless mornings trying to nail those casually perfect waves. The process isn’t rocket science; it’s all about the little tricks—like starting with the right hair texture and knowing when to twist.
Once you get it, you’ll feel like a hair pro!
Tools You Need to Achieve Perfect Waves
Although technique is important, we both know that having the right tools can make or break your soft wave game.
I swear by a good curling iron with adjustable heat settings—less damage, more magic. Don’t forget a heat protectant spray; it’s a lifesaver.
A wide-tooth comb helps you gently style and separate those waves for the perfect beachy look. You’ll thank me later!
Preparing Your Hair for Lasting Waves
Let’s chat about how to get those waves to stick around all day.
First off, picking the right products is key, so I’ll share what’s worked for me.
Don’t forget, a solid pre-wave routine and good heat protection will save your hair from unnecessary damage.
Choosing the Right Products
When aiming for those perfect, lasting waves, the products you choose can make all the difference.
I’ve tried many, but these are my go-to essentials:
- Mousse – Gives volume and helps hold the waves.
- Texturizing spray – Adds grit for more natural-looking waves.
- Heat protectant – Keeps your hair safe when using any hot tools.
Trust me, you’ll love the results!
Pre-Wave Haircare Routine
Getting the perfect waves is like baking the perfect cake; it all starts with preparation.
First, I always make sure my hair is freshly washed and conditioned. Then, it’s essential to apply a leave-in conditioner for hydration.
Detangling comes next—with a wide-tooth comb, I gently work through any knots.
Finally, allowing my hair to dry naturally gives it a great foundation for styling. Additionally, using overnight hairstyles can help enhance and preserve those beautiful waves for even longer.
Heat Protection Techniques
Now that my hair’s ready with the perfect prep, it’s time to think about protection.
Heat can cause damage, so let’s make sure our waves last beautifully. Here’s how I do it:
- Spritz a heat protectant spray evenly from root to tip.
- Adjust your styling tool to a medium heat setting.
- Limit heat exposure by quickly curling each section.
Hope this helps!
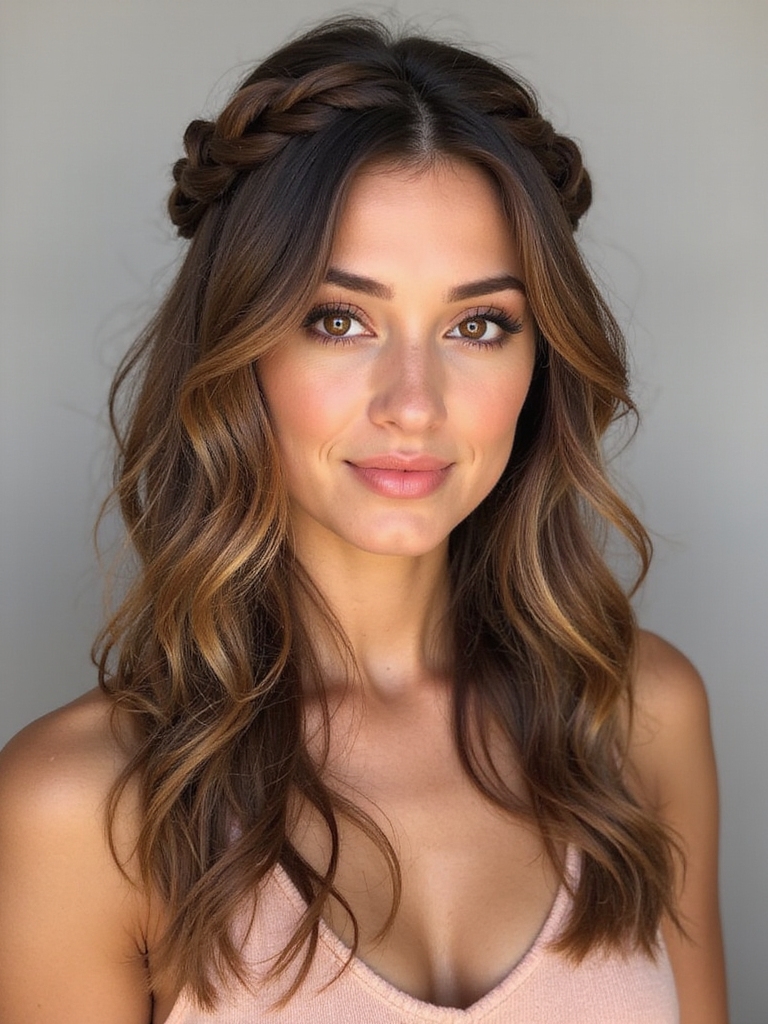
How to Enhance Your Natural Waves
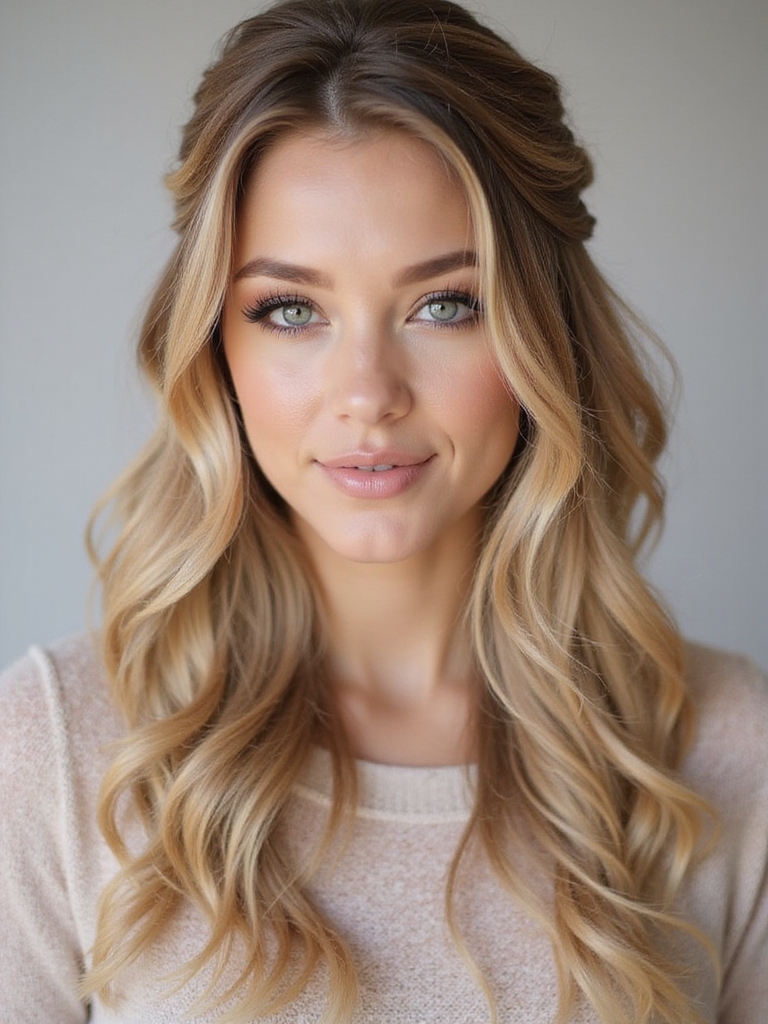
I’ve got some great tips on getting those natural waves to really pop. Boosting wave definition can be a game-changer, and you’d be amazed at what a little product and some scrunching can do.
For overnight waves, you might want to try braiding damp hair before bed and waking up to a perfect tousled look.
Boosting Wave Definition
When it comes to enhancing your natural waves, having the right tips and tricks up your sleeve can make all the difference.
Here’s how I boost my wave definition:
- Use a curl-enhancing product – It adds life to your waves.
- Scrunch with a microfiber towel – Helps reduce frizz.
- Diffuse on low heat – Keeps waves intact.
Try these and watch your waves pop!
Overnight Wave Techniques
After boosting my wave definition during the day, I like to maintain that look overnight. Here’s how:
I gently twist my damp hair into a loose bun and secure it with a scrunchie. In the morning, I let it out and voilà—soft waves ready to go!
Adding a silk pillowcase helps minimize frizz. This simple routine guarantees my waves stay lush and defined.
The Best Products for Soft, Touchable Waves
Achieving those perfect, soft waves that cascade like a dream doesn’t have to be complicated.
In fact, with a few fantastic products, it’s a breeze.
Here’s what I’ve found works like magic:
- Sea Salt Spray – For that effortless beachy texture.
- Lightweight Mousse – Adds volume without weighing hair down.
- Leave-In Conditioner – Keeps waves soft and touchable all day.
Transforming Day Waves Into Night Glam
I totally get the need for a quick shift from our laid-back day waves to something a bit more glamorous for a night out. To up the glam factor, I’ve found that adding a few sparkling accessories like clips or a headband can do wonders.
It’s amazing how these little touches can completely transform your look with minimal effort. Consider trying effortless hairstyles that seamlessly transition from casual to chic, offering versatility for any occasion.
Quick Day-to-Night Transition
How often have you rushed from the office to an evening event, thinking about how to glam up your hair in record time?
Believe me, I get it! Here’s a quick trick list for transforming your day waves into night glam:
- Tease the roots for added volume and drama.
- Smooth flyaways with a dab of pomade.
- Twist and pin sections for chic, effortless layers.
To elevate your look, consider incorporating effortless beach hairstyles that will give you a relaxed yet polished vibe for the evening.
Add Glamorous Accessories
When making your day waves night-ready, accessories can be your best friend.
Imagine this: you, standing in front of the mirror, transforming those casual waves into a glamorous night look just by adding a sparkly hairpin or a chic headband.
It’s amazing what a little bling can do!
Just a subtle touch, and voilà—you’re ready to shine all night long!
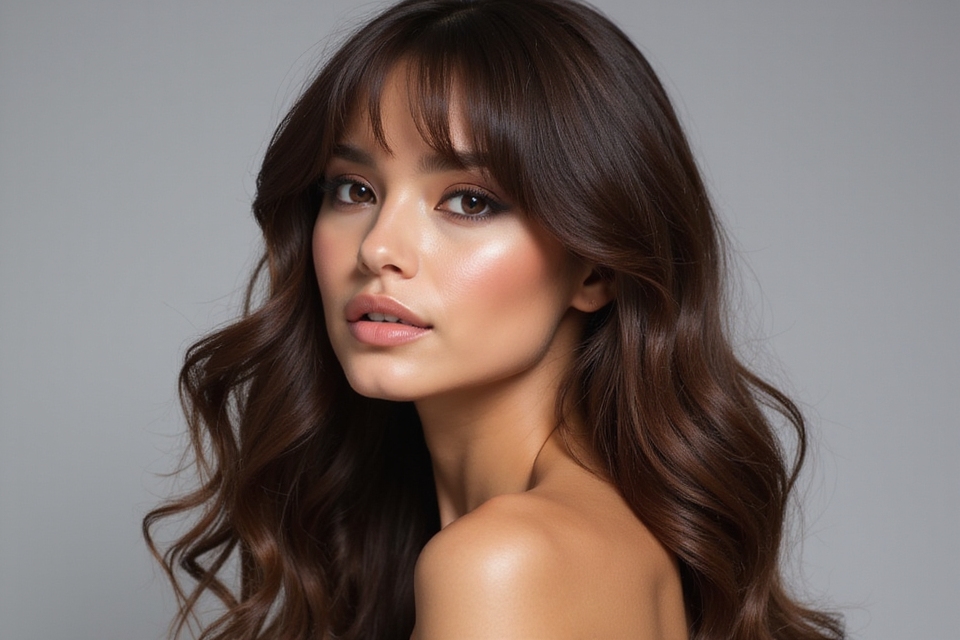
Different Techniques to Create Soft Waves
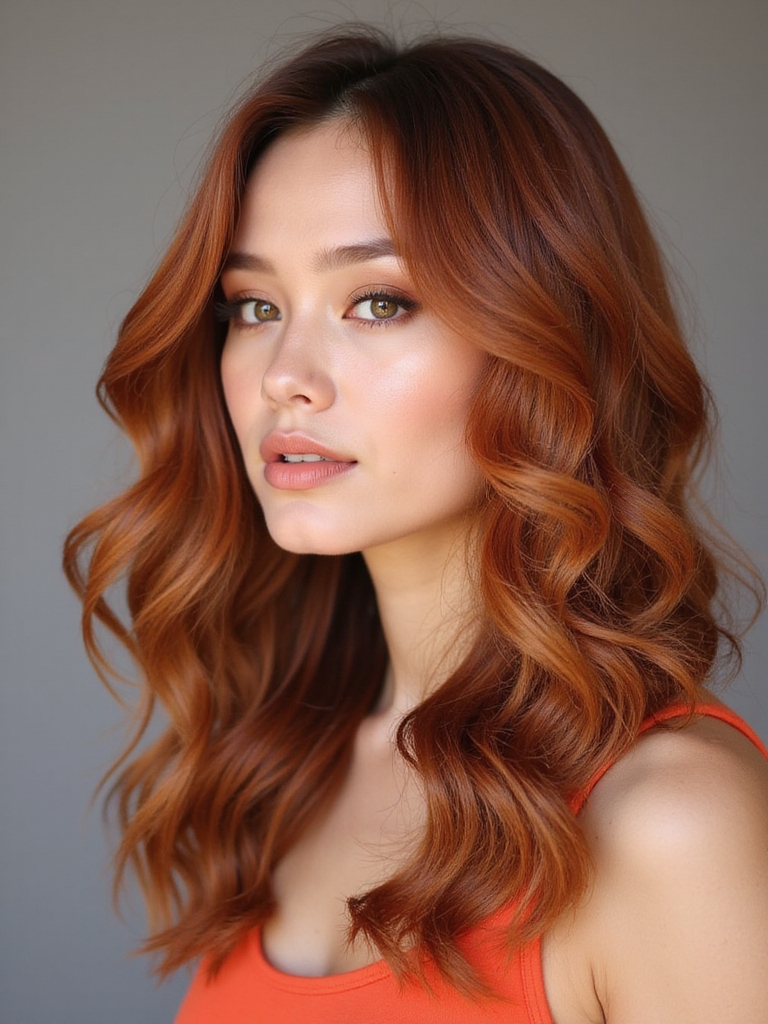
Creating soft waves doesn’t have to be a complicated process; there are a few different techniques you can try to achieve that relaxed, beachy look.
Here’s what works for me:
- Braiding damp hair before bed for overnight waves.
- Using a curling wand and alternating directions for natural texture.
- Scrunching with mousse on damp hair and letting it air dry.
It’s all about experimenting!
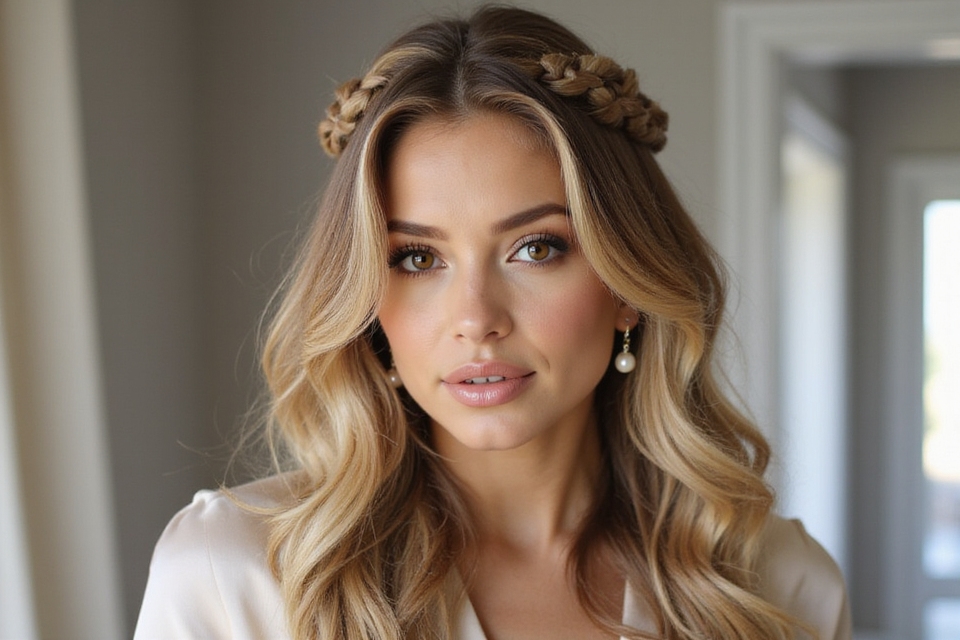
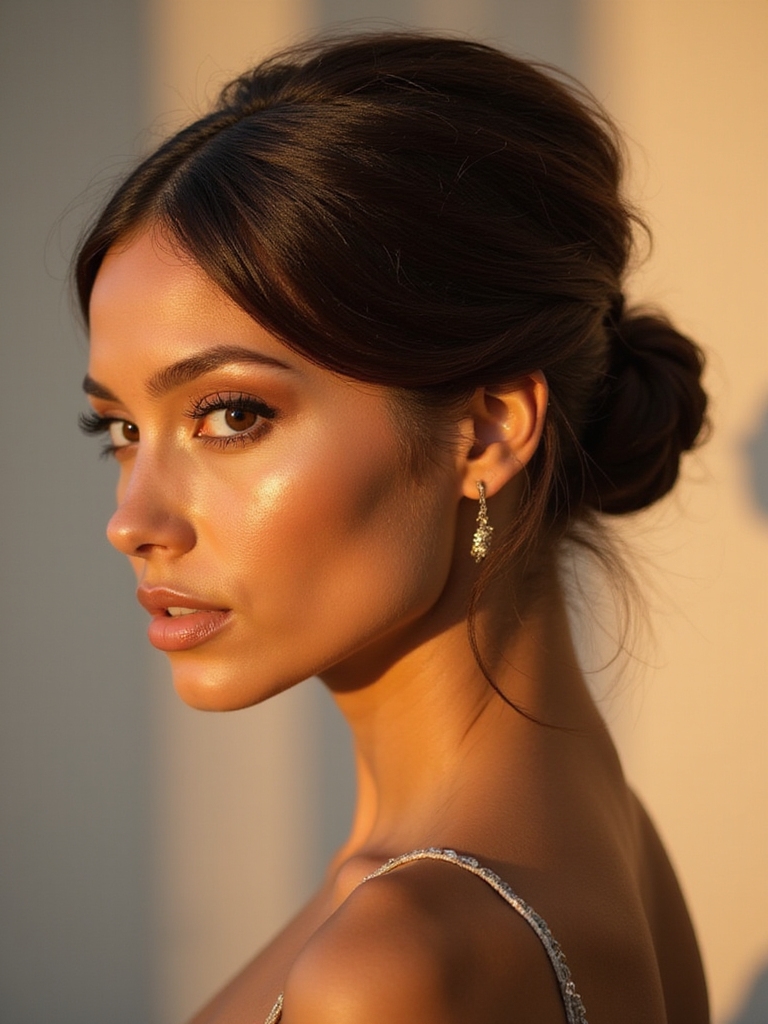
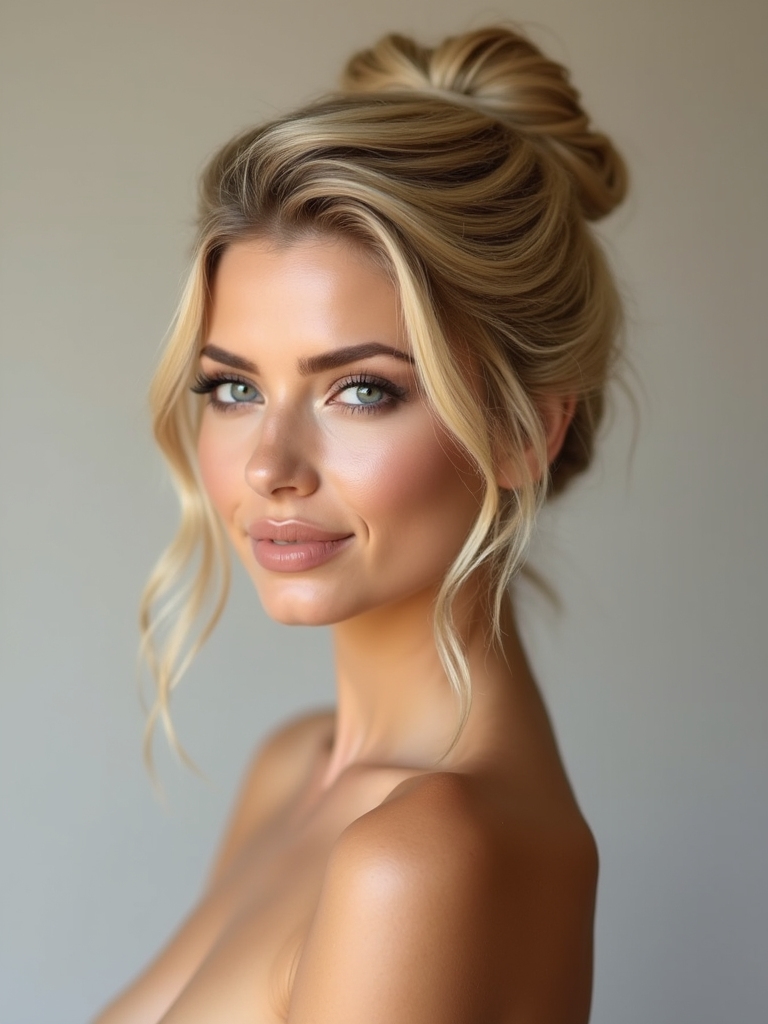
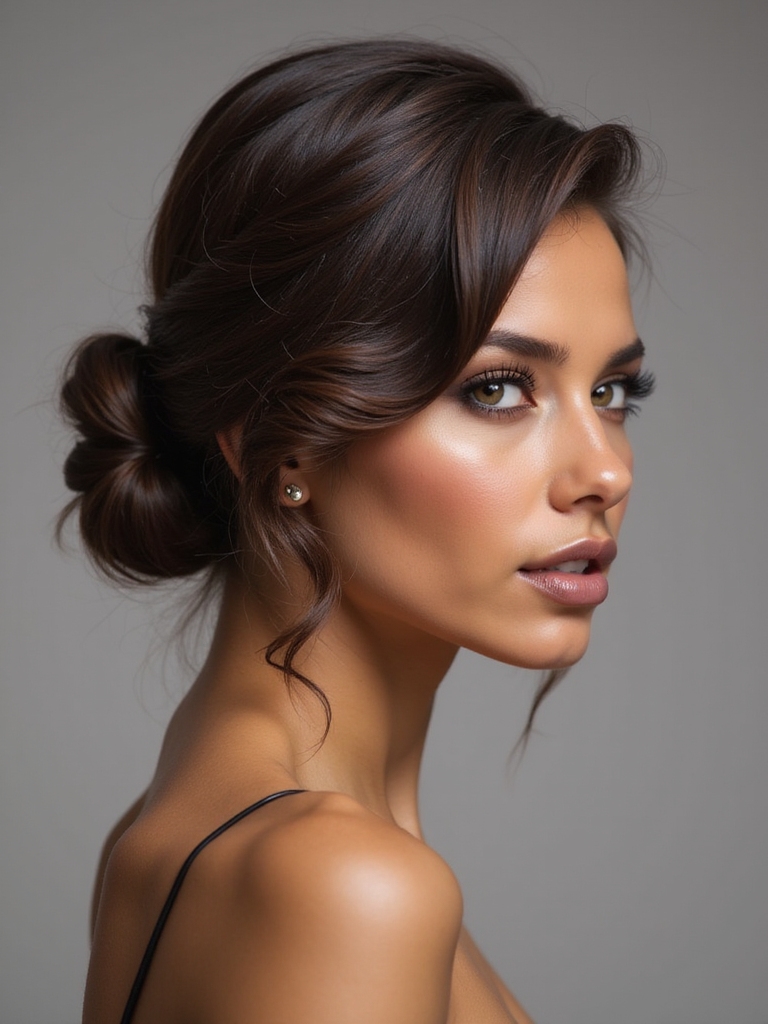
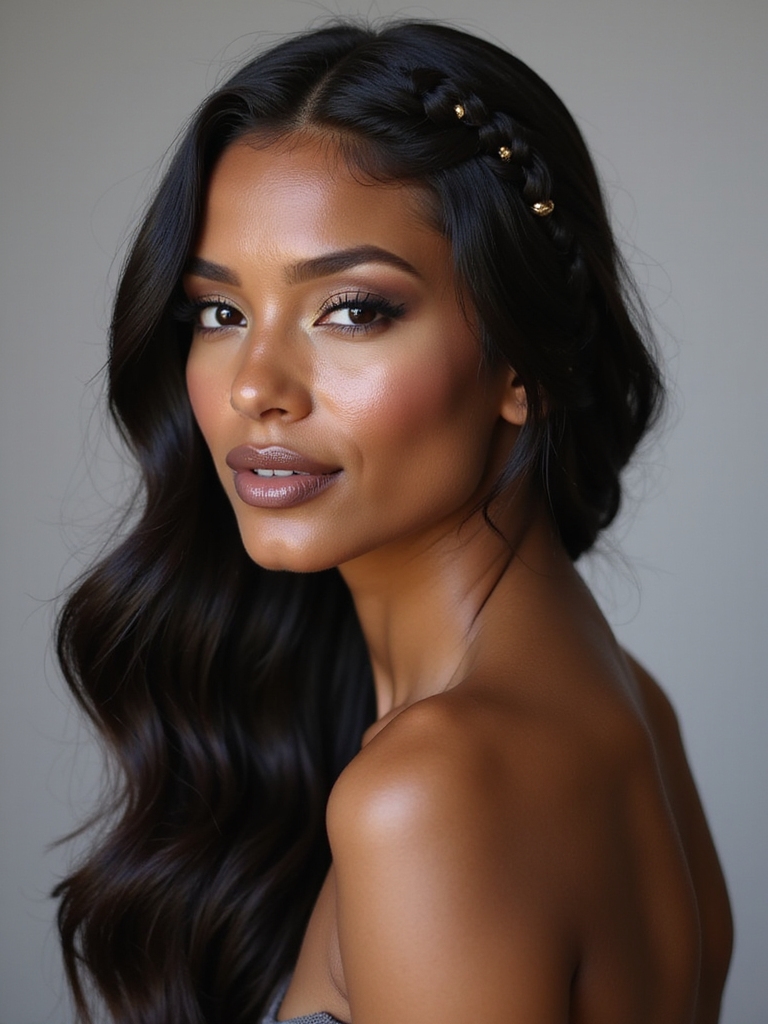
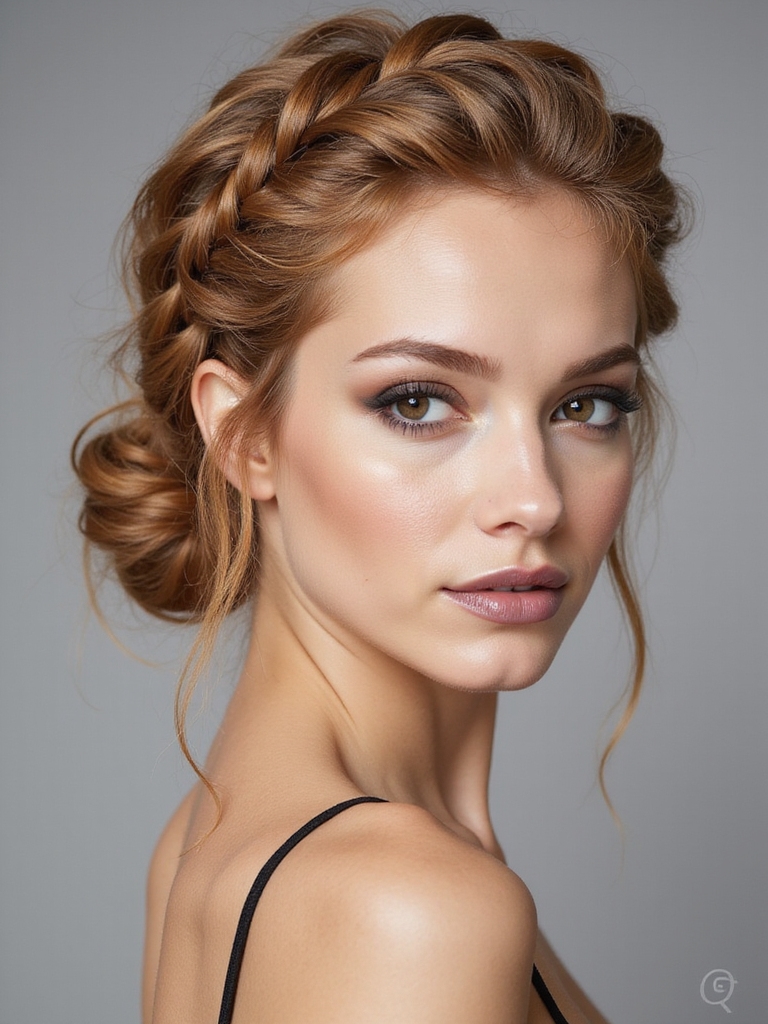
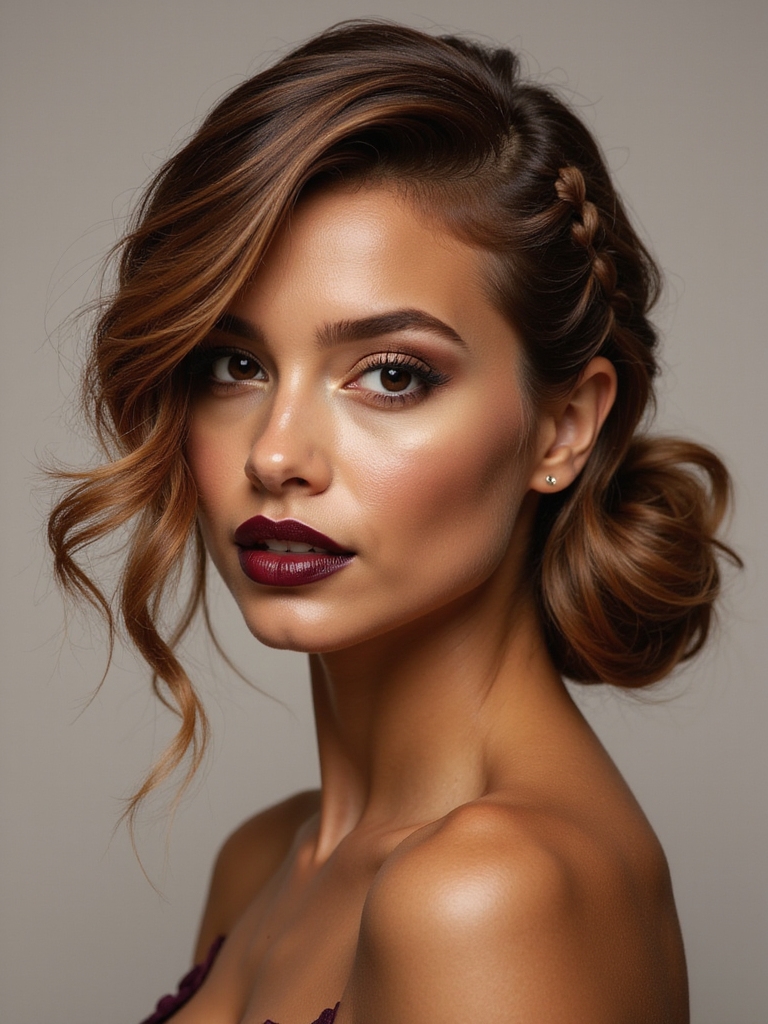
Mastering the Sleek Bun: A Modern Classic

Having played around with soft waves, it’s time to switch things up with something that’s both sophisticated and easy—the sleek bun.
I love how this style exudes elegance while keeping everything tidy. Perfect for anything from work meetings to casual hangouts, it’s my go-to on busy mornings.
With a simple twist and a few pins, you’ll sport a look that’s timeless and chic. Elegant ponytail hairstyles are also a great option if you’re looking for a fresh take on traditional wedding hairstyles.
Tools and Products for a Flawless Bun
Achieving a flawless bun doesn’t require a cabinet full of hair tools—just a few good-quality essentials make a world of difference.
Believe me, these tools are game-changers:
- Bristle Brush – Smooths and tames those pesky flyaways.
- Hair Elastics – Keeps your bun secure all day.
- Bobby Pins – Essential for pinning loose strands and maintaining shape.
To elevate your updo, consider incorporating charming updo hairstyles that suit your occasion.
Ready to give it a whirl?
How to Create a Bun With a Twist
Creating a bun with a twist is super fun and easy!
First, I gather my hair and twist it up to add a little flair.
Then, I secure it in place with some pins or a hair tie and adjust it until it looks just right.
Gather Hair and Twist
Let’s plunge into the art of crafting a bun with a twist!
It’s simpler than it sounds. Here’s the game plan:
- Gather your hair: Pull it all together in a ponytail at your desired height.
- Twist it up: Twist your ponytail tightly.
- Form a bun: Coil the twist around its base.
Voilà, you’ve got yourself a chic twisted bun! Additionally, this style works beautifully with short hairstyles for women over 60, offering elegance while embracing aging.
Secure and Style Bun
The key to pulling off this twisted bun lies in how you secure it, so let’s plunge into it.
First, grab a hair tie and wrap it around your twist, keeping it snug but comfy—no one wants a headache!
Next, weave a few bobby pins into the bun for extra hold.
Finally, give it a spritz of hairspray, and voilà! You’ve styled a chic, secure bun. Additionally, consider pairing your bun with half up half down braided hairstyles for a more intricate look.
Securing Your Bun: Tips for All-Day Hold
Even though we all love the chic look of a sleek bun, keeping it in place from morning to night can feel like wishful thinking.
But don’t worry, I’ve got a few simple tricks you can try:
- Use a strong-hold hairspray to tame those flyaways.
- Secure with bobby pins—they’re tiny, but mighty!
- Opt for a hair tie that matches your hair type. Remember, elegant hairstyles can require some extra support for that perfect all-day hold.
Adding Accessories to Elevate Your Bun
Nothing transforms a bun quite like adding a touch of flair. I love experimenting with fun accessories to bring my buns to life.
Try using a chic headband or a sparkling hairpin for some pizazz. Personally, I adore bright scrunchies or a delicate ribbon intertwined through the twist.
It’s amazing how a simple addition can turn a basic bun into a style statement.
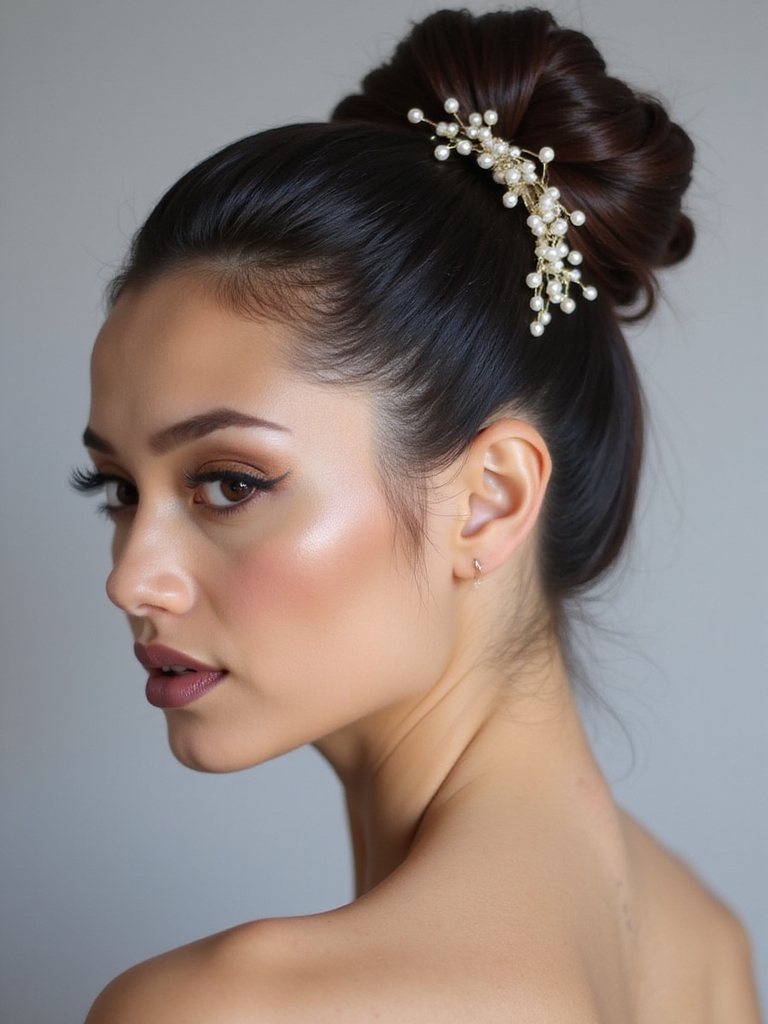
Transitioning a Sleek Bun for Evening Elegance

Let’s chat about taking that sleek bun from daytime simplicity to evening elegance.
I love adding a little sparkle with hair accessories like jeweled clips or sleek pins to give it that extra pizzazz. Additionally, consider incorporating knotless twist braids for an added layer of sophistication to your look.
Pair it with some bold makeup, maybe a vibrant lip color or shimmery eyes, and you’ve got yourself a look that’s ready to turn heads all night!
Hair Accessories Upgrade
When you’re looking to take your sleek bun from casual to enchanting for an evening out, it’s all about the right accessories.
Here’s how I do it:
- Sparkly Hairpins: These add a touch of glamour.
- Chic Headbands: Perfect for keeping it elegant.
- Statement Clips: Great for a pop of personality.
Trust me, these simple upgrades can truly transform your bun!
Makeup and Styling Tips
Although your hairstyle sets the stage for evening elegance, the right makeup is the magic that completes your transformation.
Picture your sleek bun paired with a bold, dramatic eyeliner and a touch of highlighter to make your features pop.
Don’t forget a classic red lip—it’s your secret weapon.
Add a bit of shimmer to your eyes, and you’re ready to captivate the night! Additionally, consider incorporating easy prom hairstyles that complement your overall look for a more cohesive style.
Quick and Easy Braiding Techniques
Braids don’t have to be complicated or time-consuming, even if you’ve convinced yourself otherwise.
With some quick tips, you’ll be braiding like a pro in no time.
Here are my top three easy techniques:
- Messy Side Braid: Perfect for a laid-back look.
- Simple Three-Strand: Classic and chic.
- Half-Up Crown Braid: Elegant, yet casual.
Try them out and watch the compliments roll in!
Beginner’s Guide to Basic Braids

Let’s get started with the basics of braiding, where I’ll walk you through some step-by-step techniques to help you master your first braid.
As you practice, I’ll also point out some common mistakes beginners face so you can avoid them and braid like a pro in no time.
To elevate your styling game, try incorporating twist hairstyles for a unique look that adds dimension and flair to your braids.
Ready to transform your hair into something fabulous?
Step-by-Step Braid Techniques
Starting on the journey of mastering braids can seem intimidating, but it’s simpler than you think with a little guidance.
Here’s how I began:
- Classic Three-Strand Braid: Divide your hair into three sections, cross the right section over the middle, then the left. Repeat.
- French Braid: Begin with a small section at the top, adding hair as you braid.
- Fishtail Braid: Split hair into two sections and cross small pieces from the outside.
Common Braiding Mistakes
One of the biggest hurdles in learning to braid is avoiding common mistakes that can make the style look less polished than you intended. Believe me, I’ve been there.
Braids that start too loose, uneven tension, or strands just sneaking out can drive anyone nuts! Keep your sections even, practice your grip, and breathe.
You’ll nail it with a bit of patience and practice.
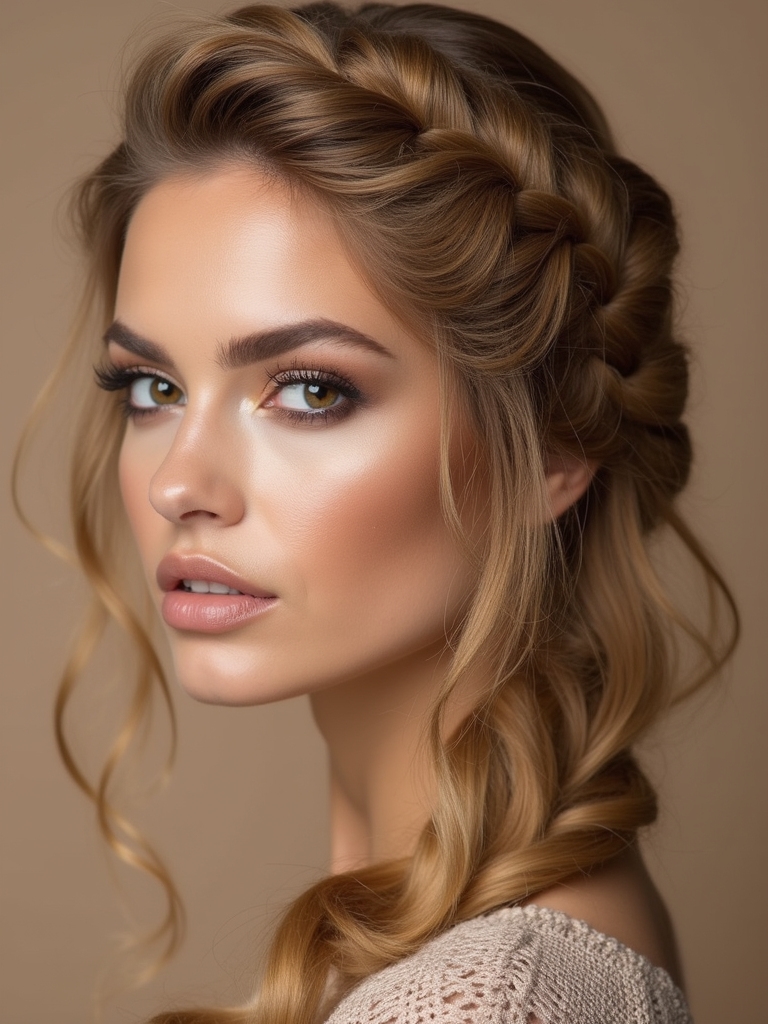
Enhancing Braids With Color and Accessories
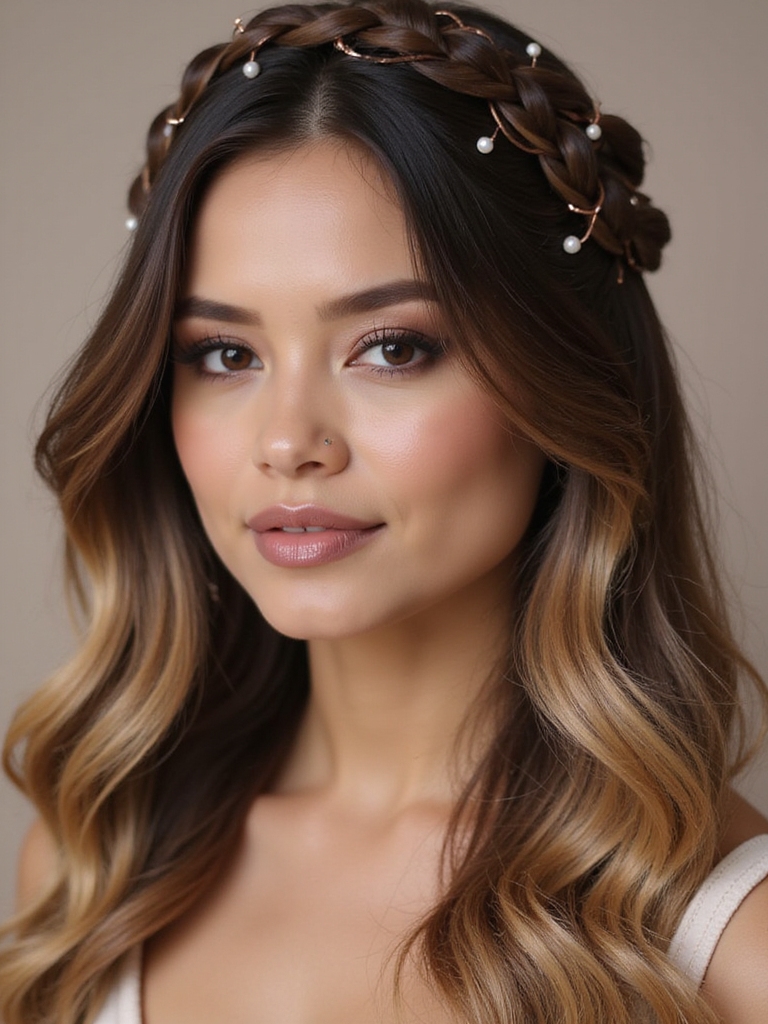
While braids are already a versatile and timeless hairstyle, adding color and accessories can take them to a whole new level of fabulousness.
Envision this:
- Bold Highlights: Add a pop of vibrant color for a striking look.
- Charming Beads: Sprinkle in some beads for a boho vibe.
- Ribbons & Wraps: Weave in ribbons for a playful, flirty touch.
How do you like personalizing your braids?
The Best Products for Keeping Braids in Place
Adding color and accessories to braids can certainly make a statement, but keeping them looking fresh and smooth requires a bit of help.
I always rely on a lightweight, non-greasy gel to tame flyaways. A trusty edge control product keeps those baby hairs in check, too.
Don’t forget a satin or silk scarf at night; it’s a lifesaver for preventing frizz!
Transforming Basic Braids Into Creative Styles
Even though basic braids are a classic go-to, sometimes you just want to shake things up a bit.
Here’s how I refresh braids creatively:
- Pull-Through Braid: Mix a traditional braid with a twist for a fuller look.
- Fishtail Crown: Perfect for when you want a regal vibe.
- Bubble Braid: Add texture and fun without the hassle.
Give one a try!
Matching Braids With Different Hair Textures
As I’ve explored jazzing up those basic braids, I’ve realized that the ultimate braid makeover involves knowing exactly what works with different hair textures.
Curly hair loves a loose, boho braid, letting its natural flair shine. Fine straight hair? A sleek, tight braid can work wonders. Incorporating short cornrow hairstyles can also provide a chic option for those looking to diversify their braid collection.
It’s about accepting what your hair naturally does and enhancing it, making those braids truly your own masterpiece.
Dos and Don’ts for Long-Lasting Hold
While achieving long-lasting hold might seem tricky, it’s actually all about understanding the right dos and don’ts.
Believe me, with a few simple steps, you’ll be ready for anything!
- Do use quality products designed for your hair type.
- Don’t over-apply product; less is more.
- Do secure with bobby pins or elastics for extra hold.
Moreover, incorporating fast hairstyles into your routine can save you precious time on busy mornings.
Keep these tips handy for fabulous style!
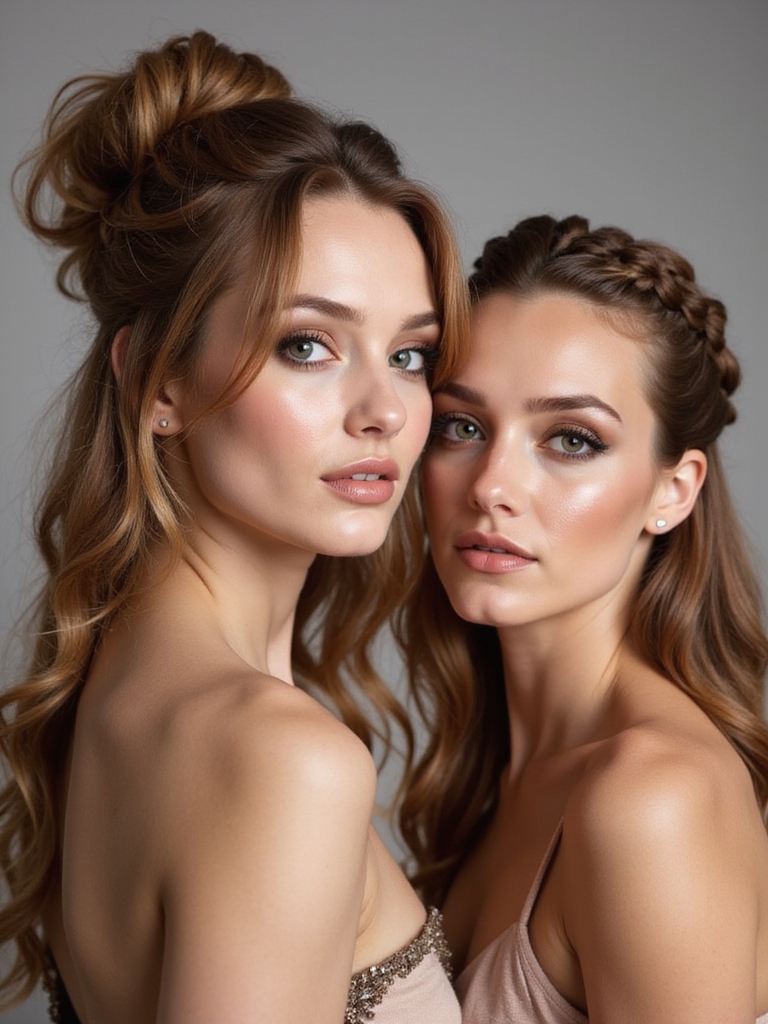
Combining Waves, Buns, and Braids for Unique Results
Now that we’ve got the long-lasting hold down, let’s get a bit creative by mixing styles.
Imagine starting with soft waves, then pulling a few sections into a sleek bun.
Now, add a simple side braid to the mix. It’s a chic, effortless combo that looks like you spent hours, but it’s our little secret how easy it actually is.
Consider finishing off your look with some adorable straight hairstyles for a polished touch.
Give it a try!
Hairstyles Suitable for Different Occasions
Ever wonder which hairstyle suits specific occasions? I’ve got you covered!
Regardless of you’re heading to a fancy dinner or a casual day out, choosing the right hairstyle can set the mood.
Here’s what I’d suggest:
- Soft Waves – Perfect for everyday elegance.
- Sleek Bun – Ideal for professional meetings.
- Easy Braids – Great for a relaxed weekend vibe.
These styles add flair to any event! Additionally, incorporating bohemian hairstyles into your look can further enhance your free-spirited vibe.
So, there you have it! Combining soft waves, sleek buns, and easy braids can truly transform your hair game. Regardless of if you’re heading to work, meeting friends, or just lounging at home, these styles are your new best friends.
Remember, don’t stress about achieving perfection—it’s all about having fun and accepting your natural beauty. Try mixing and matching different elements to create looks that make you feel confident and fabulous.
You’ve got this!